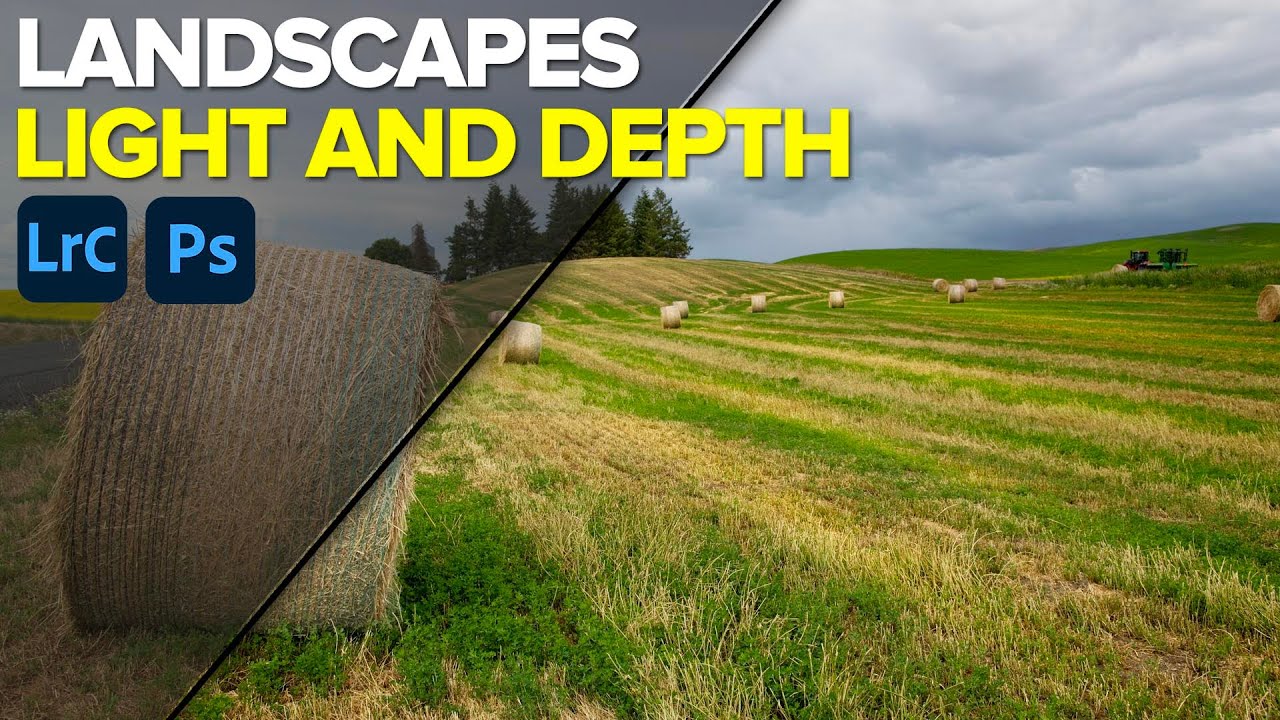
How to Breathe Light and Life into a Flat Landscape in Lightroom

How to Breathe Light and Life into a Flat Landscape in Lightroom

There’s a particular kind of landscape photo that stops me cold when I’m culling: technically solid, well-exposed, nothing obviously wrong with it, but somehow flat. No entry point for the eye. No sense that the light was alive when the shutter fired. I’ve taken thousands of them, and I’ve learned that the difference between that photo and a great one is almost never what happened in the field. It’s what happens in post, specifically how deliberately you push light and shadow into the places the camera failed to see.

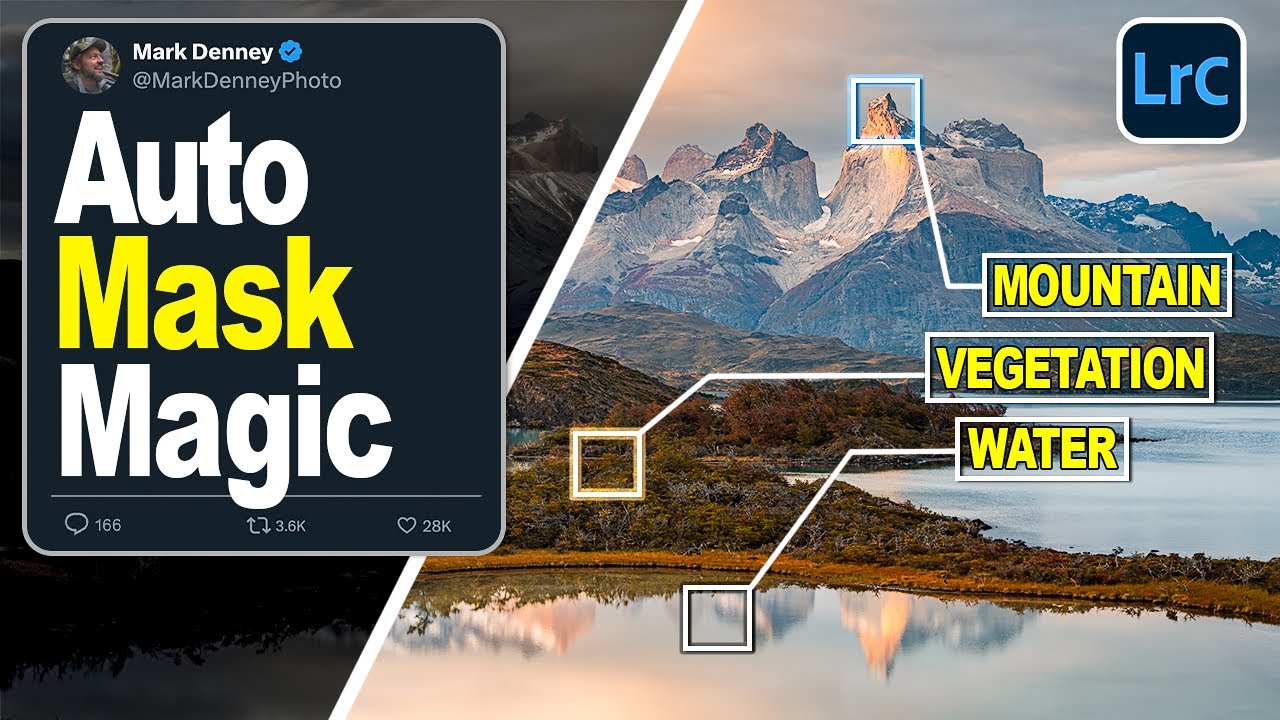
Lightroom's New Landscape Masking Tool Changes How I Edit in the Field

Lightroom's New Landscape Masking Tool Changes How I Edit in the Field

I have spent twenty years building masks by hand. Sky selections, foreground separations, water isolations, rock faces pulled out with luminosity ranges stacked on top of each other like geological layers. Some of my most-used Lightroom sessions have more masks than most photographers apply in a month. That is not a brag. It is a confession. Local adjustments are the engine of a finished landscape photograph, but the time they demand is real, and after two decades I have learned to budget for it the way I budget for golden hour.