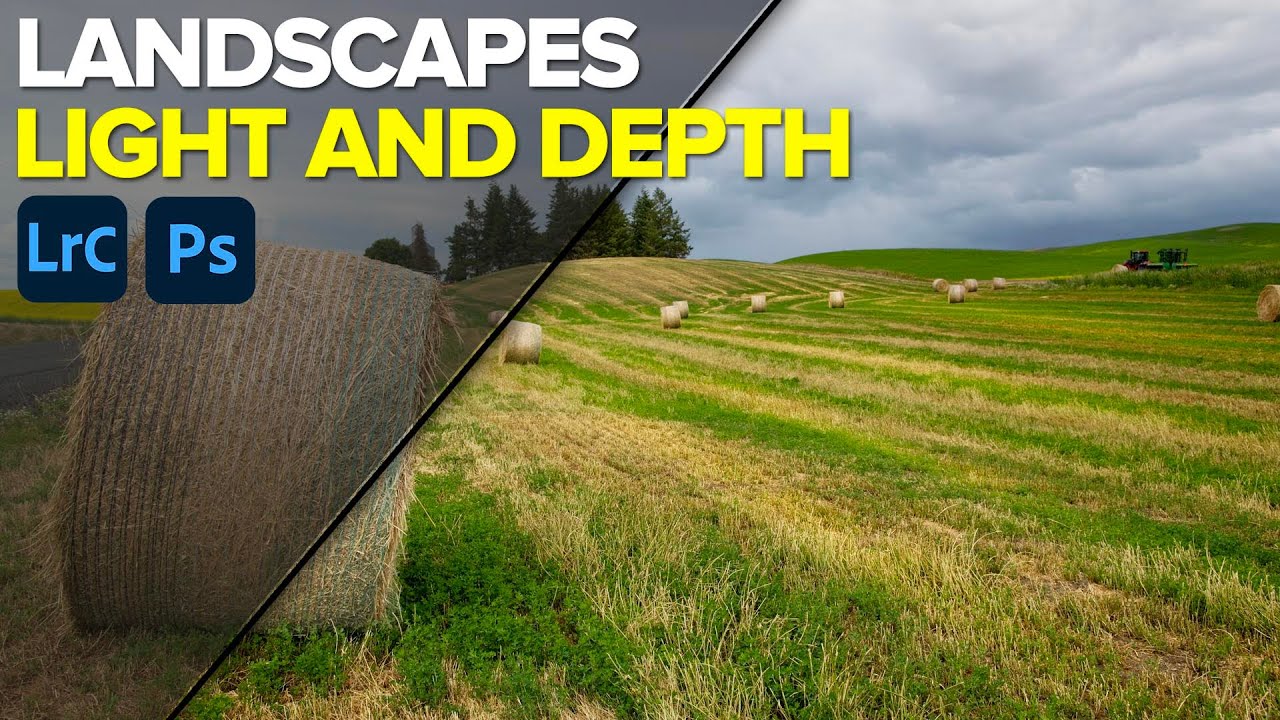
There’s a particular kind of landscape photo that stops me cold when I’m culling: technically solid, well-exposed, nothing obviously wrong with it, but somehow flat. No entry point for the eye. No sense that the light was alive when the shutter fired. I’ve taken thousands of them, and I’ve learned that the difference between that photo and a great one is almost never what happened in the field. It’s what happens in post, specifically how deliberately you push light and shadow into the places the camera failed to see.
That’s exactly the problem this tutorial tackles. In this Matt Kloskowski tutorial on adding light and depth to landscapes, Matt works through a viewer-submitted photo that has genuine bones to it but needs a skilled hand to draw out what’s already there. He leans almost entirely on Lightroom, using selective masking tools and a light touch on the global sliders, with a brief and optional detour into Photoshop at the very end. What I appreciate about his approach is that it mirrors how I think about editing after twenty years of standing in cold river water waiting for good light. You’re not manufacturing something fake. You’re finishing the story the scene already started.
The workflow breaks down cleanly into a handful of repeatable steps. I’ve laid them out below so you can follow along without pausing the video every thirty seconds, though I’d encourage you to watch it end-to-end at least once to absorb Matt’s pacing and decision-making.
Step 1: Start with the Basic Panel, Then Leave It Alone
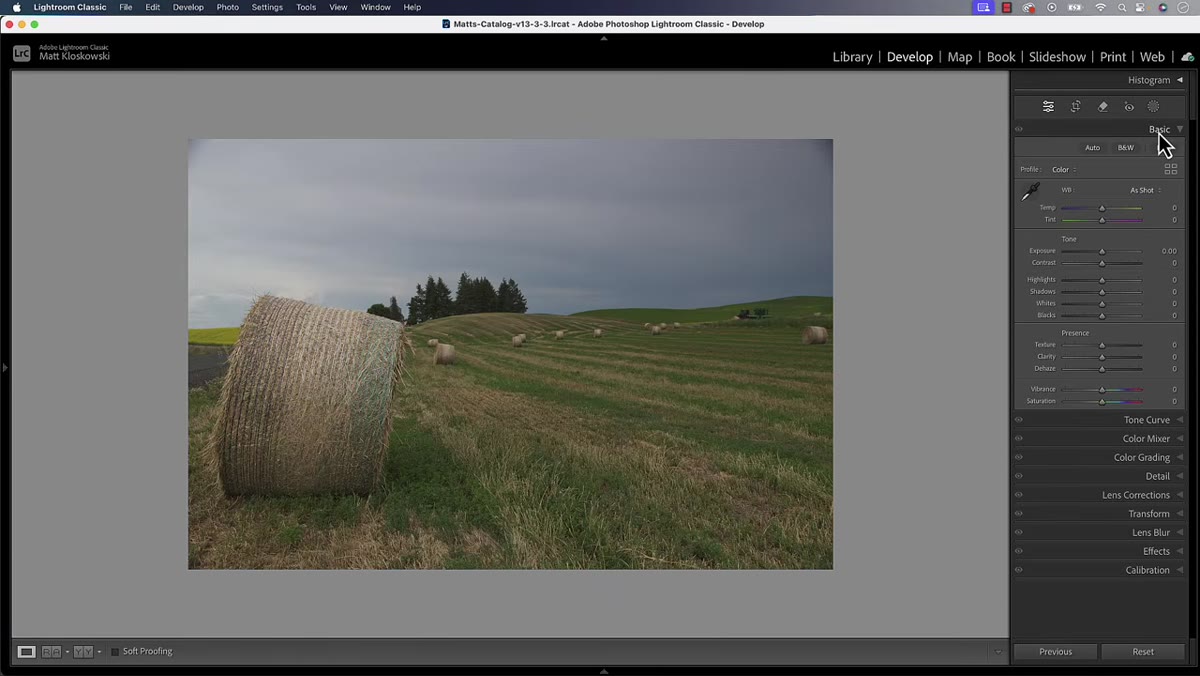 Basic panel open with minimal global adjustments applied
Matt opens in the Basic panel, which is where most of us instinctively reach first. His point here is worth internalizing: if the exposure is already reasonable, resist the urge to push global sliders just to feel like you’re doing something. He notes the image is well-exposed and decides to hold off on any global brightening until he’s worked locally. This mirrors advice a mentor gave me years ago about not solving a selective problem with a global tool. Make a quick pass through the Basic panel, note what you see, and if the image is fundamentally sound, move on. You can always come back.
Basic panel open with minimal global adjustments applied
Matt opens in the Basic panel, which is where most of us instinctively reach first. His point here is worth internalizing: if the exposure is already reasonable, resist the urge to push global sliders just to feel like you’re doing something. He notes the image is well-exposed and decides to hold off on any global brightening until he’s worked locally. This mirrors advice a mentor gave me years ago about not solving a selective problem with a global tool. Make a quick pass through the Basic panel, note what you see, and if the image is fundamentally sound, move on. You can always come back.
Step 2: Apply Lens Corrections to Clean Up the Edges
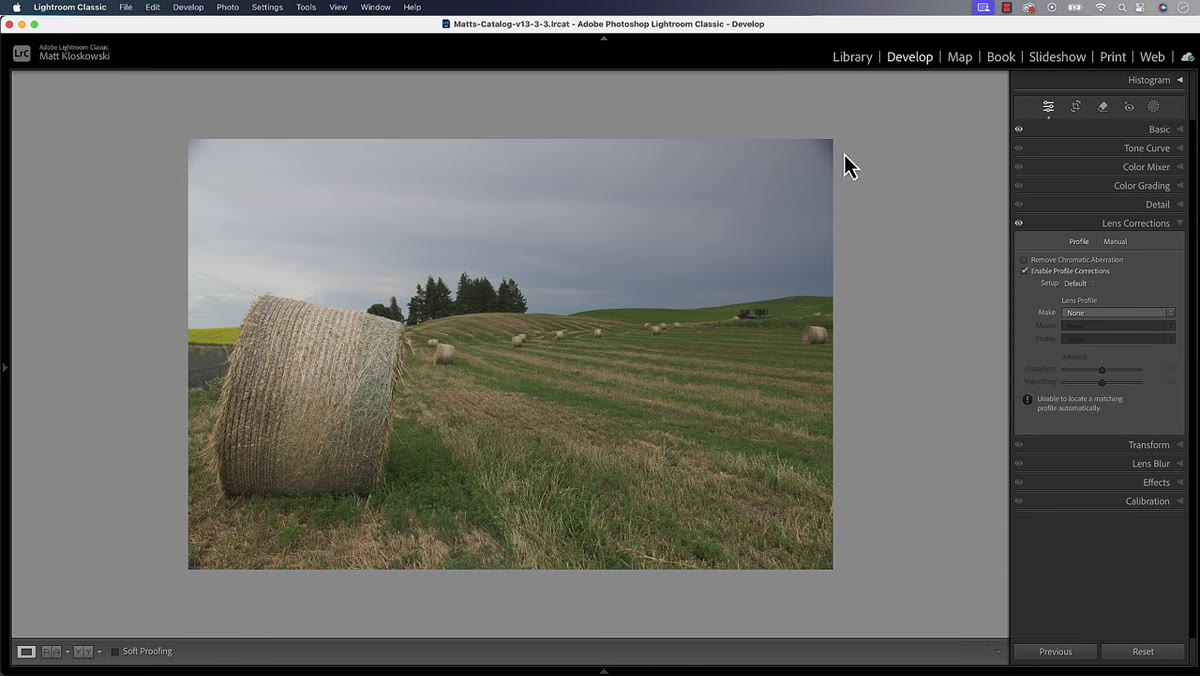 Lens Corrections panel open with profile corrections enabled
Before any creative work, Matt enables the lens profile correction under the Lens Corrections panel. This matters more than most photographers realize. Edge vignetting from wide-angle lenses can quietly work against you when you’re trying to guide the eye through a landscape frame. Enabling the profile correction neutralizes that, and if any stubborn darkening persists in the corners, a slight crop to remove those edges is a clean, non-destructive solution. It takes under thirty seconds and removes a variable you don’t want interfering with your intentional light work later.
Lens Corrections panel open with profile corrections enabled
Before any creative work, Matt enables the lens profile correction under the Lens Corrections panel. This matters more than most photographers realize. Edge vignetting from wide-angle lenses can quietly work against you when you’re trying to guide the eye through a landscape frame. Enabling the profile correction neutralizes that, and if any stubborn darkening persists in the corners, a slight crop to remove those edges is a clean, non-destructive solution. It takes under thirty seconds and removes a variable you don’t want interfering with your intentional light work later.
Step 3: Remove Distractions with Lightroom’s AI Remove Tool
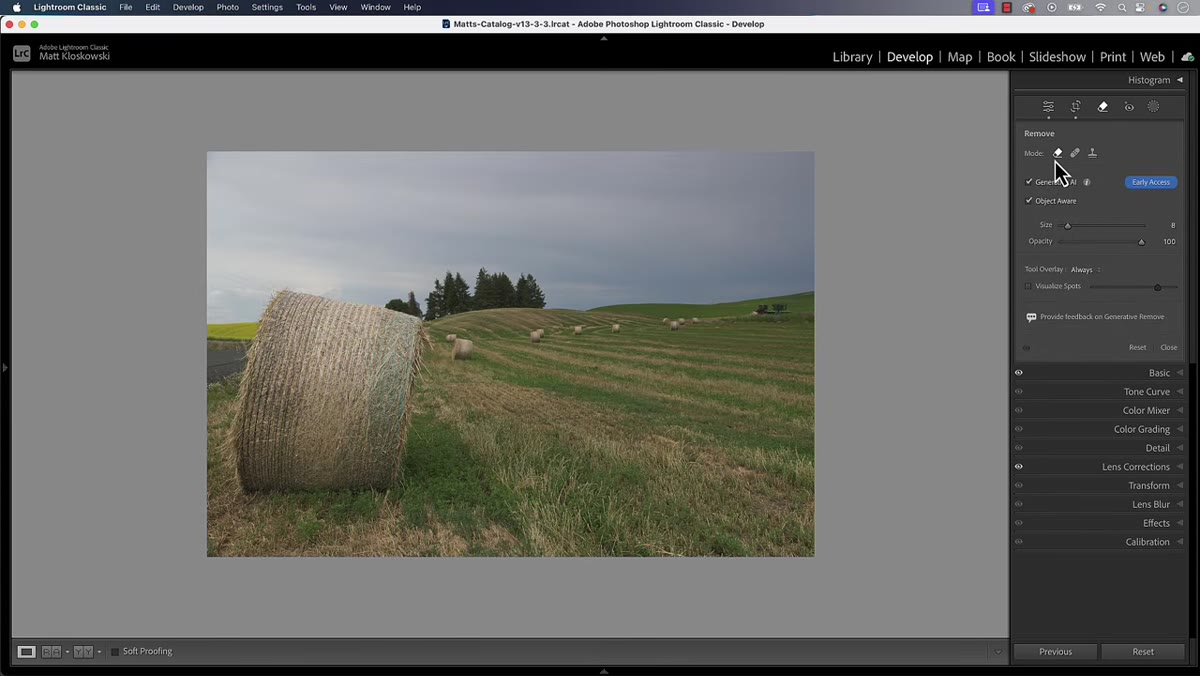 Remove tool active, painting over distraction on left edge of frame
This is where Lightroom’s generative AI removal tool earns its keep. There’s a small distraction on the left side of the frame, along with a thin wire near the top edge, both of which break the visual continuity of the scene. Matt paints over each with the Remove tool, turning off the Object Aware setting before he starts. With Object Aware off, the tool treats the painted area more loosely, which tends to work better for edge content against sky or foliage. The fill options cycle automatically, and he picks the cleanest result. What I find worth noting is that a few years ago this required a round-trip to Photoshop. Now it’s two minutes inside Lightroom, and for anything that isn’t heavily structural, it holds up well.
Remove tool active, painting over distraction on left edge of frame
This is where Lightroom’s generative AI removal tool earns its keep. There’s a small distraction on the left side of the frame, along with a thin wire near the top edge, both of which break the visual continuity of the scene. Matt paints over each with the Remove tool, turning off the Object Aware setting before he starts. With Object Aware off, the tool treats the painted area more loosely, which tends to work better for edge content against sky or foliage. The fill options cycle automatically, and he picks the cleanest result. What I find worth noting is that a few years ago this required a round-trip to Photoshop. Now it’s two minutes inside Lightroom, and for anything that isn’t heavily structural, it holds up well.
Step 4: Select and Brighten the Trees with the Object Selection Tool
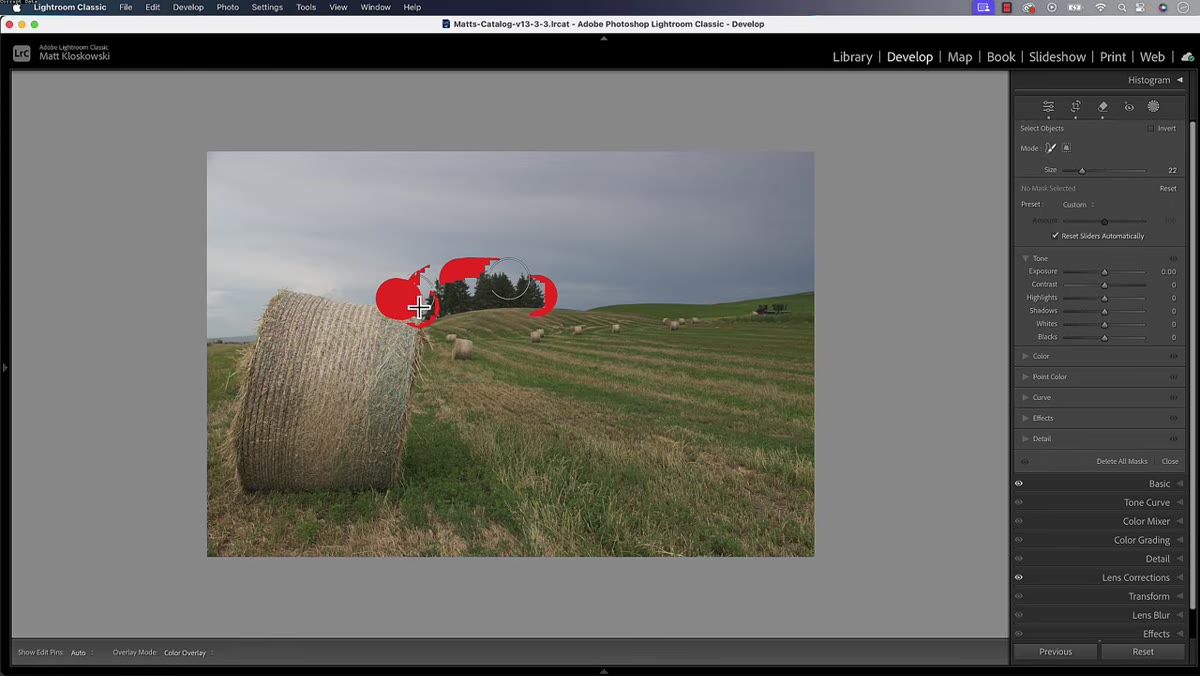 Object selection mask active over tree line in image
Here’s where the local editing work begins in earnest. Matt uses the Object Selection masking tool to isolate the tree line, simply brushing over the area to generate an automatic selection. Once the mask is active, he lifts the exposure, opens up the shadows, and nudges saturation and warmth slightly to give the trees more presence. The goal isn’t drama - it’s drawing the eye upward into the frame by giving that element a subtle luminous quality. When I do this on my own forest and meadow shots out of central Oregon, I keep the exposure bump modest, usually under half a stop, so the adjustment reads as natural light rather than a Photoshop glow.
Object selection mask active over tree line in image
Here’s where the local editing work begins in earnest. Matt uses the Object Selection masking tool to isolate the tree line, simply brushing over the area to generate an automatic selection. Once the mask is active, he lifts the exposure, opens up the shadows, and nudges saturation and warmth slightly to give the trees more presence. The goal isn’t drama - it’s drawing the eye upward into the frame by giving that element a subtle luminous quality. When I do this on my own forest and meadow shots out of central Oregon, I keep the exposure bump modest, usually under half a stop, so the adjustment reads as natural light rather than a Photoshop glow.
Step 5: Tone Down the Sky with a Select Sky Mask
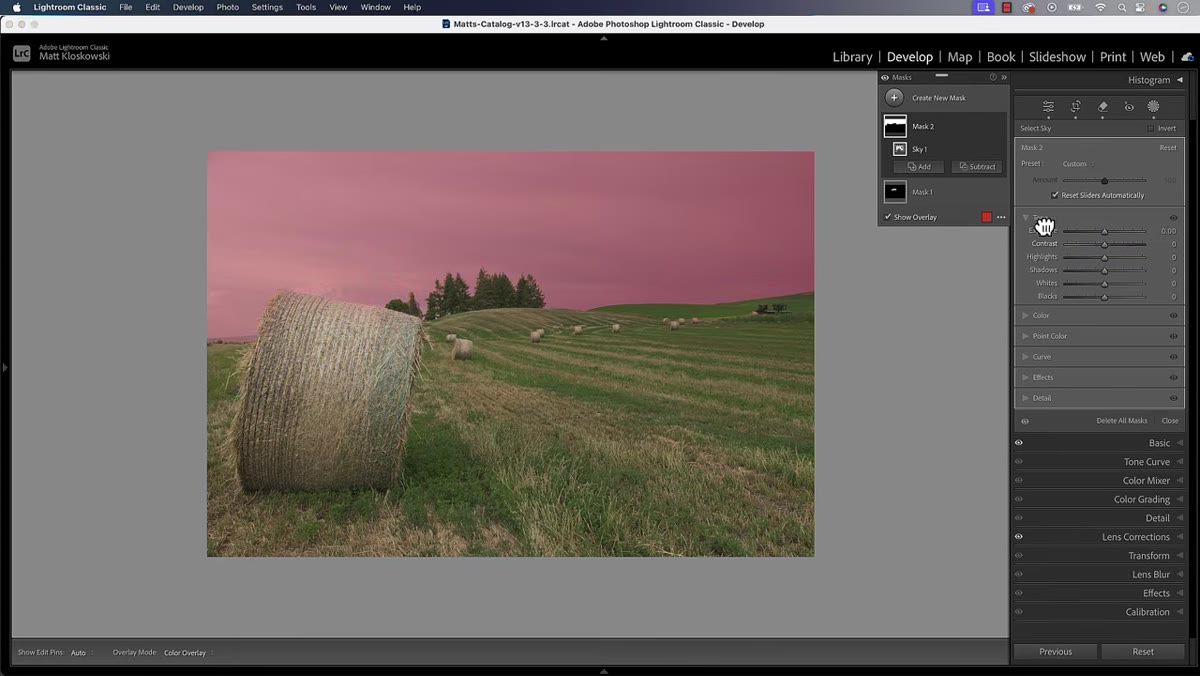 Select Sky mask active with exposure and highlights reduced
With the trees lifted, the sky needs to come back slightly to balance the image. Matt uses Lightroom’s Select Sky function, which handles complex canopies and horizon lines with impressive accuracy. He pulls the highlights down, reduces the exposure slightly, and leaves it there. Restraint is the right call. An overly darkened sky signals editing to any viewer who spends time looking at landscape photos. The adjustment should feel like the photographer chose the right moment, not like someone dragged a slider.
Select Sky mask active with exposure and highlights reduced
With the trees lifted, the sky needs to come back slightly to balance the image. Matt uses Lightroom’s Select Sky function, which handles complex canopies and horizon lines with impressive accuracy. He pulls the highlights down, reduces the exposure slightly, and leaves it there. Restraint is the right call. An overly darkened sky signals editing to any viewer who spends time looking at landscape photos. The adjustment should feel like the photographer chose the right moment, not like someone dragged a slider.
Step 6: Build a Foreground Mask and Duplicate It for Layered Control
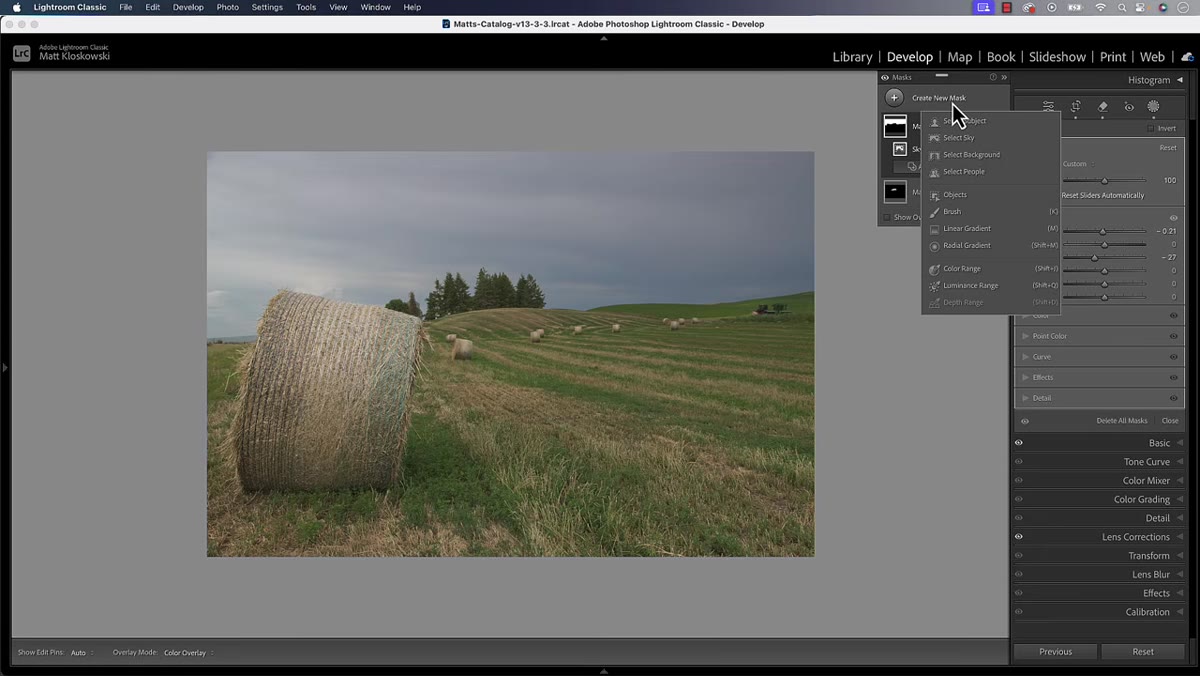 Object selection mask covering foreground, duplicate mask created in panel
The final major Lightroom move involves the foreground. Matt creates an Object Selection mask over the foreground area, boosts the exposure to bring in more light, and then duplicates that mask directly from the pop-out menu. This gives him two copies of the same selection to apply different adjustments independently, which is a technique I use constantly. Rather than trying to stack everything into a single mask’s slider set, duplicating lets you control brightness and color separately without fighting your own adjustments.
Object selection mask covering foreground, duplicate mask created in panel
The final major Lightroom move involves the foreground. Matt creates an Object Selection mask over the foreground area, boosts the exposure to bring in more light, and then duplicates that mask directly from the pop-out menu. This gives him two copies of the same selection to apply different adjustments independently, which is a technique I use constantly. Rather than trying to stack everything into a single mask’s slider set, duplicating lets you control brightness and color separately without fighting your own adjustments.
What I’d Add from the Field
Matt’s workflow is tight and I wouldn’t change the sequencing, but I’d add one thing for photographers shooting in mixed light conditions: before you start masking, spend sixty seconds studying where the natural light source actually is in the frame. Even on overcast days there’s a direction to the light, and your local adjustments will feel far more believable if they follow that directionality. I’ve made the mistake of brightening a foreground that was physically in shade relative to the rest of the scene, and no matter how subtle the adjustment, something always feels off. The camera recorded physics. Your edits should honor that same physics, even when you’re nudging things beyond what the sensor captured.
After twenty years of doing this, I still sometimes catch myself fighting a photo instead of finishing it. The best editing sessions feel like the opposite of that. You’re uncovering what was already present - the depth, the warmth, the sense that the light was doing something worth showing up for. That’s what Matt demonstrates here, and it’s a workflow worth adding to your regular rotation.
Watch the full tutorial on YouTube to see the optional Photoshop step at the end and the complete before-and-after result.
Comments
Leave a Comment