
Every few years the gear conversation catches up with me whether I want it to or not. A new sensor generation lands, the forums erupt, and suddenly photographers who were perfectly happy the week before start questioning everything in their bag. I’ve been making a living from landscape photography for two decades now, and I still feel that pull. The difference is I’ve learned to filter the noise by asking one question first: does this actually change what I bring home from the field?
That’s exactly the frame that made a recent tutorial from First Man Photography worth my time. Watch the full tutorial on YouTube – it’s a candid, unscripted thinking-out-loud session from a photographer genuinely wrestling with where to put his money, not a sponsored showcase. He’s not chasing clicks with spec comparisons. He’s asking the same question I ask every time something new lands on the market: what does a landscape shooter actually need, and what is just noise?
What follows is my breakdown of the framework he walks through, expanded with how I’ve thought about each piece across years of pre-dawn starts, wet boots, and prints that either sell or don’t.
Step 1: Strip the Brief Down to Landscape-Specific Needs
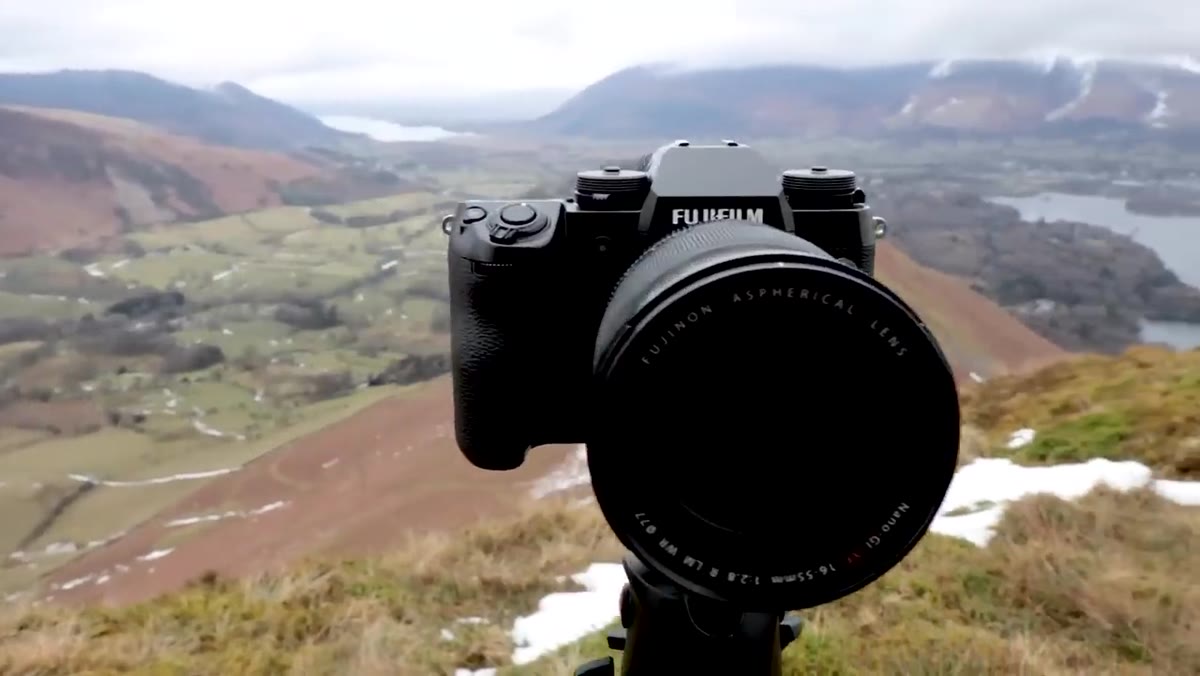 Photographer explaining what matters for landscape shooting
Before evaluating a single camera body, define what you are actually optimizing for. In this tutorial, the creator is explicit about what he is not evaluating – video capability, burst rate, sports autofocus. That discipline matters. Walk into any camera shop without that filter and you will pay for a machine built to track birds in flight when what you need is a tool that sits still on a tripod at 5am and renders a foggy ridgeline with soul.
For landscape work, the brief is narrow: image quality, resolution, dynamic range, and low-light performance. That is the whole list. If a camera scores well on those four things, every other feature is a bonus. If it scores poorly on any one of them, no amount of extra features rescues it.
Step 2: Prioritize Image Quality and Resolution as Your Foundation
 Close-up discussion of image quality priorities
The tutorial puts image quality first, and I think that order is right. Resolution feeds into it – not because megapixels are a trophy, but because landscape photography often ends in large prints. I sell prints that go on walls, sometimes big walls. When someone is standing two feet from a 40-inch piece of my work, every weakness in the file is visible. A higher-resolution sensor gives you room to crop, room to enlarge, and room to breathe.
The practical target these days sits somewhere above 30 megapixels for anyone serious about printing. That’s not elitism, it’s math. If your current sensor is delivering sharp, clean files at the sizes you need, you have no urgent problem to solve. If you are cropping heavily or printing large and seeing softness, resolution is worth prioritizing in your next body.
Step 3: Understand Dynamic Range Without Obsessing Over It
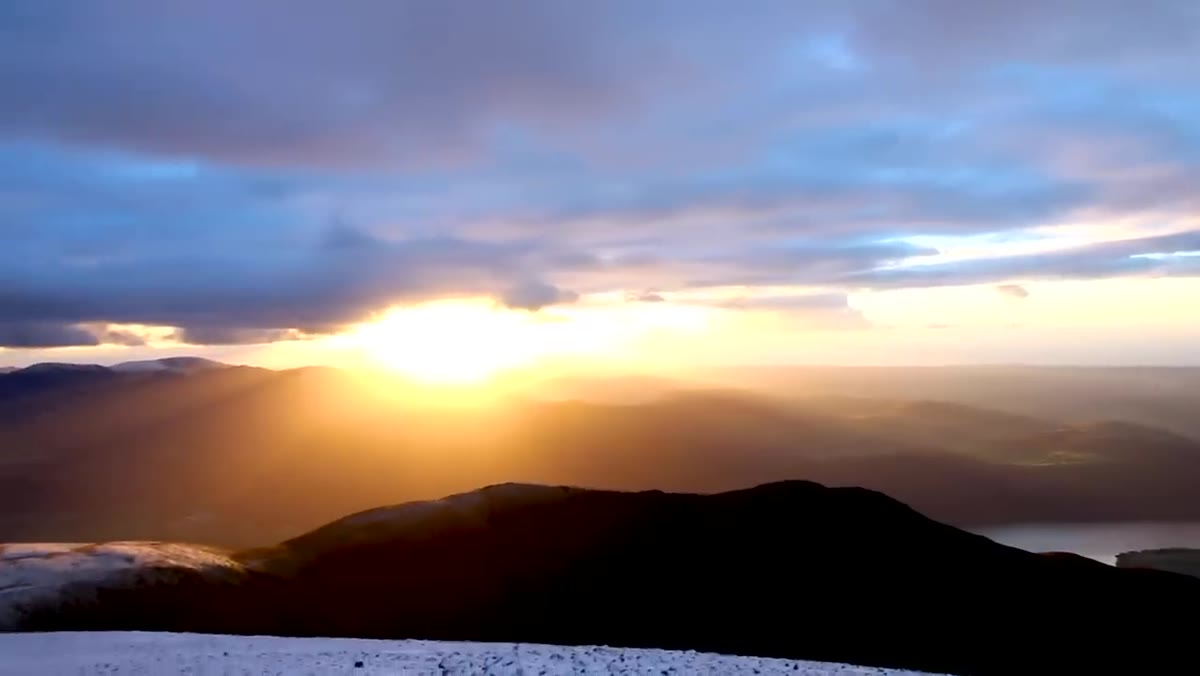 Discussion of dynamic range and bracketing workflow
Here is where the tutorial gets practically useful. Dynamic range matters in landscape photography because the gap between a bright sky and a shadowed foreground is often enormous. But the creator makes a point I agree with completely – you can bracket exposures to solve most dynamic range problems, so an imperfect sensor is not a dealbreaker. What you want is steady improvement, not perfection.
If you are not already bracketing on difficult high-contrast scenes, start there before worrying about sensor specs. Shoot three to five frames across two-stop increments, blend them in Lightroom or Photoshop, and you will recover highlights and shadows that no single exposure could hold. That technique costs you nothing and closes the gap between almost any modern sensor and the best ones on the market.
Step 4: Treat Low-Noise Performance as a Night and Dawn Requirement
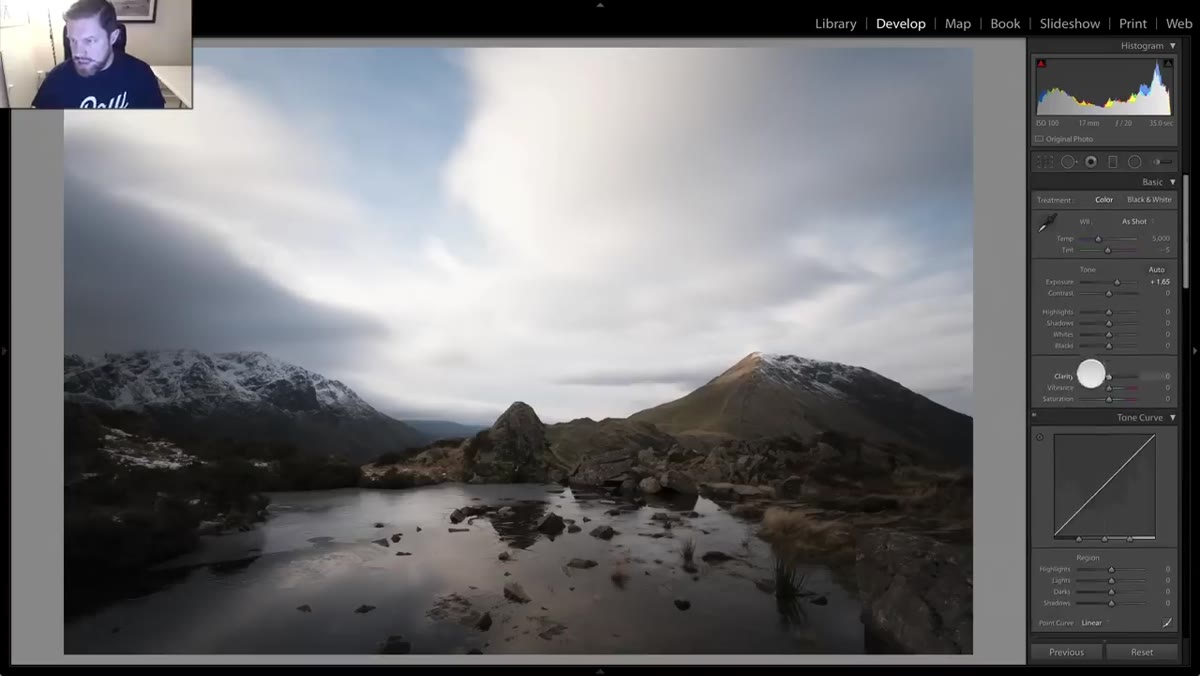 Explaining low noise importance in shadow areas
The tutorial connects low noise directly to shadow detail, and that connection is worth sitting with. I shoot a lot of dawn light, the kind where the foreground is still essentially dark while the sky is already moving. If I need to push those shadows two or three stops in post, a noisy sensor turns rocks and water into a texture disaster. Clean shadow rendering is what separates a moody dawn image from a grainy mess.
When evaluating a camera for low noise, look at real-world comparisons at ISO 800 and ISO 1600, not just base ISO. That is where you will actually be shooting when the light is thin. Sites like DPReview publish RAW comparisons that show this clearly. What you want is detail that holds up in the shadows without the luminance noise that smears fine texture into mush.
Step 5: Build a List of Workflow Features You Won’t Compromise On
 Listing specific built-in features like bulb timer and intervalometer
This step is the one most gear guides skip, and it is where real-world shooting diverges from spec sheets. The tutorial creator lists three things that have become embedded in his actual workflow: a built-in bulb timer, a built-in intervalometer for time-lapse, and touch-to-focus in live view. These are not luxury items for him – they are part of how he works every time he goes out.
Make your own version of that list before you shop. I carry a cable release out of habit, but I would not willingly give up focus peaking or a tilting screen, because I spend a lot of time with the camera low to the ground. Write down the three things in your current workflow that feel invisible – the things you do without thinking. Those are the features you must have in the next body. Everything else is negotiable.
Step 6: Use Your Current System’s Strengths as a Baseline
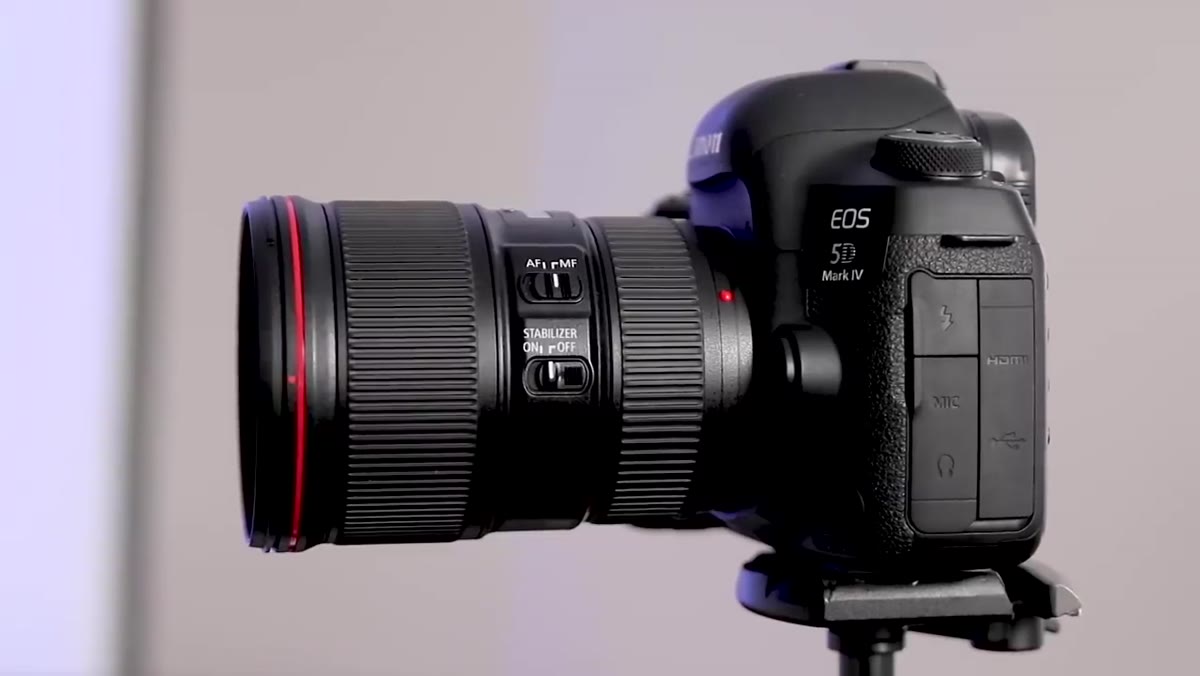 Reviewing the Canon 5D Mark IV as a known reference point
The tutorial uses the Canon 5D Mark IV as a known reference – a camera the creator has shot with for years and trusts completely. That is a smart way to evaluate anything new. Rather than judging a new camera against an abstract ideal, judge it against what you already know works in the field. What does it do better? What has it given up? Is the trade worth making?
I still shoot film occasionally for exactly this reason. It forces me to think before I press the shutter, and it reminds me how much my DSLR already does right. If you are considering switching systems entirely, rent before you buy. Spend a weekend with the new body in actual shooting conditions. The spec sheet will not tell you whether the menu system drives you mad at 4am.
A Note From Two Decades in the Field
The camera question never fully resolves. I bought into a system twenty years ago, rebuilt it once, and have been asked every year since whether I am switching. My honest answer is that the best camera I own is still the one I know well enough to operate without looking at it. Familiarity is an underrated spec.
Weather sealing is worth mentioning here too, because the tutorial flags it and I cannot agree more strongly. I have stood in coastal rain and knee-deep in Oregon rivers. A camera that makes me hesitate when weather turns costs me shots. Weather sealing is not a luxury for landscape shooters – it is a working tool requirement on par with resolution.
The single most useful thing this tutorial offers is its insistence on defining your criteria before you shop, not after. Know what you need, know what your workflow depends on, and let that list filter the market down to two or three real candidates. The answer gets much simpler from there.
Watch the full tutorial on YouTube for the full conversation, including his specific thoughts on current mirrorless options and where the market is heading.
Comments
Leave a Comment