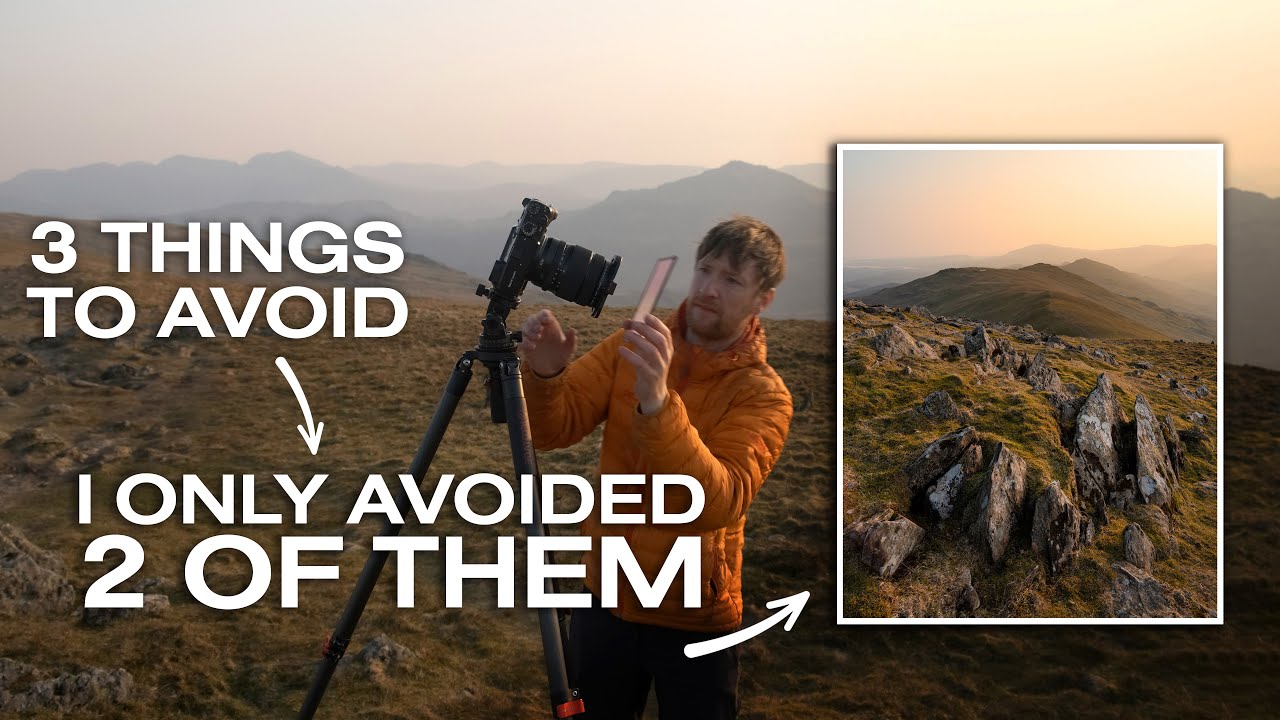
There’s a particular kind of frustration that only landscape photographers know. You drive out to a location, hike to the summit, wait for golden hour, and come home with nothing you’d hang on a wall. The light was fine. The gear was fine. The problem was invisible until it was too late. I’ve had that experience more times than I’d like to count, and what stings is that the mistakes almost never happen at the camera. They happen in the hour before you even take the lens cap off.
In this Thomas Heaton tutorial, Watch the full tutorial on YouTube, Heaton takes the viewer along on a spring sunset hike in the UK, fresh off a long grey winter. He’s self-aware enough to admit he’s already made one of the three mistakes before the video properly begins, and honest enough to show how that shapes the whole shoot. The format is simple but the content is dense with field-tested thinking. What looks like a casual walk becomes a clinic in how landscape photographers sabotage themselves before the light even gets interesting.
After twenty years of doing this professionally, I recognize every single one of these mistakes. I’ve committed them all. The third one in particular still bites me when I let my guard down. Here’s how to work through each one with intention.
Step 1: Arrive Early Enough That Rushing Is Not an Option
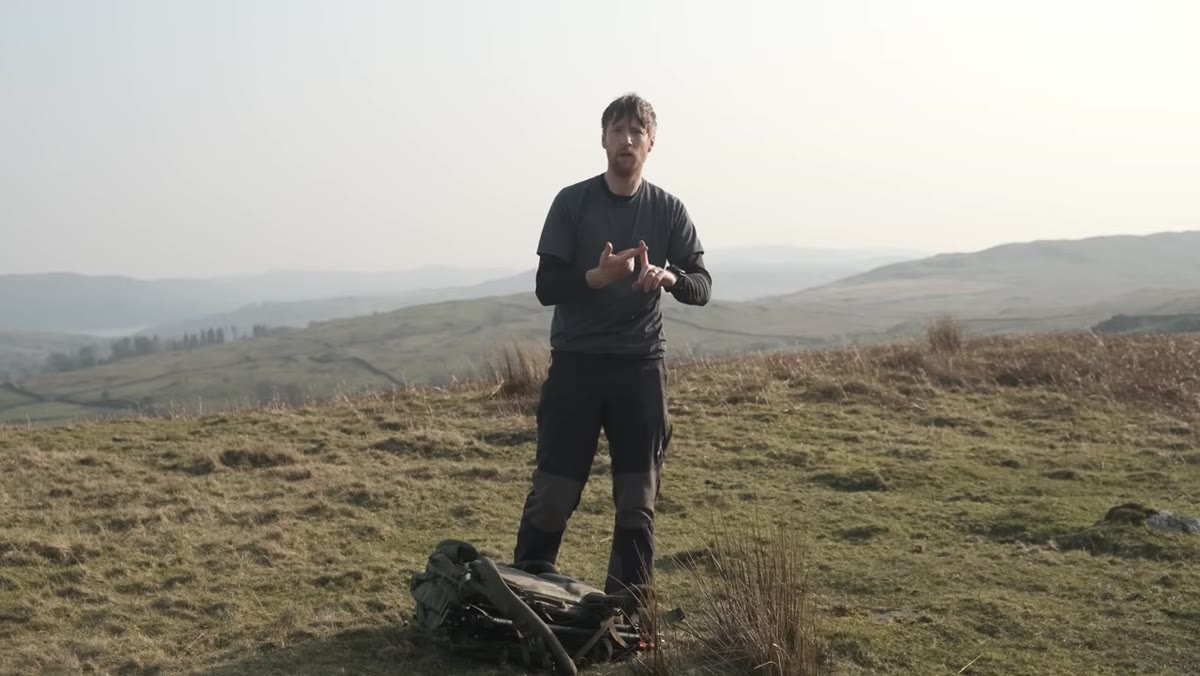 Heaton at trailhead acknowledging he arrived late
Heaton opens by admitting he showed up late to this shoot. It’s already costing him, and he knows it. The first mistake isn’t about camera settings or composition. It’s logistical, and that makes it easy to dismiss until you’re scrambling up a trail with the light fading.
Build your arrival time around the worst case scenario, not the best. If golden hour starts at 7:15pm, I want to be in position by 6:30 at the absolute latest. That extra time isn’t padding. It’s the window where I find the actual shot instead of lunging at the obvious one. When I’m rushed, I default to the same safe compositions I’ve done a hundred times. When I have time, I explore, and that exploration is where the real work happens. No amount of post-processing recovers the image you didn’t have time to find.
Step 2: Loosen Your Grip on the Shot You Planned
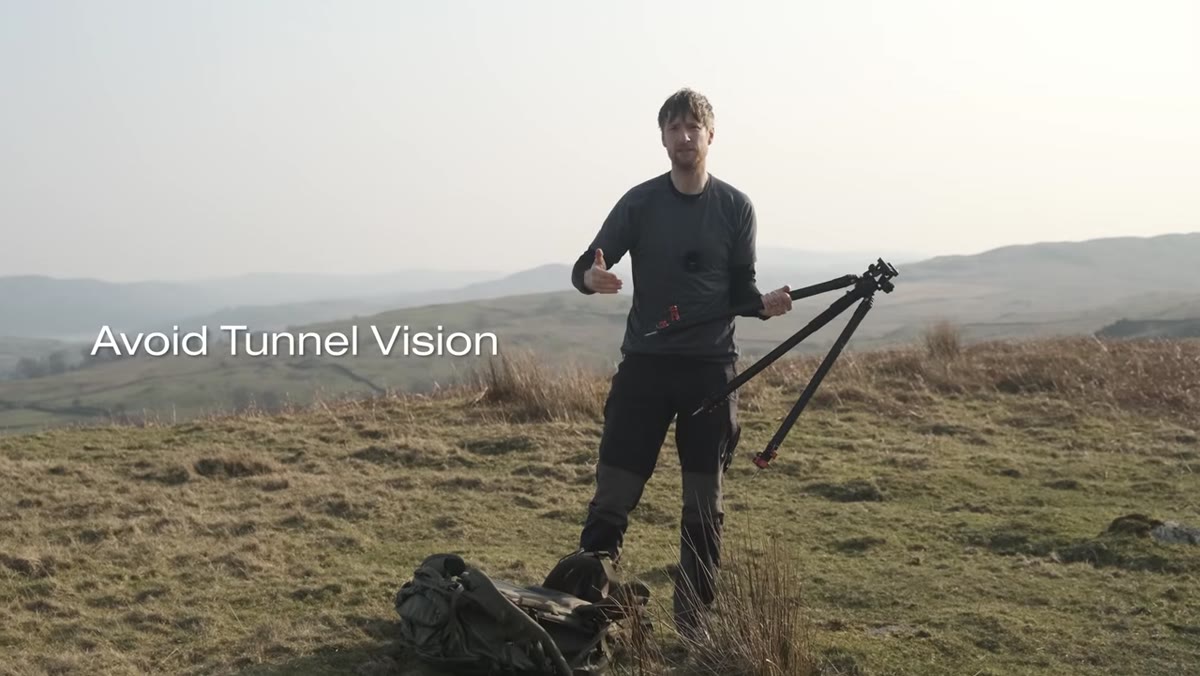 Heaton describing tunnel vision mistake on trail
Heaton calls this tunnel vision, the tendency to arrive at a location with one shot already locked in your head and to walk past everything else in pursuit of it. He’s careful to separate two situations here. If you’ve scouted thoroughly, know the light, and have a specific image in mind, that focus is an asset. But if you’re hiking with a vague sense that the summit will be better than wherever you are right now, you’re gambling in a way that rarely pays out.
This is something a mentor told me years ago that I’ve never forgotten: the mountain doesn’t care about your schedule. The best light might arrive when you’re two thirds of the way up the trail, not at the top. The scene that makes the strongest image might be a cluster of windswept trees twenty feet off the path, not the panorama you hiked three miles to reach. Hold your plans loosely. Have a destination, but let the light and landscape renegotiate the terms once you’re out there.
Step 3: Turn Around and Look Behind You
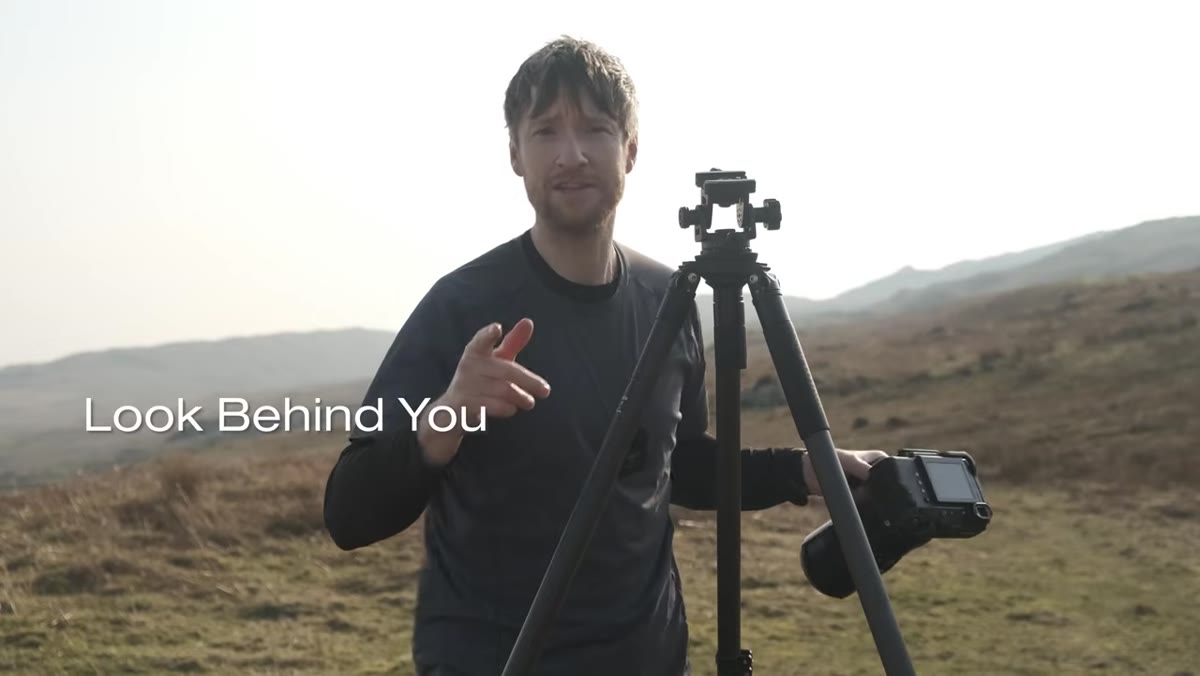 Heaton turning back down trail to look behind him
This is the one that gets me more than the other two combined. Heaton was filming a walking shot for his video, which required him to turn around and walk back down the trail. That physical act of reversing direction revealed a scene he had walked right past: birch trees set against a rugged, layered hillside backdrop, lit with soft diffused spring light. He stopped and shot it.
Make it a habit to physically turn around every fifteen to twenty minutes on a shoot. The light hits your back differently than it hits your face, and the scene you’re walking away from is often more compelling than the one you’re approaching. This is especially true in hazy or overcast conditions, where soft directional light can transform a simple stand of trees into something that looks almost painted. If I’m on a trail I know well, I’ll sometimes walk it backwards on purpose, forcing myself to see it fresh.
Step 4: Read the Quality of the Light Before You Commit to a Composition
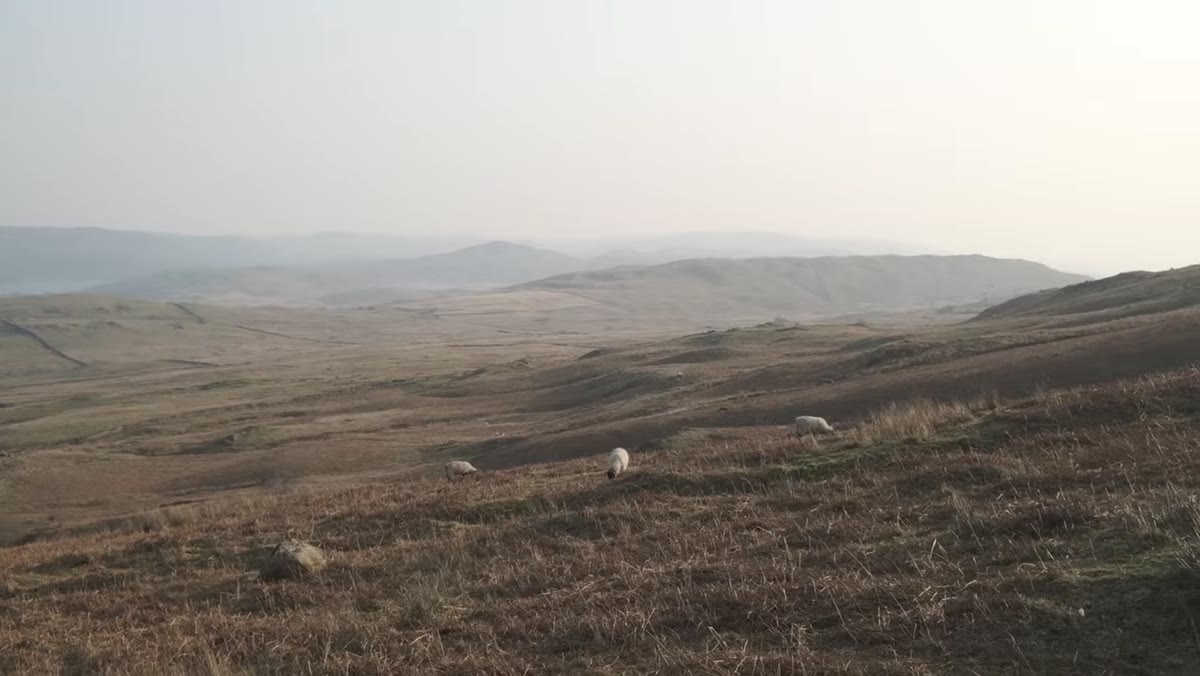 Heaton describing hazy soft light quality on the trail
Once Heaton is moving, he starts reading the character of the day’s light rather than just chasing a location. He notes that the conditions are hazy and that shadows are almost nonexistent, which produces a soft, layered look rather than the high-contrast drama of a clear golden hour. His instinct is to let that observation guide where he looks and what he shoots.
This is a skill that takes time to develop but it fundamentally changes how you work. Before I set up a tripod, I spend a few minutes just looking. What is the light actually doing today? Is it raking and contrasty, or is it diffused and painterly? Strong directional light rewards bold foreground subjects and deep shadows. Soft, hazy light rewards subtlety, distant layers, and scenes where texture matters more than edge. Heaton’s phrase here, “haze and layers,” is a genuinely useful field discipline. Name what the light is doing, and then go find subjects that suit it.
Step 5: Commit to the Shot in Front of You, Then Keep Moving
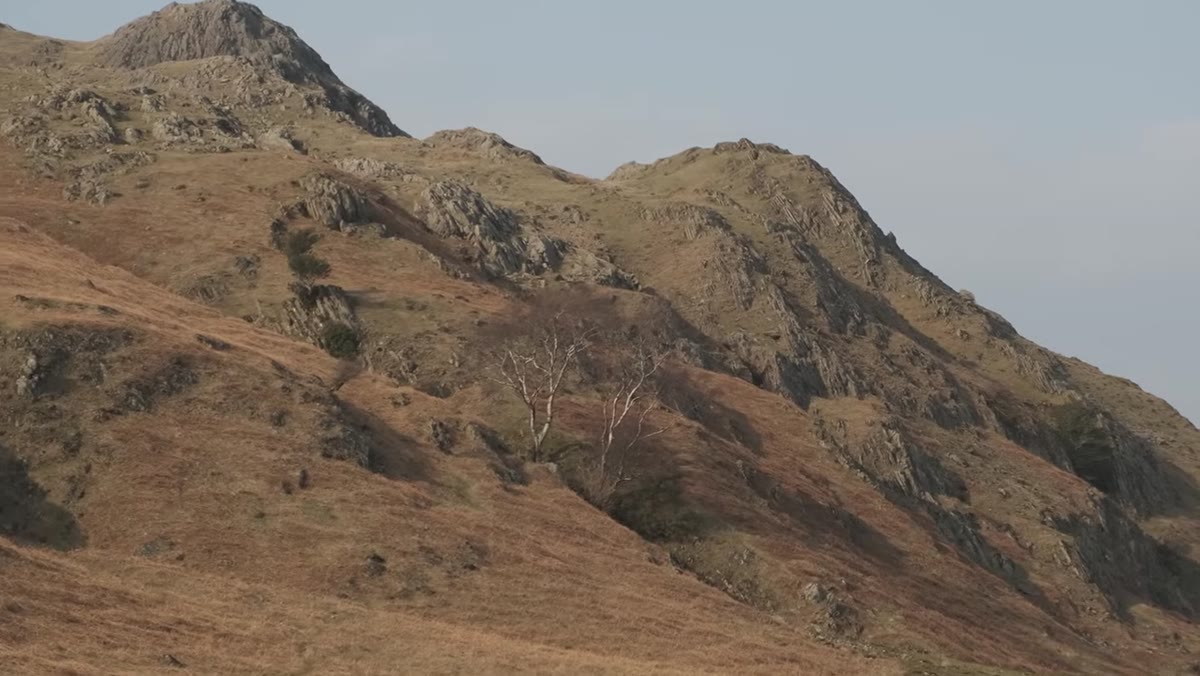 Heaton shooting birch trees at f/11, moving on quickly
After identifying the birch trees as a strong image, Heaton moves efficiently. He frames the shot, sets his aperture to f/11 for sufficient depth of field across the scene, confirms the soft focus quality matches the mood, and then packs up and continues the hike. He doesn’t linger or second-guess.
There’s a discipline in knowing when you’ve got what a scene has to offer and moving on. I used to burn too much time at a single composition, convinced that a slightly different angle would unlock something better. Sometimes it does, but often you’ve already made the best version of that image in the first five minutes. If you’re on a hike with a time constraint, let yourself be decisive and move. The light is moving whether you are or not.
What Twenty Years of Field Work Adds to This
The three mistakes Heaton outlines are presented in a light, offhand way, which is part of what makes them easy to absorb. But in my experience, they’re not three separate problems. They’re one problem in three forms. Each one is a version of arriving with your mind already made up. Late arrival locks you into a fixed window. Tunnel vision locks you into a fixed destination. Failing to look behind you locks you into a fixed direction. The underlying habit to break is the assumption that you already know what the shoot will look like before it happens.
I shoot with a lucky hat that’s been on every shoot for the past eight years. My wife thinks it’s superstition. I think it’s a ritual that reminds me to slow down and actually see what’s in front of me rather than what I expected to find. Whatever your version of that ritual is, build it in. The images that have meant the most to me, including the one I brought home from two fog-bound days at a remote Oregon lake that is now my best-selling print, came from situations where I had no preconceived shot. I just showed up, stayed open, and let the place decide.
The single most transferable idea from this tutorial is deceptively simple: keep turning around. It costs nothing, it takes ten seconds, and it will show you a version of the landscape that most photographers walked right past. Watch the full tutorial on YouTube to follow the full hike and see how Heaton’s approach plays out as the light changes through the evening.
Comments
Leave a Comment