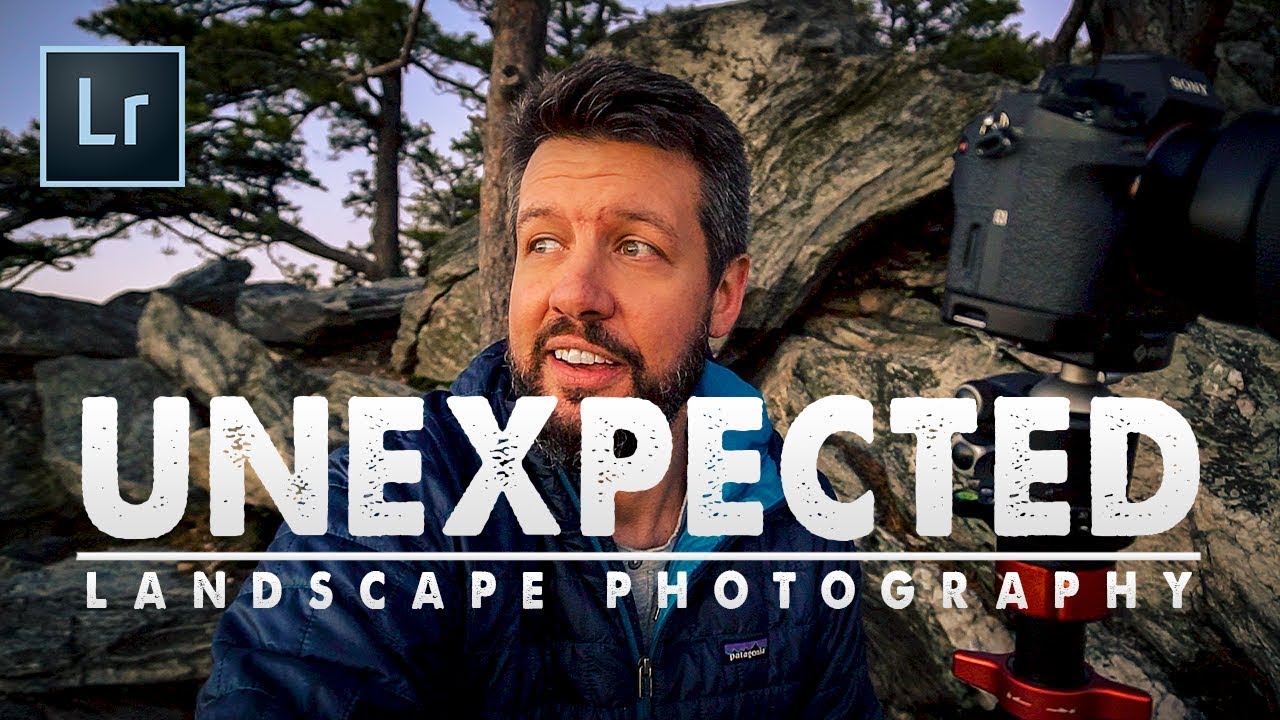
There’s a particular kind of optimism that gets you out the door on a questionable forecast. I’ve felt it hundreds of times, standing in my kitchen in Bend at 4am, checking the cloud layer one more time on my phone before committing to a three-hour drive into the dark. Sometimes it pays off. Sometimes you sit on a ridge in the wind and watch a perfectly blank sky turn from blue to dark blue. Both outcomes teach you something.
That tension is exactly what makes this tutorial from Mark Denney worth studying. Watch the full tutorial on YouTube – it follows a genuinely unscripted field session where conditions refuse to behave, and Mark’s real-time problem-solving is the whole lesson. No clean before-and-after. No guaranteed golden light. Just a working photographer making decisions on the fly, which is most of what this job actually is.
What struck me watching this wasn’t any single technique. It was the framework underneath the decisions – how he reads a location, adjusts his expectations, and finds a composition when the sky gives him nothing to work with. That framework is transferable. Here’s how to apply it.
Step 1: Make the Go/No-Go Call Honestly
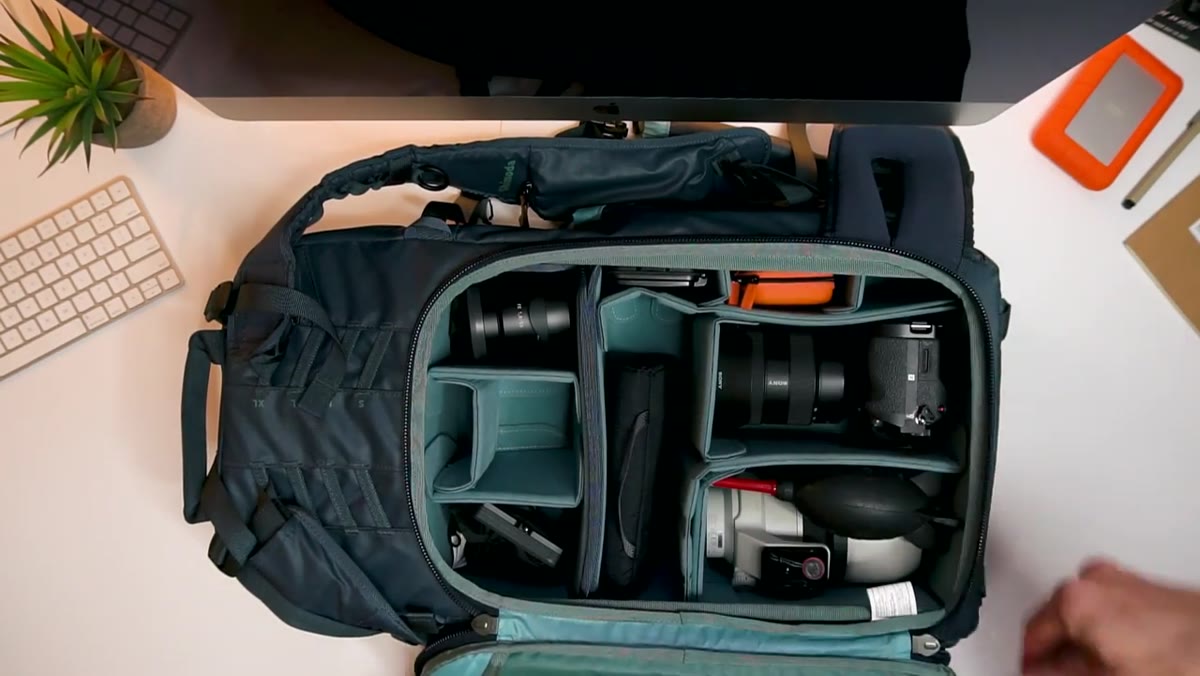 Photographer packing gear bag for an impromptu day trip
Mark is upfront about the risk baked into this trip from the start. He spotted a favorable forecast with only a day’s notice, which is a shorter planning window than he normally works with. He names this openly, noting that a consistent multi-day forecast is usually a more reliable signal than a single-day window that could shift.
The practical lesson here is to separate “worth going” from “guaranteed success.” If you wait for certainty, you’ll spend most of your life at home. Build your decision around what the floor looks like – if the light fails entirely, can you still scout the location, test gear, or simply break a streak of bad weather days? Mark frames the trip around testing a new piece of kit as much as anything else. That secondary goal is what keeps the trip valuable regardless of outcome.
Step 2: Check All the Variables, Not Just the Pretty Ones
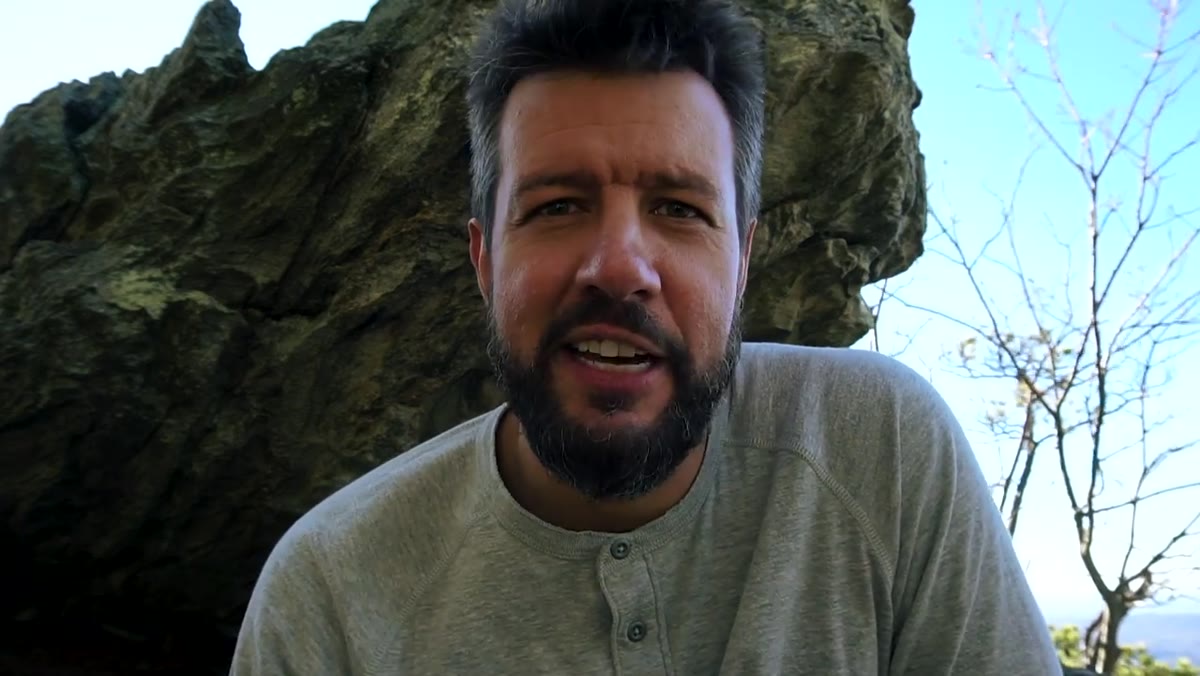 Photographer at windy summit noting overlooked wind forecast
This is the step most of us skip, and Mark is refreshingly honest about skipping it himself. He arrives at the summit of Hanging Rock and immediately deals with sustained winds he didn’t account for because he was focused entirely on cloud cover. Wind at that speed affects everything: tripod stability, long exposures, and your ability to hold a conversation with your camera while it’s rolling.
Before any location shoot, run through the full checklist – cloud cover, yes, but also wind speed, temperature drop near sunset, and whether the terrain funnels or amplifies air movement at elevation. Apps like Windy or Mountain Forecast give you elevation-specific wind data that a general weather service won’t show you. Mark’s honest mistake here is a free reminder for the rest of us.
Step 3: Scout the Location Before You Lock In
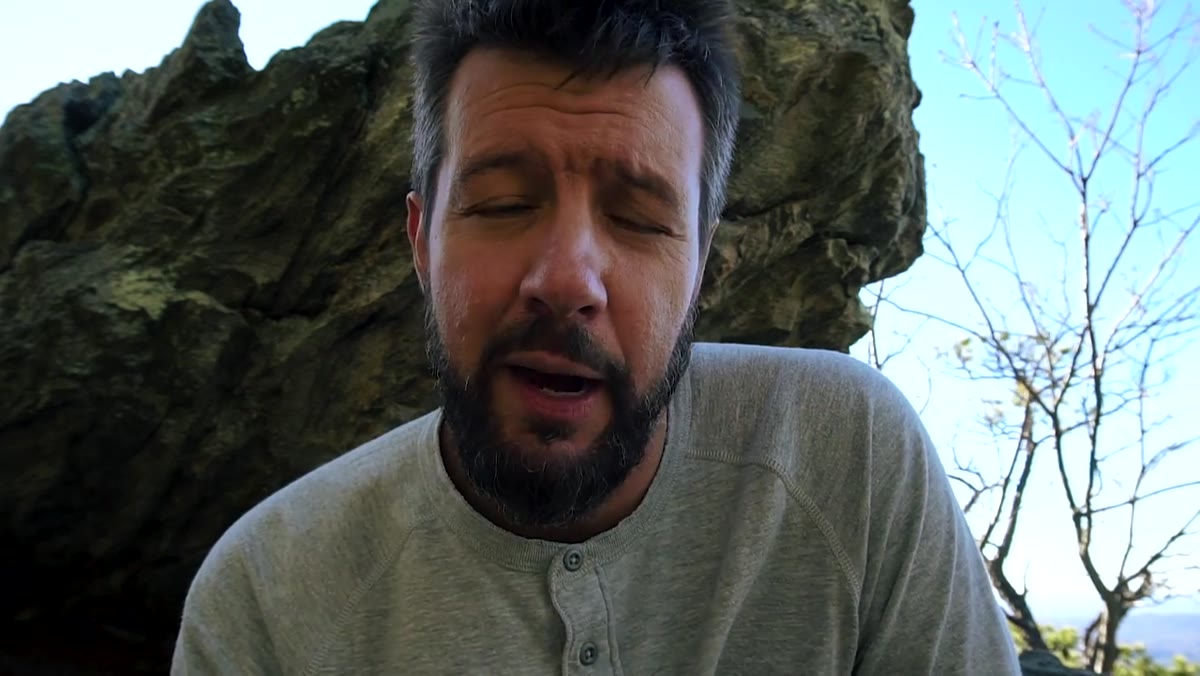 Photographer scanning the summit with 90 minutes before sunset
Arriving with 90 minutes before sunset isn’t a mistake – it’s a strategy. Mark uses that buffer to walk the area, test angles, and find the natural features worth building a composition around. He’s not rushing to set up a tripod; he’s reading the landscape first.
This is a habit worth building deliberately. I’ve watched workshop students sprint to the “obvious” viewpoint and spend the entire golden hour locked into a mediocre composition because they never gave themselves time to look. The first spot you see is rarely the best one.
Step 4: Let the Sky Tell You Your Orientation
 Photographer choosing between landscape and portrait orientation
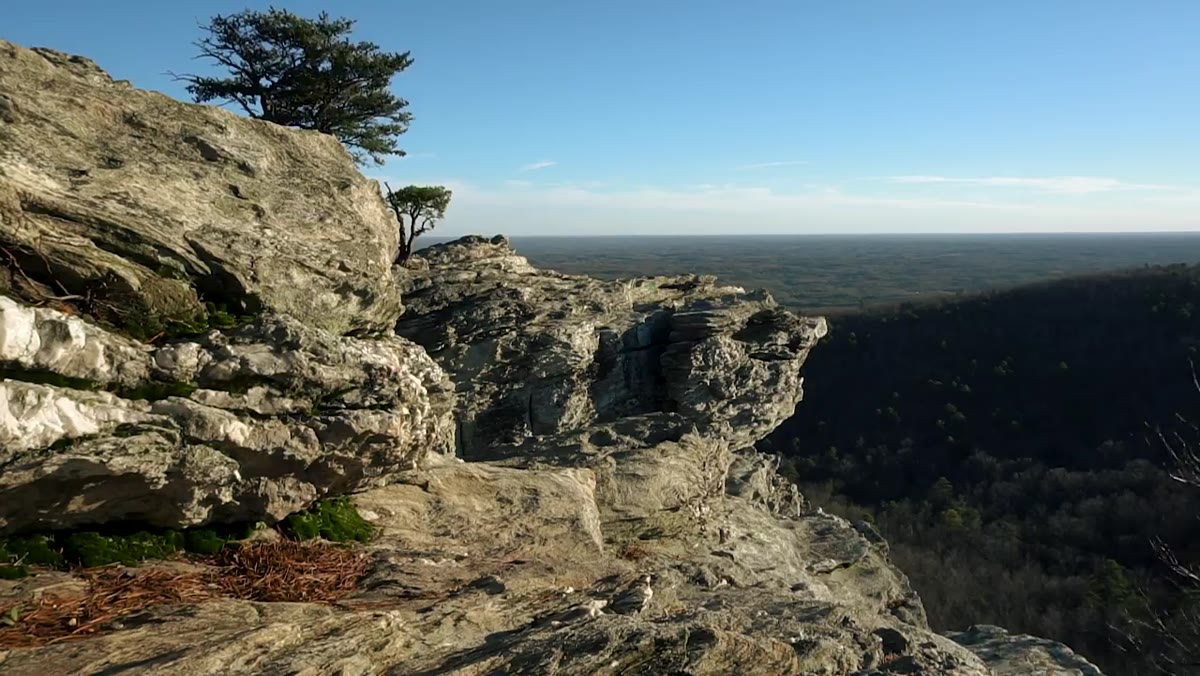
With clouds stubbornly absent, Mark faces a compositional problem: a large, empty sky that will dominate any image that includes it. His solution is to treat orientation as a cropping tool. A vertical frame pulls more foreground into the image and reduces how much of that blank sky you’re forced to include. A horizontal frame at the same location risks centering the emptiness.
This is a mindset shift that takes some practice. Most photographers default to horizontal for landscapes without really asking why. But orientation is a decision, not a default. Ask yourself what the frame needs more of – sky or ground – and then set orientation to match the answer, not the name of the genre.
Step 5: Build a Composition Around Existing Geometry
 Leading lines pointing toward Hanging Rock outcrop with tree in frame
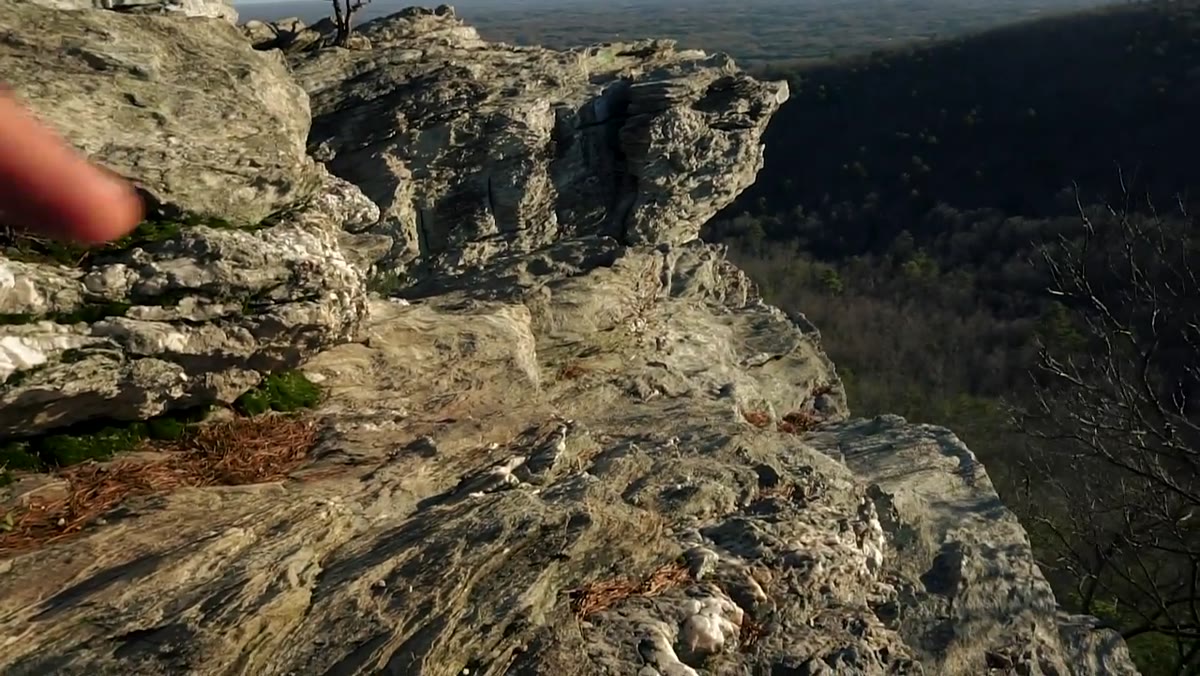
Once Mark commits to a composition, he anchors it on two things he can control: a set of natural leading lines that point toward the rock outcrop and a single tree that gives the frame a vertical element and a sense of scale.
When the sky is empty, your foreground becomes the entire image. Look for lines that move the eye deliberately – ridgelines, rock formations, paths, the angle of a slope. Then look for one anchor element that gives the viewer something to land on. Mark’s tree does that work here. Without it, the composition drifts. With it, there’s somewhere to arrive.
What I’d Add: Plan for the Version Without Drama
In 20 years of doing this, the trips that taught me the most were the ones where nothing dramatic happened. My mentor told me once that the mountain doesn’t care about your schedule, and I’ve repeated that phrase to myself more times than I can count on cold summits with blank skies.
The real skill Mark demonstrates here isn’t composition or gear selection. It’s the willingness to show up, adapt, and keep working even when the conditions are withholding. I still occasionally shoot film for exactly this reason – a 36-exposure roll forces you to make every frame count, and it teaches you to find the image that’s actually there rather than waiting for the one you imagined. When I bring that same intentionality to digital work in difficult conditions, the edit usually surprises me.
If you go into a location expecting a specific shot and the weather denies you, you can still come home with something honest. Sometimes honest is better than spectacular.
The single most important thing Mark models in this tutorial is the ability to reframe what a successful shoot looks like in real time, without spiraling, without packing up early. That’s a field skill that no amount of gear or post-processing technique can replace. The composition adjusts, the orientation shifts, the expectations recalibrate – and the camera keeps shooting.
Watch the full tutorial on YouTube to follow the full trip in real time and see how Mark’s decisions unfold at the actual location.
Comments
Leave a Comment