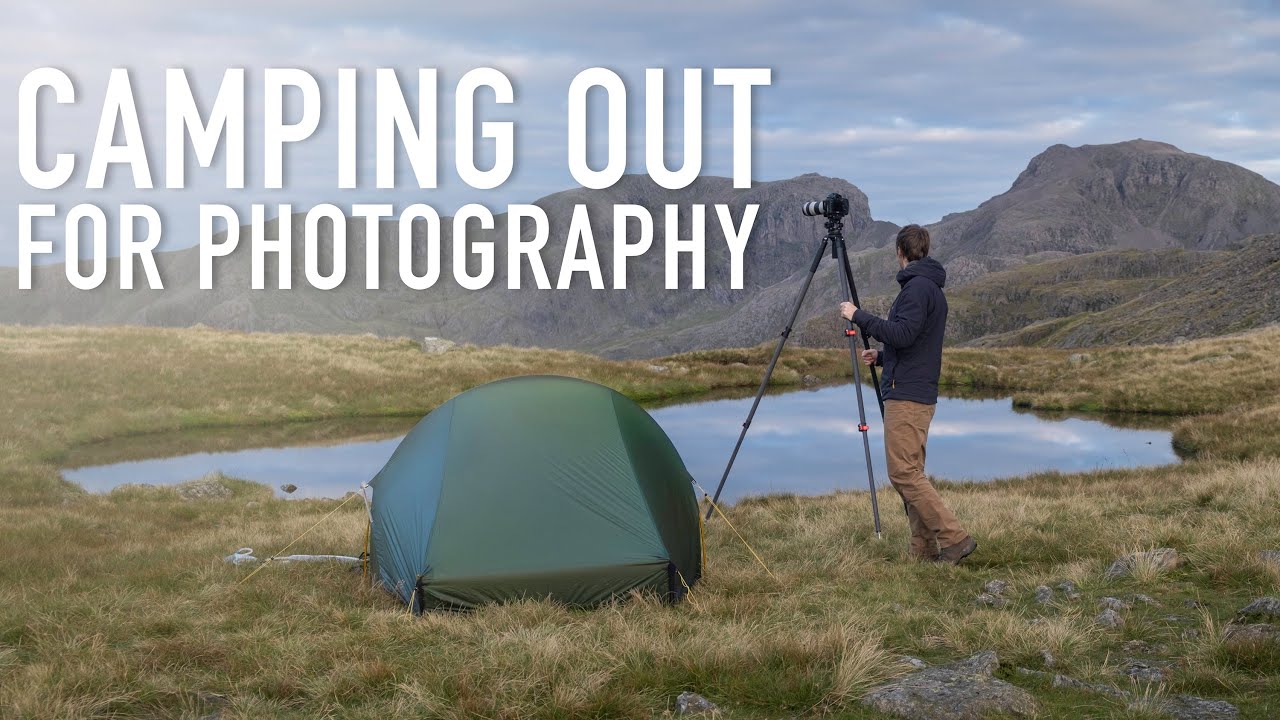
There’s a particular kind of suffering that landscape photographers know well: you’re not where you want to be, the light is doing exactly what you hoped it would do, and your legs are the only thing standing between you and the shot. I’ve been there on the ridgelines above Bend at dusk, watching a band of amber crawl across the high desert while I was still twenty minutes from my intended position. You make a choice. You either commit to the original plan and gamble on what’s waiting further up, or you read what the landscape is handing you right now and work with it.
That tension, the negotiation between the shot you planned and the shot that’s actually happening, is exactly what Thomas Heaton works through in this solo camping and landscape photography tutorial. It’s one of the more honest field videos I’ve seen because nothing goes according to schedule, and the decisions he makes in real time are the ones that actually teach you something. Watch the full tutorial on YouTube and follow along with the breakdown below.
What this video solves, practically, is the problem of improvised composition under time pressure. It’s not about tripod technique or post-processing. It’s about how a working photographer thinks when the conditions are live and changing and there’s no time to deliberate.
Step 1: Ditch What You Don’t Need Before the Final Push
 Thomas dropping camping gear on hillside before summit push
When you’re carrying a full overnight kit and chasing golden hour at elevation, weight becomes a creative decision. Heaton drops his camping gear at a flat stopping point well below the summit, keeping only his camera kit for the final climb. This sounds obvious, but most photographers I know, myself included early in my career, try to carry everything everywhere. The result is slower movement, more fatigue, and worse decisions at the moment that counts most.
Identify a logical waypoint on your route before you leave the trailhead. Leave food, shelter gear, and anything non-photographic there if conditions allow. You can always return to it. The light will not return to it.
Step 2: Read the Sky for the Light Gap, Not Just the Clouds
 Band of clear sky visible above ocean horizon below storm clouds
The conditions Heaton is working with are not a clear sunset. There are heavy storm clouds stacked out over the ocean. What makes the light extraordinary is a narrow horizontal gap between the cloud base and the horizon, a strip of open sky that’s letting direct sunlight fire through at a low angle. That gap is temporary and directional.
Before you set up a single composition, spend sixty seconds reading where the light is actually coming from and roughly how long that window will stay open. Look for the gap, not just the glow. The glow is diffuse and flattering but soft. The gap light is what creates the hard, dramatic illumination on distant ridgelines and valley floors that makes a landscape photograph feel like a painting.
Step 3: Compose the Light First, the Landscape Second
 Camera pointed toward illuminated distant fells with valley foreground
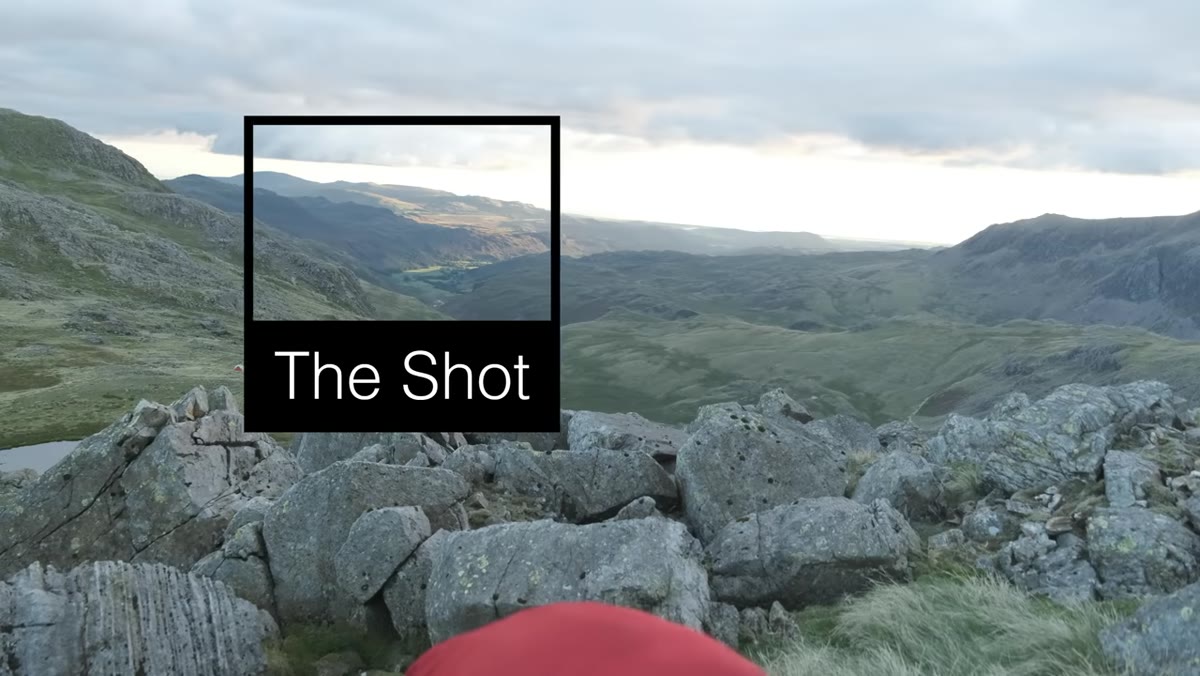
This is the part of the video that I keep coming back to. Heaton says explicitly that he’s composing the light more than he’s composing the landscape. That’s a reorientation most photographers don’t make until they’ve been doing this for years. The mountains and valleys in front of him are fixed. Where the light is falling is not.
He uses a 70-200mm lens here rather than a wide angle, which lets him isolate the lit section of the distant fells and compress the layers between the foreground valley and the illuminated ridgeline. The result is a frame with strong visual depth: a dark, textured foreground, zigzagging valley lines pulling the eye toward the middle distance, and then a wall of lit fell against a dramatic sky. Set your focal length to serve the light source, then find the natural geography that leads the viewer toward it.
Step 4: Know When a Shot in Hand Beats the Summit
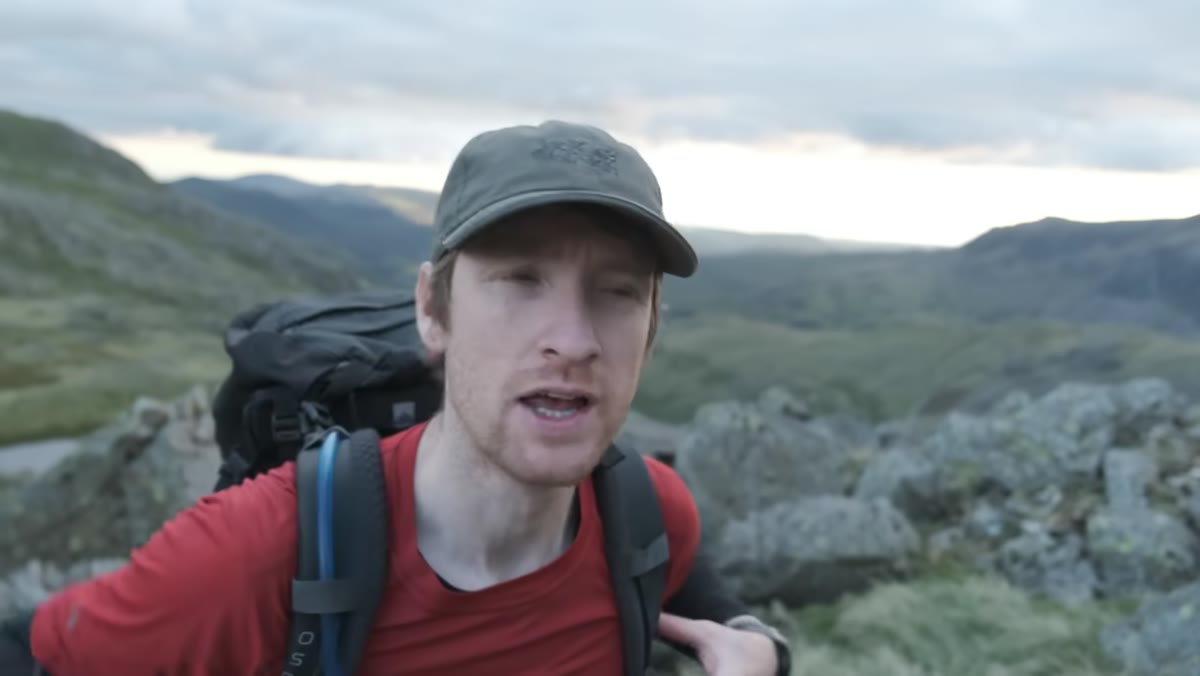 Thomas stopping mid-climb to photograph despite being far from planned position
Heaton is nowhere near his intended location when he stops to shoot. He names it directly: he cannot pass this opportunity. There are still roughly thirty minutes until sunset and he’s maybe halfway up. The smart move here is not to keep walking. The smart move is to recognize that the light happening at this elevation, right now, may be better than what’s waiting at the top.
A mentor of mine once told me that the mountain doesn’t care about your schedule, and I’ve thought about that on nearly every alpine shoot since. Your shot list is a plan, not a contract. When something extraordinary is happening at your feet, honor it. Fire the frames, make mental notes of your settings and what you saw, then continue. You are not abandoning the plan. You are executing a better one.
Step 5: Use F11 as Your Default Starting Point for Landscape Sharpness
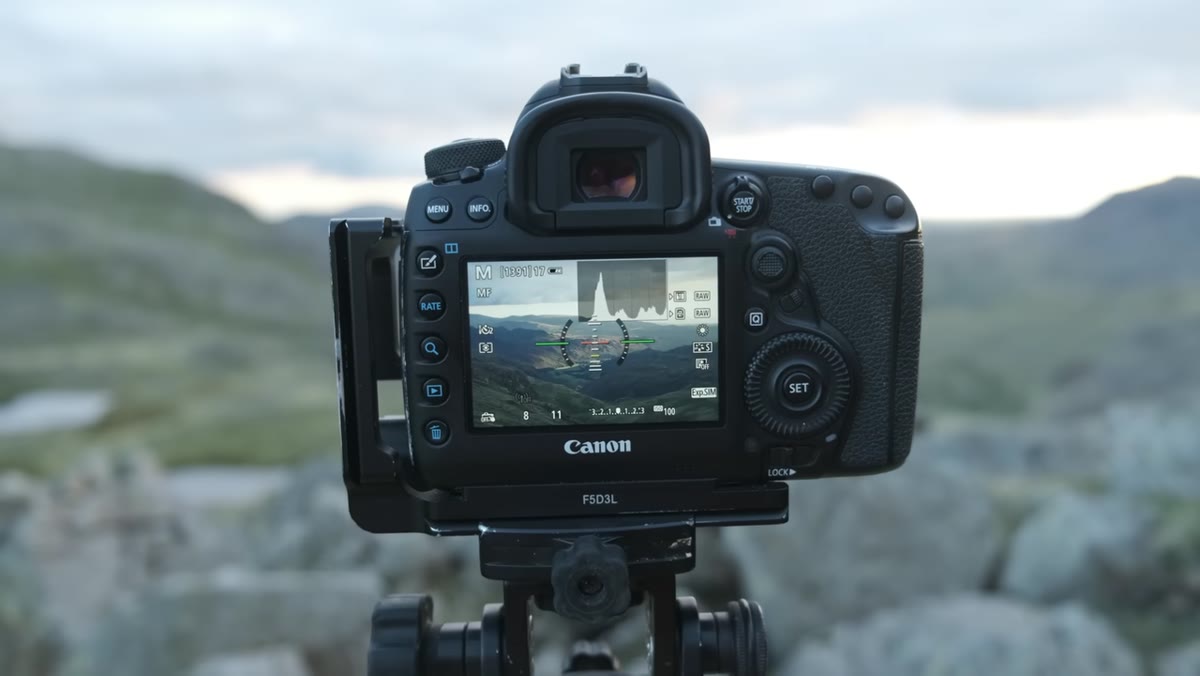 Canon 5D Mark IV with 70-200mm at f/11 focused on distant fells
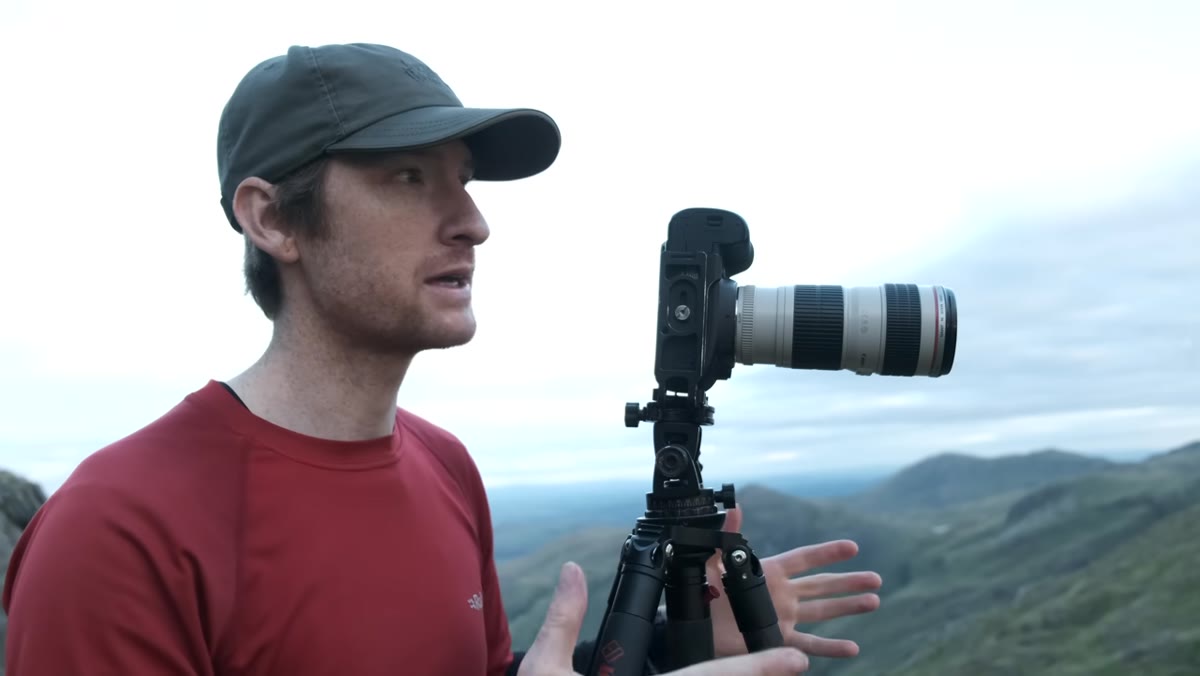
Heaton shoots this mid-hike frame at f/11 on a Canon 5D Mark IV with the 70-200mm, focused on the illuminated distant fells. F/11 is a reliable sweet spot for landscape work with a telephoto: sharp across the frame without the diffraction softness you can get at f/16 or f/22, and enough depth of field that you’re not fighting focus precision in a moving, rushed situation.
If you’re in a similar scenario, start at f/11, evaluate your shutter speed for any wind movement in foreground elements, and adjust ISO to keep the shutter at a reasonable speed. With a compressed telephoto composition and distant subjects, you’re not fighting shallow depth of field anyway. The goal is a clean, sharp image of the light you’re seeing. Keep the settings simple so your mind stays on the composition.
A Note on Frantic Versus Slow Photography
I’ve spent enough time in both modes to say they require the same underlying skill: attention. The frantic summit chase Heaton shows here is not sloppy photography. It’s high-intensity attention compressed into a short window. The slow, deliberate three-hour setup I might do for a river scene at dawn uses that same attention stretched out over time.
What I’ve learned from shooting this way, often alone in the field before anyone else is awake, is that the frantic sessions teach you faster. When you have fifteen minutes and changing light, you can’t second-guess every frame. You learn to trust your eye, your exposure instincts, and your read of the scene. Those decisions start to feel automatic in a way that improves your deliberate work too. I still occasionally shoot a roll of film precisely because it forces that same compression of intention into every single frame.
The single most important thing this video demonstrates is that landscape photography is a responsive practice, not a scripted one. Your location plan is just a starting point. The light, the conditions, the moment you’re actually standing in are what determine the photograph. Work with what’s in front of you, read the sky for the gap rather than the glow, and don’t let the perfect planned position cost you the real image that’s happening right now.
Watch the full tutorial on YouTube to see how Heaton continues up the mountain and what he finds at the summit.
Comments
Leave a Comment