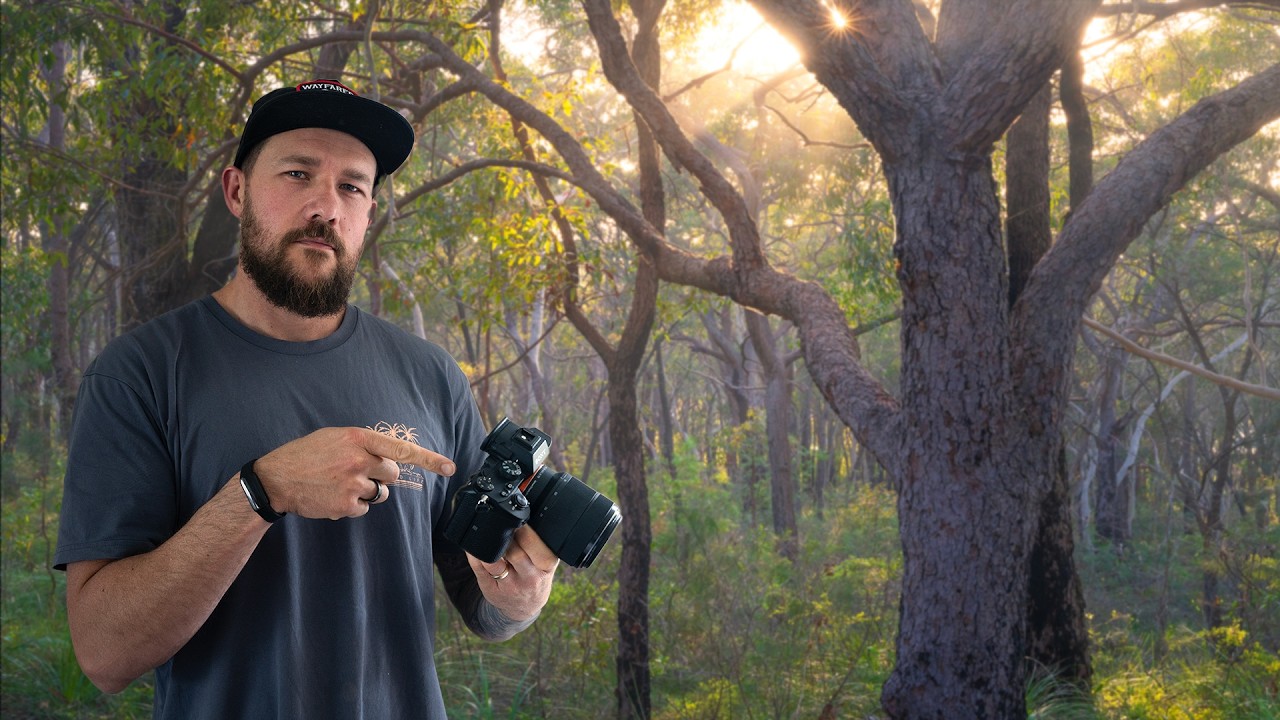
Forest and woodland photography has humbled me more times than I care to admit. After twenty years of working mostly in the American West, where I’ve learned to read sagebrush flats and volcanic ridgelines, I still find dense tree environments genuinely difficult. There’s no clean horizon line, no obvious subject, and the light behaves like it has its own agenda. I’ve stood in old-growth Douglas fir stands at golden hour feeling completely lost despite having a camera in my hands since my mid-twenties. So when I came across a recent tutorial from Australian photographer William Patino, filmed entirely on location in the Australian bush, I sat up a little straighter. He was working through the exact problem I’ve wrestled with for years: how do you find a compelling image inside what is essentially visual chaos?
Watch the full tutorial on YouTube
What struck me immediately about Patino’s approach is that he’s not teaching you to fight the environment. He’s teaching you to read it. He mentions returning to Australia after more than eight years abroad, and there’s a freshness in how he’s looking at gum trees, as though he’s seeing them with beginner’s eyes again. That’s useful. Sometimes the best field instruction comes from someone who is genuinely rediscovering a subject rather than performing mastery they’ve had so long they’ve forgotten what confusion feels like. Here is what he covers and how to put it into practice.
Step 1: Time Your Visit Around Low-Angled Light
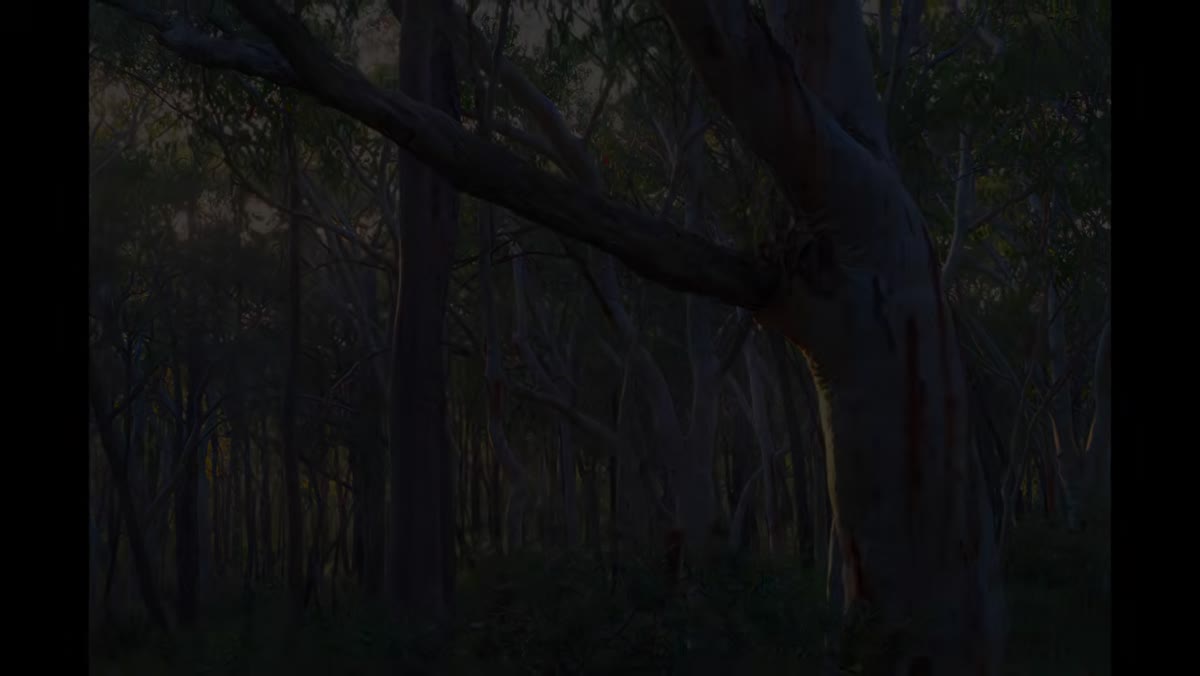 Early morning light filtering horizontally through gum trees
The single biggest variable you can control before you ever raise the camera is when you show up. Midday light in a woodland is punishing. It creates stark contrast patches on the forest floor, blows out any gap in the canopy, and makes it nearly impossible to lead a viewer’s eye anywhere intentional. Patino is explicit about this: shoot at sunrise or sunset, or choose a flat overcast day. The reasoning goes beyond aesthetics. Low-angled light acts as a natural editor. It throws sidelight across trunks and grasses, it suppresses the bright sky pockets overhead, and it gives you dappled pools of warmth you can use to draw attention to a specific tree or feature. I’ve started thinking of sunrise light in the forest as a compositional tool rather than just a mood enhancer.
Early morning light filtering horizontally through gum trees
The single biggest variable you can control before you ever raise the camera is when you show up. Midday light in a woodland is punishing. It creates stark contrast patches on the forest floor, blows out any gap in the canopy, and makes it nearly impossible to lead a viewer’s eye anywhere intentional. Patino is explicit about this: shoot at sunrise or sunset, or choose a flat overcast day. The reasoning goes beyond aesthetics. Low-angled light acts as a natural editor. It throws sidelight across trunks and grasses, it suppresses the bright sky pockets overhead, and it gives you dappled pools of warmth you can use to draw attention to a specific tree or feature. I’ve started thinking of sunrise light in the forest as a compositional tool rather than just a mood enhancer.
Step 2: Use the Light Direction as a Compositional Guide
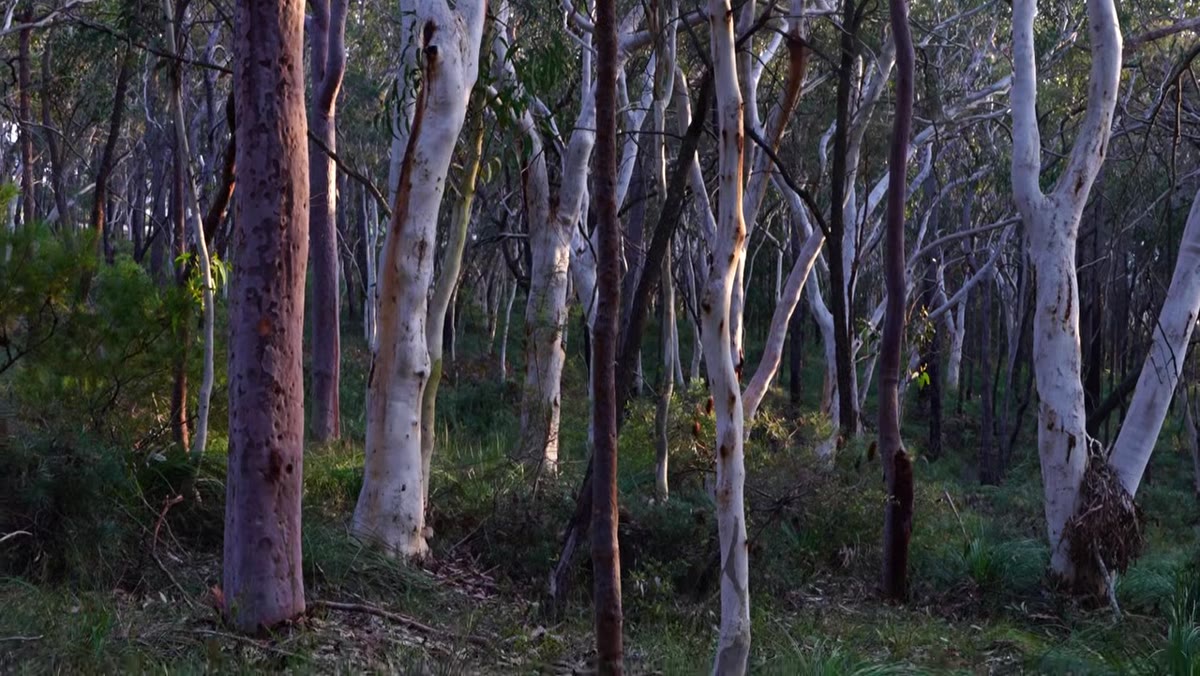 Dappled sunlight striking tree trunks on one side of the frame
Once you’re out at the right time, pay attention to where the light is actually falling rather than just pointing at the sun. Patino demonstrates two distinct approaches: shooting directly toward the soft rising sun for a more classic backlit look, and turning to find where sidelight is striking particular trees or clearings. That second option is where things get interesting. A single illuminated trunk against a darker background is already doing compositional work for you. It creates a focal point without you having to manufacture one. Walk the scene slowly and notice which trees the light is choosing. Let that guide your camera position before you think about anything else.
Dappled sunlight striking tree trunks on one side of the frame
Once you’re out at the right time, pay attention to where the light is actually falling rather than just pointing at the sun. Patino demonstrates two distinct approaches: shooting directly toward the soft rising sun for a more classic backlit look, and turning to find where sidelight is striking particular trees or clearings. That second option is where things get interesting. A single illuminated trunk against a darker background is already doing compositional work for you. It creates a focal point without you having to manufacture one. Walk the scene slowly and notice which trees the light is choosing. Let that guide your camera position before you think about anything else.
Step 3: Choose a Mid-Range Focal Length and Angle Downward
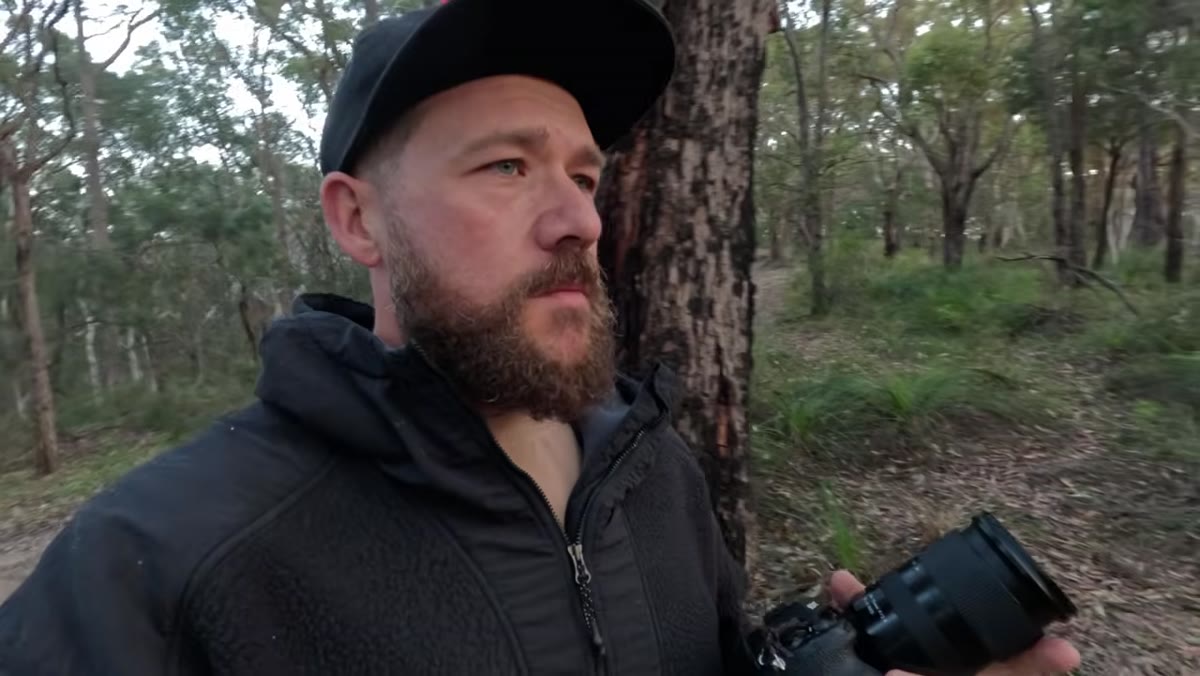 Camera tilted down toward forest floor avoiding bright sky gaps
Patino’s lens recommendation surprised me when I first heard it, because wide-angle is almost reflexively what people reach for in open natural environments. In a woodland, wide tends to work against you. Any focal length shorter than about 20mm is likely to pull in large patches of bright sky through the canopy, and those white gaps are among the hardest distractions to correct in post. His go-to range is 24-70mm, shot mostly in a horizontal orientation with the camera tilted slightly downward to exclude as much overhead sky as possible. This keeps the frame focused on the forest interior: trunks, grasses, midground shadow, depth. Vertical compositions can work but they tend to amplify the sky problem. Start horizontal, tilt down, and see how much cleaner the frame becomes immediately.
Camera tilted down toward forest floor avoiding bright sky gaps
Patino’s lens recommendation surprised me when I first heard it, because wide-angle is almost reflexively what people reach for in open natural environments. In a woodland, wide tends to work against you. Any focal length shorter than about 20mm is likely to pull in large patches of bright sky through the canopy, and those white gaps are among the hardest distractions to correct in post. His go-to range is 24-70mm, shot mostly in a horizontal orientation with the camera tilted slightly downward to exclude as much overhead sky as possible. This keeps the frame focused on the forest interior: trunks, grasses, midground shadow, depth. Vertical compositions can work but they tend to amplify the sky problem. Start horizontal, tilt down, and see how much cleaner the frame becomes immediately.
Step 4: Search for Harmony Amongst the Chaos
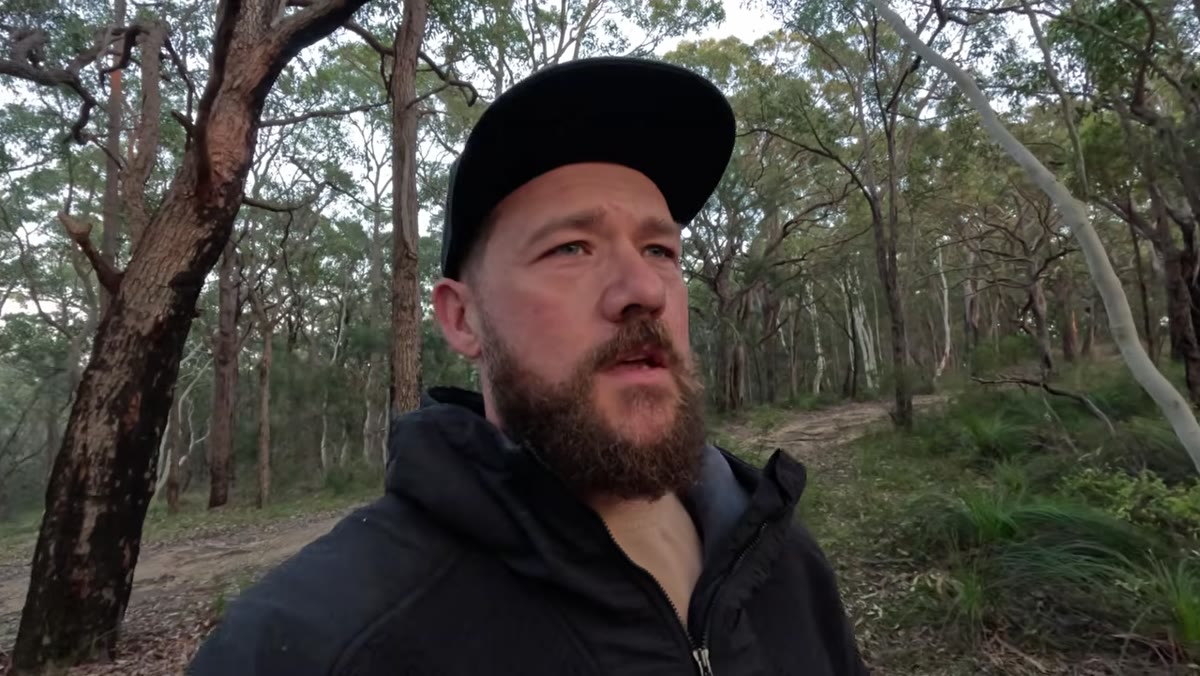 Large defined gum tree isolated visually as a focal point
This is the core concept Patino returns to throughout the video, and it’s the one that takes the longest to internalize. A woodland is not a single subject. It’s hundreds of competing shapes, all roughly the same color, all vying for attention. Your job is to find the one element that has enough visual mass or definition to anchor everything else. He calls this “finding harmony amongst the chaos,” and in practice it means scanning the scene until one tree, or one grouping, separates itself clearly from the rest. Look for a trunk with a distinctive lean, a shape that reads differently from its neighbors, or a tree that the light has already chosen for you from Step 2. Once you have that anchor, composition can actually begin.
Large defined gum tree isolated visually as a focal point
This is the core concept Patino returns to throughout the video, and it’s the one that takes the longest to internalize. A woodland is not a single subject. It’s hundreds of competing shapes, all roughly the same color, all vying for attention. Your job is to find the one element that has enough visual mass or definition to anchor everything else. He calls this “finding harmony amongst the chaos,” and in practice it means scanning the scene until one tree, or one grouping, separates itself clearly from the rest. Look for a trunk with a distinctive lean, a shape that reads differently from its neighbors, or a tree that the light has already chosen for you from Step 2. Once you have that anchor, composition can actually begin.
Step 5: Build Foreground Around Your Anchor
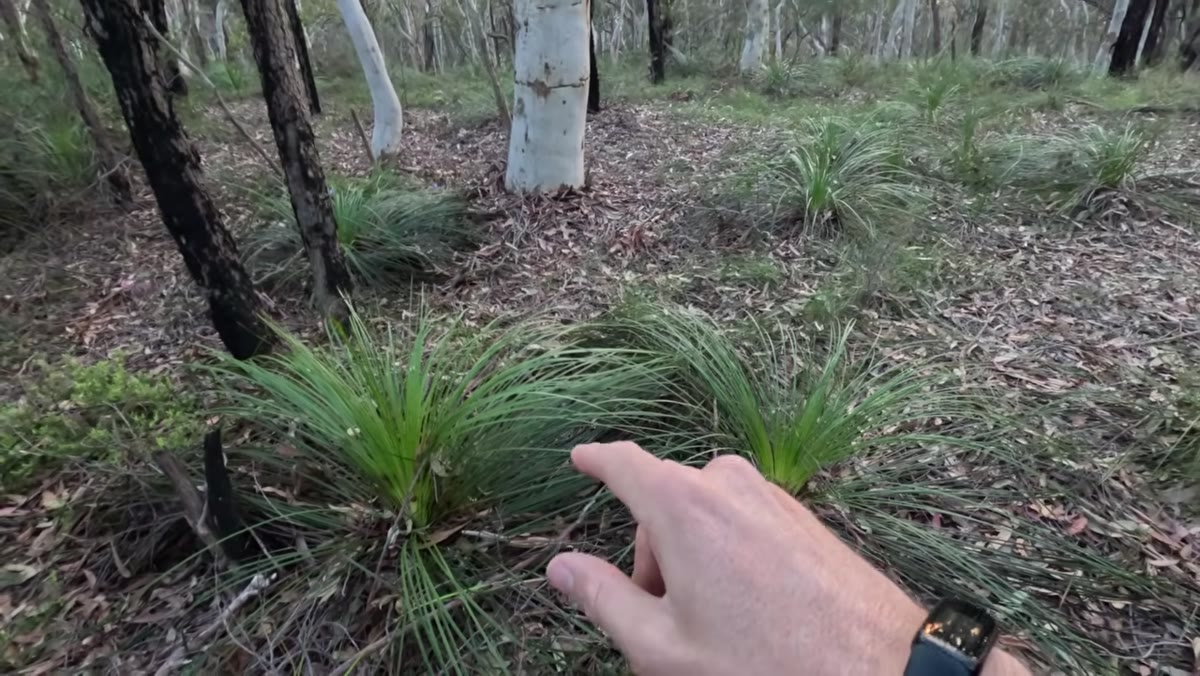 Green grasses in foreground leading toward dominant gum tree
With your main subject identified, the question becomes what lives at your feet. Patino is honest about how difficult the Australian forest floor can be, describing it as dry and messy, which is a generous assessment. But even difficult foregrounds can work if you find an element with contrasting color or texture that points the eye inward. In his case, a patch of green grass near his anchor tree provided exactly that. The foreground doesn’t need to be spectacular. It needs to lead rather than compete. Look for anything with directional quality: a line of fallen branches, a curve of grass, rocks with a clear edge. Get low if you need to, because changing your camera height changes how much foreground occupies the lower third of the frame.
Green grasses in foreground leading toward dominant gum tree
With your main subject identified, the question becomes what lives at your feet. Patino is honest about how difficult the Australian forest floor can be, describing it as dry and messy, which is a generous assessment. But even difficult foregrounds can work if you find an element with contrasting color or texture that points the eye inward. In his case, a patch of green grass near his anchor tree provided exactly that. The foreground doesn’t need to be spectacular. It needs to lead rather than compete. Look for anything with directional quality: a line of fallen branches, a curve of grass, rocks with a clear edge. Get low if you need to, because changing your camera height changes how much foreground occupies the lower third of the frame.
What I’d Add From My Own Experience
Patino’s framework is solid and I’d send any photographer into the bush with these five steps as a checklist. The one thing I’d layer on top, especially for anyone new to woodland work, is the value of shooting a few frames on a deliberately restricted setting before you go hunting for compositions. I still occasionally load a roll of film specifically because it forces me to stop, commit to a frame, and think before I press the shutter. You don’t need film to get that discipline. Set your camera to a fixed aperture like f/8, pick a focal length and tape it there, and walk for fifteen minutes without taking a single shot. Just observe. The forest will start organizing itself in your eyes once you stop feeling pressure to document everything in front of you.
The single most important idea in this tutorial is deceptively simple: arrive when the light is low, and let the light tell you where to look. Every other decision, lens choice, composition angle, foreground selection, flows downstream from that one. The forest is always chaotic. Your job is to show up at the right time and pay attention.
Watch the full tutorial on YouTube to see Patino working through these ideas on location in real time. Watching him physically move through the scene and adjust his composition live is worth the time, especially if woodland photography has felt frustrating in the past.
Comments
Leave a Comment