
There’s a particular kind of paralysis that sets in when conditions look ugly. I’ve stood at my truck window more times than I can count, watching rain streak the glass, debating whether it’s worth dragging gear through the mud for what might be nothing. Twenty years of doing this for a living, and that hesitation still shows up. What I’ve learned — slowly, and mostly the hard way — is that the decision to go is itself the creative act. Everything else follows from it.
That framing is at the heart of a tutorial I came back to recently from Adam at First Man Photography. Watch the full tutorial on YouTube — it’s worth your full attention. Adam takes his camera out into an active storm, works through real problems in real time, and makes the case that landscape photography is a creative discipline built on intention, not luck. What struck me watching it is how cleanly it maps onto everything I try to teach in my own workshops. This isn’t about gear. It’s about showing up with a plan.
The tutorial is structured around what Adam calls a one-step game plan, and the title is a deliberate double meaning. Step one is literally walking out the front door. But the deeper step is deciding to be intentional at every stage of the process, from reading conditions to framing to editing. Below I’ve broken the whole thing down so you can follow the approach without needing to pause and rewind.
Step 1: Make the Decision to Go — and Judge Your Own Risk
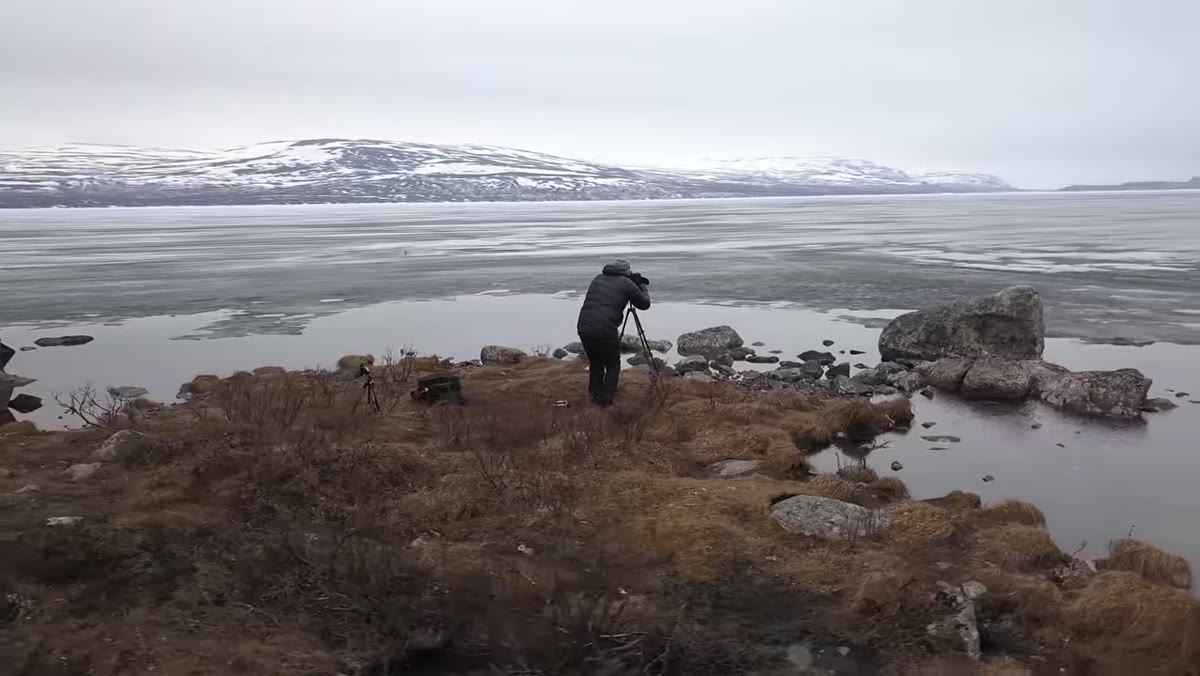
 Photographer walking out into an active storm
Adam heads out during a named storm, with forecasts suggesting people stay inside. He’s not being reckless. He’s doing something more nuanced: weighing real risk against real creative reward, and deciding he can manage the exposure. This is a skill most photographers never develop because they wait for perfect conditions, which almost never come.
Photographer walking out into an active storm
Adam heads out during a named storm, with forecasts suggesting people stay inside. He’s not being reckless. He’s doing something more nuanced: weighing real risk against real creative reward, and deciding he can manage the exposure. This is a skill most photographers never develop because they wait for perfect conditions, which almost never come.
Before you leave the house, ask yourself two questions. First, is the situation genuinely dangerous? If the answer is yes, stay home. Second, is there a potential upside — dramatic light, atmospheric mist, clearing skies after rain — that justifies the discomfort? Uncomfortable and dangerous are not the same thing. Learning to tell them apart is what gets you to the images most people never bother to go find.
Step 2: Understand That Intent Separates Photographs from Snapshots
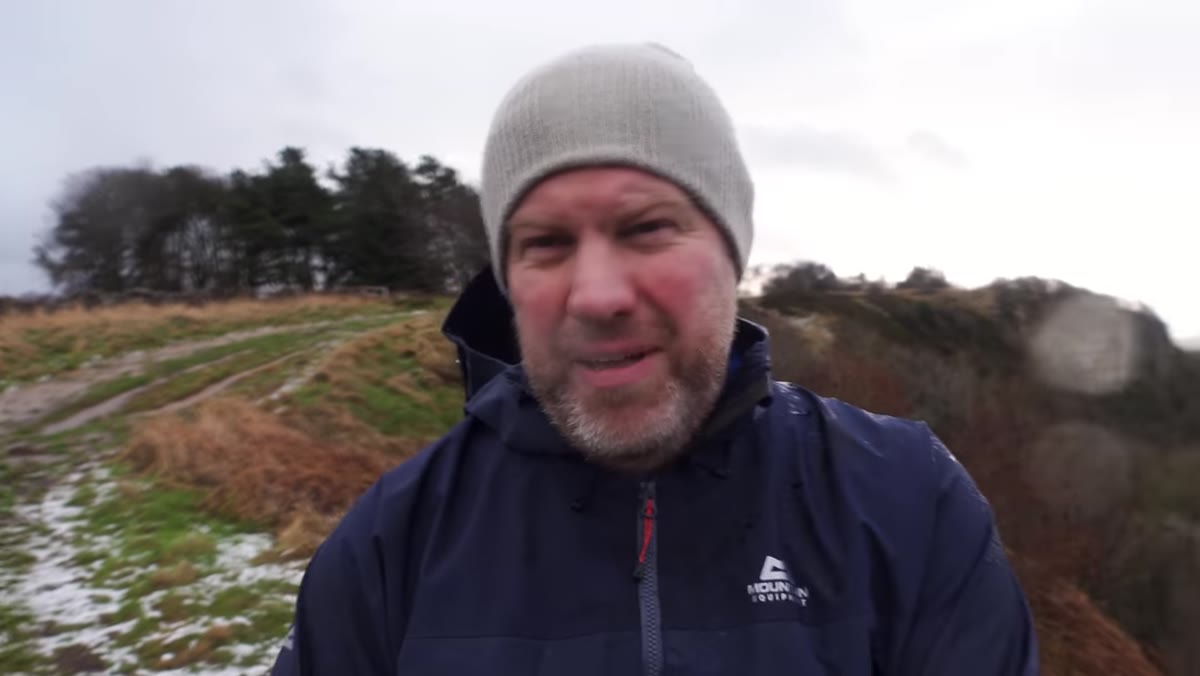
 Adam speaking directly to camera about the nature of creative photography
This is the philosophical spine of the whole video, and it’s worth sitting with. Adam is direct about it: you can take someone with an expensive camera to a beautiful place and they will not necessarily come home with a beautiful photograph. The missing ingredient is intent. Being intentional means you’re not just reacting to what’s in front of you. You’re actively making decisions about light, story, composition, and feeling before you press the shutter.
Adam speaking directly to camera about the nature of creative photography
This is the philosophical spine of the whole video, and it’s worth sitting with. Adam is direct about it: you can take someone with an expensive camera to a beautiful place and they will not necessarily come home with a beautiful photograph. The missing ingredient is intent. Being intentional means you’re not just reacting to what’s in front of you. You’re actively making decisions about light, story, composition, and feeling before you press the shutter.
In practice, this looks like asking yourself what you actually want to say about a scene before you set up your tripod. Not “this is pretty” but “the way that light is cutting across the ridge feels like relief after a storm” or “the stillness of this water is the whole point.” That internal clarity shapes every technical choice that follows. Without it, you’re just adjusting dials and hoping.
Step 3: Read the Light in Real Time
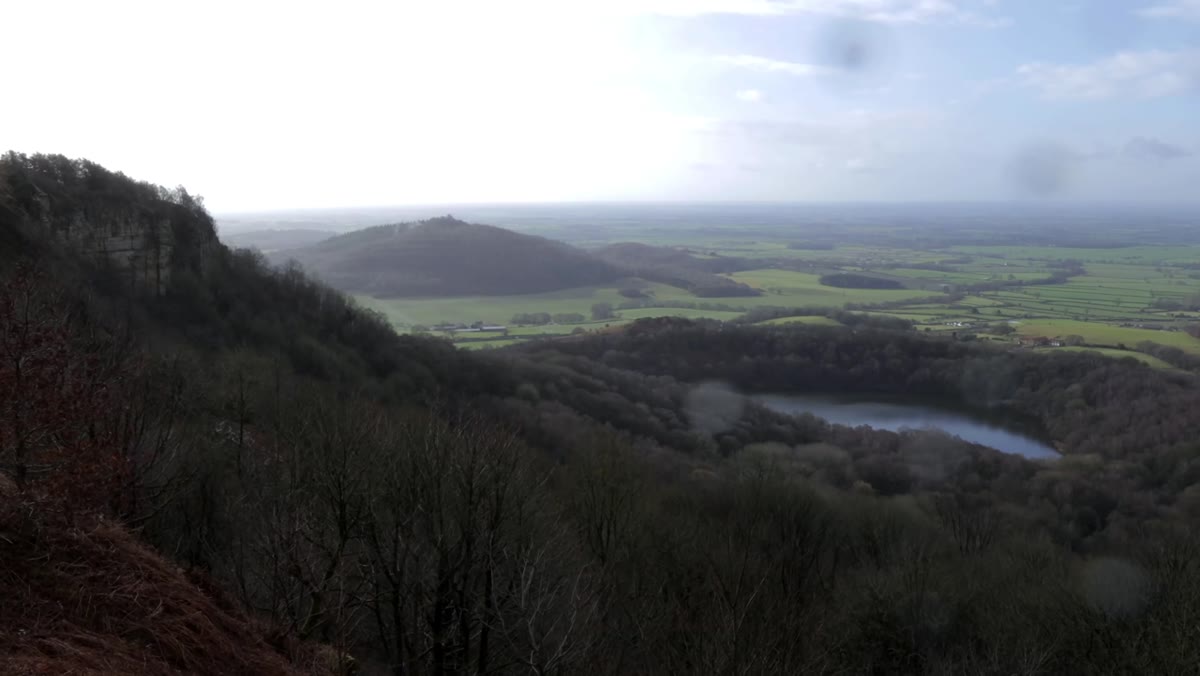 Dramatic light breaking through storm clouds behind a cliff face
Once Adam is in position, he identifies exactly what excites him about the scene: light erupting from behind a cliff, casting warmth down across the entire landscape below. He’s not shooting the whole panorama. He’s isolating one specific quality of light and building the frame around it.
Dramatic light breaking through storm clouds behind a cliff face
Once Adam is in position, he identifies exactly what excites him about the scene: light erupting from behind a cliff, casting warmth down across the entire landscape below. He’s not shooting the whole panorama. He’s isolating one specific quality of light and building the frame around it.
When you arrive at a location in dynamic conditions, slow down before you set up. Give yourself two or three minutes to watch how the light is moving. Storm light in particular changes fast. Where is it brightest? Where is it going? Is it warming, or is it still flat and grey? Identifying the best light source first gives you a target, and a target is what turns aimless wandering into purposeful composition.
Step 4: Solve Technical Problems Without Losing the Moment
 Camera on tripod in high wind with rain visible in the air
Adam is working with two immediate problems: water hitting the front element of the lens, and wind strong enough to move the camera during exposure. Neither of these stops him. He adapts his settings and keeps shooting.
Camera on tripod in high wind with rain visible in the air
Adam is working with two immediate problems: water hitting the front element of the lens, and wind strong enough to move the camera during exposure. Neither of these stops him. He adapts his settings and keeps shooting.
His approach is practical and replicable. He settles on f/11 for depth of field, then pushes ISO to 320 to allow a shutter speed around 1/150th of a second. That speed is fast enough to freeze any camera movement caused by wind buffeting the tripod. The tradeoff is a small increase in noise, but a sharp image with a little noise is always better than a technically clean image that’s soft from camera shake. For the wet lens, he’s working between shots to keep the glass clear. Neither fix is glamorous. Both are essential.
Step 5: Build Your Composition Around Anchors and Balance
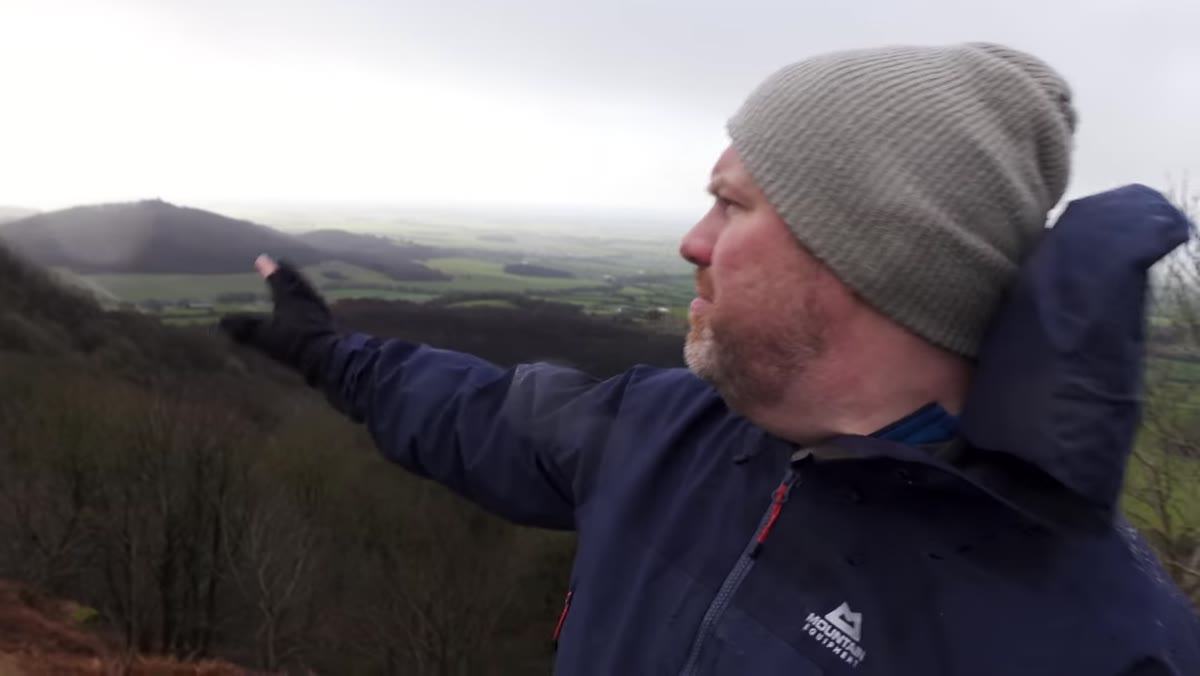 Framing with cliff on left, lake on lower right, distant light filling the background
Adam describes his compositional thinking clearly. The cliff anchors the left side of the frame. The lake sits in the lower right, pulling the eye across and down. The luminous break in the clouds behind the scene fills the background with interest and atmosphere. Three distinct elements, each doing a different job.
Framing with cliff on left, lake on lower right, distant light filling the background
Adam describes his compositional thinking clearly. The cliff anchors the left side of the frame. The lake sits in the lower right, pulling the eye across and down. The luminous break in the clouds behind the scene fills the background with interest and atmosphere. Three distinct elements, each doing a different job.
This is a simple but reliable structure. Give your frame a strong anchor on one side, a counterweight on the other, and let the background carry the mood. You don’t need a complicated scene to use this. You need to identify which elements are doing which jobs, and place them deliberately rather than accepting whatever happens to fall in front of the lens.
What I’d Add From My Own Experience
The part of this tutorial that resonates most for me is the bit people might scroll past — the idea that even an unplanned image isn’t really luck, because you put yourself in position to capture it. That idea took me years to fully accept. My mentor used to say that the mountain doesn’t care about your schedule, and he was right. The conditions will do what they do. Your job is to be there, ready, having already done the thinking.
Where I’d push this further: the habit of showing up in bad weather is itself the training. Every time you go out in uncomfortable conditions and come home with even one strong frame, you build a kind of confidence that doesn’t come from reading about photography. It comes from knowing you’ve solved problems in the field before and you can do it again. The first step out the door isn’t just about that shoot. It’s about who you become across hundreds of shoots.
The single most important idea in this entire tutorial is also the simplest: being intentional at every stage is what creates photographs with meaning. Plan for the weather. Read the light. Solve the technical problems calmly. Build your composition with purpose. None of these steps are mysterious. All of them require you to actually show up.
Watch the full tutorial on YouTube and watch how Adam applies all of this in real storm conditions. Seeing it in motion, with actual wind and rain in the frame, makes the lesson stick in a way that diagrams never quite do.
Comments
Leave a Comment