
The forest has humbled me more times than I care to count. After twenty years of hauling a camera into the field, I still walk into dense woodland and feel that familiar low-level panic - too many lines, too many competing shadows, no obvious anchor for the eye. A mountain valley gives you a clean read. A rainforest does not. It throws everything at you at once and waits to see what you do with it.
That’s why I kept coming back to this tutorial from William Patino, filmed during a live workshop he was running through Fiordland and Milford Sound in New Zealand. Watch the full tutorial on YouTube - it’s worth your time even if New Zealand isn’t on your radar, because the compositional logic he walks through applies anywhere trees grow thick and light gets complicated. What struck me was how he teaches it: not as a set of rigid rules, but as a way of training your eye to find order inside chaos. That’s the actual skill. The forest is just the classroom.
The tutorial moves from rainforest compositions in the morning to storm shooting on the fiord in the afternoon, and the throughline is the same in both environments - how do you give a viewer’s eye somewhere to go? Here’s how Patino breaks it down, step by step.
Step 1: Accept That the Forest Is the Hardest Environment to Shoot
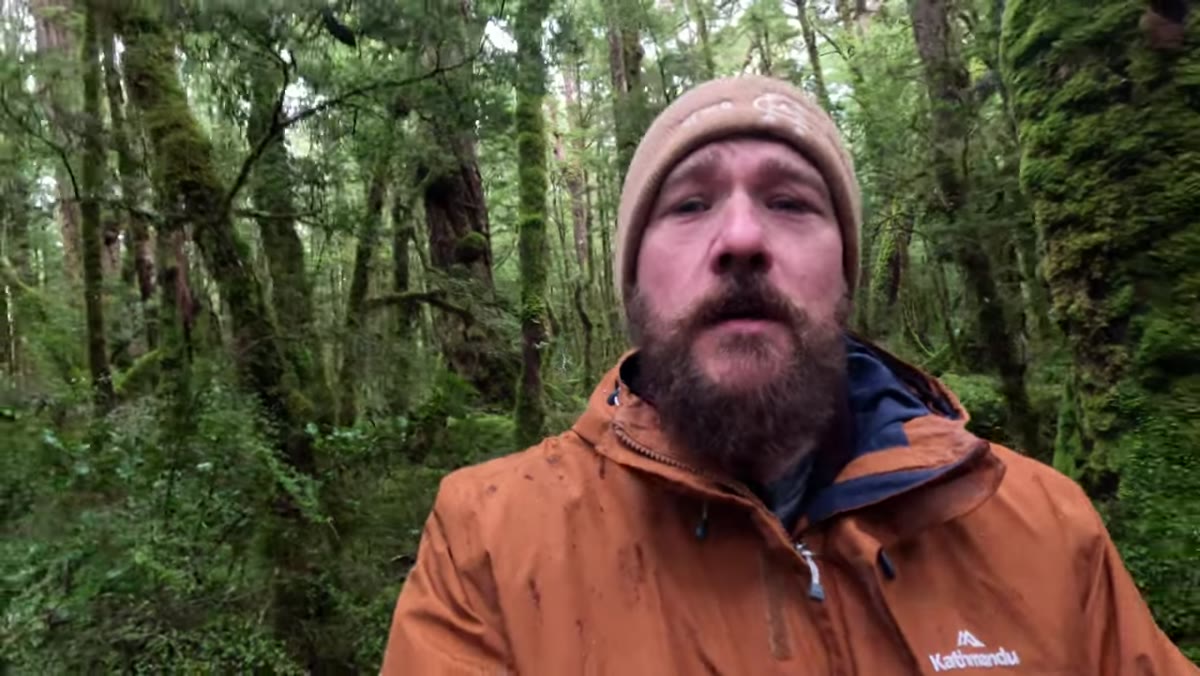 Instructor gesturing at dense rainforest, explaining compositional complexity
Before you even raise the camera, Patino makes a point that I think gets skipped in most tutorials: the forest is genuinely difficult, and acknowledging that is part of preparing for it. The chaos isn’t a problem with your technique - it’s the nature of the place. Lines run in every direction. Shade pools unpredictably. What reads beautifully to the human eye in the moment can collapse into visual noise the second you frame it.
Instructor gesturing at dense rainforest, explaining compositional complexity
Before you even raise the camera, Patino makes a point that I think gets skipped in most tutorials: the forest is genuinely difficult, and acknowledging that is part of preparing for it. The chaos isn’t a problem with your technique - it’s the nature of the place. Lines run in every direction. Shade pools unpredictably. What reads beautifully to the human eye in the moment can collapse into visual noise the second you frame it.
His fix is to arrive with a handful of specific compositions already in mind for the forest type he’s working in. Not rigid shots he has to find, but loose structural templates - a central subject flanked by framing elements, a foreground that leads toward a mid-distance anchor. Having that mental scaffolding means you’re not inventing from scratch while standing in the mud.
Step 2: Find a Clearly Defined Main Subject First
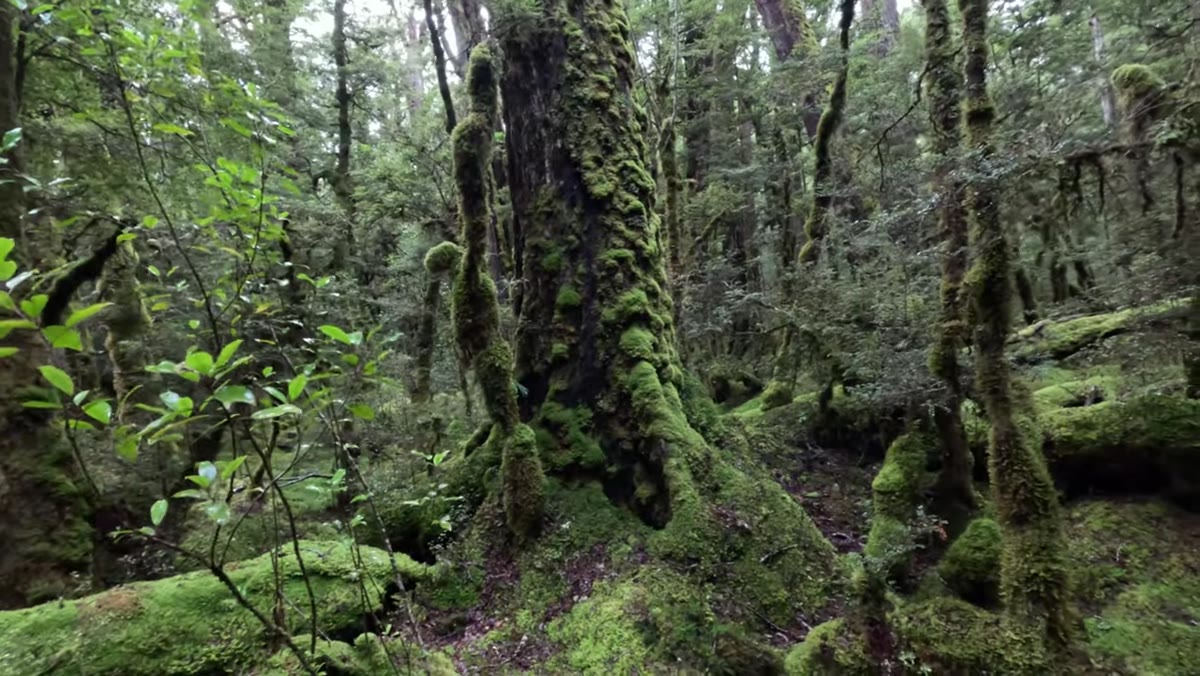 Photographer pointing out a single defined tree as focal point amid forest
This is the step most people skip when they’re excited. They see a beautiful scene and start shooting the whole thing, which means they end up shooting nothing in particular. Patino’s rule is simple: before you do anything else, identify one clearly defined main subject. In the forest, that usually means a single tree with good separation from the background, or a distinctive plant form with strong shape.
Photographer pointing out a single defined tree as focal point amid forest
This is the step most people skip when they’re excited. They see a beautiful scene and start shooting the whole thing, which means they end up shooting nothing in particular. Patino’s rule is simple: before you do anything else, identify one clearly defined main subject. In the forest, that usually means a single tree with good separation from the background, or a distinctive plant form with strong shape.
The subject doesn’t have to be dramatic. It just has to be unambiguous. Once you know what you’re building the image around, every other decision - focal length, position, framing elements - falls into place logically rather than by guesswork.
Step 3: Build Natural Framing Around That Subject
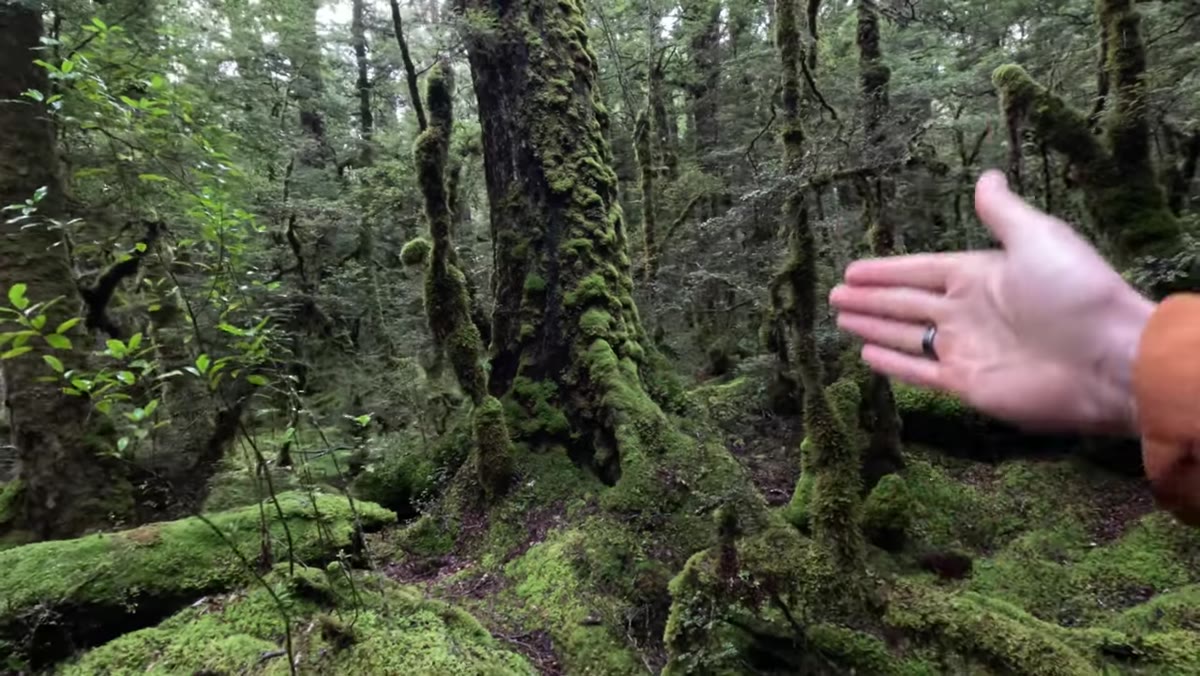 Wide shot showing trees framing central subject on left and right sides
Once you have your subject locked, Patino looks for framing elements on either side to keep the eye contained within the image. A tree on the right edge that curves inward. A plant form on the left that provides counterbalance. Dark tones in the corners that pull attention back toward the center rather than letting it drift off the frame.
Wide shot showing trees framing central subject on left and right sides
Once you have your subject locked, Patino looks for framing elements on either side to keep the eye contained within the image. A tree on the right edge that curves inward. A plant form on the left that provides counterbalance. Dark tones in the corners that pull attention back toward the center rather than letting it drift off the frame.
None of this needs to be symmetrical or perfect. The goal is a rough visual balance - something on each side that functions like a border, preventing the eye from exiting the frame before it’s finished exploring. In practice, this often means shifting your position a meter or two left or right until the natural elements around you line up into that containing structure.
Step 4: Use Backlight to Lead the Eye Through the Scene
 Soft winter backlight filtering through forest canopy, illuminating greens
Light direction in the forest changes everything. Patino specifically calls out backlight as his preferred condition: light coming from beyond the subject, not from behind the camera. In practical terms, this means the distance glows and the foreground sits in relative shadow, which naturally draws the eye deeper into the frame.
Soft winter backlight filtering through forest canopy, illuminating greens
Light direction in the forest changes everything. Patino specifically calls out backlight as his preferred condition: light coming from beyond the subject, not from behind the camera. In practical terms, this means the distance glows and the foreground sits in relative shadow, which naturally draws the eye deeper into the frame.
He was working in soft winter light at a low angle - around 45 degrees - which diffused the intensity and brought out the full range of greens without harsh contrast. If you’re shooting in direct overhead sun, the forest tends to go flat and spotty. Overcast conditions work well too, but that low-angle backlight, particularly in the early morning or late afternoon, produces a quality of luminance through the canopy that’s hard to replicate any other way.
Step 5: Let Crown Ferns (or Any Strong Foreground) Do the Compositional Work
 Crown ferns in foreground leading eye toward trees in background
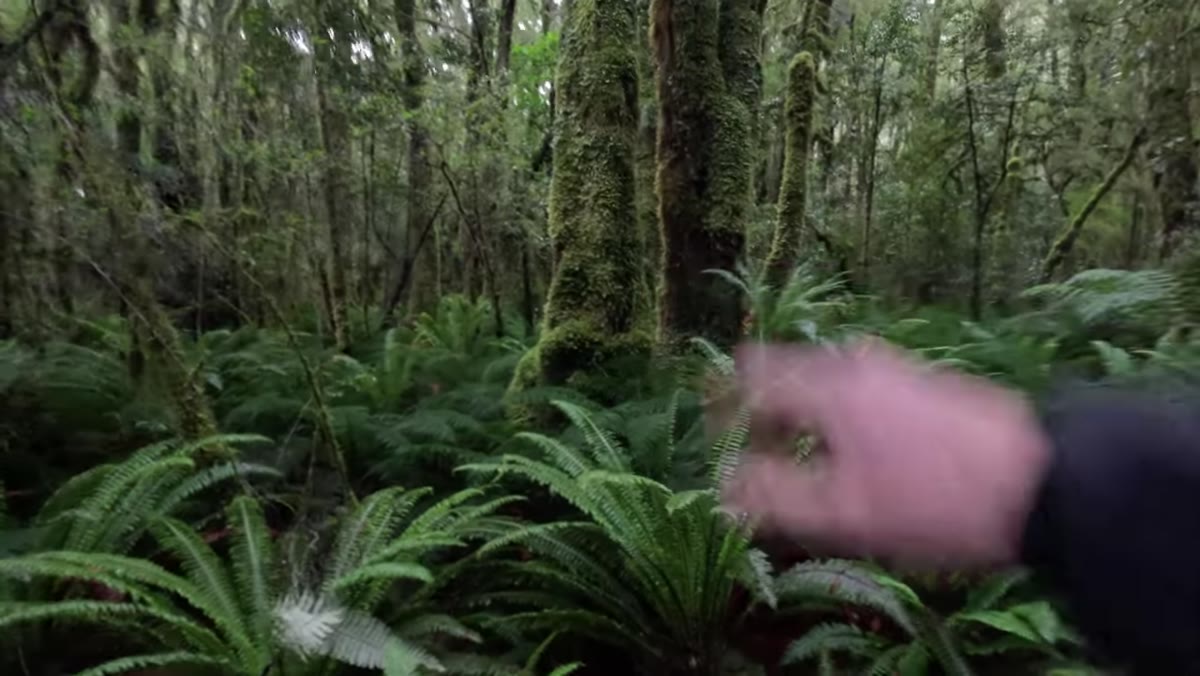
One of the most useful moments in the tutorial is when Patino sets up a composition using a bed of crown ferns as the foreground element leading back to a stand of trees. The ferns aren’t just decorative - they’re directional. Their radial form naturally draws the eye inward and upward toward the subject behind them.
Crown ferns in foreground leading eye toward trees in background
One of the most useful moments in the tutorial is when Patino sets up a composition using a bed of crown ferns as the foreground element leading back to a stand of trees. The ferns aren’t just decorative - they’re directional. Their radial form naturally draws the eye inward and upward toward the subject behind them.
The lesson here is to look for foreground elements that have inherent visual direction. Ferns work. Roots, mossy rocks, a winding stream - anything that has a shape the eye wants to follow. What doesn’t work is a foreground that just sits there. If your foreground is static and undifferentiated, it becomes a barrier between the viewer and the subject rather than a bridge toward it.
Step 6: Consider a Focus Stack, But Test a Single Exposure First
 Photographer discussing focus stacking approach with workshop participant
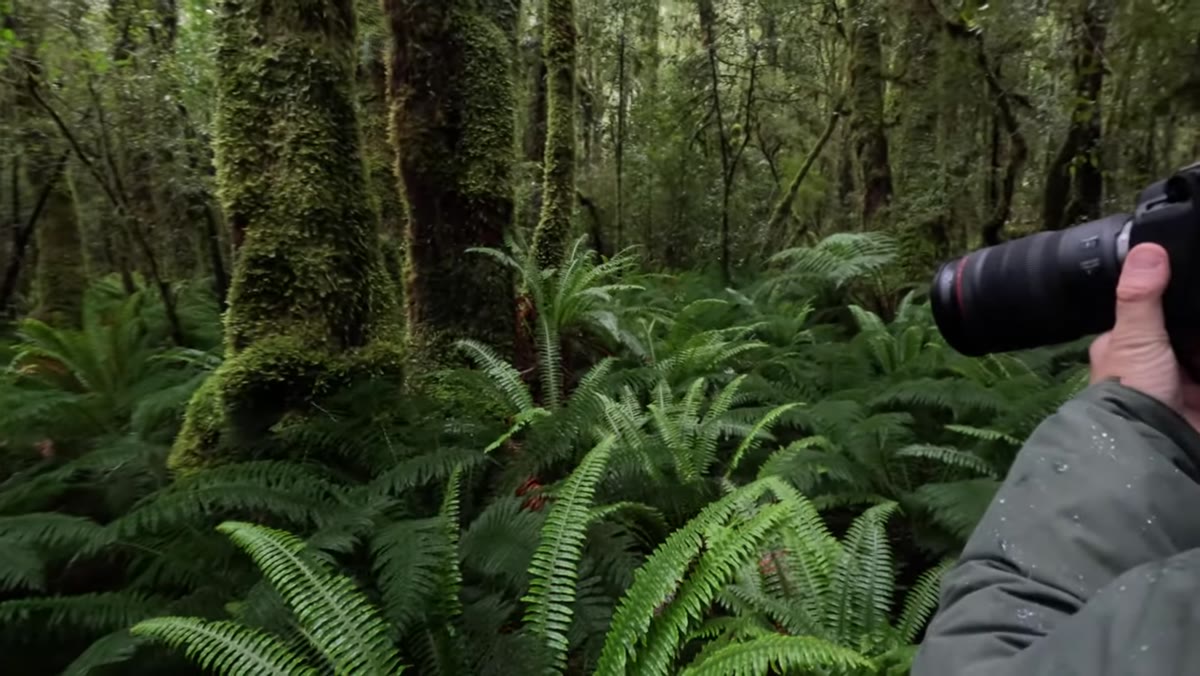
When you have a close foreground and a mid-to-far background, depth of field becomes a real issue. Patino’s practical advice here is worth noting: before you commit to a focus stack, fire a single test exposure. Depending on how far back your foreground actually sits from the lens, you might get full coverage from a single frame at f/11 or f/13 - saving yourself time in post and reducing the risk of alignment errors in the composite.
Photographer discussing focus stacking approach with workshop participant
When you have a close foreground and a mid-to-far background, depth of field becomes a real issue. Patino’s practical advice here is worth noting: before you commit to a focus stack, fire a single test exposure. Depending on how far back your foreground actually sits from the lens, you might get full coverage from a single frame at f/11 or f/13 - saving yourself time in post and reducing the risk of alignment errors in the composite.
If the single frame doesn’t give you what you need, then yes, stack. But the reflex to immediately reach for bracketed focus shots can slow you down in the field, particularly when light is changing fast. Test first, then decide.
What I’d Add From My Own Experience
I’ve found that the emotional state Patino describes - workshop participants so excited they start working against themselves - isn’t unique to beginners. I’ve been shooting for two decades and I still catch myself rushing when a location is exceptional. There’s a mentor’s line I carry with me from early in my career: “The mountain doesn’t care about your schedule.” The forest doesn’t either.
The slowdown Patino recommends isn’t just about psychology. It produces technically better work. When you’re moving fast and feeling pressured, you stop seeing the edges of your frame. You miss the tree that’s clipping in the top right corner. You forget to check whether that bright patch of sky is bleeding into your background. I deliberately take three slow breaths before I shoot any new composition now - it sounds trivial but it’s changed my hit rate considerably.
The single most portable takeaway from this tutorial is Patino’s compositional framework: main subject, framing on both sides, something leading the eye inward. That three-part checklist works in the forest, on the coast, in a mountain valley. It’s a starting point, not a formula, and the more instinctive it becomes the faster you’ll find shots in unfamiliar terrain.
Watch the full tutorial on YouTube to see Patino work through these compositions in real time with his workshop group - watching him adjust positioning and explain his reasoning as he goes is the part no written breakdown can fully substitute.
Comments
Leave a Comment