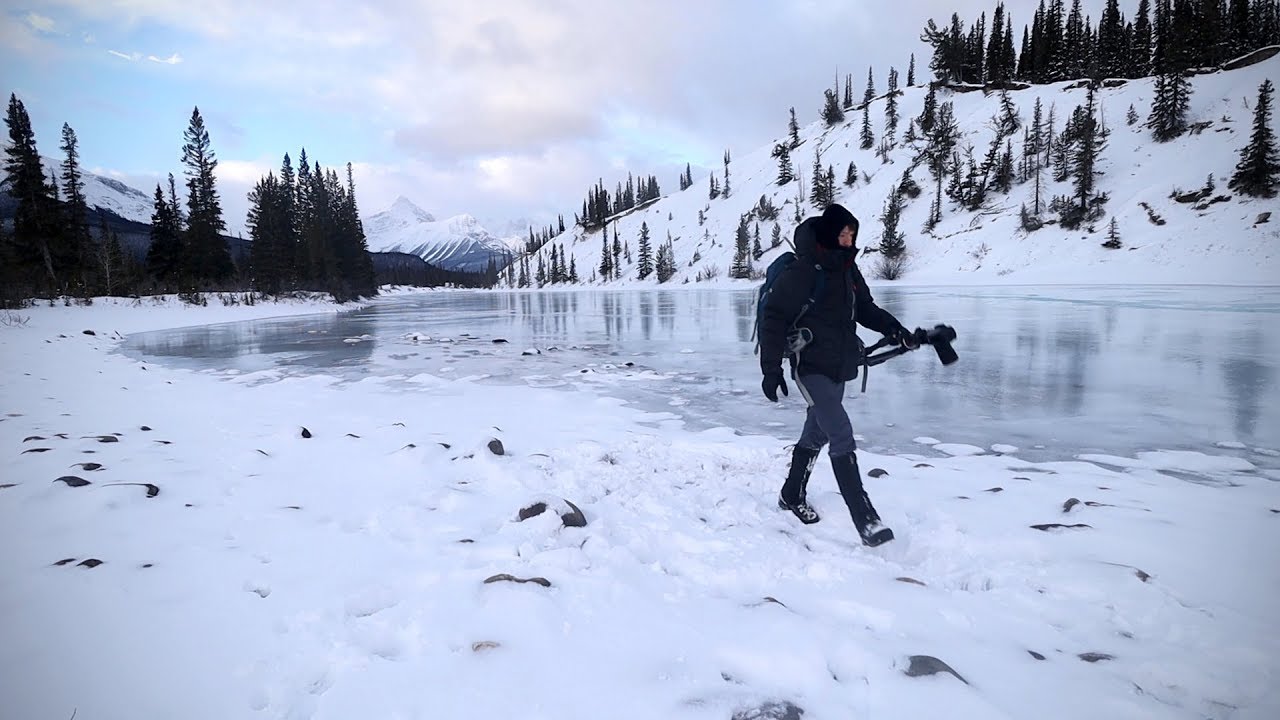
There is a particular kind of suffering that only landscape photographers understand. You are not cold in the way that someone waiting for a bus is cold. You are cold while also carrying twelve pounds of gear, while also trying to make creative decisions, while also trying not to ruin the foreground you just spent twenty minutes reaching. I have stood in freezing rivers at dawn in the Cascades more times than my family thinks is reasonable. My kids used to beg me not to go. Now they quietly ask if they can come along. The point is: winter photography does not get easier with experience. You just get better at making decisions under pressure.
That is exactly why this tutorial from Thomas Heaton stopped me mid-scroll. Watch the full tutorial on YouTube. Heaton travels to a snow-covered lake in Canada with three other photographers and documents what happens when waist-deep powder becomes the dominant creative force on location. It is not a polished studio breakdown. It is a real shoot, with real problems, and the lessons buried inside it are the kind you normally only learn by making expensive mistakes yourself.
What struck me most is that every constraint Heaton hits, including the inability to reposition, the restricted framing, the intrusive branches at the edge of the frame, mirrors problems I face every winter in the high desert and mountain locations around Bend. This walkthrough pulls out the specific techniques and decision points from his shoot so you can apply them before your next cold-weather outing.
Step 1: Read the Location Before You Touch the Camera
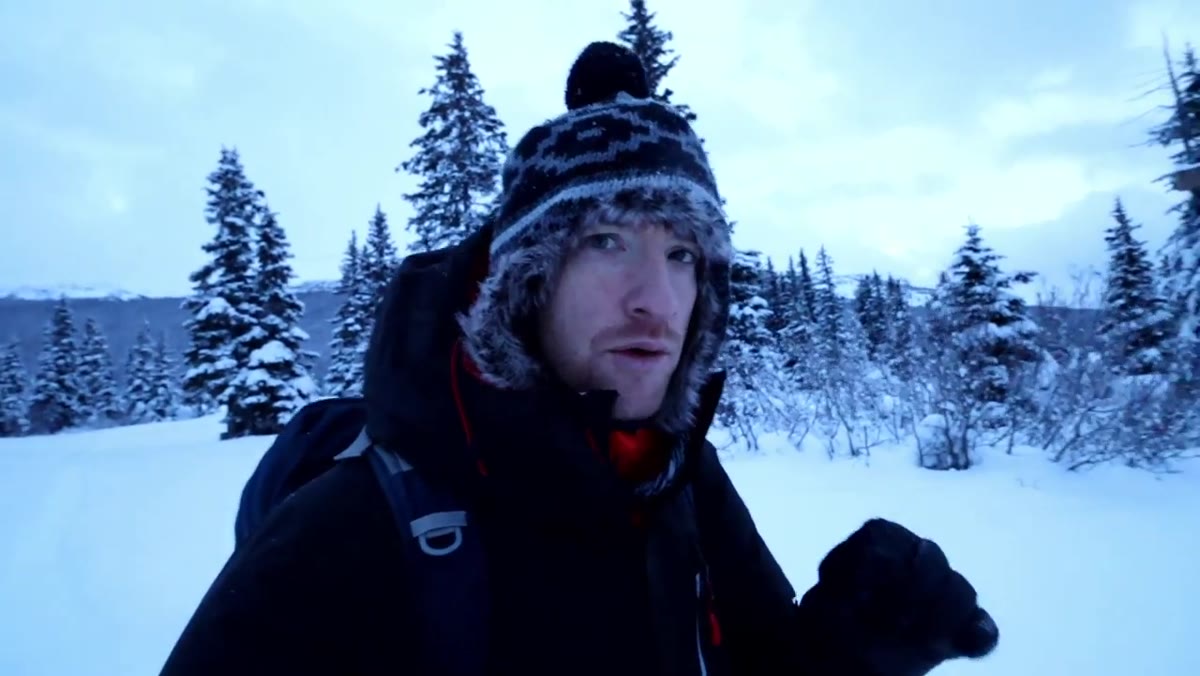 Thomas scanning snow-covered lake and tree line
Before Heaton shoots a single frame, he stands and reads the scene. He identifies three distinct elements that he finds compelling: the vast open expanse of the frozen lake, the snow-loaded trees and how they are distributed across the frame, and the mountainous backdrop. He also immediately registers the sky as gray and moody and adjusts his expectations accordingly. He is not hoping for a golden sunrise. He is looking for drama and atmosphere instead.
Thomas scanning snow-covered lake and tree line
Before Heaton shoots a single frame, he stands and reads the scene. He identifies three distinct elements that he finds compelling: the vast open expanse of the frozen lake, the snow-loaded trees and how they are distributed across the frame, and the mountainous backdrop. He also immediately registers the sky as gray and moody and adjusts his expectations accordingly. He is not hoping for a golden sunrise. He is looking for drama and atmosphere instead.
This pre-shoot assessment is a discipline, not a passive moment. When you arrive at a winter location, spend the first five minutes walking nothing, just observing. Identify your anchor elements: foreground, midground, and background. Note what the light is actually doing, not what you hoped it would do. Adjusting expectations early frees you to shoot what is in front of you rather than chasing a scene that was never going to happen.
Step 2: Commit to a Direction Before You Enter Deep Snow
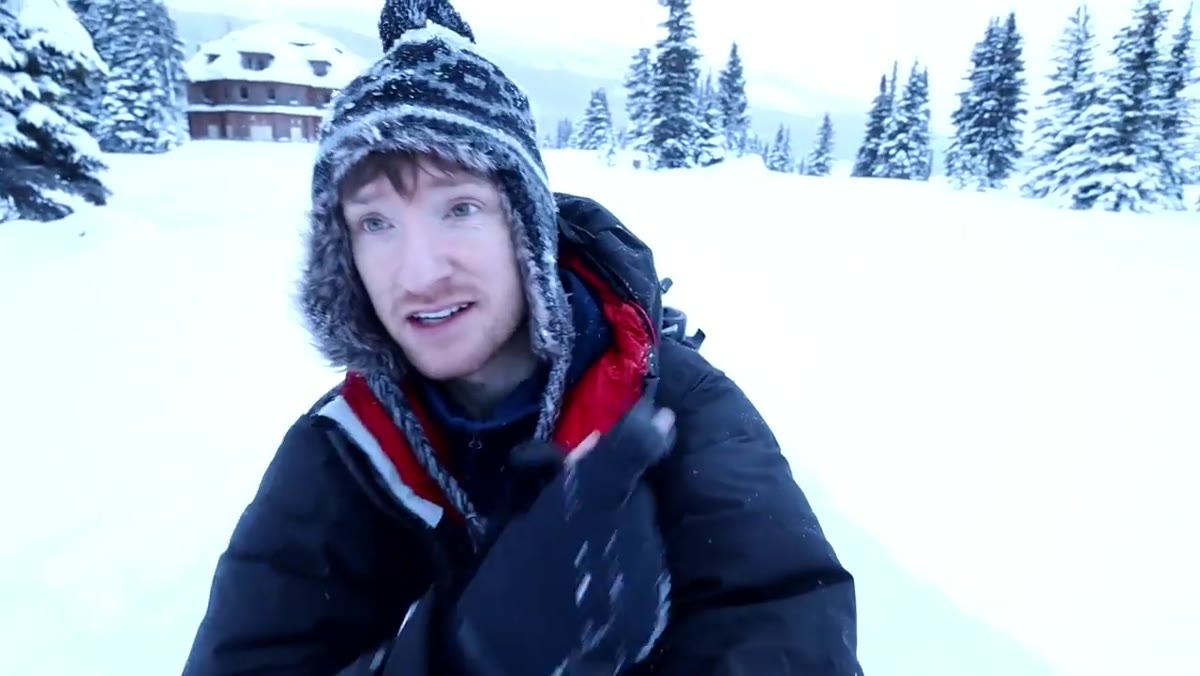 Group beginning to push through deep snow toward hut
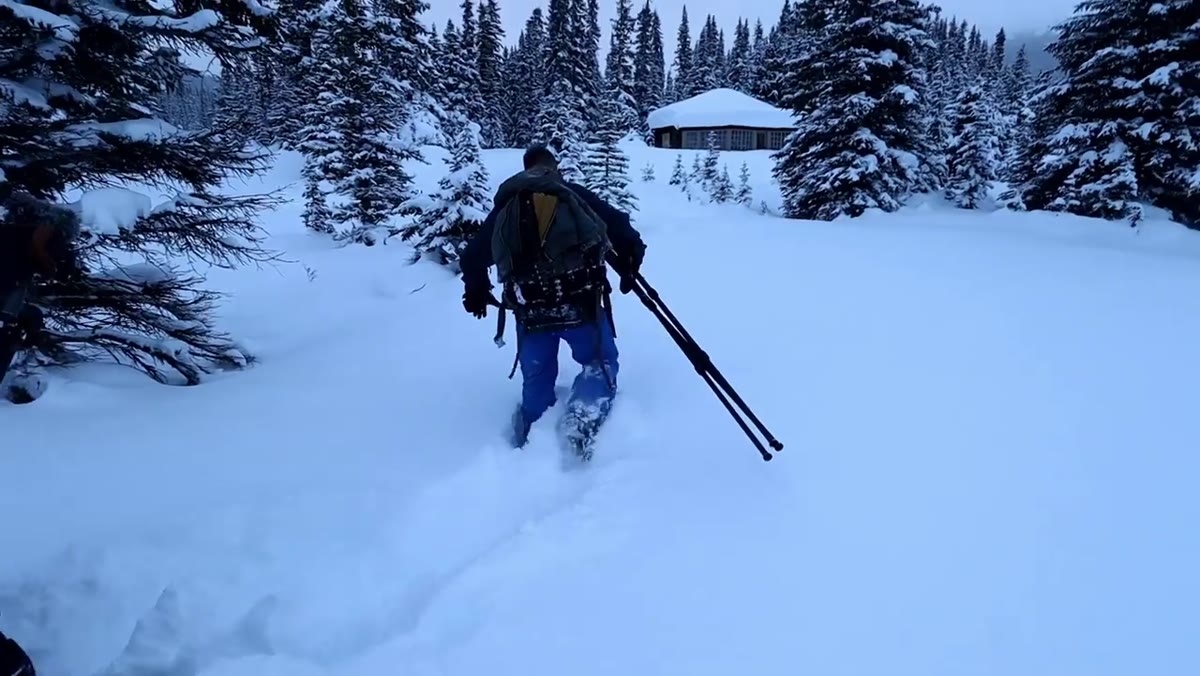
One of the clearest lessons from this shoot is that in waist-deep snow, you do not get to change your mind cheaply. Heaton identifies a small hut in the distance as his target landmark and commits to moving toward it before the group starts breaking trail. Changing direction mid-route means breaking fresh snow in the wrong area, burning energy, and losing time before the light shifts.
Group beginning to push through deep snow toward hut
One of the clearest lessons from this shoot is that in waist-deep snow, you do not get to change your mind cheaply. Heaton identifies a small hut in the distance as his target landmark and commits to moving toward it before the group starts breaking trail. Changing direction mid-route means breaking fresh snow in the wrong area, burning energy, and losing time before the light shifts.
Before you step into any difficult terrain in winter, whether that is deep powder, ice, or boggy ground, pick your composition zone from the edge and plan your approach path. Ask yourself: if I walk there and the shot does not work, can I recover? In Heaton’s case, the answer was barely yes, which is why he pushed through despite uncertainty. Know your tolerance for that gamble before you commit your footprints.
Step 3: Blaze the Trail Strategically, Protect Your Foreground
 Photographers walking on knees through deep snow in single file
Heaton and his group discover quickly that walking upright is not possible in powder this deep. They switch to a single-file system, taking turns at the front to share the work of packing the snow down. Knees and shins spread body weight more effectively than feet alone in unconsolidated snow. The lesson here is practical: wear gaiters, work in groups when possible, and rotate who is breaking trail.
Photographers walking on knees through deep snow in single file
Heaton and his group discover quickly that walking upright is not possible in powder this deep. They switch to a single-file system, taking turns at the front to share the work of packing the snow down. Knees and shins spread body weight more effectively than feet alone in unconsolidated snow. The lesson here is practical: wear gaiters, work in groups when possible, and rotate who is breaking trail.
More critically, think about which snow you cannot afford to disturb. If your foreground is pristine powder, your approach path needs to skirt around it, not cut through it. Once you compress that snow, the texture is gone and it rarely recovers enough to shoot again during the same session. Plan your walking route the same way you plan a composition: deliberately, with the final image in mind.
Step 4: Shoot Within Your Constraints, Not Against Them
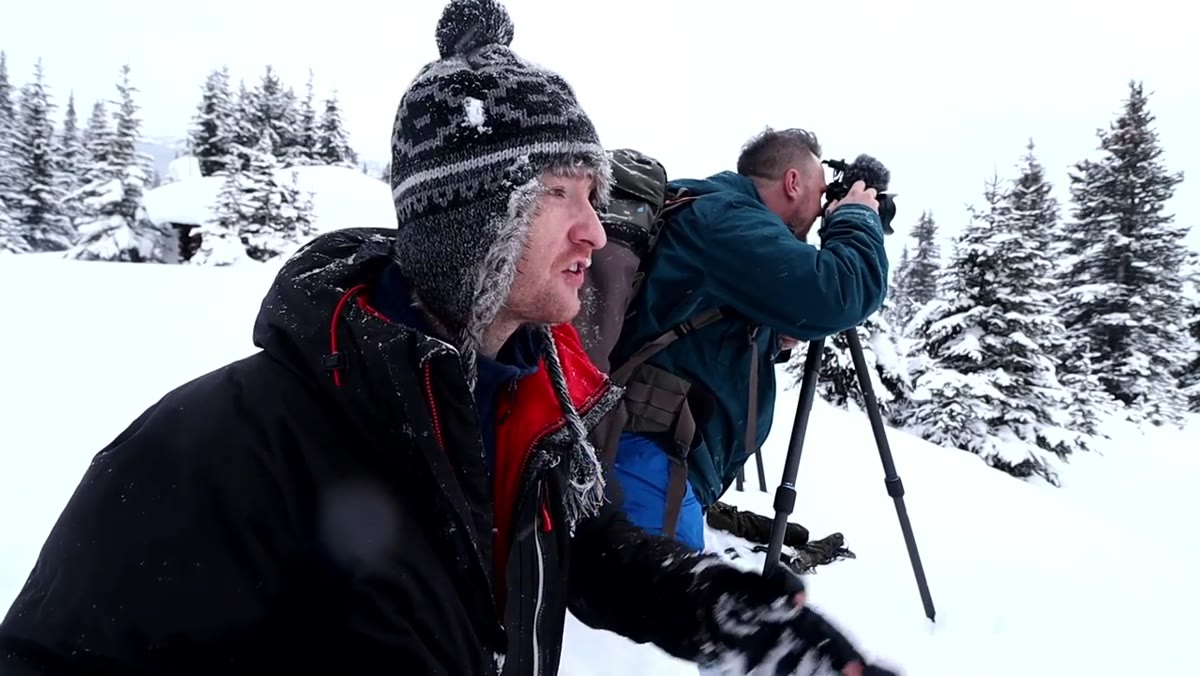 Thomas at camera, unable to shift position, working within tight range
Once at the shooting location, Heaton cannot move freely. Every repositioning attempt requires compacting new snow, which takes fifteen minutes and potentially destroys snow he needs intact for his shot. His response is not frustration. He finds the best frame he can reach from where he already stands and works within that boundary.
Thomas at camera, unable to shift position, working within tight range
Once at the shooting location, Heaton cannot move freely. Every repositioning attempt requires compacting new snow, which takes fifteen minutes and potentially destroys snow he needs intact for his shot. His response is not frustration. He finds the best frame he can reach from where he already stands and works within that boundary.
This is a creative skill that winter photography teaches faster than any other discipline. Set your tripod, check all four edges of your frame carefully for intrusions, and then work the composition from that fixed position. Change focal length. Adjust height by extending or collapsing your tripod legs. Tilt slightly. You have more range than you think without moving your feet.
Step 5: Manage Edge Distractions with Small Movements
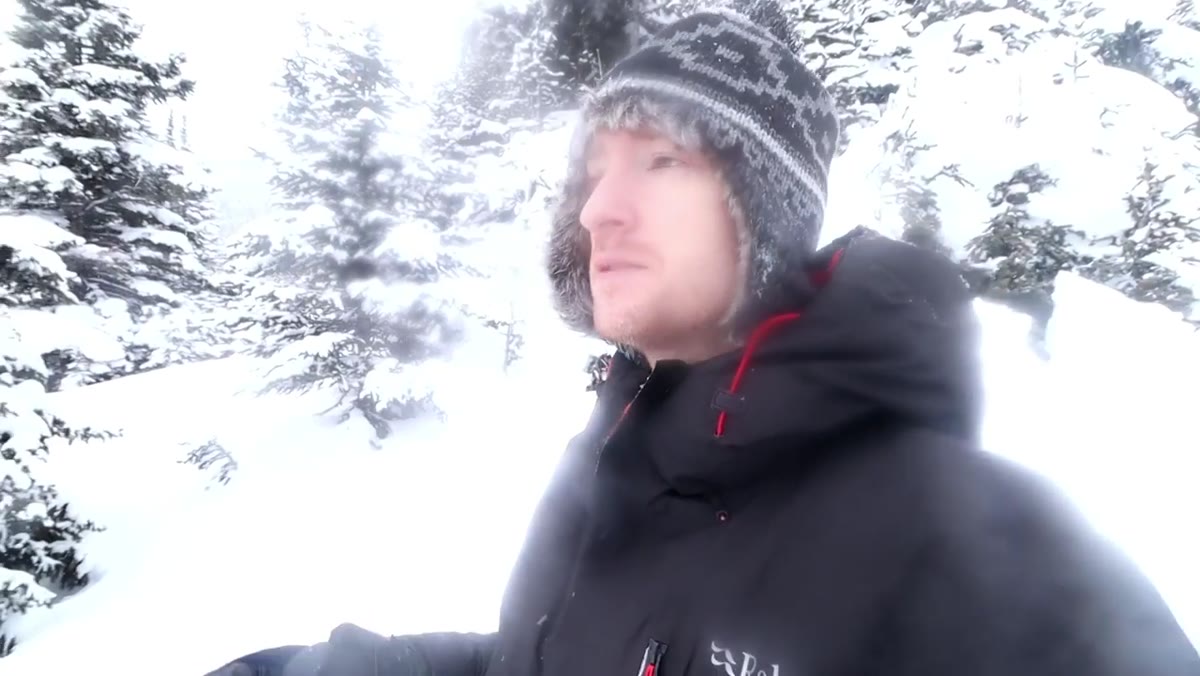 Thomas identifying tree branch creeping into frame edge
Heaton flags something every experienced landscape shooter knows: the edges of the frame will betray you if you do not check them deliberately. A branch or tree trunk creeping into the corner of an image is not a small issue. It pulls the eye and breaks the visual logic of the scene. In normal conditions you simply reposition. Here, Heaton shuffles forward roughly two feet, which is all deep snow allows, and it makes the difference.
Thomas identifying tree branch creeping into frame edge
Heaton flags something every experienced landscape shooter knows: the edges of the frame will betray you if you do not check them deliberately. A branch or tree trunk creeping into the corner of an image is not a small issue. It pulls the eye and breaks the visual logic of the scene. In normal conditions you simply reposition. Here, Heaton shuffles forward roughly two feet, which is all deep snow allows, and it makes the difference.
Two feet matters. When you feel locked into position, measure your micro-adjustments in inches before you give up. Forward, back, a fractional lean left or right. Check the corners of your viewfinder or live view display every single time you shift, no matter how small the movement. If a branch is still clipping the frame and you cannot eliminate it physically, note it for post-processing, but only if it is minimal enough to clone cleanly without damaging texture.
Step 6: Embrace Atmospheric Conditions as a Compositional Element
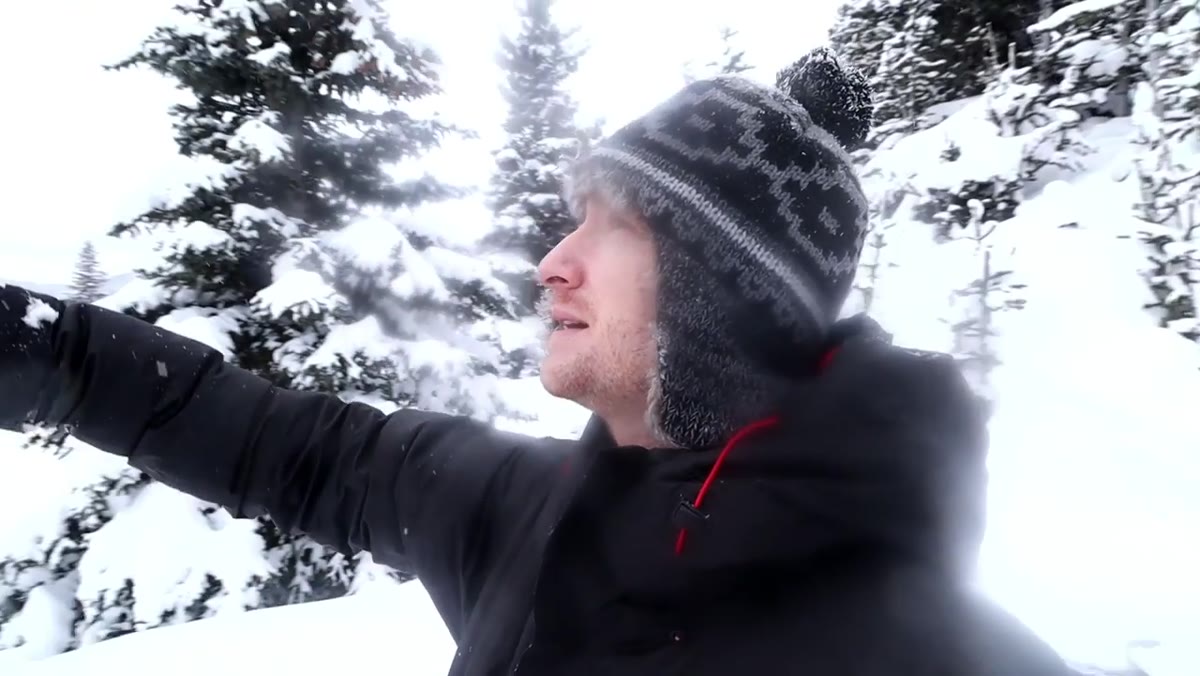 Mist rolling into mountain behind snow-covered trees
The mist rolling into the mountain behind the tree line becomes one of the strongest elements in Heaton’s final composition. The soft fade of the background adds depth and atmosphere that a clear blue sky simply would not provide. Rather than lamenting flat gray light, he leans into it.
Mist rolling into mountain behind snow-covered trees
The mist rolling into the mountain behind the tree line becomes one of the strongest elements in Heaton’s final composition. The soft fade of the background adds depth and atmosphere that a clear blue sky simply would not provide. Rather than lamenting flat gray light, he leans into it.
Overcast and misty winter conditions compress the tonal range of a scene, which actually makes processing easier and often produces more emotionally resonant images. Expose to retain highlight detail in the snow, check your histogram to avoid blowing out white areas, and let the muted tones do their work. Fog and mist in the background create natural separation between layers without requiring any post-processing tricks.
What I Would Add From Twenty Years of Cold-Weather Shooting
My mentor once told me that the mountain does not care about your schedule. I repeat that to myself every time I am standing in miserable conditions second-guessing whether to pack it in. What Heaton’s video reinforces, and what I have learned the hard way across two decades of shooting, is that the physical discomfort is information. It tells you how committed you are to the image. Comfort is easy to photograph. Discomfort forces you to think.
One thing I would add to Heaton’s process: before the shoot, when you are still in a warm truck or at the trailhead, pre-visualize at least two possible compositions based on your scouting. In deep snow you will not get a third attempt. Having a mental backup means that if your primary spot does not deliver, you can pivot without panic and still come home with something worth the effort.
The single most important thing this tutorial teaches is that restrictive conditions are not the enemy of good photography. They are the filter that separates thoughtful shooters from reactive ones. When you cannot move freely, every decision has to be made before you commit. That discipline produces better images even when you take it back to terrain where you can walk wherever you want.
Watch the full tutorial on YouTube and pay close attention to how Heaton handles each physical setback. The comedy is real, but the craft underneath it is serious.
Comments
Leave a Comment