
There’s a particular kind of paralysis that hits me when I’m sitting at my editing desk at 5am, coffee going cold, staring at a frame I know is almost right. Something in the image is pulling at my eye. A stray branch in the lower left. A utility pole ghosting through a ridgeline. A farmhouse sitting right in the middle of an otherwise clean sweep of desert light. I’ve been shooting landscapes full-time for two decades and that moment still stops me cold: do I take it out, leave it alone, or try to move it somewhere less damaging?
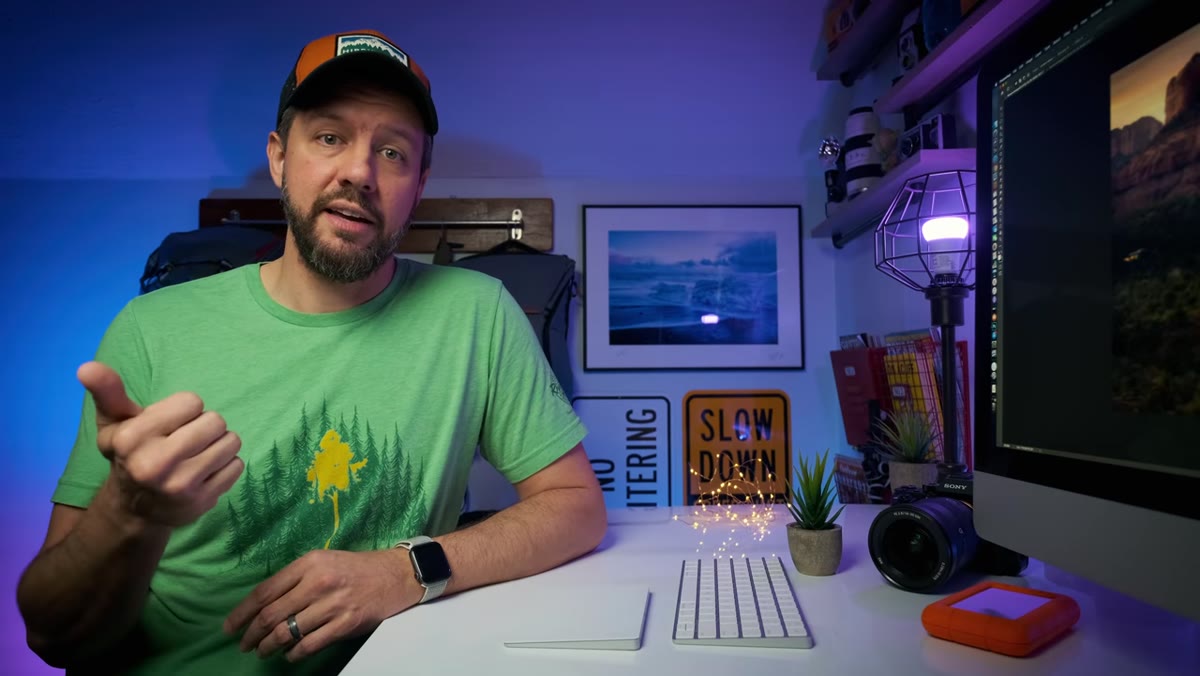
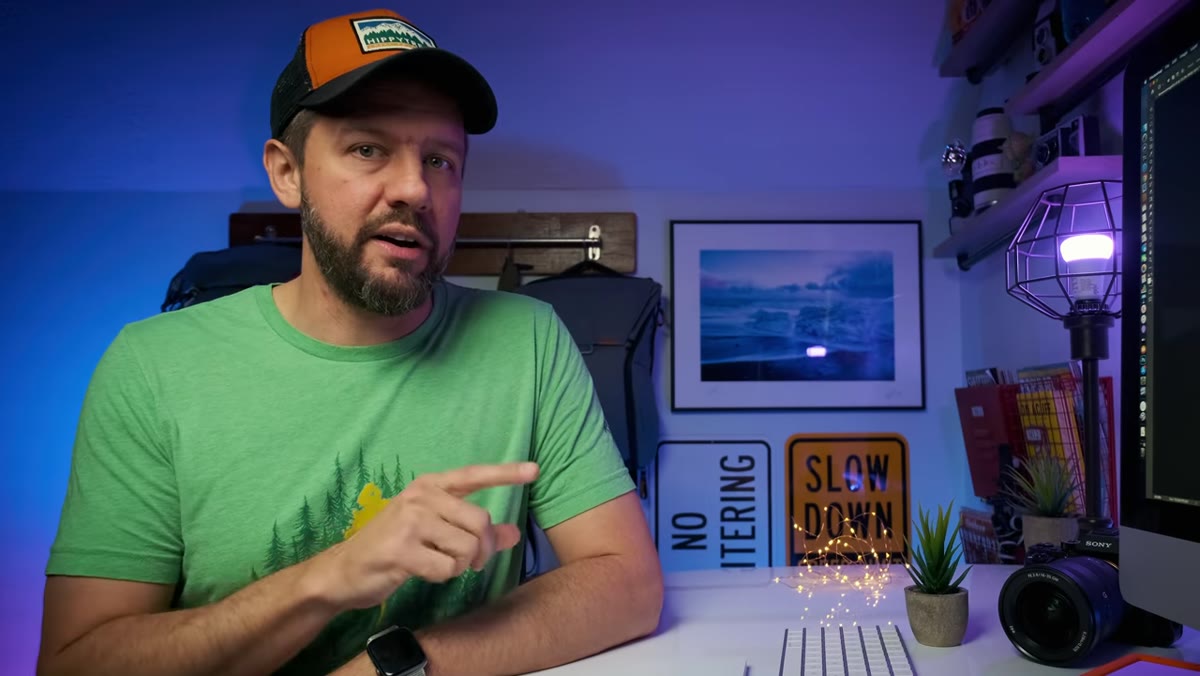
It turns out I’m not alone in that hesitation. In this Mark Denney tutorial, Watch the full tutorial on YouTube, Mark shares what he discovered after posting two images to Instagram and Twitter that each contained a visually complicated element. He asked his audience what they would do, collected close to a thousand responses, and then broke down the reasoning behind three camps: keep the element, remove it entirely, or reposition it within the frame. The results are genuinely useful, and they changed how I think about this decision in my own workflow.
What makes this tutorial worth your time is that it moves past the usual “use the healing brush” advice and gets into the philosophy underneath the technique. The question isn’t just whether you can remove something. It’s whether you should. And the answer, as Mark’s community made clear, is more layered than most editing tutorials ever acknowledge.
Step 1: Identify the Element and Name What It’s Doing
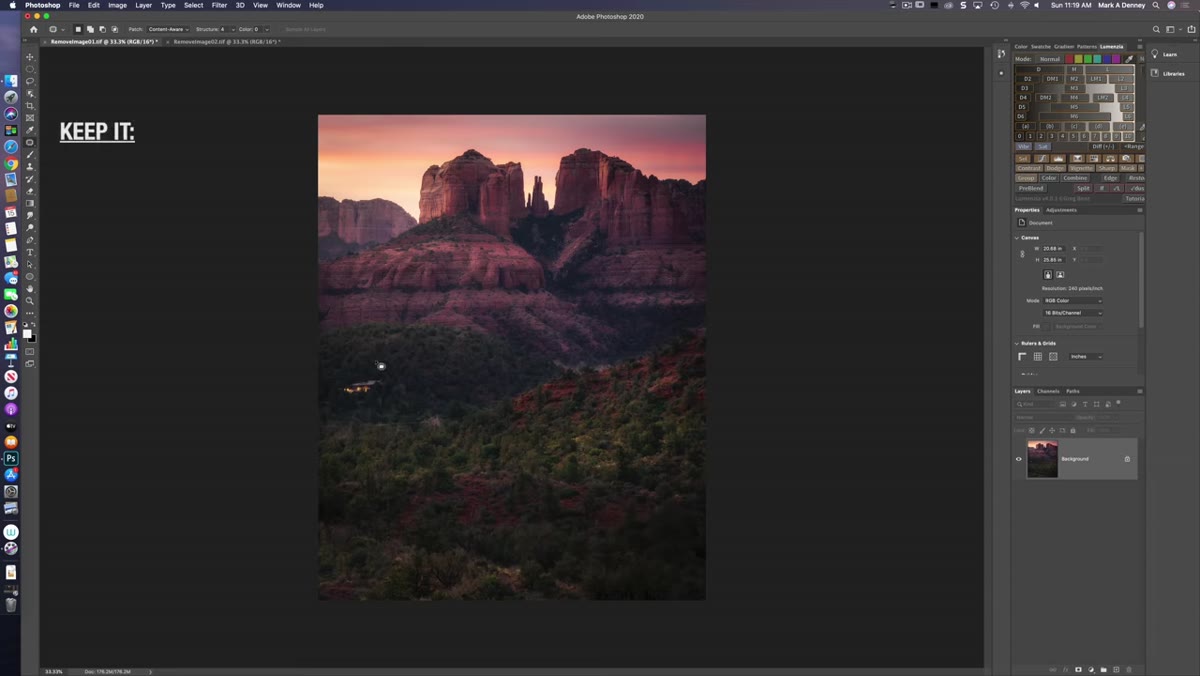
 Arizona landscape image with house visible between mountains
Before you reach for any tool, look at the element honestly and ask what role it is playing in the frame. Mark’s example is a house sitting in the middle of a telephoto landscape shot from Arizona, mountains in the background, a rich sky above. The house is small but central, and it immediately divides viewer opinion.
Arizona landscape image with house visible between mountains
Before you reach for any tool, look at the element honestly and ask what role it is playing in the frame. Mark’s example is a house sitting in the middle of a telephoto landscape shot from Arizona, mountains in the background, a rich sky above. The house is small but central, and it immediately divides viewer opinion.
The first exercise is to describe the element in neutral terms. Is it adding visual scale? Does it suggest human presence in a wild place? Is it a literal distraction, pulling the eye away from your intended subject? Naming the function forces you to move past a gut reaction and think structurally. A house in a desert frame is doing something, and you need to decide whether that something helps the image or hurts it.
Step 2: Weigh the Case for Keeping It
 Comment results showing reasons viewers chose to keep the house
Mark tallied the responses and found that viewers who argued for keeping the element most often cited scale, story, and authenticity. The house gives the mountains a size reference. It places a human being inside that landscape emotionally, which creates narrative tension. And it reflects reality, because the house was actually there.
Comment results showing reasons viewers chose to keep the house
Mark tallied the responses and found that viewers who argued for keeping the element most often cited scale, story, and authenticity. The house gives the mountains a size reference. It places a human being inside that landscape emotionally, which creates narrative tension. And it reflects reality, because the house was actually there.
This is the argument I find most compelling from my own field experience. I’ve had workshop students rush to remove every telephone wire and fence post they can find, and the resulting images often feel sterile, like a landscape that exists nowhere. Real places have edges. They have infrastructure. When an element is genuinely part of the scene and you’ve composed thoughtfully around it, removing it can flatten the honesty of the photograph. Ask yourself whether the element is a distraction from your subject or part of the truth of your subject.
Step 3: Weigh the Case for Removing It
 Same image shown with house digitally removed
The camp that voted for full removal argued primarily on visual grounds. The house interrupts the flow between foreground and background. It competes for attention with the light on the mountains, which is the actual subject. And in a photograph that leans toward the elemental, a human structure can read as noise rather than narrative.
Same image shown with house digitally removed
The camp that voted for full removal argued primarily on visual grounds. The house interrupts the flow between foreground and background. It competes for attention with the light on the mountains, which is the actual subject. And in a photograph that leans toward the elemental, a human structure can read as noise rather than narrative.
This is the more defensible position when the element is accidental rather than intentional. If you didn’t scout it, didn’t plan for it, and didn’t compose around it, it probably has no business being there. The test I use is this: if I had photographed this scene from a slightly different position and the house wasn’t visible, would the image be weaker? If the answer is no, the house is not earning its place.
Step 4: Consider the Third Option - Repositioning
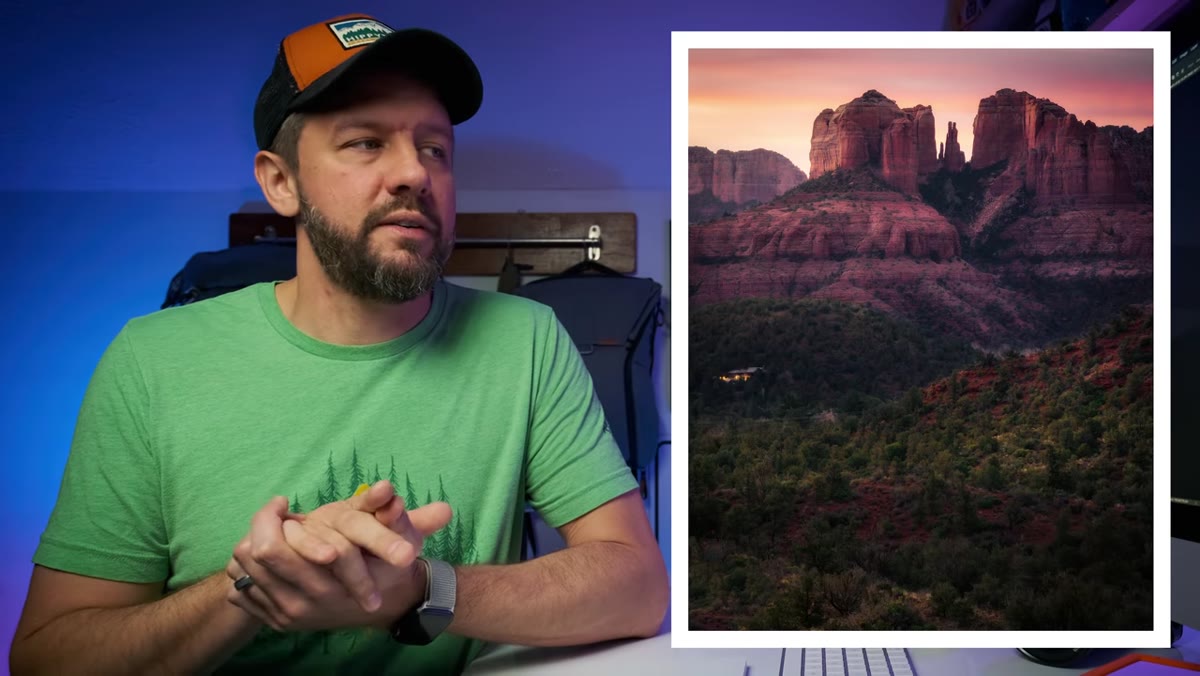 Image version showing house moved to edge of frame
The most overlooked response from Mark’s poll was the suggestion to move the element rather than remove it entirely. In post-processing, this means cloning or compositing the object to a less dominant position, often toward an edge or lower corner where it can still contribute context without commanding attention.
Image version showing house moved to edge of frame
The most overlooked response from Mark’s poll was the suggestion to move the element rather than remove it entirely. In post-processing, this means cloning or compositing the object to a less dominant position, often toward an edge or lower corner where it can still contribute context without commanding attention.
This option requires more technical skill but often produces the most satisfying result. A small farmhouse anchoring the bottom-right corner gives the eye a resting place without disrupting the primary visual path toward the mountains. It stays honest while serving the composition. If you have strong retouching skills, this middle path is almost always worth attempting before you commit to full removal.
Step 5: Execute the Edit with Intention
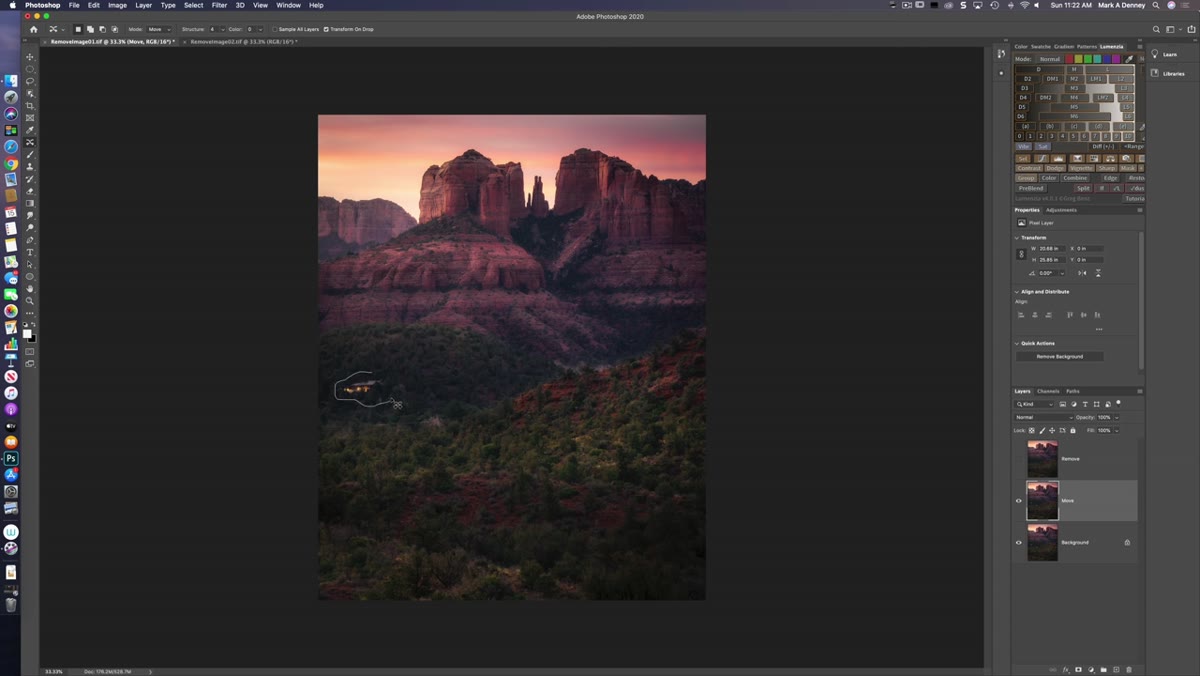 Editing tools demonstrated with before and after comparison visible
Whichever choice you make, the execution needs to match the intent. Full removal in a complex natural background requires careful use of content-aware tools combined with manual clone stamping to rebuild texture. A half-finished removal that leaves ghosting or repeated texture patterns is worse than leaving the element in place.
Editing tools demonstrated with before and after comparison visible
Whichever choice you make, the execution needs to match the intent. Full removal in a complex natural background requires careful use of content-aware tools combined with manual clone stamping to rebuild texture. A half-finished removal that leaves ghosting or repeated texture patterns is worse than leaving the element in place.
If you’re repositioning, mask the element carefully and rebuild the surrounding background so the seam is invisible. Work at 100 percent zoom and pay attention to texture direction, grain, and any lighting gradients that would reveal the edit. An edit that shows its own seams is a distraction worse than the original problem.
What Twenty Years in the Field Adds to This Decision
The one thing I’d layer on top of Mark’s framework is the question of what the image is for. I still shoot film occasionally, partly because it slows me down and forces me to commit before I press the shutter. That discipline carries over into editing. When I know an image is going into a print sale or a gallery submission, I hold it to a stricter standard of composition and will spend real time on a repositioning edit. When an image is documentation of a location I’m sharing with workshop participants, I’ll sometimes leave the fence post in because it helps orient them to the actual place.
Your editing decisions should reflect your intent for the image, not just a generic idea of what a clean landscape looks like. The mountain doesn’t care about your schedule, as someone told me early in my career, and it doesn’t care about your healing brush either. What matters is whether the final frame tells the truth you actually went there to find.
The single most important takeaway from Mark’s tutorial is that there is no universal answer to whether something should stay or go. There is only a reasoned decision made in service of the specific image. Keep the element if it adds scale, story, or authenticity. Remove it if it’s accidental noise competing with your subject. Move it if it can contribute context without dominating the frame. Know why you’re making the choice before you pick up the tool.
Watch the full tutorial on YouTube to see Mark walk through the actual before and after edits on both images, including a genuinely useful side-by-side comparison that makes the repositioning argument much clearer than words alone can.
Comments (2)
My workflow just got 10x faster. Not even kidding.
This is exactly what I needed today. Been struggling with this for weeks.
Leave a Comment