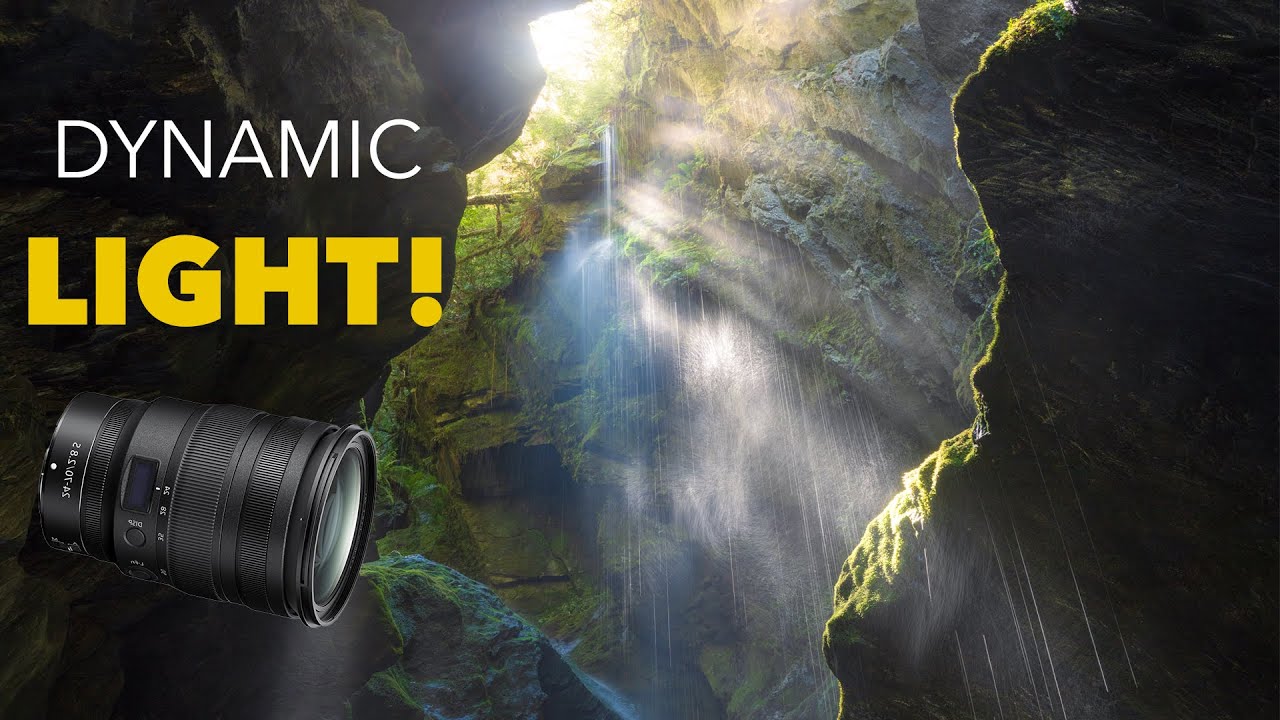
There’s a particular kind of frustration that comes from arriving at a stunning location and walking away with technically correct but emotionally empty images. You were there. The place was beautiful. And somehow the photos don’t show it. After two decades of hauling gear through pre-dawn darkness, I still run into this problem when I let habit take over instead of actually reading what the light is doing. That’s why I keep returning to tutorials from photographers who work methodically in the field, not just theoretically. In this William Patino tutorial, Watch the full tutorial on YouTube, Patino takes a friend to a waterfall location and walks through the decisions that separate a snapshot from something worth printing. The techniques are field-tested and specific, which is exactly what I find useful.
What struck me watching this is how much of his approach comes down to active waiting rather than passive standing around. He’s not just pointing his camera at something beautiful and firing. He’s positioning himself deliberately, experimenting with shutter speeds, and making editing decisions that start the moment he picks up the camera. There’s a philosophy underneath the technical advice, and I want to unpack both.
Step 1: Find the Angle Where the Light Beams Actually Exist
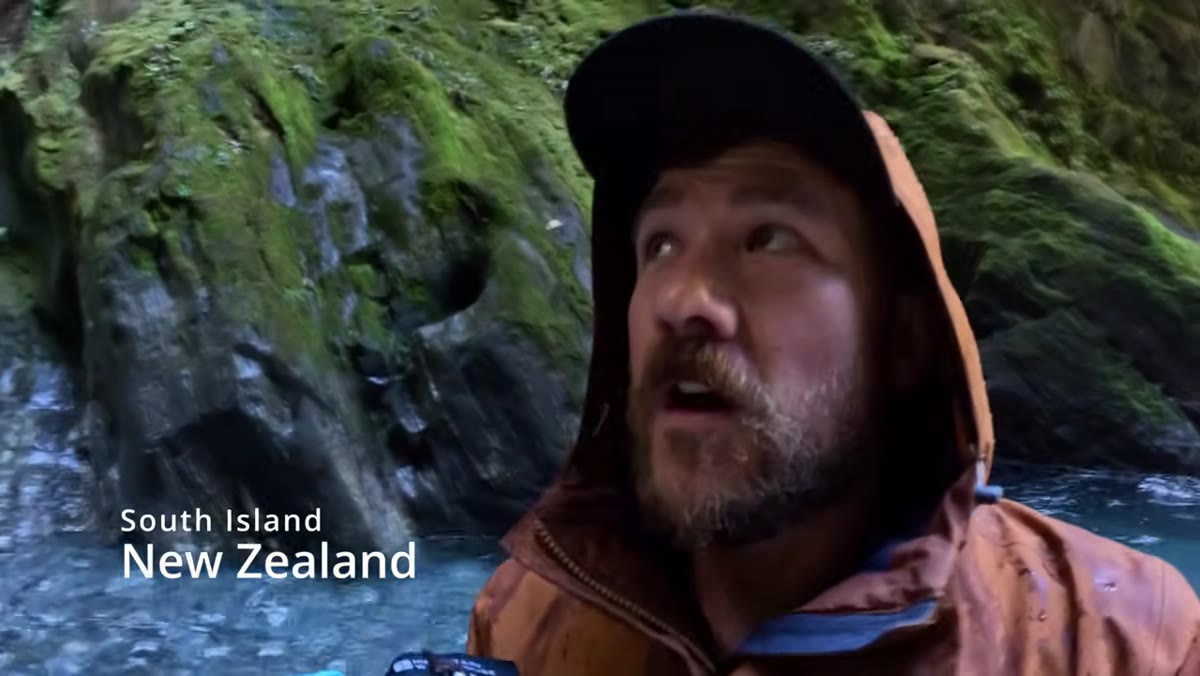 Photographer repositioning to catch visible light beams in water spray
Light beams through mist or spray are one of those phenomena that can be spectacular or invisible depending entirely on where you’re standing. Patino makes this clear early on: you have to position yourself so that you are looking directly back into the light source. Step to the side and the beams disappear. Step into alignment with the sun and suddenly the scene transforms. The trick is to cheat a little by watching where the sunlight is hitting the mist, then physically moving until those columns of light become visible to your eye. If you can’t see them clearly yourself, your camera won’t either.
Photographer repositioning to catch visible light beams in water spray
Light beams through mist or spray are one of those phenomena that can be spectacular or invisible depending entirely on where you’re standing. Patino makes this clear early on: you have to position yourself so that you are looking directly back into the light source. Step to the side and the beams disappear. Step into alignment with the sun and suddenly the scene transforms. The trick is to cheat a little by watching where the sunlight is hitting the mist, then physically moving until those columns of light become visible to your eye. If you can’t see them clearly yourself, your camera won’t either.
This is not a set-it-and-forget-it composition choice. As the light shifts, your ideal position shifts too. Patino emphasizes staying reactive, which means resisting the urge to lock in your tripod and stop moving. At a waterfall or any location with mist in the air, treat your feet as part of your gear.
Step 2: Experiment with Shutter Speed to Control Water Texture
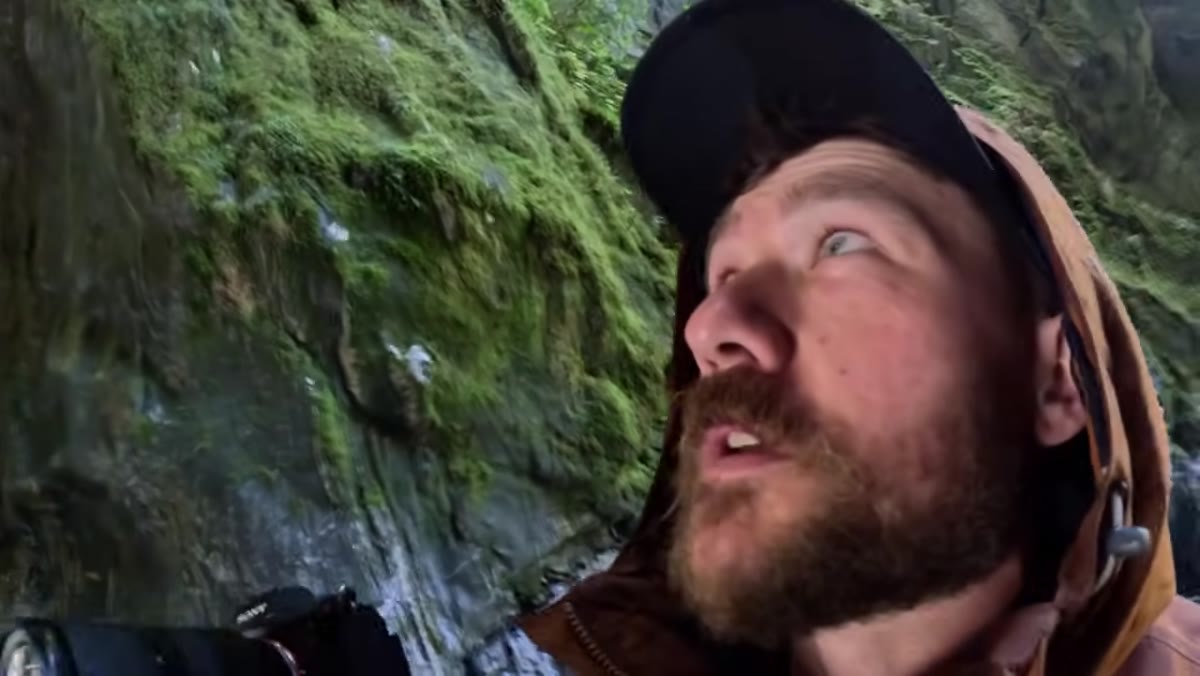 Camera display showing varied shutter speed settings on moving water
Moving water gives you a choice that most locations don’t: you can render it as silk, freeze it into droplets, or land somewhere in between that shows both motion and structure. Patino works through a range of shutter speeds in the field, roughly from 1/5 of a second up to 1/10, and describes this middle range as a sweet spot that preserves texture without turning the water into a blur or freezing it into something that looks frozen. Neither extreme was right for what he was after.
Camera display showing varied shutter speed settings on moving water
Moving water gives you a choice that most locations don’t: you can render it as silk, freeze it into droplets, or land somewhere in between that shows both motion and structure. Patino works through a range of shutter speeds in the field, roughly from 1/5 of a second up to 1/10, and describes this middle range as a sweet spot that preserves texture without turning the water into a blur or freezing it into something that looks frozen. Neither extreme was right for what he was after.
The practical approach here is to shoot several frames at different speeds and review them at 100% zoom on the back of your camera. Patino mentions zooming in to look for individual droplets caught in the light, which is a detail you’ll miss on a small screen. Don’t just look at the overall image. Look at whether the water has the quality you actually want, because the difference between 1/8 and 1/15 can be significant when you’re dealing with fast-moving spray in good light.
Step 3: Analyze the Full Frame, Not Just the Beautiful Part
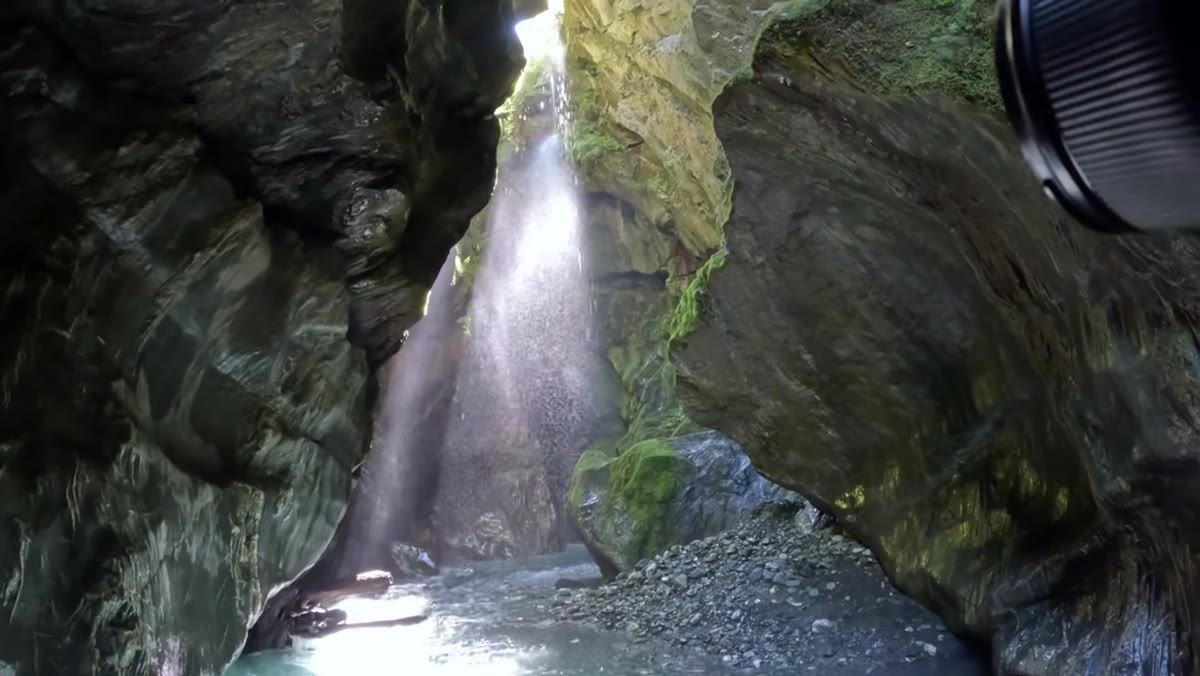 Wide shot of waterfall scene showing edges and distracting elements in frame
This one sounds obvious and it isn’t. Patino is direct about it: when you find a stunning section of a scene, it’s easy to lock your attention onto that one area and forget to assess the rest of the frame. You might have gorgeous light on the water while a cluttered, distracting bank of rocks or blown highlights creep in at the edge. By the time you get home, it’s too late to fix.
Wide shot of waterfall scene showing edges and distracting elements in frame
This one sounds obvious and it isn’t. Patino is direct about it: when you find a stunning section of a scene, it’s easy to lock your attention onto that one area and forget to assess the rest of the frame. You might have gorgeous light on the water while a cluttered, distracting bank of rocks or blown highlights creep in at the edge. By the time you get home, it’s too late to fix.
The habit he’s building here is deliberate full-frame scanning before you shoot. Look at the corners. Check the highlights in the background. Ask yourself what the eye will land on second, after it finishes with the main subject. If the answer is something distracting, either reframe or wait for the light to change so the background falls into shadow.
Step 4: Use an Ultra-Wide Lens to Anchor Foreground and Context
 Ultra-wide 12mm composition showing rocks, reflections, and wide canyon opening
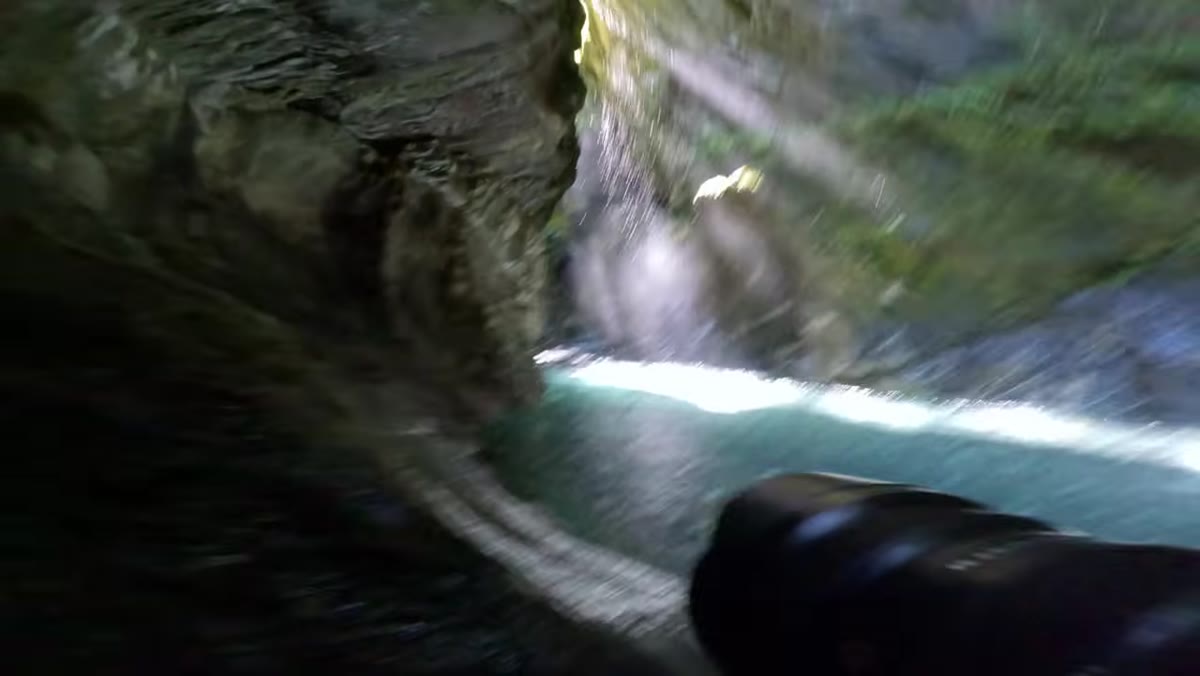
At 12mm, Patino is shooting to exaggerate the foreground and pull the viewer into the scene. His specific goal is picking up reflected light on the rocks closest to the camera, which creates a visual pathway from the bottom of the frame upward. The wide angle creates depth that a longer focal length simply cannot replicate. The tradeoff, as he notes, is a large dynamic range. When you’re shooting into a bright background with dark foreground rocks, your highlights can blow quickly.
Ultra-wide 12mm composition showing rocks, reflections, and wide canyon opening
At 12mm, Patino is shooting to exaggerate the foreground and pull the viewer into the scene. His specific goal is picking up reflected light on the rocks closest to the camera, which creates a visual pathway from the bottom of the frame upward. The wide angle creates depth that a longer focal length simply cannot replicate. The tradeoff, as he notes, is a large dynamic range. When you’re shooting into a bright background with dark foreground rocks, your highlights can blow quickly.
Keep an eye on your histogram rather than the LCD preview. Expose to protect the highlights and plan to lift the shadows in post, which is far easier than recovering blown skies or bright water. Patino also mentions that even at 12mm the full scene wasn’t fitting in a single frame, which led him to try a vertical panorama stitched together from several shots. If you’re at the widest end of your lens and still can’t capture what you’re seeing, a vertical stitch is a legitimate compositional tool, not a workaround.
Step 5: Know When to Convert to Black and White During Editing
 Before-and-after comparison of waterfall image in color versus black and white
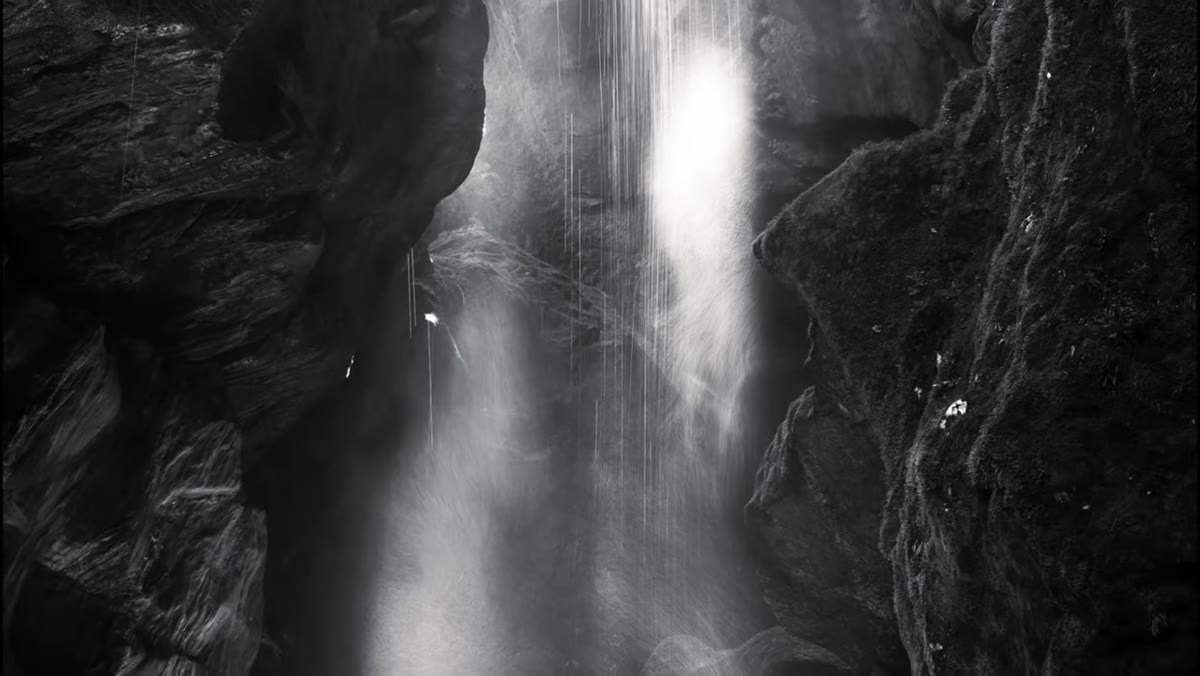
This is where Patino’s editing philosophy earns attention. He doesn’t convert to black and white as a stylistic habit or because a scene didn’t work in color. He does it when specific conditions are met: high contrast across the frame, a clear flow of tonal variation from light to dark, and the strongest light landing on the main subject. When those three things are present, color can actually work against the image by making it feel literal and flat. The black and white lets contrast do the storytelling.
Before-and-after comparison of waterfall image in color versus black and white
This is where Patino’s editing philosophy earns attention. He doesn’t convert to black and white as a stylistic habit or because a scene didn’t work in color. He does it when specific conditions are met: high contrast across the frame, a clear flow of tonal variation from light to dark, and the strongest light landing on the main subject. When those three things are present, color can actually work against the image by making it feel literal and flat. The black and white lets contrast do the storytelling.
For the image he walks through, the branches catching the light are the subject. In color, your eye also processes the surrounding greens and browns and starts sorting through what everything is. In monochrome, the contrast between the lit branches and the dark surroundings is immediate and unambiguous. Patino also makes the point that black and white leaves more room for interpretation, which is a real consideration if you want viewers to sit with an image rather than process it in a second and move on.
A Note From the Field: Shoot the Same Scene Multiple Ways
I learned a version of Patino’s shutter speed advice the hard way, burning through a full memory card at one waterfall location before I understood that I was looking for the texture, not just the motion. Now I shoot every moving water scene with at least three distinct shutter speeds regardless of what looks right on the LCD. The one that surprises me is almost never the first one I tried. The same logic applies to his focal length choices. Bring a wide and a mid-range zoom if you can, because the scene that looks like a 12mm shot might actually resolve better at 35mm once you’re standing in it and the light is doing something specific.
My mentor once told me the mountain doesn’t care about your schedule, and he was right. The best technique you can carry into the field is patience combined with the willingness to keep adjusting rather than settling.
The single most transferable idea in this tutorial is deceptively simple: the quality of your landscape images is determined by where you stand and when, more than by any gear decision you make. Light changes, position changes the light you see, and your job is to stay responsive to both rather than set up and wait for the world to come to you.
Watch the full tutorial on YouTube to see William Patino work through these decisions in real time at a genuinely spectacular location. The field footage alone is worth it.
Comments
Leave a Comment