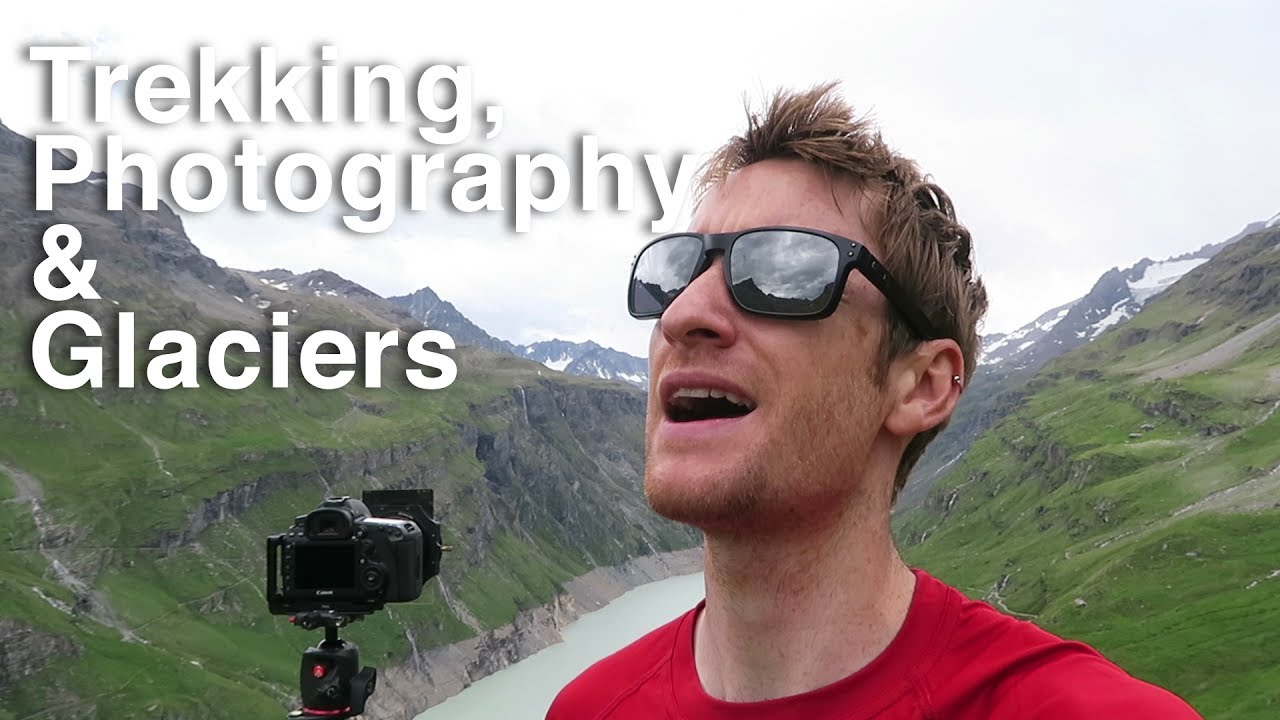
There’s a particular kind of humility that mountain photography demands. You can plan the route, book the hut, study the forecast, and pack everything perfectly, and the mountains will still do exactly what they want. I’ve stood in enough alpine meadows at what should have been golden hour, watching clouds swallow the peaks, to know that the photographers who come home with the best images aren’t the ones with the best luck. They’re the ones who keep shooting when the light isn’t cooperating and know how to extract something worth keeping from whatever conditions show up. Watch the full tutorial on YouTube
In this Thomas Heaton tutorial, he documents a three-day, two-night trek through the Swiss Alps, staying in mountain huts and shooting at every opportunity. What makes it genuinely instructive isn’t the spectacular scenery, though there’s plenty of that. It’s the way Heaton keeps working when the rain moves in and the alpenglow he was hoping for doesn’t materialize. He shares specific filter choices, camera settings, and a way of seeing mountain light that I think applies well beyond Switzerland.
A mentor of mine once told me the mountain doesn’t care about your schedule, and this video is essentially a two-hour illustration of that idea. Here’s what I took away from it, broken into the decisions you’ll actually face on a mountain trek of your own.
Step 1: Commit to the Trek Even With an Imperfect Forecast
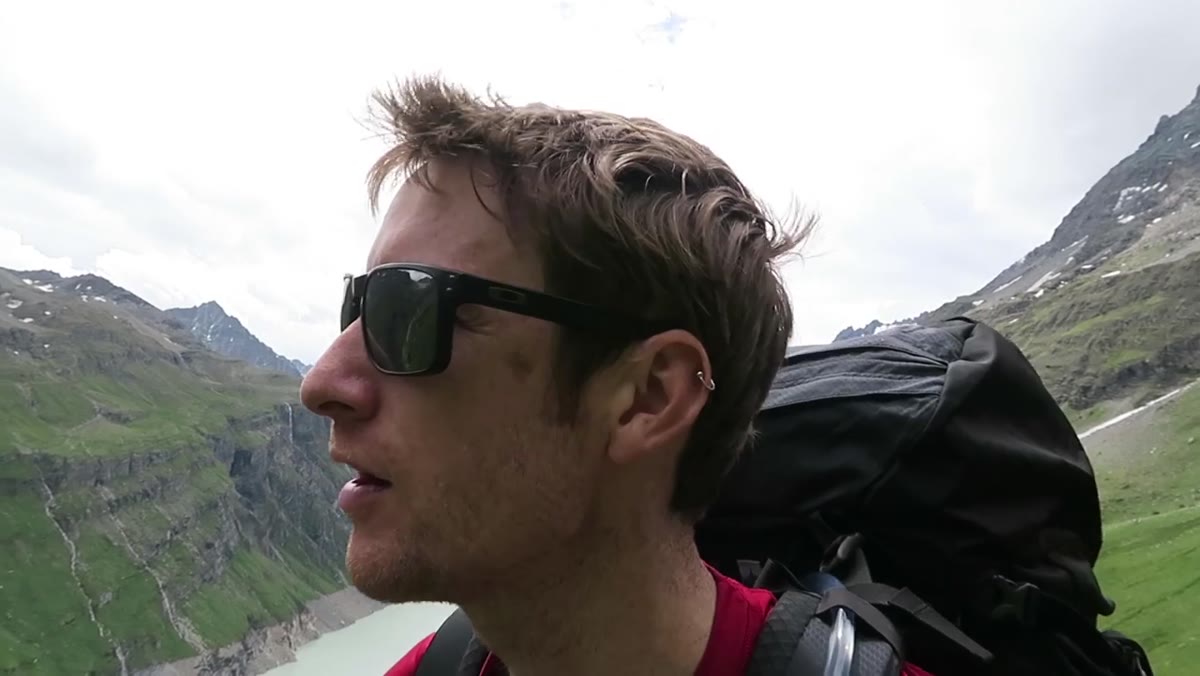 Thomas hiking upward into alpine valley, mountains ahead
Heaton is three kilometers into an 11-kilometer approach when he’s already flagging that rain is likely over the coming days. He decides to go anyway. This matters more than it sounds. The instinct to wait for a guaranteed clear window is one of the most expensive habits a landscape photographer can develop, because that window rarely comes in the mountains. Weather systems move faster at altitude, and a forecast that looks grim on the drive up can break open at sunset. The opposite is also true, but you can’t photograph a location you never reached. Book the hut, lace the boots, go.
Thomas hiking upward into alpine valley, mountains ahead
Heaton is three kilometers into an 11-kilometer approach when he’s already flagging that rain is likely over the coming days. He decides to go anyway. This matters more than it sounds. The instinct to wait for a guaranteed clear window is one of the most expensive habits a landscape photographer can develop, because that window rarely comes in the mountains. Weather systems move faster at altitude, and a forecast that looks grim on the drive up can break open at sunset. The opposite is also true, but you can’t photograph a location you never reached. Book the hut, lace the boots, go.
Step 2: Shoot the Midday Valley View Anyway, With the Right Filters
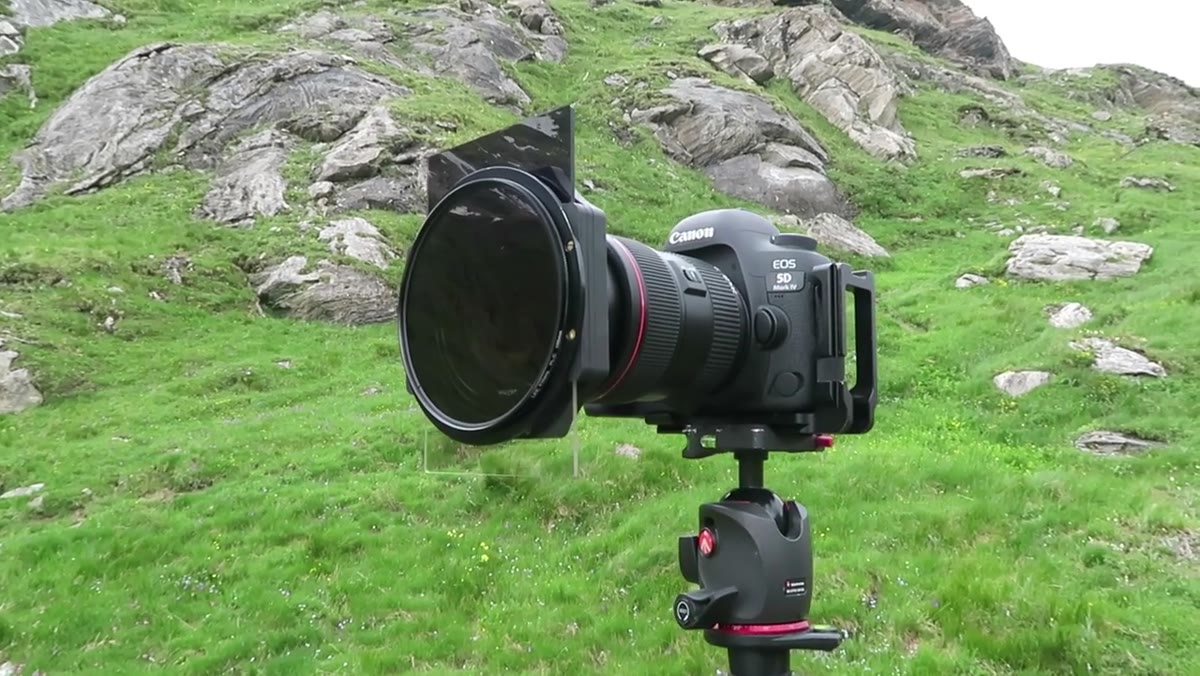 Camera on tripod aimed down valley, polarizer and grad filter attached
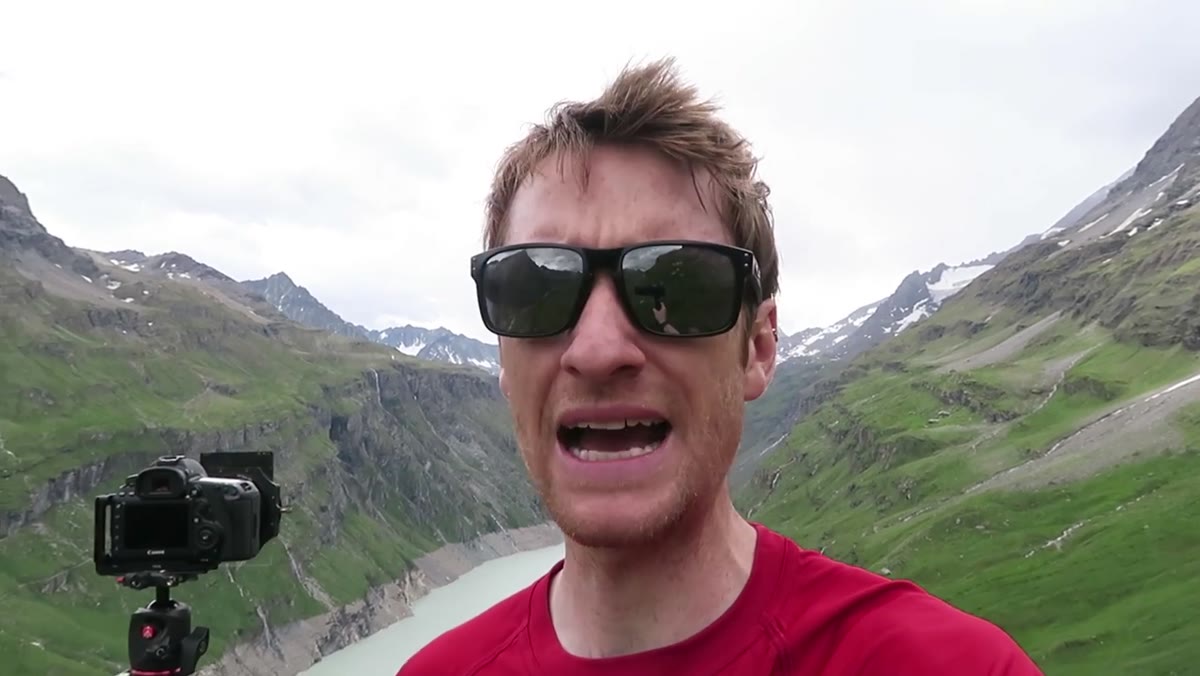
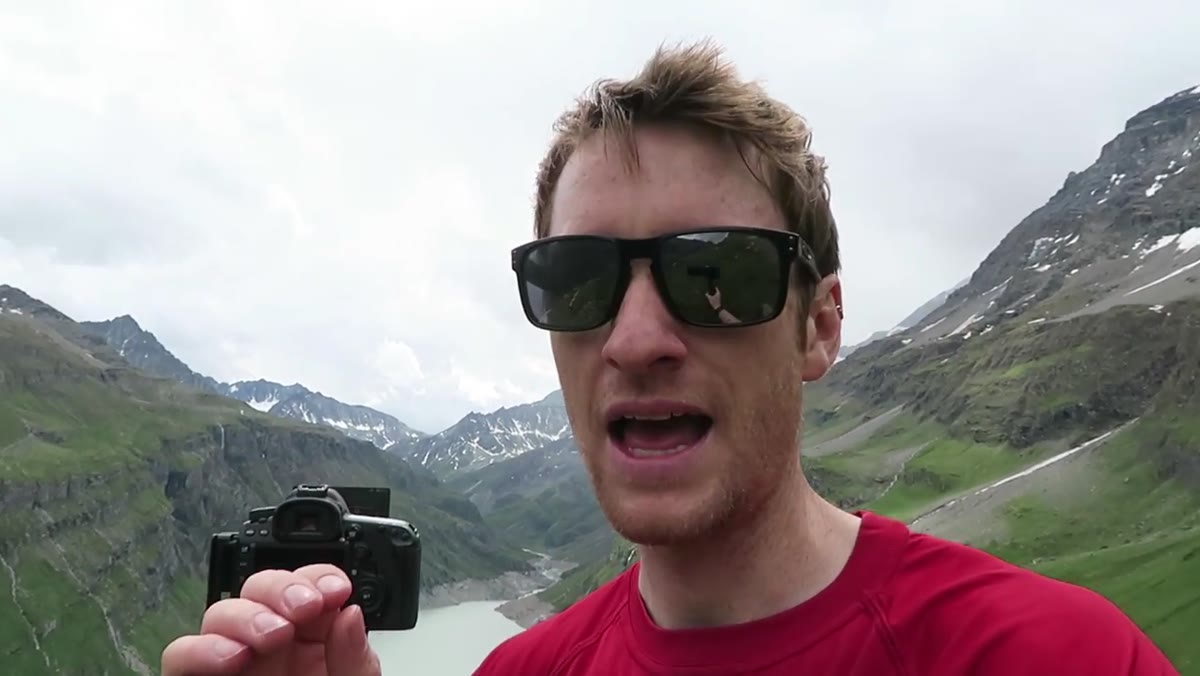
At the lunch stop, Heaton sets up to photograph a dramatic valley view with a dam in the foreground, even though it’s the middle of the day. His reasoning is sound: the scene is exceptional, the sky has some drama to work with, and not shooting it would be a waste. He uses two pieces of glass together here. First, a polarizing filter, which he rotates to deepen the sky and reduce glare off any water or wet rock surfaces. Second, a two-stop soft-edge graduated neutral density filter, positioned so the darker half sits over the brighter sky. This combination lets him expose correctly for the foreground without blowing out the cloud detail above the ridge line. If you’re not using a physical grad in situations like this, you’re either bracketing and blending in post, or you’re giving up highlight detail. The physical filter is still faster in the field.
Camera on tripod aimed down valley, polarizer and grad filter attached
At the lunch stop, Heaton sets up to photograph a dramatic valley view with a dam in the foreground, even though it’s the middle of the day. His reasoning is sound: the scene is exceptional, the sky has some drama to work with, and not shooting it would be a waste. He uses two pieces of glass together here. First, a polarizing filter, which he rotates to deepen the sky and reduce glare off any water or wet rock surfaces. Second, a two-stop soft-edge graduated neutral density filter, positioned so the darker half sits over the brighter sky. This combination lets him expose correctly for the foreground without blowing out the cloud detail above the ridge line. If you’re not using a physical grad in situations like this, you’re either bracketing and blending in post, or you’re giving up highlight detail. The physical filter is still faster in the field.
Step 3: Use Polarization as a Black and White Tool in the Mountains
 Bright snow peaks against dramatic sky, high contrast scene
This is the piece of Heaton’s approach I find most useful and most underused. He makes the point that mountain light during the day is actually workable if you stop trying to make it look like golden hour and start thinking in terms of black and white contrast. Snow is white. Rock is dark grey to near-black. A polarized blue sky, when converted to black and white, goes very dark, almost black. That’s a three-tone scene with enormous graphic impact, and it doesn’t require any particular time of day to achieve. When I’m in alpine terrain and the light is flat or harsh, I put on the polarizer and literally think in monochrome while I’m composing. It changes which foreground elements I reach for and which angles make sense.
Bright snow peaks against dramatic sky, high contrast scene
This is the piece of Heaton’s approach I find most useful and most underused. He makes the point that mountain light during the day is actually workable if you stop trying to make it look like golden hour and start thinking in terms of black and white contrast. Snow is white. Rock is dark grey to near-black. A polarized blue sky, when converted to black and white, goes very dark, almost black. That’s a three-tone scene with enormous graphic impact, and it doesn’t require any particular time of day to achieve. When I’m in alpine terrain and the light is flat or harsh, I put on the polarizer and literally think in monochrome while I’m composing. It changes which foreground elements I reach for and which angles make sense.
Step 4: Set Your Exposure for Sharpness, Not Speed
 Camera settings visible, f/11 selected, two-second timer engaged
Heaton’s settings at the valley overlook are deliberate and worth noting: f/11 for depth of field, focus set to infinity, and a two-second self-timer to eliminate any vibration from pressing the shutter. He’s not chasing a fast shutter speed because nothing in the scene is moving quickly enough to matter. In mountain photography, where you’re often on a tripod anyway, f/11 is a reliable aperture. It gives you edge-to-edge sharpness without pushing into diffraction territory the way f/16 or f/22 can on modern high-resolution sensors. The two-second timer costs you nothing and eliminates a variable you’d rather not have. I use it by default on a tripod. There’s no reason not to.
Camera settings visible, f/11 selected, two-second timer engaged
Heaton’s settings at the valley overlook are deliberate and worth noting: f/11 for depth of field, focus set to infinity, and a two-second self-timer to eliminate any vibration from pressing the shutter. He’s not chasing a fast shutter speed because nothing in the scene is moving quickly enough to matter. In mountain photography, where you’re often on a tripod anyway, f/11 is a reliable aperture. It gives you edge-to-edge sharpness without pushing into diffraction territory the way f/16 or f/22 can on modern high-resolution sensors. The two-second timer costs you nothing and eliminates a variable you’d rather not have. I use it by default on a tripod. There’s no reason not to.
Step 5: Arrive at the Hut, Rest, Then Shoot the Hour Before Sunset
 Mountain hut visible in background, glacier stretching behind it
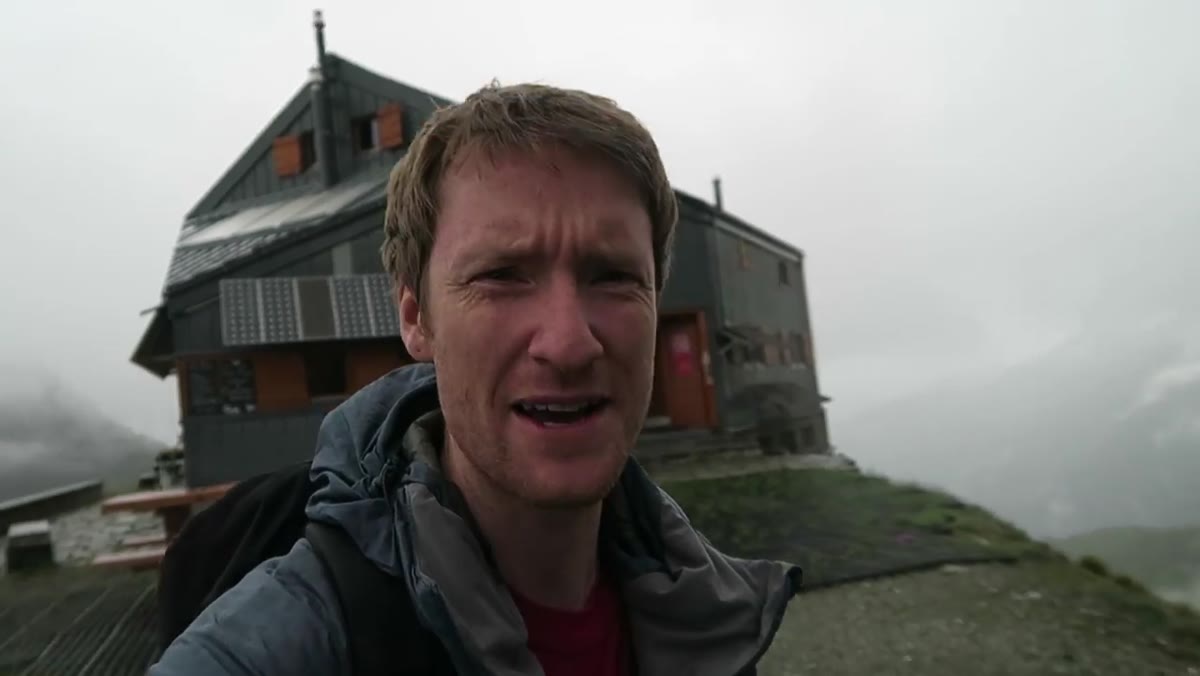
After completing the 11-kilometer approach, Heaton arrives at the mountain hut just as rain begins. He eats, dries out, and rests, then heads back out with the camera about an hour before sunset. This sequencing matters. Shooting while exhausted from a long approach leads to sloppy compositions and poor decisions. The hut system in the Alps, and similar refuge networks in ranges across Europe and beyond, exists partly to make this kind of recovery possible. If you’re planning a multi-day mountain photography trek, build rest into the structure. Don’t treat the arrival as the end. The light after the hike is often the whole point.
Mountain hut visible in background, glacier stretching behind it
After completing the 11-kilometer approach, Heaton arrives at the mountain hut just as rain begins. He eats, dries out, and rests, then heads back out with the camera about an hour before sunset. This sequencing matters. Shooting while exhausted from a long approach leads to sloppy compositions and poor decisions. The hut system in the Alps, and similar refuge networks in ranges across Europe and beyond, exists partly to make this kind of recovery possible. If you’re planning a multi-day mountain photography trek, build rest into the structure. Don’t treat the arrival as the end. The light after the hike is often the whole point.
Step 6: Keep Shooting When the Grand View Disappears
 Low cloud and rain obscuring alpine peaks above the hut
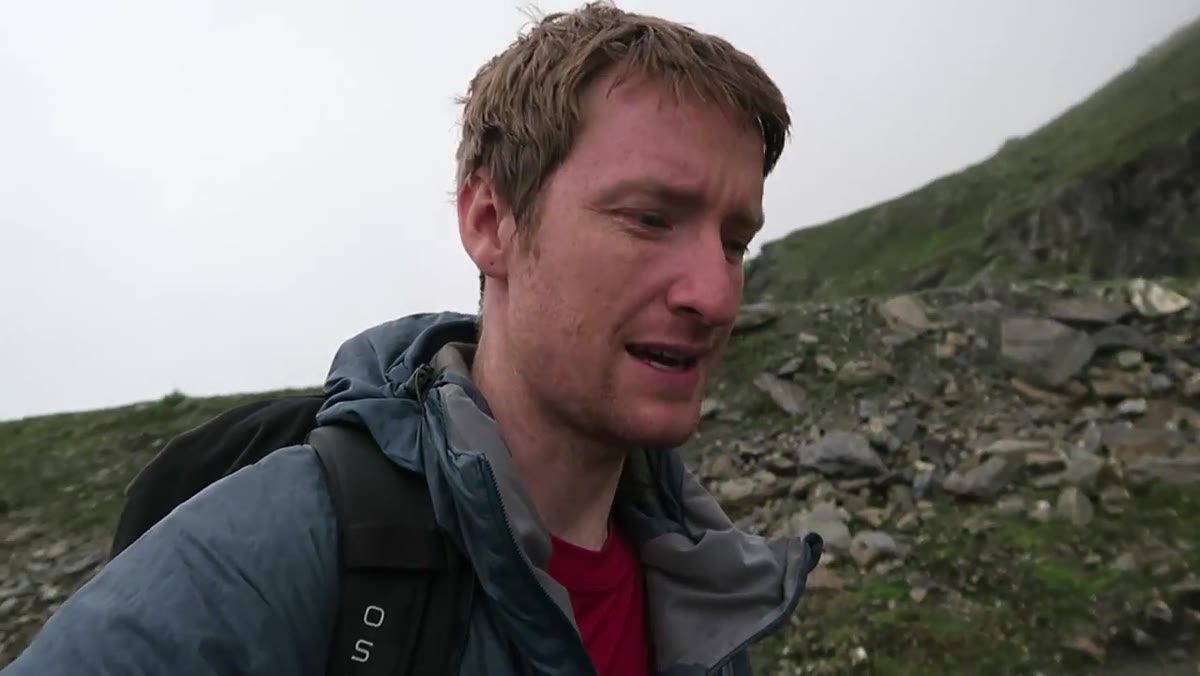
The alpenglow Heaton was hoping for on the glacier never comes. The clouds move in, the visibility drops, and the sweeping mountain panorama goes away. He keeps the camera out. This is the discipline that separates photographers who come home with work from ones who come home with excuses. Moody, overcast light in mountain terrain produces a completely different kind of image, often more intimate and atmospheric than the postcard version. Waterfalls, foreground texture, the hut itself against the mist, the ice at close range. When the big view closes, the small view often opens.
Low cloud and rain obscuring alpine peaks above the hut
The alpenglow Heaton was hoping for on the glacier never comes. The clouds move in, the visibility drops, and the sweeping mountain panorama goes away. He keeps the camera out. This is the discipline that separates photographers who come home with work from ones who come home with excuses. Moody, overcast light in mountain terrain produces a completely different kind of image, often more intimate and atmospheric than the postcard version. Waterfalls, foreground texture, the hut itself against the mist, the ice at close range. When the big view closes, the small view often opens.
What I’d Add: The Case for Shooting Film on a Trek Like This
I still carry a film camera on long mountain trips occasionally, not because it’s better, but because it forces me to slow down in exactly the way a difficult approach demands. When you know you have 36 frames and no way to check the back of the camera, you look harder before you press the shutter. You ask whether the scene actually justifies the frame. That habit of questioning transfers back to digital work. If you’ve never tried it, one roll of black and white film on a mountain day would fit perfectly with the contrast-driven approach Heaton describes here.
The single most important takeaway from this tutorial is one Heaton models more than he states outright: conditions are not permission. Bad light, incoming rain, midday harshness, lost alpenglow, none of it is a reason to put the camera away. The photographers who build a real body of work from mountain locations are the ones who treat every hour in the field as an opportunity, not just the ones that match the forecast. Watch the full tutorial on YouTube to follow the full three-day trek and see exactly how Heaton navigates each of these decisions as they happen.
Comments
Leave a Comment