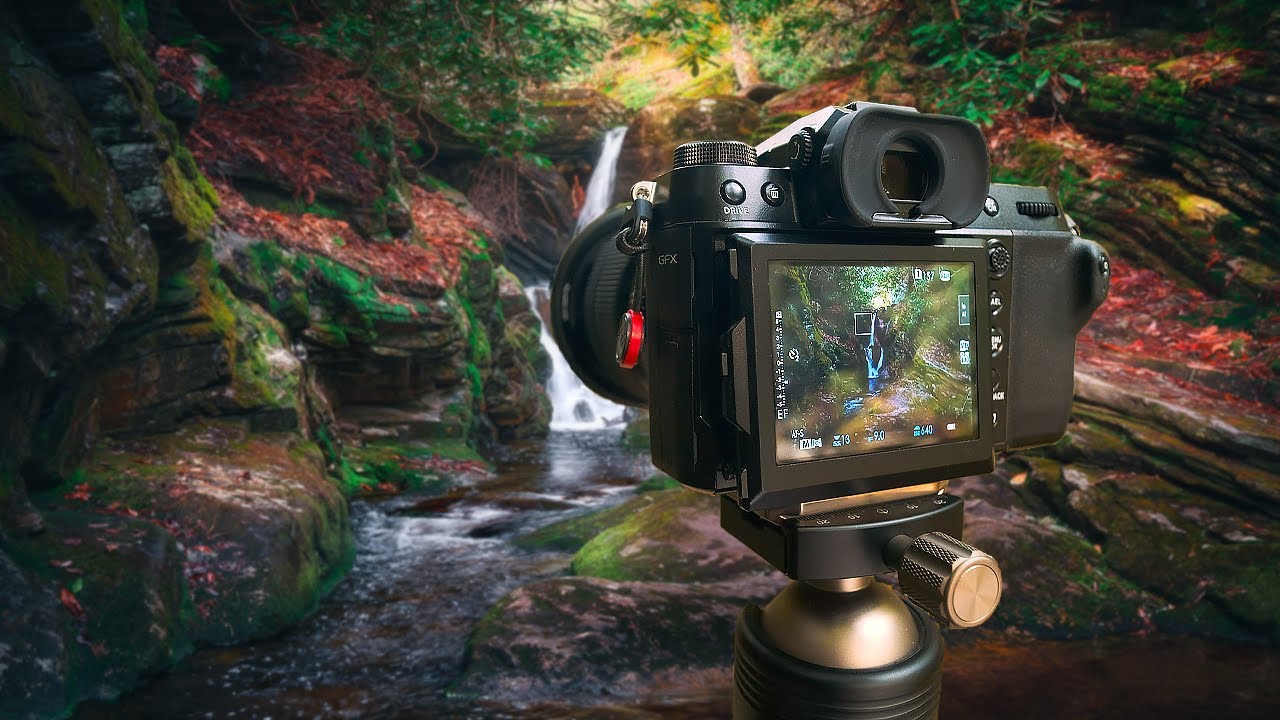
There’s a particular kind of morning I know well. You’ve hiked in before first light, the trail is wet, and the location you planned on is not cooperating. The waterfall is blowing out, the light is flat, or the flow is so heavy it looks like a fire hose rather than a cascade. What you do in that moment, whether you adapt or pack up in frustration, is what separates a productive shoot from a wasted one. That’s exactly the scenario Mark Denney walks into in this field tutorial shot in the Blue Ridge Mountains, and the way he handles it is worth studying. Watch the full tutorial on YouTube before or after reading this breakdown.
In this Mark Denney tutorial, he’s testing the Fuji GFX100s, a 102-megapixel medium format camera, on a real location, on a real morning that isn’t going the way he planned. Overnight rain had pushed the local waterfall into heavy, churning flow. Rather than force a shot that wasn’t there, he pivots to a spot he’d walked past a dozen times without a second look. That decision, and everything that follows in terms of camera settings, filter use, and compositional problem-solving, is the actual lesson. I’ve been doing this for twenty years and I still catch myself nodding along when someone else articulates a process I recognize from my own mornings.
Step 1: Read the Conditions Before You Set Up the Tripod
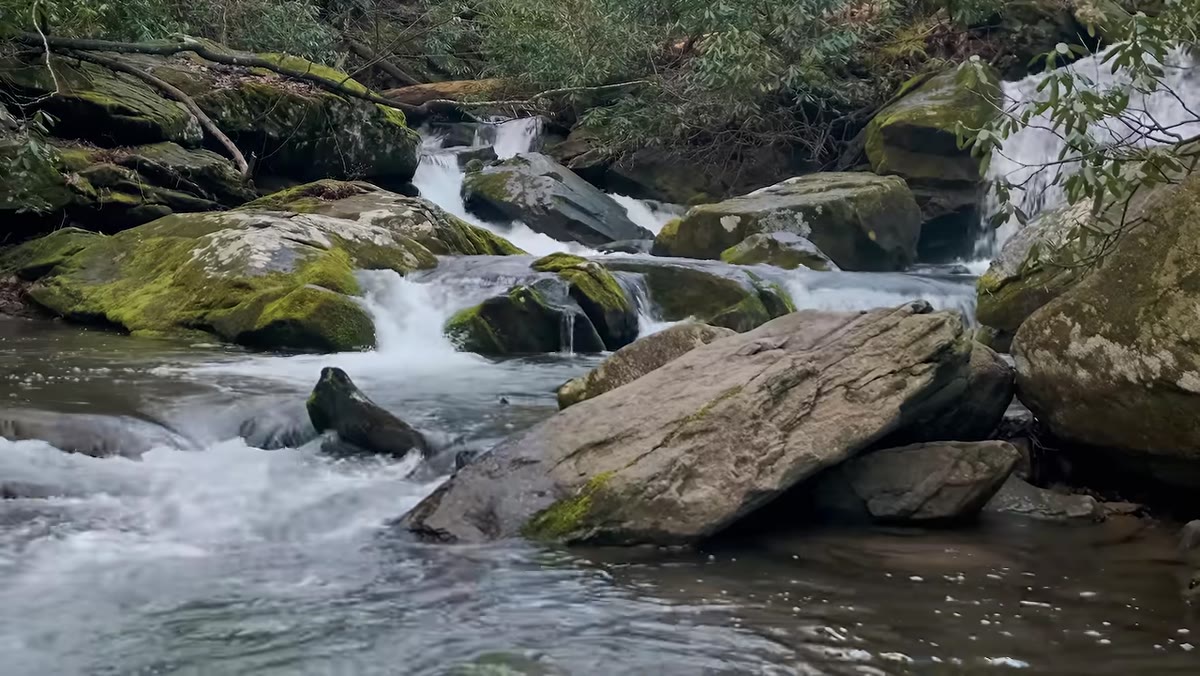
 Swollen waterfall with heavy post-rain flow visible
When Denney arrives and sees the waterfall running too hard, he doesn’t argue with it. He assesses it quickly and makes a call. Heavy overnight rain had saturated the watershed, and the result was thick, blown-out columns of water rather than the delicate, layered flow that photographs well. His reasoning is straightforward: the visual appeal of a waterfall often lives in its detail, the individual threads of water catching light, the texture of the cascade. When the volume is too high, all that texture collapses into white noise.
Swollen waterfall with heavy post-rain flow visible
When Denney arrives and sees the waterfall running too hard, he doesn’t argue with it. He assesses it quickly and makes a call. Heavy overnight rain had saturated the watershed, and the result was thick, blown-out columns of water rather than the delicate, layered flow that photographs well. His reasoning is straightforward: the visual appeal of a waterfall often lives in its detail, the individual threads of water catching light, the texture of the cascade. When the volume is too high, all that texture collapses into white noise.
Before you ever open your bag, spend two or three minutes watching the water move. Look for whether the flow is giving you structure or destroying it. If it’s the latter, start scanning the surrounding river corridor. Some of my best images have come from stretches of water fifty yards upstream from the headline feature because the conditions were actually working there.
Step 2: Find the Location the Conditions Created for You
 Photographer arriving at alternate spot along the river
Rather than hiking to the main waterfall and accepting a compromised shot, Denney backtracks to a section of river he’d passed without much interest. With the elevated water level, that stretch had come alive with its own movement and character. He notes plainly that it never caught his eye before because, under normal conditions, it simply wasn’t interesting enough. The rain changed that.
Photographer arriving at alternate spot along the river
Rather than hiking to the main waterfall and accepting a compromised shot, Denney backtracks to a section of river he’d passed without much interest. With the elevated water level, that stretch had come alive with its own movement and character. He notes plainly that it never caught his eye before because, under normal conditions, it simply wasn’t interesting enough. The rain changed that.
This is a mindset shift worth internalizing. Conditions that ruin your original plan often create something elsewhere. I learned this the hard way after driving six hours to a coastal headland, sitting in fog for two days, and coming home with a single frame taken fifty feet from the parking lot. That shot became my best-selling print. The location I planned to shoot never revealed itself. The fog-soaked rocks right in front of me did. Start thinking of difficult conditions as a scouting tool.
Step 3: Dial In Your Starting Exposure for Water Movement
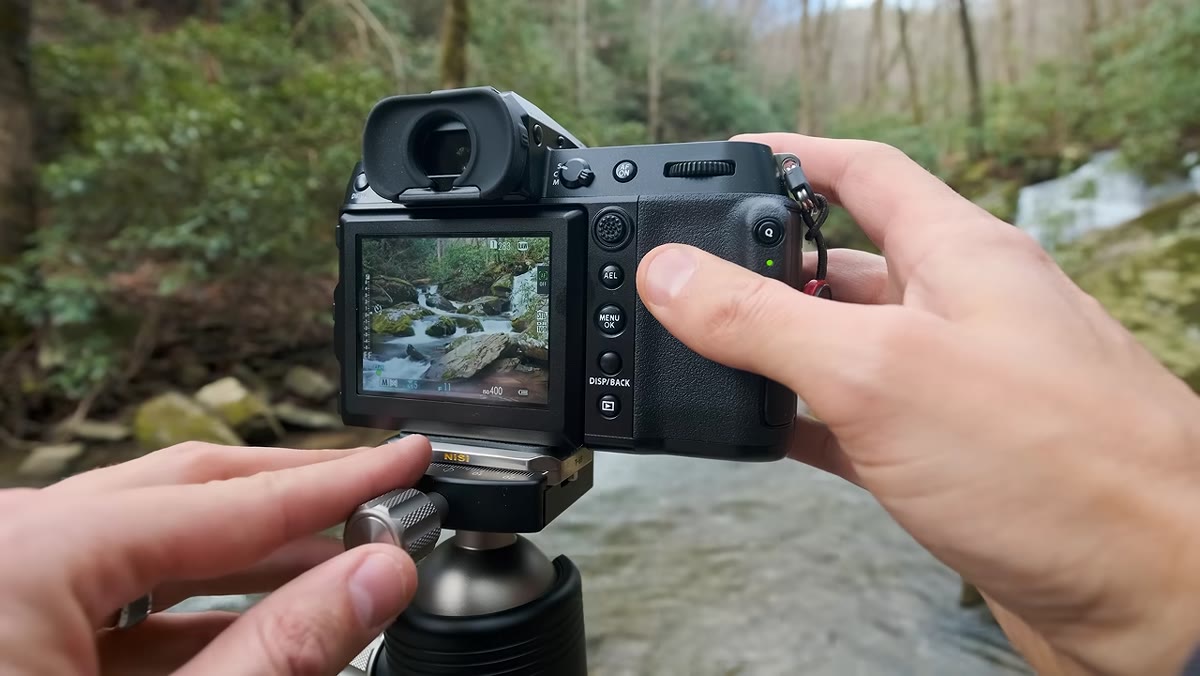 Camera screen showing f11, 1/5 second, ISO 400 settings
Once Denney is set up at his alternate spot, he begins with f11, a shutter speed of one-fifth of a second, and ISO 400. This is a considered starting point rather than a guess. The aperture choice keeps depth of field broad across a scene with near and far elements. The shutter speed is long enough to show water movement but short enough to preserve some texture and definition in the flow.
Camera screen showing f11, 1/5 second, ISO 400 settings
Once Denney is set up at his alternate spot, he begins with f11, a shutter speed of one-fifth of a second, and ISO 400. This is a considered starting point rather than a guess. The aperture choice keeps depth of field broad across a scene with near and far elements. The shutter speed is long enough to show water movement but short enough to preserve some texture and definition in the flow.
He’s explicit that this is a starting point for experimentation, not a prescribed formula. After reviewing the first shot, he finds the motion blur too heavy, the water too soft and undefined. His response is to increase ISO slightly and shorten the shutter speed together, trading some sensor cleanliness for sharper water detail. At 102 megapixels, the GFX100s gives him enough headroom in resolution that a modest ISO bump doesn’t cost him much. On a lower-resolution body, you’d make the same trade-off but you’d want to keep ISO as contained as possible.
Step 4: Use a Circular Polarizing Filter, Non-Negotiable
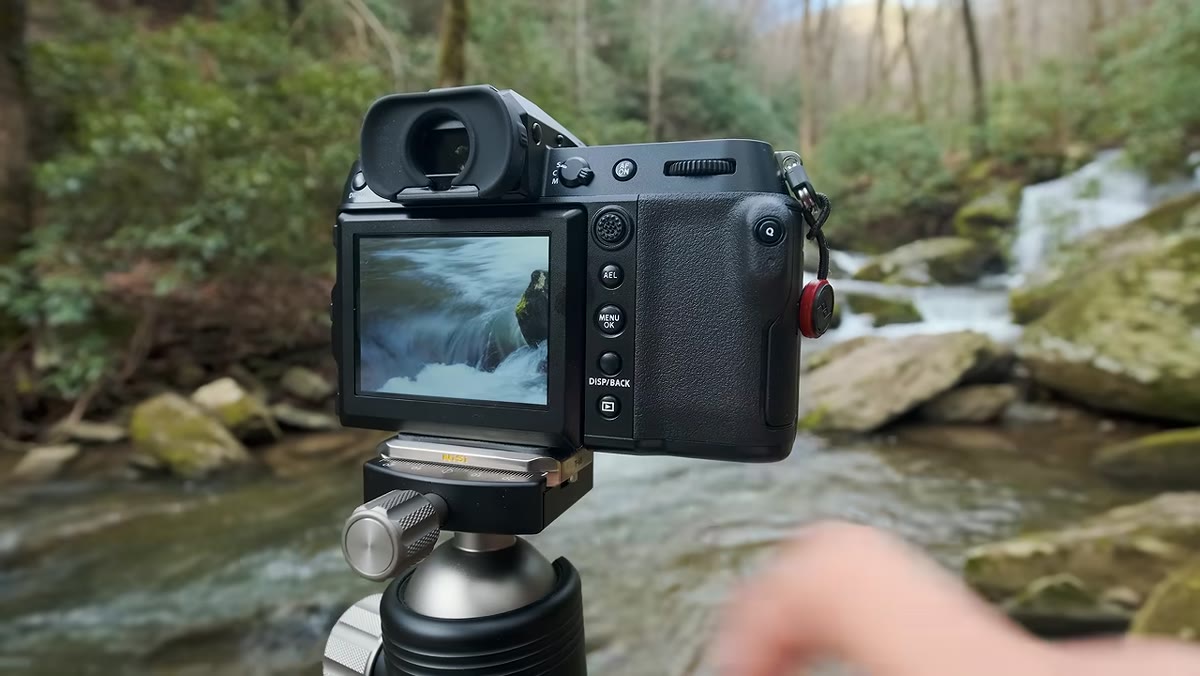
 Side-by-side comparison showing polarizer on and off over water
Denney calls the circular polarizing filter essential when photographing water, and I’ll second that without hesitation. He shows the before-and-after on the camera’s rear screen and the difference is significant. Without the polarizer, the water surface is carrying a film of white glare that flattens everything, washing out the color and obscuring the riverbed detail below. With it dialed in correctly, the glare lifts, the water takes on depth and color, and the whole scene reads with far more dimension.
Side-by-side comparison showing polarizer on and off over water
Denney calls the circular polarizing filter essential when photographing water, and I’ll second that without hesitation. He shows the before-and-after on the camera’s rear screen and the difference is significant. Without the polarizer, the water surface is carrying a film of white glare that flattens everything, washing out the color and obscuring the riverbed detail below. With it dialed in correctly, the glare lifts, the water takes on depth and color, and the whole scene reads with far more dimension.
Rotate the polarizer slowly while watching your live view or rear screen. The effect changes as you turn it, and the optimal position depends on your angle to the light source. For water specifically, you’re not just cutting glare. You’re recovering the visual depth of the water column itself, which completely changes how a river reads in a finished image.
Step 5: Review and Refine on Location, Not at Your Desk
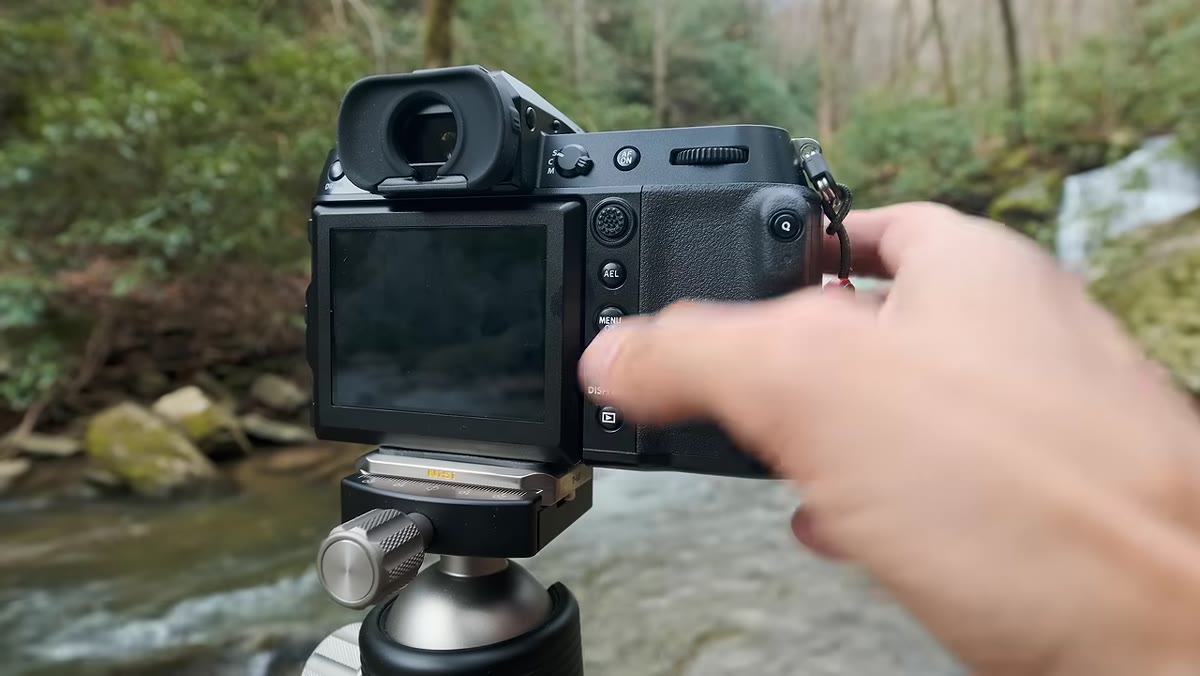
 Photographer zooming in on rear screen to check detail
One thing that stands out in Denney’s process is how deliberately he uses the camera’s playback. After each frame, he zooms into the image on the rear screen, not to pixel-peep in an obsessive way, but to make a specific judgment: is the water motion where he wants it, and is the detail holding up. With a 102-megapixel file, there is a real advantage here. The resolution is high enough that what you see at 100% on a small rear screen is genuinely informative about whether the image will hold up on a large print.
Photographer zooming in on rear screen to check detail
One thing that stands out in Denney’s process is how deliberately he uses the camera’s playback. After each frame, he zooms into the image on the rear screen, not to pixel-peep in an obsessive way, but to make a specific judgment: is the water motion where he wants it, and is the detail holding up. With a 102-megapixel file, there is a real advantage here. The resolution is high enough that what you see at 100% on a small rear screen is genuinely informative about whether the image will hold up on a large print.
Most of us don’t review critically enough in the field. We chimp quickly and move on. Build a habit of checking one specific thing per review, shutter speed effect on the water, highlight retention, depth of field across the scene. Give yourself a question before you press the shutter, then answer it during review.
What I’d Add From Twenty Years at the Water’s Edge
The one thing this tutorial doesn’t address directly is time. Denney is working efficiently, adapting and solving problems in real time, which is the right approach. But some river scenes need you to simply wait. Water changes. Light changes. A cloud can soften harsh contrast in minutes. I never set up and immediately shoot the frame I think I want. I set up, I look, and I wait a few minutes before committing. It costs nothing and it catches the moments between moments, a ripple pattern, a shaft of light, a brief drop in flow. My mentor used to say the mountain doesn’t care about your schedule. Neither does the river.
The single most transferable idea in Denney’s tutorial is the willingness to let go of the planned shot and see what the conditions are actually offering. Every difficult morning has a photograph in it somewhere. Your job is to stop insisting on the one you came for and start looking for the one that’s already there.
Watch the full tutorial on YouTube to see Denney’s process in real time, including the camera comparisons and filter work that are much clearer in motion than on a page.
Comments
Leave a Comment