Winter has a way of humbling you. Not the cinematic kind of winter with hoarfrost on the branches and alpenglow on fresh snow. I mean the other kind: grey, wet, flat, stubborn. The kind that shows up without drama and makes every composition look like a used dishrag. After twenty years shooting landscapes full-time, I still wrestle with those days. So when I came across a recent First Man Photography tutorial that documents exactly this kind of shoot, a winter day in northern England that refused to behave, I watched it twice. Watch the full tutorial on YouTube and you’ll see a photographer making real decisions under real pressure, which is more instructive than any perfectly lit demo.
What makes this video worth breaking down is that it captures something most tutorials skip: the moment when your plan meets the actual day and loses. The creator heads out with two targets, waterfall shots in the morning and a sunset in the afternoon, and has to adapt on the fly when conditions flip his forecast upside down. That’s the job. Not the gear, not the golden hour. The problem-solving. Here’s how he works through it, and how I’d apply the same thinking on my own shoots.
Step 1: Plan Around the Weather, Not Against It
 Weather forecast discussed while preparing to leave for shoot
Before leaving the house, the creator checks his forecast and immediately structures his day in two halves. Rain in the morning means he routes himself to a waterfall location first. Why? Because overcast, even rainy, light is genuinely ideal for moving water. You want flat, even illumination so your long exposure can render the silk-smooth motion of the falls without harsh shadows burning out your highlights. He saves the open landscape work for the afternoon, when the forecast promises clearing skies and a potential sunset.
Weather forecast discussed while preparing to leave for shoot
Before leaving the house, the creator checks his forecast and immediately structures his day in two halves. Rain in the morning means he routes himself to a waterfall location first. Why? Because overcast, even rainy, light is genuinely ideal for moving water. You want flat, even illumination so your long exposure can render the silk-smooth motion of the falls without harsh shadows burning out your highlights. He saves the open landscape work for the afternoon, when the forecast promises clearing skies and a potential sunset.
This kind of location sequencing is something I build into every shoot day. Before I leave Bend at 4am, I know which locations tolerate flat light and which ones need directional sun or a clean horizon. Commit to a sequence the night before. It keeps you from wandering and burning the best light window.
Step 2: Choose Locations That Don’t Depend on Sky Colour
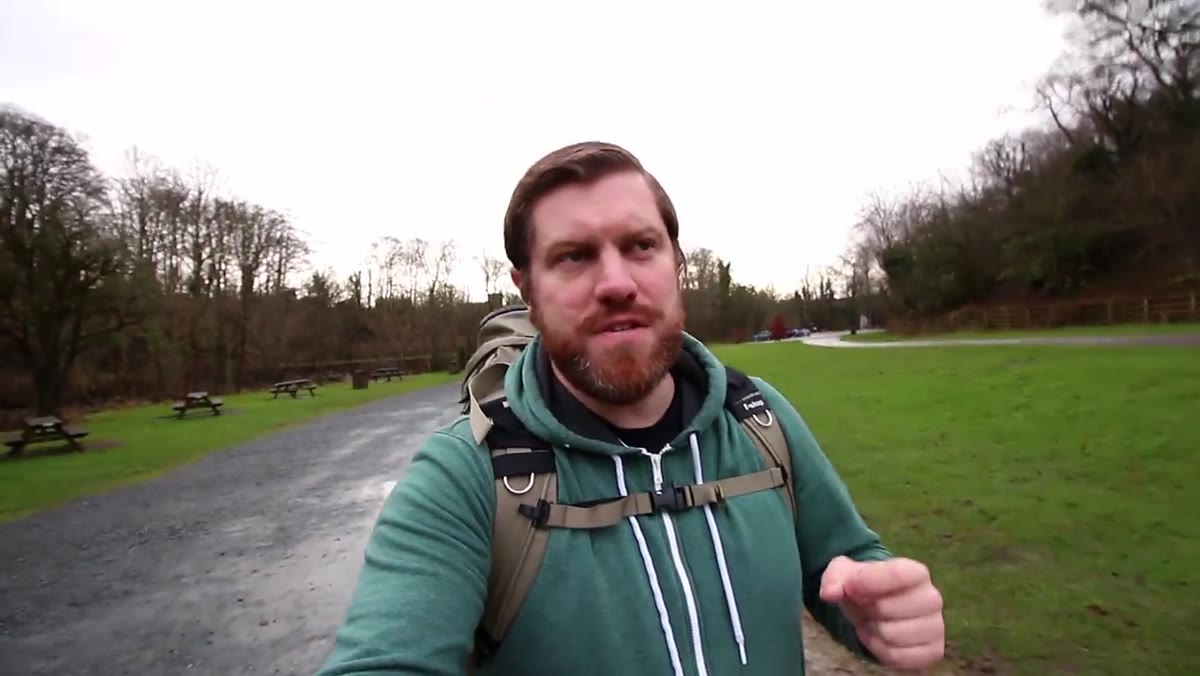 Arriving at Ingleton Waterfalls trailhead, sound of rushing water audible
The location he chooses, Ingleton Waterfalls in the Yorkshire Dales, is significant for one reason: the sky is largely irrelevant there. The waterfalls run through a wooded gorge, so your frame is mostly water, rock, and vegetation. No sky, no problem. This is the core logic behind waterfall photography in winter: you’re trading the need for atmospheric conditions for the guaranteed drama of moving water.
Arriving at Ingleton Waterfalls trailhead, sound of rushing water audible
The location he chooses, Ingleton Waterfalls in the Yorkshire Dales, is significant for one reason: the sky is largely irrelevant there. The waterfalls run through a wooded gorge, so your frame is mostly water, rock, and vegetation. No sky, no problem. This is the core logic behind waterfall photography in winter: you’re trading the need for atmospheric conditions for the guaranteed drama of moving water.
When you’re scouting for a grey-day backup location, look for scenes that are self-contained. Gorges, forest interiors, rocky stream beds, and slot canyons all work this way. The light is diffused by the canopy or the walls of the geography, and the subject generates its own visual energy. You’re not waiting on the sky to perform.
Step 3: Look for Incidental Stories Along the Trail
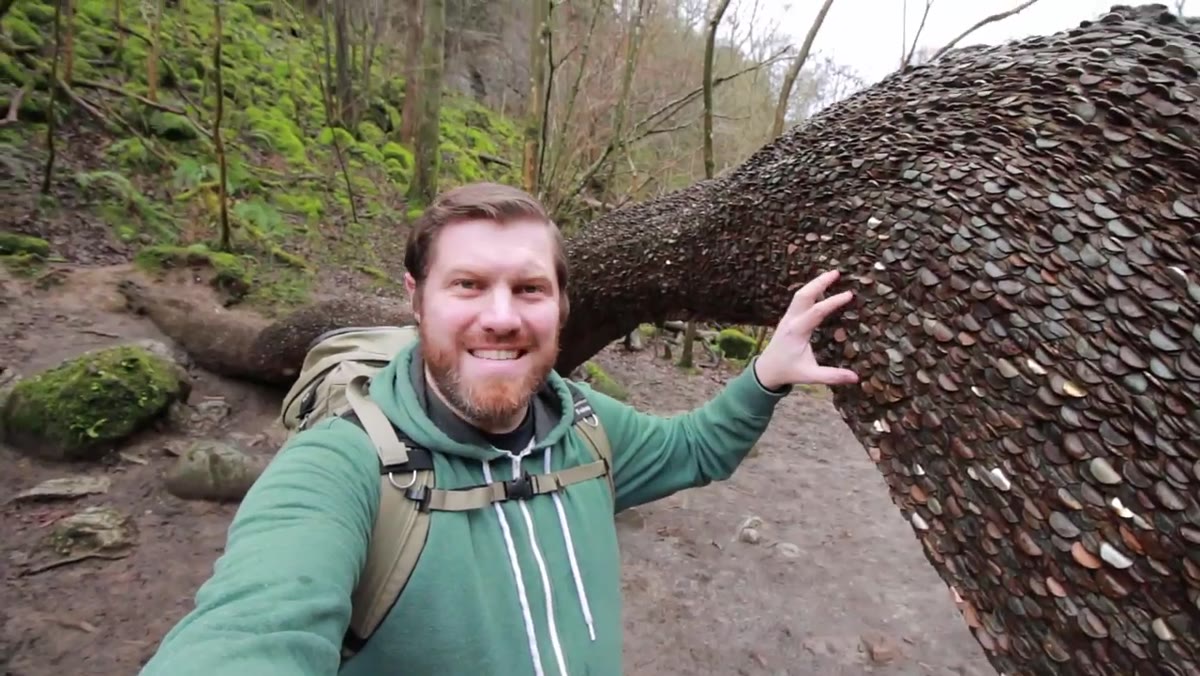 Close-up of the “money tree” with coins pressed into bark
On the walk in, he stops at what locals call the money tree, a fallen trunk with coins pressed into the bark by passing walkers over many years. He pulls out the camera for a macro-style shot, then considers a wider frame to give the image context. This is a small but important instinct: incidental subjects tell the story of a place as much as the headline feature does.
Close-up of the “money tree” with coins pressed into bark
On the walk in, he stops at what locals call the money tree, a fallen trunk with coins pressed into the bark by passing walkers over many years. He pulls out the camera for a macro-style shot, then considers a wider frame to give the image context. This is a small but important instinct: incidental subjects tell the story of a place as much as the headline feature does.
I always walk a location before I set the tripod. The money tree moment is a good example of why. You find compositions you wouldn’t have planned for, details that give a finished portfolio depth beyond the obvious shot. On a grey winter day, these smaller frames often end up being the strongest images because you’re working with compressed scenes where light management is easier.
Step 4: Understand Why Overcast Light Works for Water
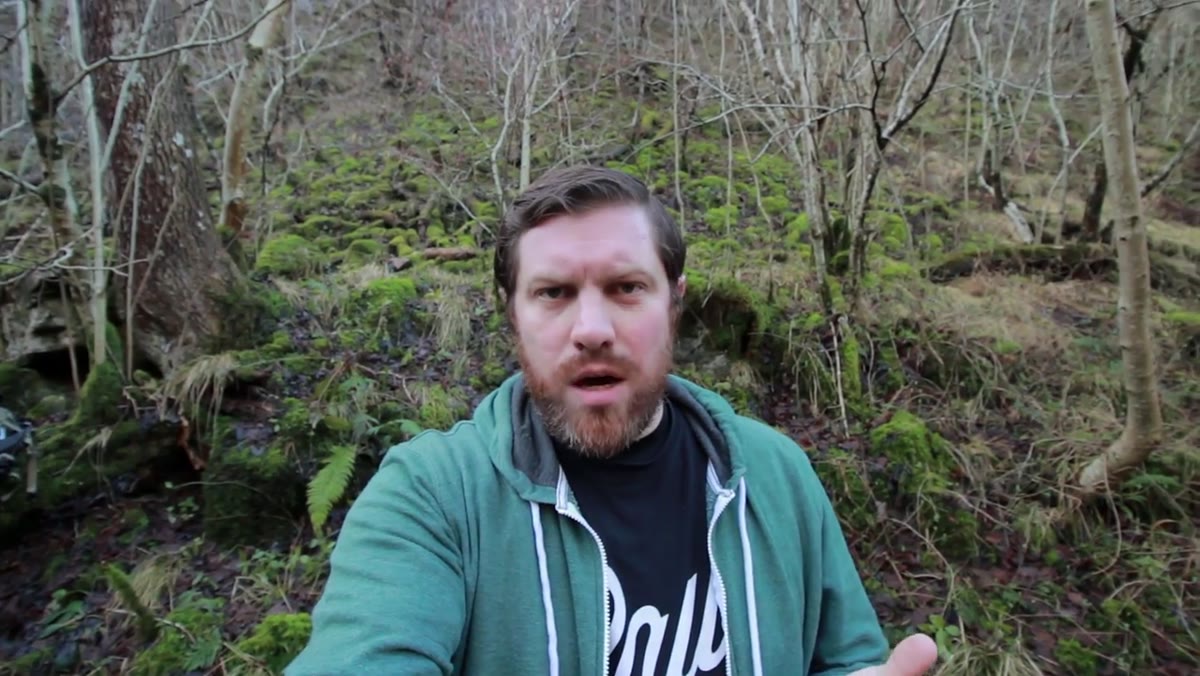 Creator explaining winter photography challenges on the trail
He takes a moment here to explain the fundamental trade-off in winter landscape work. No snow or ice means you lose the drama of frozen surfaces. Bare trees without leaves reduce colour. A grey sky gives you nothing to work with above the horizon. The two exits, he argues, are abstraction and long exposure, or a subject like a waterfall that generates its own interest regardless of ambient colour.
Creator explaining winter photography challenges on the trail
He takes a moment here to explain the fundamental trade-off in winter landscape work. No snow or ice means you lose the drama of frozen surfaces. Bare trees without leaves reduce colour. A grey sky gives you nothing to work with above the horizon. The two exits, he argues, are abstraction and long exposure, or a subject like a waterfall that generates its own interest regardless of ambient colour.
The technical reason overcast works for waterfalls is contrast ratio. Direct sun creates bright highlights on the white water and deep shadows in the surrounding rock and moss. Your camera sensor can’t hold both ends simultaneously. Flat cloud cover brings the dynamic range of the scene down to something you can actually expose correctly. Set your aperture between f/8 and f/11, use a polarising filter to cut surface glare on the wet rocks, and start with a shutter speed around half a second to one second for moderate flow. Adjust from there based on the volume of water.
Step 5: Know When to Walk Away From a Shot
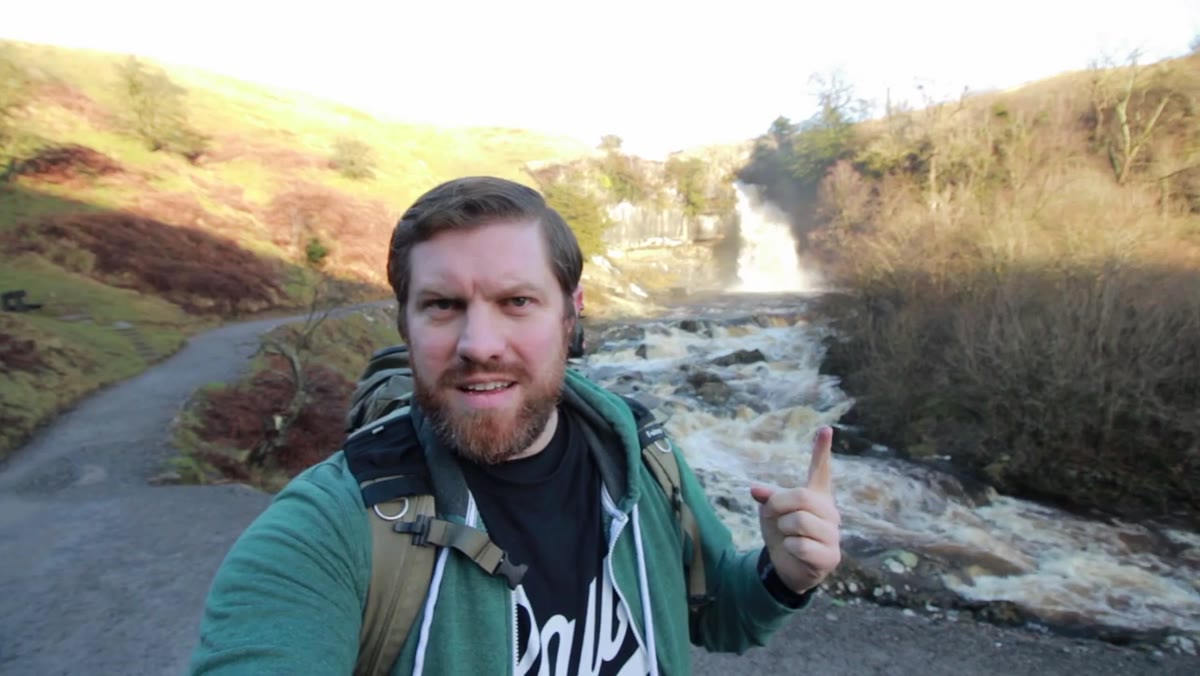 Creator at the main falls, explaining spray and contrast problems
This is the step most tutorials leave out. At the main waterfall, he runs into two simultaneous problems: the sun breaks through and creates too much contrast for a clean exposure, and the volume of water after heavy rain is generating so much spray that it’s landing on the lens. He tries. He watches another photographer try. He concludes the shot isn’t there and heads back to the car.
Creator at the main falls, explaining spray and contrast problems
This is the step most tutorials leave out. At the main waterfall, he runs into two simultaneous problems: the sun breaks through and creates too much contrast for a clean exposure, and the volume of water after heavy rain is generating so much spray that it’s landing on the lens. He tries. He watches another photographer try. He concludes the shot isn’t there and heads back to the car.
Walking away is not failure. It is information. I’ve driven six hours to a location and sat in fog for two days, come home with one usable frame, and that frame became my best-selling print. But I’ve also wasted full afternoons forcing compositions that weren’t going to work because I didn’t want to admit the conditions had beaten me that day. Cut your losses early and redirect energy toward what is actually possible.
A Note on Managing Lens Spray at High-Volume Falls
High rainfall events create a category problem that the video surfaces but doesn’t fully resolve. When a waterfall is running at flood volume, the spray radius expands dramatically and you can be standing fifteen feet back and still have water droplets on your glass within seconds. A few things help. A lens hood is the first line of defence. A microfibre cloth in your pocket for constant wiping is essential. A rain sleeve or weather cover over the body protects your electronics. But sometimes, as the creator finds here, the shot simply isn’t accessible that day and the right answer is to return after water levels drop.
The single most important thing this tutorial demonstrates is that a good field photographer plans in layers. You have a primary goal, a contingency goal, and the flexibility to abandon both if the conditions make them unworkable. Rigid plans produce frustration. Layered plans produce images.
The creator’s honest, unscripted account of a day that fought him is more useful than a polished tutorial filmed under perfect conditions, because that’s the day you’re actually going to have most of the time.
Watch the full tutorial on YouTube to follow the complete day, including the sunset attempt later in the afternoon when the weather finally flips.
Comments
Leave a Comment