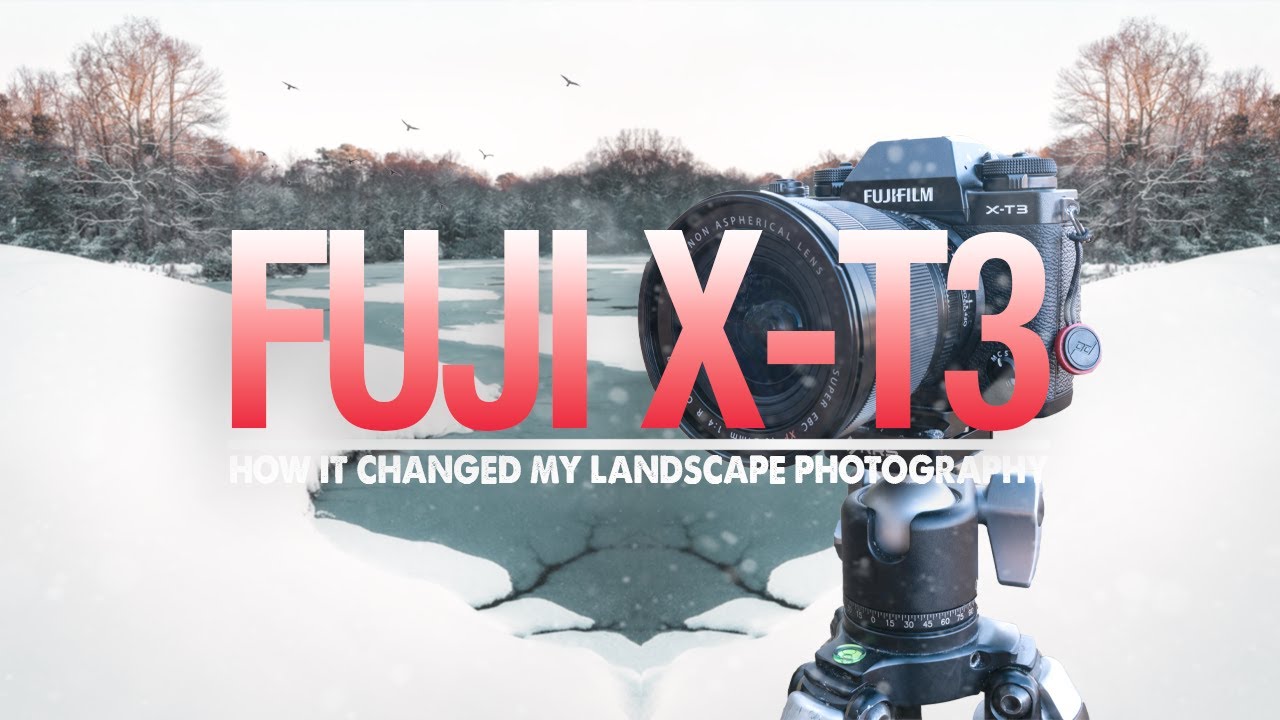
There’s a certain kind of photographer who upgrades their camera the way some people renovate a kitchen – convinced that more will finally be enough. I was that photographer for the better part of a decade. I chased megapixels from one system to the next, pixel-peeping my way through folders of sharp, technically correct, emotionally flat images. It took me an embarrassingly long time to understand that resolution was never the problem. Watch the full tutorial on YouTube
In this Mark Denney tutorial, he walks through five lessons he learned after spending twelve months shooting with a Fujifilm X-T3 – a camera he originally bought just to film YouTube videos, with no intention of using it for his serious landscape work. What unfolds is one of the more honest gear conversations I’ve seen from a working landscape photographer. Denney shoots Sony as his primary system and had every reason to dismiss the Fuji as a toy. Instead, it quietly rewired how he thinks about image quality, sharpness, and what “better” actually means in the field.
I’m sharing this because his experience mirrors something I had to learn the hard way myself – standing in the dark at 4am with a camera that had twice the resolution of what I actually needed, wondering why my prints still didn’t feel alive. These lessons are worth sitting with.
Step 1: Recognize the Megapixel Trap You’re Already In
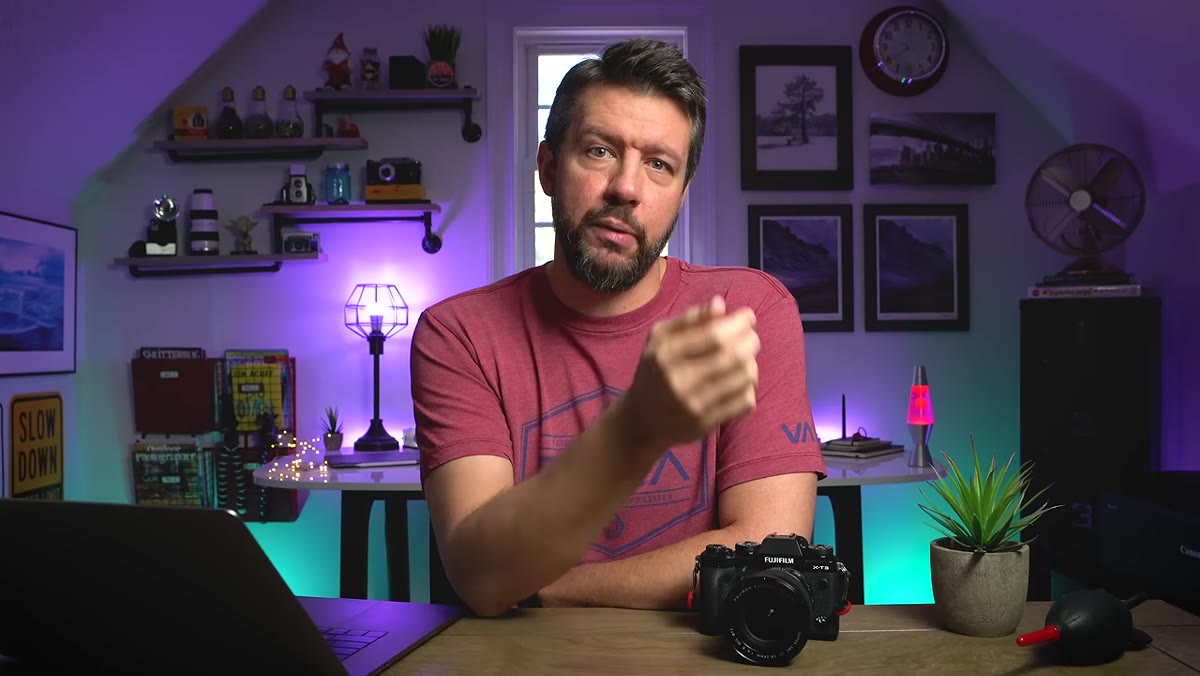
 Mark describing his obsession with pixel-peeping after trips
Denney describes the familiar ritual of coming home from a shoot, loading images, and immediately zooming to 100% to evaluate sharpness – barely glancing at the composition or the feeling of the image. If you’ve done this, you already know the trap. The number on the spec sheet becomes a surrogate for quality, and quality becomes something you measure rather than feel.
His honest admission is that moving from a 26-megapixel Fuji to a 42-megapixel Sony didn’t produce better photographs – it produced sharper ones. Those are not the same thing. Before you buy your next body, ask yourself when you last printed larger than 24 inches, and whether anyone standing in front of that print cared about resolving power at the pixel level.
Step 2: Compare the Same Scene Across Systems Before Drawing Conclusions
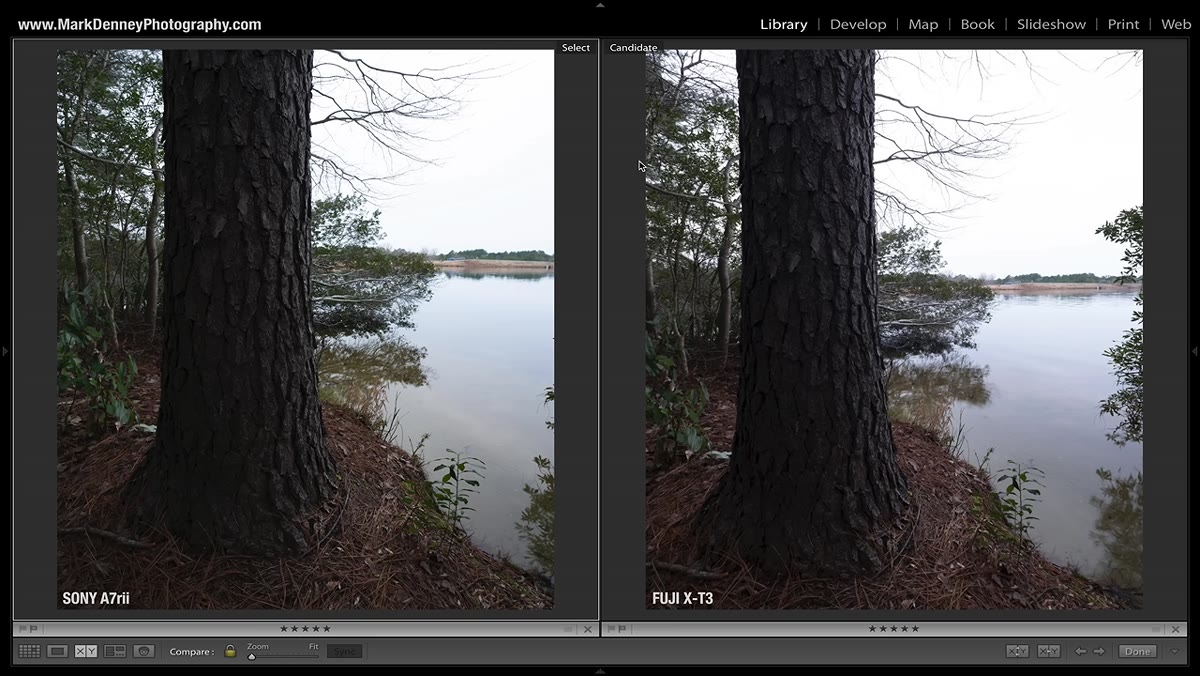 Side-by-side comparison of Sony a7R II and Fujifilm X-T3 images on screen
Denney does something most gear reviewers avoid: he puts the images side by side with real transparency about the lenses involved. The Sony is paired with a 16-35mm G Master, which he calls the finest lens he’s used. The Fuji runs a 10-24mm, also a strong performer. He’s not cooking the comparison in the Fuji’s favor – he’s being straight about what each system is actually capable of.
When you run your own comparisons, match the shooting conditions as closely as possible. Same light, same focal length equivalent, same distance to subject. The differences you find will probably be smaller than you expected, and the differences you find will tell you something useful about where resolution actually lives in the image-making chain – which is often the lens and the light, not the sensor.
Step 3: Audit Your Own Sharpening Habits
 Mark discussing how he stopped heavy sharpening and started softening images
Denney mentions that over time he stopped sharpening his landscape images aggressively and began moving in the opposite direction – applying softening effects to create a more painterly, organic feel. This is worth pausing on because it cuts against almost everything the landscape photography community talks about in post-processing circles.
Look back at your last ten edits. If you’re routinely pushing clarity, texture, and sharpening all upward in the same image, you may be fighting against the mood the light was actually offering you. Not every image needs to look like it was etched into glass. Some of the most affecting landscape photographs I’ve made had a quiet softness to them that a heavy sharpening pass would have completely destroyed.
Step 4: Try Negative Clarity and the Orton Effect Deliberately
 Lightroom panel with negative clarity and texture adjustments demonstrated
The specific tools Denney uses to pull back from the over-sharpened digital look are negative clarity and negative texture in Lightroom, as well as Gaussian blur and the Orton effect in Photoshop. These aren’t new tools, but the intention behind using them is what matters here. He’s not fixing a bad image – he’s making a deliberate aesthetic choice to move away from what he calls the “digitally crisp, lifeless look.”
In Lightroom, try pulling clarity down to somewhere between -15 and -30 on a foggy or golden-hour image before you do anything else. Notice what it does to the emotional temperature of the frame. In Photoshop, the Orton effect involves duplicating your layer, applying a Gaussian blur, and blending it back at reduced opacity – typically somewhere between 30 and 60 percent depending on the scene. Use it lightly. The goal is atmosphere, not mist.
Step 5: Reframe What “Better” Means When You Evaluate a Camera
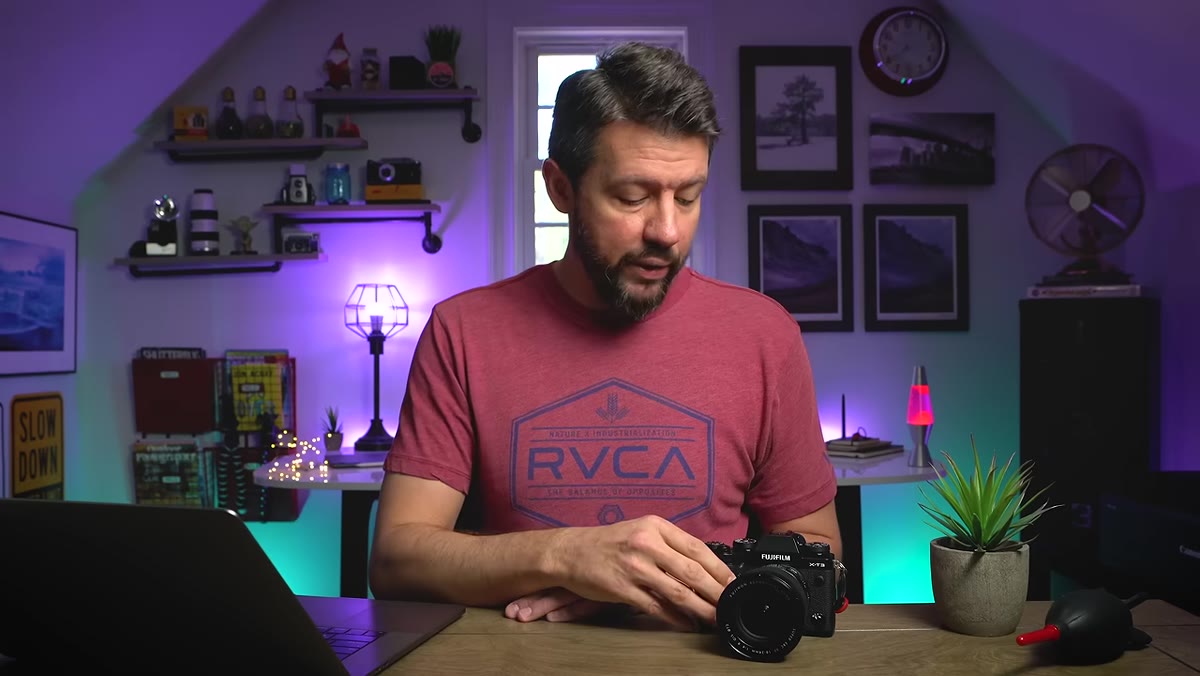 Mark explaining he slowly started shooting stills with the X-T3 over time
The deeper lesson running through Denney’s whole tutorial is that the camera he dismissed as a video tool ended up teaching him things his primary system couldn’t – not because it was technically superior, but because it removed assumptions. When you pick up a camera without expectations, you photograph differently.
This is why I still pull out a film camera a few times a year. Not for nostalgia, but because a 36-exposure roll forces me to think before I press the shutter in a way that a 128GB card never will. A secondary camera – whether it’s a Fuji, a film body, or even a phone – can function the same way. It strips away the performance anxiety that comes with your “serious” gear and puts you back in contact with the image itself.
What I’d Add From Twenty Years in the Field
Denney’s five lessons circle around a single uncomfortable truth: most of us are optimizing for the wrong things. The cameras we’re shooting with today – even modest ones – are capable of producing exhibition-quality prints. The limiting factor stopped being the sensor a long time ago.
What I’ve found, particularly shooting the high desert around Bend in variable light conditions, is that the images I return to again and again were made when I was paying attention to the scene rather than the settings. The shot that became my best-selling print came from two days of sitting in fog with almost nothing to show for it. The one frame that finally came together had nothing to do with megapixels. It had everything to do with patience and being present when the light broke through.
If your current camera can focus accurately and handle the dynamic range of the scenes you’re shooting, the upgrade you probably need is not a new body. It’s a longer sit with the images you already have.
The single most important takeaway from Denney’s tutorial is this: resolution is a ceiling, not a floor. Once you’re above a certain threshold, it stops being the variable that separates a mediocre image from a meaningful one. Your editing intention and your aesthetic awareness matter far more than the number on the spec sheet.
Watch the full tutorial on YouTube and pay particular attention to how Denney frames the comparison between his systems – it’s more nuanced than a typical gear review, and the honesty in it is worth your time.
Comments
Leave a Comment