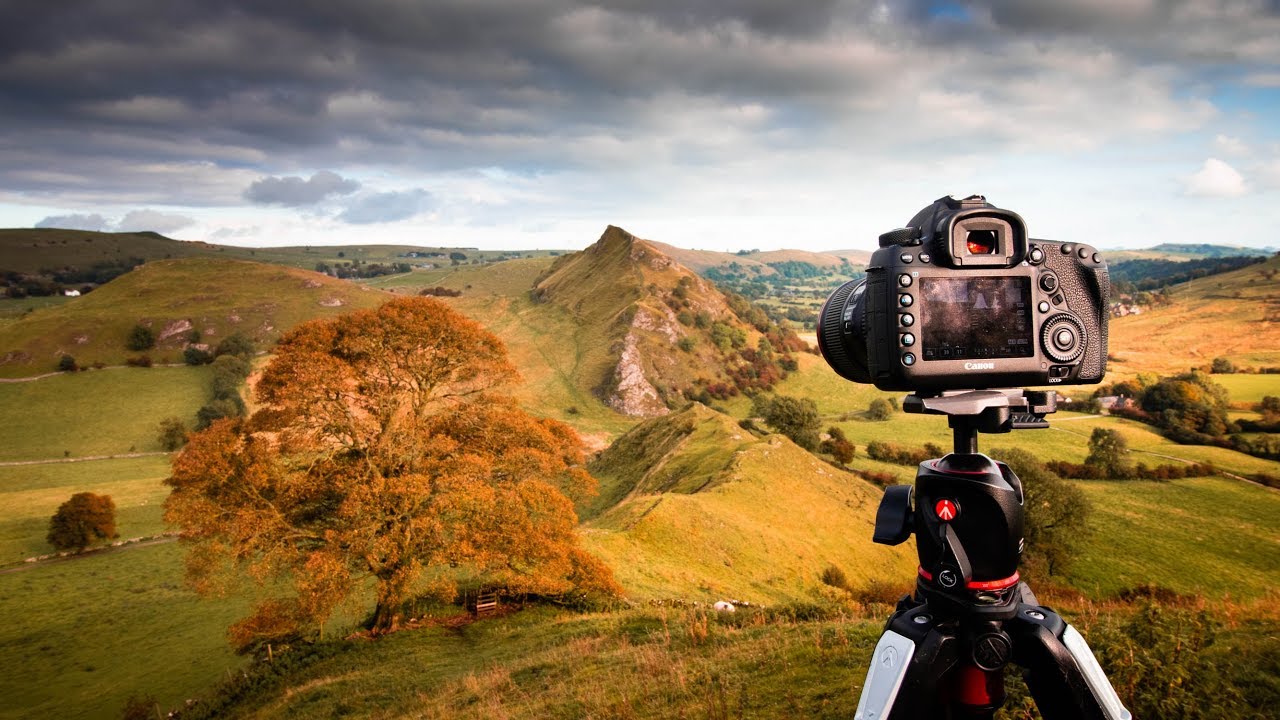
There is a particular kind of morning that every landscape photographer knows. The sky is gray, the light is flat, and that voice in your head starts asking whether you should have just stayed in bed. I have been dragging myself out at 4am for two decades, and I still feel that hesitation on overcast days. The question is not whether the light is perfect. The question is whether you have the compositional skills to make something worth keeping when it is not.
That is exactly the problem this tutorial tackles head-on. In this First Man Photography tutorial, Watch the full tutorial on YouTube, the photographer heads out for an early autumn shoot in changeable, unpredictable conditions and walks through how he finds and builds images when the light refuses to cooperate. What I appreciate about watching another working shooter think out loud in the field is that it confirms instincts I have built over years. It also sharpens a few habits I had gotten lazy about.
The core lesson here is one I tell students in my workshops constantly: flat light shifts the burden entirely onto your composition. When golden hour is doing half the work, you can get away with a weaker frame. When the sky is a gray sheet, shape, line, and structure have to carry everything. Here is how he works through it.
Step 1: Commit to Shooting Even When Conditions Are Uninspiring
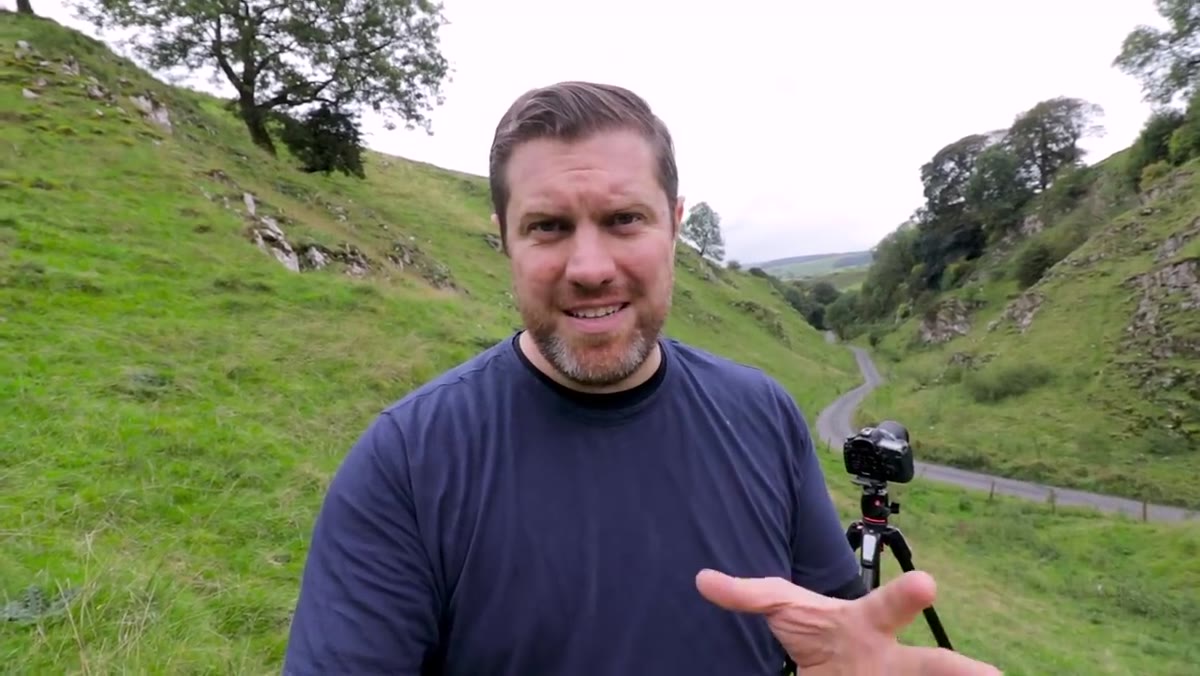
 Photographer at first location, overcast sky visible behind him
The first decision made on this shoot is also the most important one: he goes anyway. Changeable autumn weather, flat green light, no dramatic color to speak of. He makes the choice to treat the conditions as a constraint to work within rather than a reason to pack up. That mindset shift is the foundation of everything that follows. I have driven six hours to a location and sat in fog for two days. You learn to find the image that is actually there, not the one you planned on.
Step 2: Read the Scene for Shape Before You Reach for the Camera
 Wide view of road winding through small valley with cliffs and trees
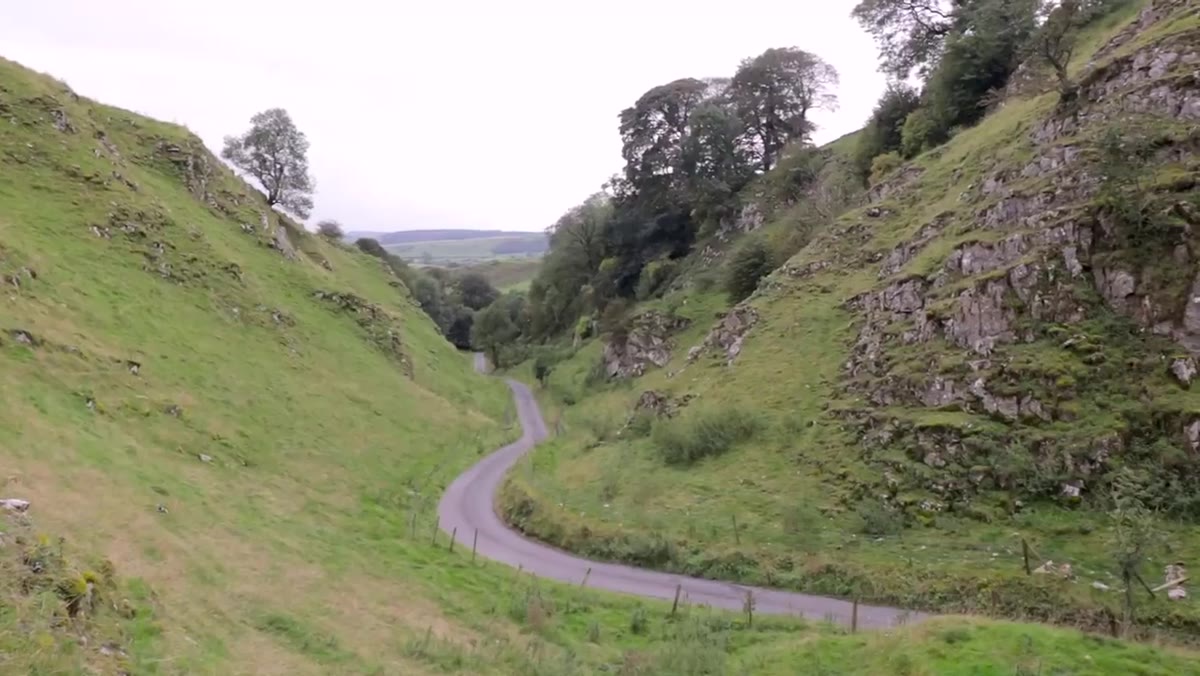
Before he touches a single camera setting, he reads the landscape in front of him. He identifies a winding road running through a small valley, impressive cliffs rising on one side, and interesting trees clinging to the top of the hill. The instinct most photographers have is to point the lens straight down the road. He deliberately resists that. Shooting directly down a leading line can simplify a scene so much that you lose the surrounding context that gives it atmosphere. He wants the cliffs. He wants the tree behind him. He is thinking about what the scene contains, not just what is directly in front of him.
Step 3: Find an Elevated Position to Reveal the Full Composition
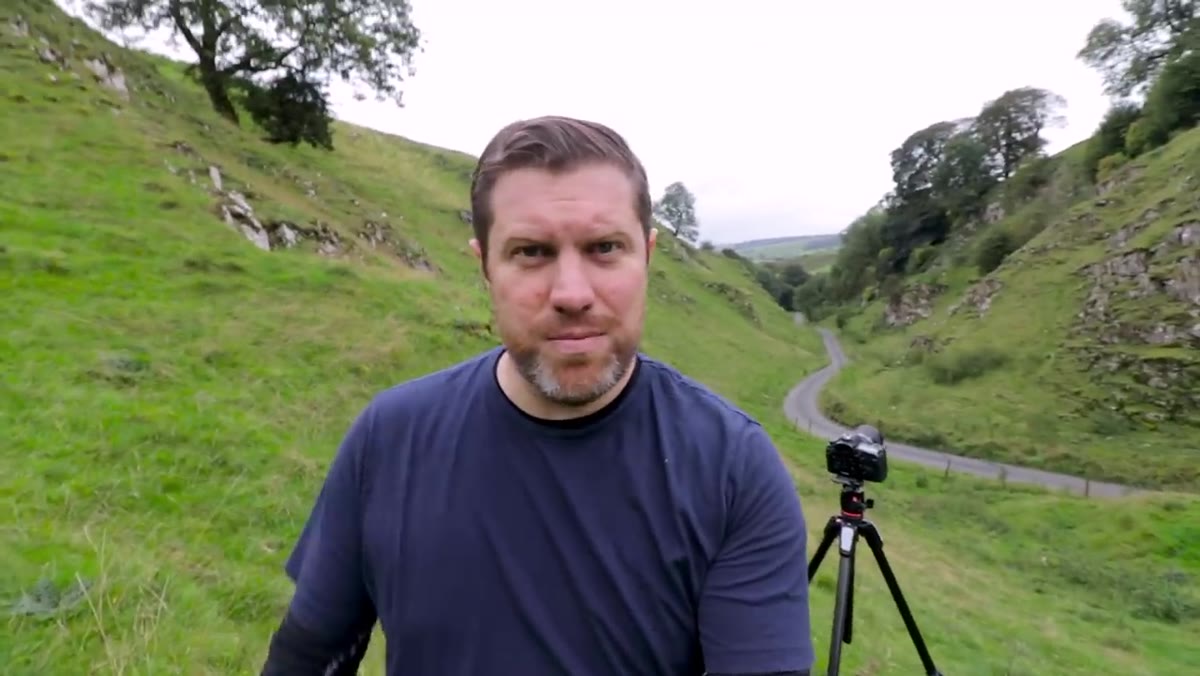 Camera positioned from raised vantage point showing road curves below
He moves to a raised position, which does two things at once. It reveals the curves in the road rather than just a straight receding line, and it lets him keep the distant hills in the upper frame without tilting the lens up awkwardly. Elevation is one of those field adjustments that sounds obvious until you realize how often photographers stay at eye level out of habit. Even a few feet of height change can completely alter how much of a winding road or a valley floor is visible. Move around before you set up the tripod.
Step 4: Use a Wide Focal Length to Lock in Hills, Road, and Cliffs Together
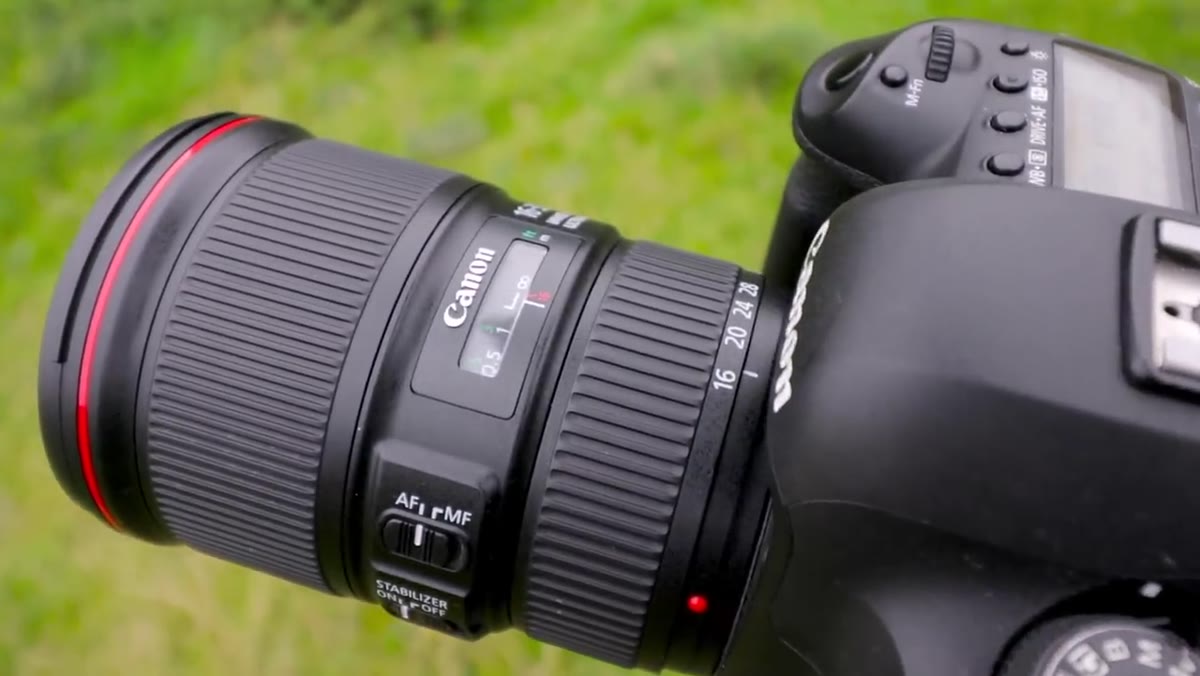 Camera lens at approximately 16-17mm, wide scene in frame
He settles on 16 to 17mm. At that focal length, the road enters from the bottom right corner of the frame, curves through the middle distance, and disappears toward a vanishing point he has placed on the lower third of the frame. The cliffs occupy the upper right. A tree sits in the upper left. Every major element of the scene has a position in the composition. A tighter focal length would have forced him to choose between the cliffs and the road. The wide angle lets him keep the tension between all of those elements working simultaneously. On flat-light days I often push wider than I think I need to. Strong shapes at wide focal lengths create structure that mood and color do not have to provide.
Step 5: Set Aperture for Depth, Use a Timer to Avoid Camera Shake
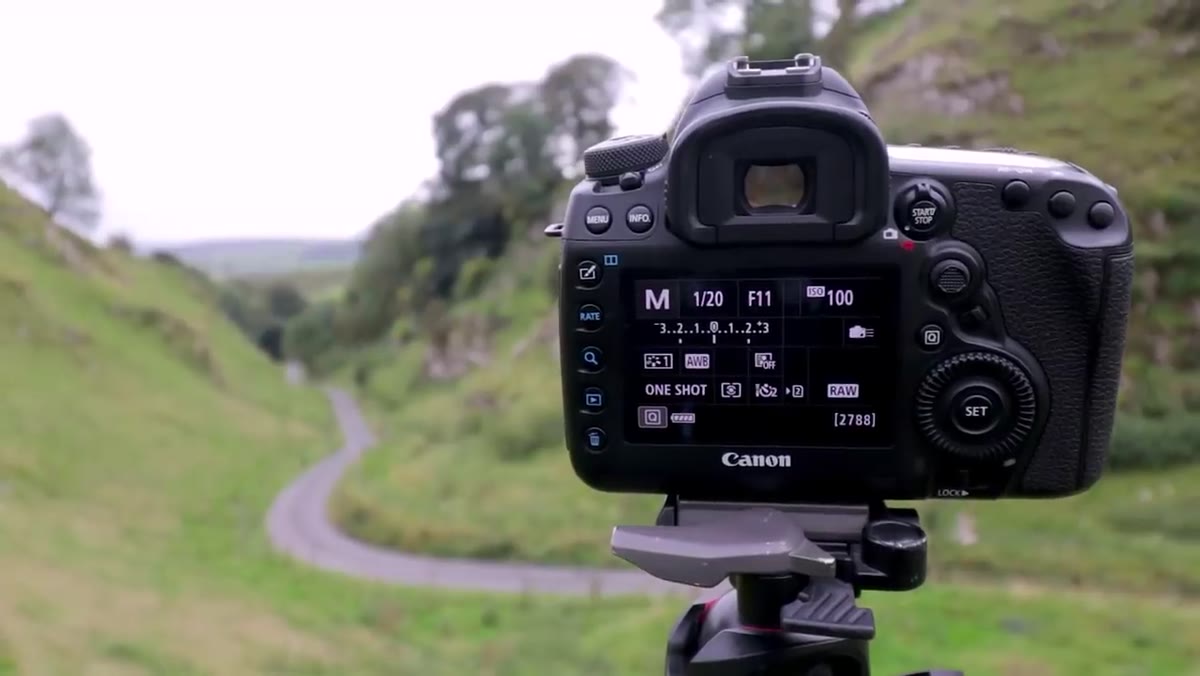 Camera settings visible: f/11, 1/20 second, 2-second self-timer active
His settings: f/11 for depth of field across the full scene, 1/20 of a second shutter speed, and a 2-second self-timer to eliminate any vibration from pressing the shutter button. He autofocuses on the cliff face, which sits in the middle distance and gives him the best balance of sharpness across the frame. The 2-second timer is one of those small habits that costs nothing and prevents the micro-blur that makes a technically sound image look soft on close inspection. I still use it even when I have a remote release in my bag.
Step 6: Bracket Exposures to Handle the Bright Gray Sky
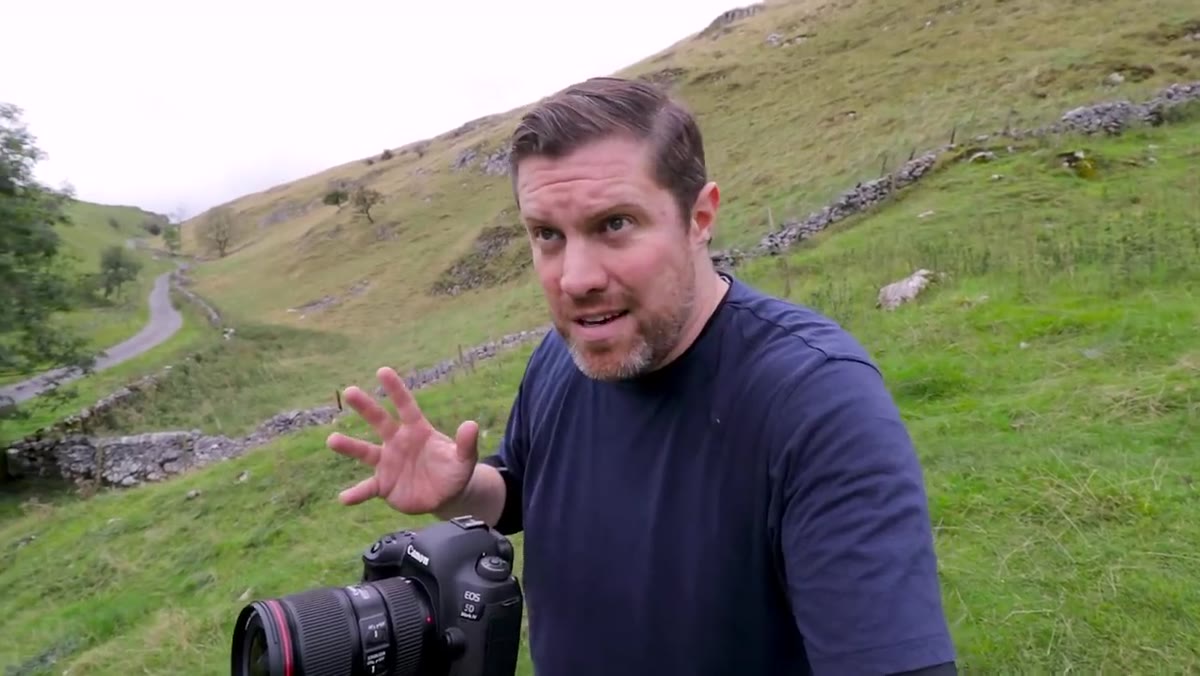 Bracketing sequence being captured, bright overcast sky in background
Even though the sky is a featureless gray, it is still significantly brighter than the valley floor, especially in early autumn when the sun is still relatively high. He brackets two stops in each direction to capture the full dynamic range of the scene. This gives him the raw material in post-processing to bring the sky and the foreground into balance without blowing the highlights or crushing the shadows. Bracketing on overcast days is a habit that less experienced photographers skip because the sky looks dull. But bright gray is still bright. Expose for the shadows and you will clip the sky.
Step 7: Plan the Post-Processing Approach Before You Leave the Location
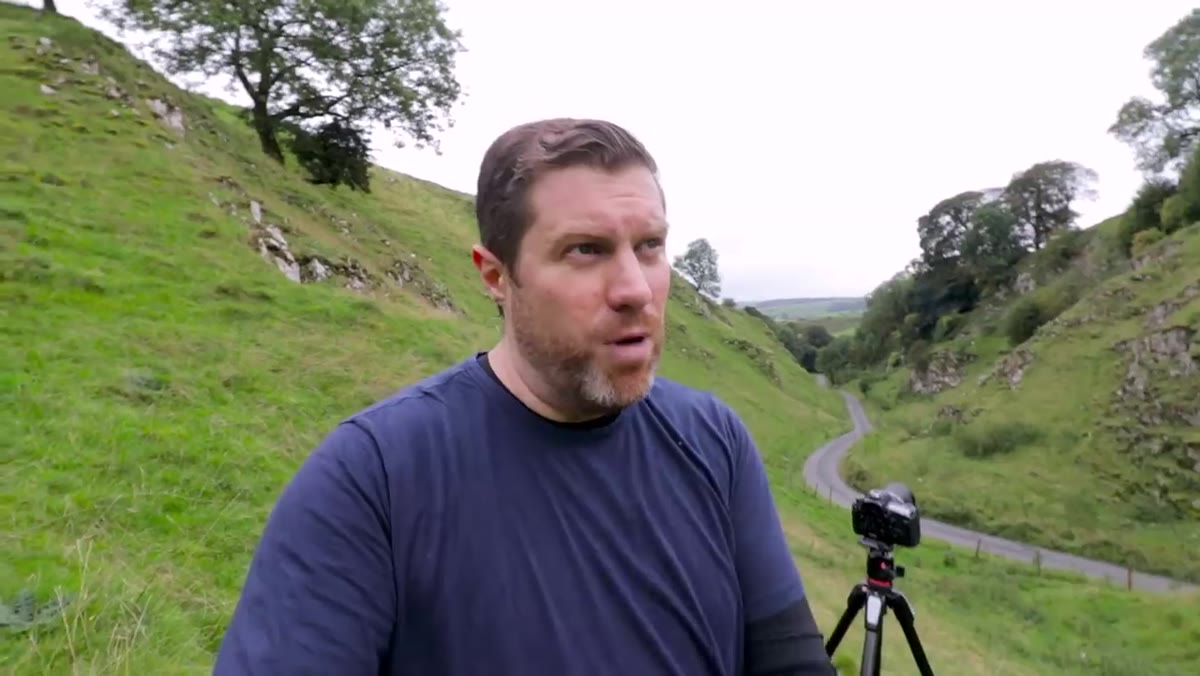 Photographer reviewing shot on camera screen, discussing editing intentions
He is already thinking about processing while he is still standing at the location. He knows the image is flat and green as captured. He knows he will need to add contrast, deepen shadows in the valley, and draw more visual weight to the road and the cliff face to give the image mood. This is not a rescue plan. It is a creative plan built into the shoot from the start. Knowing what you intend to do in post changes how you expose in the field. Shoot with the final image in mind, not just the histogram.
What I Would Add: The Second Location Thinking
Something that stands out from this tutorial is how he approaches the second shot location, still considering whether to wait for sunlight to break through before committing to the frame. After twenty years of shooting in the Pacific Northwest and the high desert, I have learned to do my compositional scouting during flat light and then wait. Find the frame first. Then let the light come to you. If it never comes, at least you know the shot exists for another day. Scouting under dull conditions is one of the most underrated field skills there is.
The single thing to take away from this tutorial is that flat light is a composition test, and passing it makes you a better photographer in every condition. Waiting for golden hour is not a strategy. It is a habit. Building strong frames regardless of the sky is the actual work.
Watch the full tutorial on YouTube to follow the full shoot, including the second location and how the thinking evolves across the day.
Comments
Leave a Comment