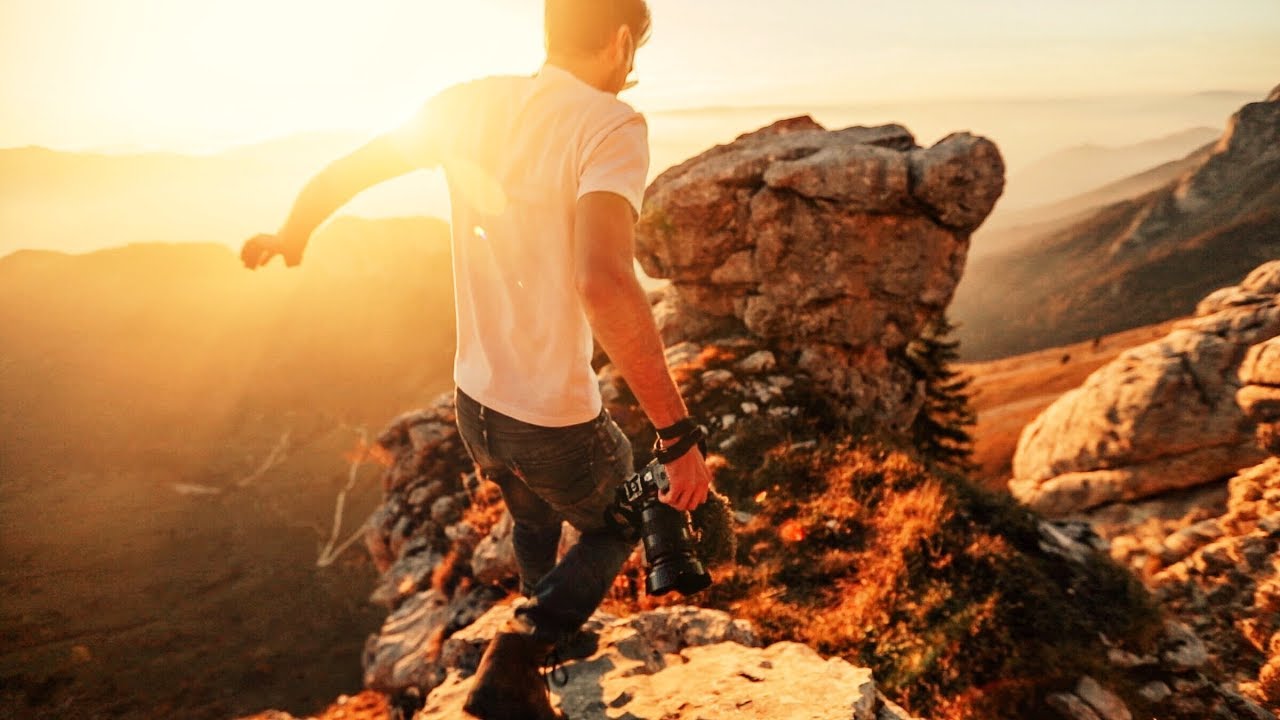
There is a particular kind of creative rut that sneaks up on you after years of shooting. You know your gear. You know your locations. You show up at the right hour with the right light, and you still come home with images that feel flat. Not bad, just… predictable. I hit that wall a few years ago, and what pulled me out of it wasn’t a new lens or a new location. It was paying closer attention to how I was thinking in the field, not just what I was pointing my camera at.
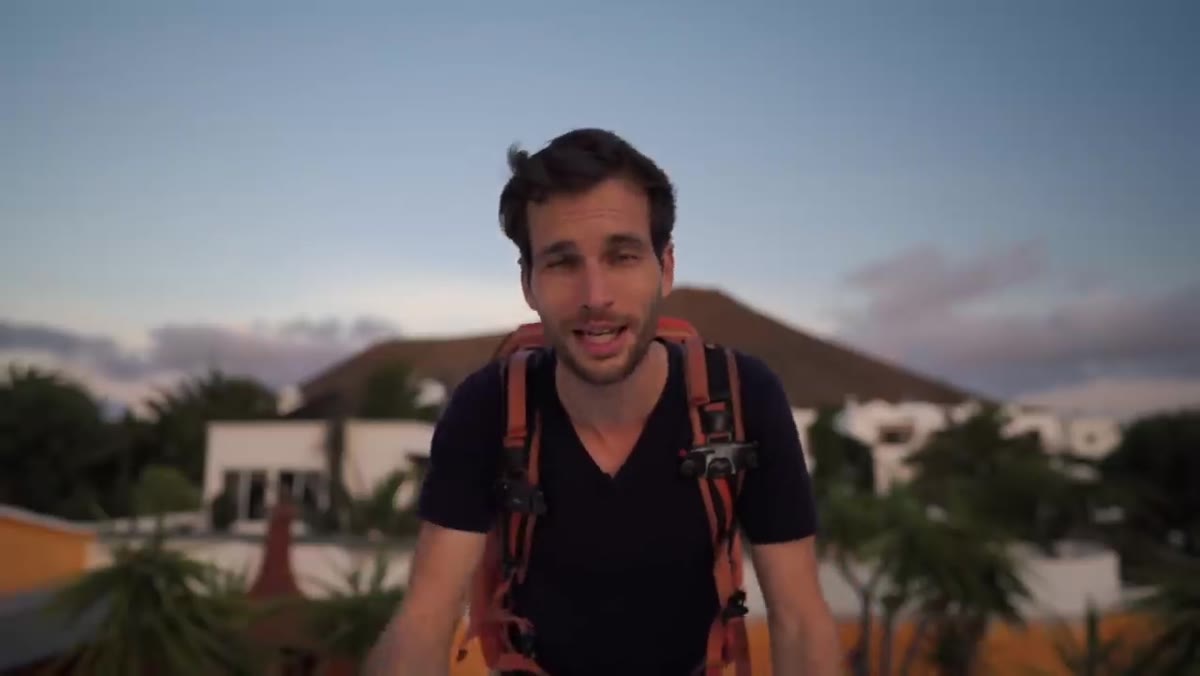
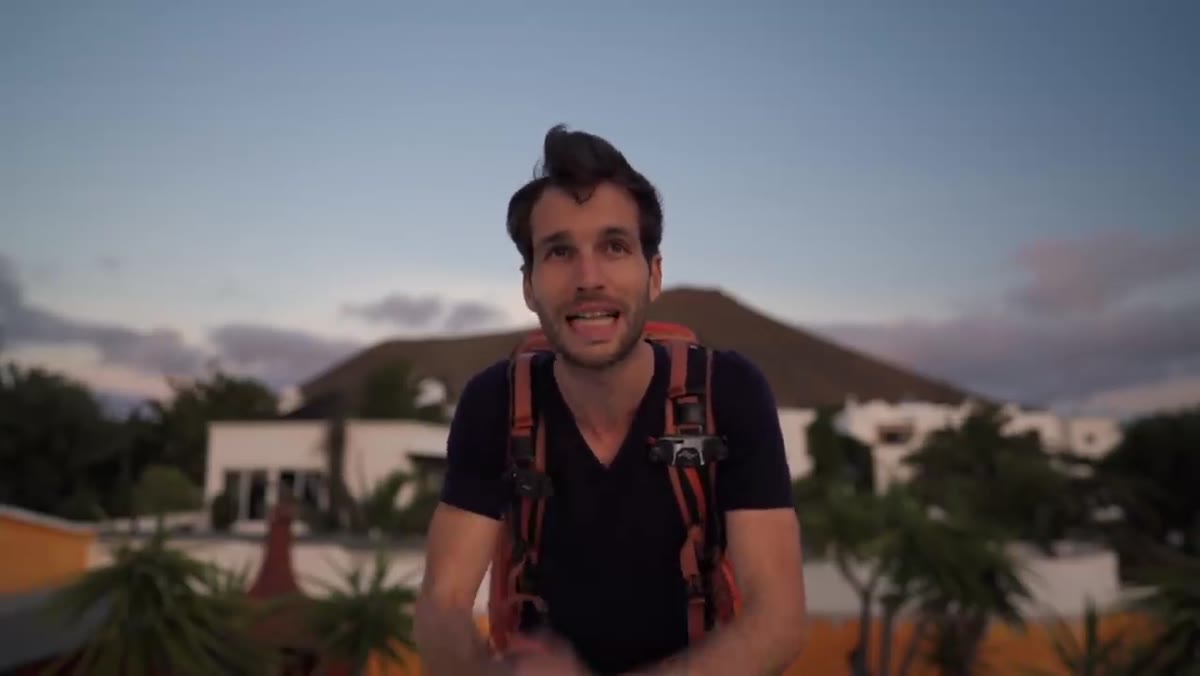
That is why I keep returning to this kind of teaching. Watch the full tutorial on YouTube - in it, Pierre T. Lambert walks through seven landscape photography tips while actually shooting in the field, working under a sky that looks like it is actively on fire. What makes it useful is that he is not talking from a studio. He is mid-shoot, figuring things out in real time, and that honesty gives the tips some weight.
What follows is my working translation of those seven ideas, grounded in twenty years of chasing light across the American West. I have added context where the field has taught me something slightly different, but Lambert’s core thinking is sound. These are not tricks. They are habits.
Step 1: Find a Subject Before You Find a Scene
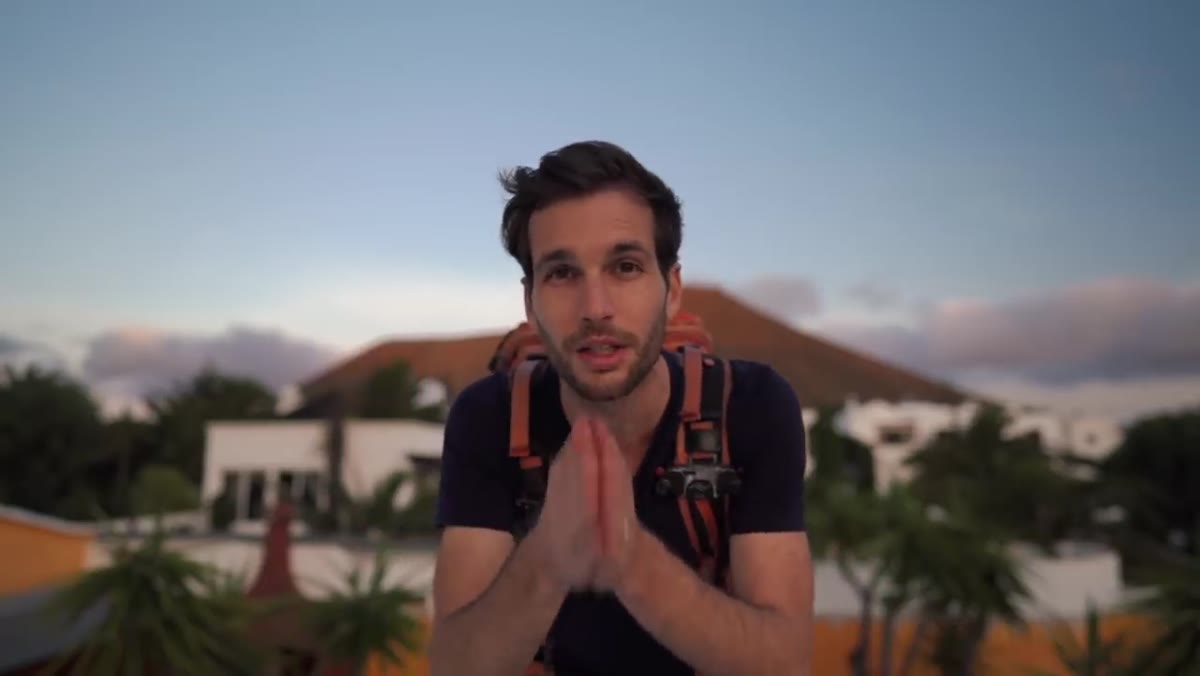 Photographer looking around wide scene choosing a focal subject
Wide-angle lenses are generous and dangerous at the same time. They include everything, which means they can easily say nothing. Lambert’s first real tip is deceptively simple: before you frame anything, decide what your subject is. Not the mountain. Not the valley. One thing. A cracked rock, a single gnarled plant at your feet, a tide pool with interesting geometry.
Photographer looking around wide scene choosing a focal subject
Wide-angle lenses are generous and dangerous at the same time. They include everything, which means they can easily say nothing. Lambert’s first real tip is deceptively simple: before you frame anything, decide what your subject is. Not the mountain. Not the valley. One thing. A cracked rock, a single gnarled plant at your feet, a tide pool with interesting geometry.
This forces your eye to work the scene rather than just consume it. I shoot with this habit now even before I pull my camera out of the bag. I walk the location first, hands free, looking for the element that earns the foreground. Everything else builds around it.
Step 2: Get Low and Stack Your Layers
 Camera positioned close to ground with plant in sharp foreground
Most photographers set up at eye level, or slightly above it on a tripod, and call it a day. Lambert pushes against that by getting low enough that small foreground elements become large, interesting shapes. At ground level with a wide lens, a clump of scrub grass or a line of lava rock can become a genuine compositional anchor.
Camera positioned close to ground with plant in sharp foreground
Most photographers set up at eye level, or slightly above it on a tripod, and call it a day. Lambert pushes against that by getting low enough that small foreground elements become large, interesting shapes. At ground level with a wide lens, a clump of scrub grass or a line of lava rock can become a genuine compositional anchor.
The effect he is describing is layering. When you compress physical distance by shooting low and wide, you create a visual stack: foreground detail, middle landscape, background sky. Each plane separates from the others and gives the eye a clear path through the frame. I have knelt in freezing mud more times than I can count for this exact reason. It is always worth it.
Step 3: Commit to Golden Hour Like It Pays the Bills (It Does)
 Wide sky ablaze with warm golden sunset light behind the photographer
Lambert is straightforward here: thirty to forty minutes before and after sunrise and sunset. That window is not a suggestion. It is the difference between a photograph and a document. The quality of light during those minutes, the direction, the warmth, the way shadows stretch long and thin, changes everything about how a landscape reads.
Wide sky ablaze with warm golden sunset light behind the photographer
Lambert is straightforward here: thirty to forty minutes before and after sunrise and sunset. That window is not a suggestion. It is the difference between a photograph and a document. The quality of light during those minutes, the direction, the warmth, the way shadows stretch long and thin, changes everything about how a landscape reads.
The underrated half of this tip is the sunrise side. Sunset draws crowds. Sunrise, especially at remote locations, often means you are alone. I have made some of my best prints at first light with no one else within miles. You have to get up around four in the morning to make it work. After enough years, your body just does it.
Step 4: Give the Scene a Sense of Scale
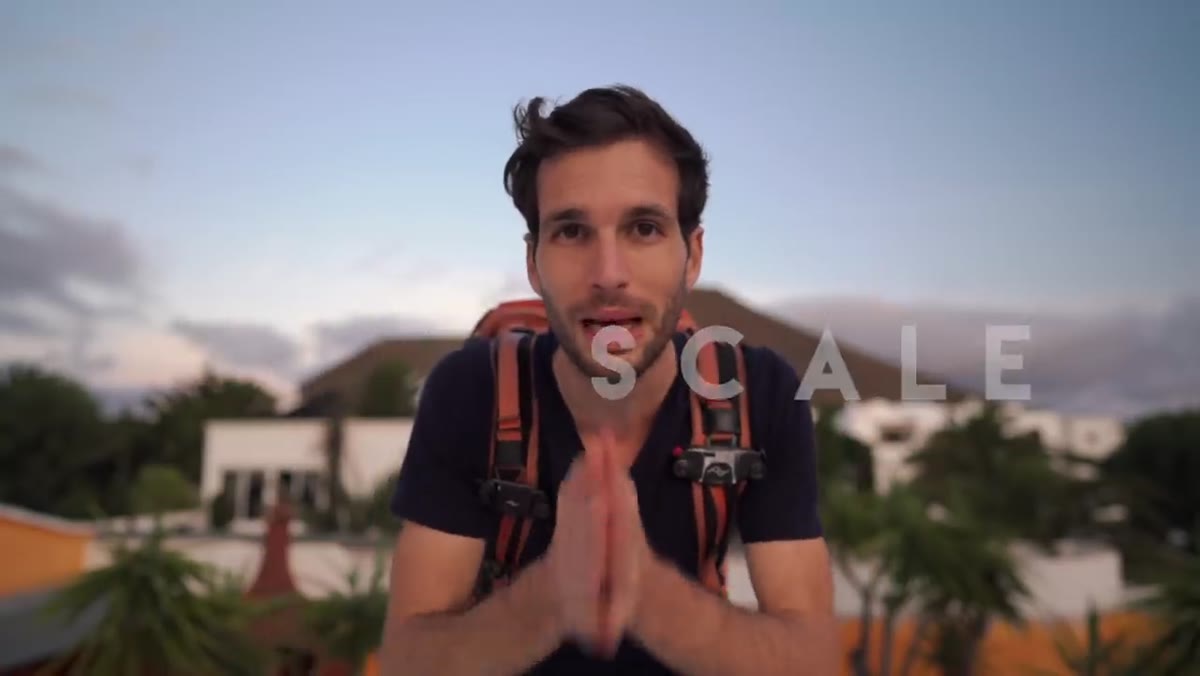 Person standing small against large cliff giving sense of massive scale
A mountain range photographed without any reference point flattens out. You lose the sense of how massive it actually is, and the image becomes a postcard. Lambert’s fix is to put something of known size into the frame, and his preference, which I share, is a person.
Person standing small against large cliff giving sense of massive scale
A mountain range photographed without any reference point flattens out. You lose the sense of how massive it actually is, and the image becomes a postcard. Lambert’s fix is to put something of known size into the frame, and his preference, which I share, is a person.
A human figure does two things simultaneously. It anchors the scale so a viewer immediately understands how large the landscape is, and it creates an emotional invitation. The viewer does not just look at the scene, they want to be in it. I often use myself for this, triggering a ten-second timer, walking into the frame, and standing still. It gives the final image a presence that pure scenery rarely achieves alone.
Step 5: Embrace the Single Focal Length Challenge
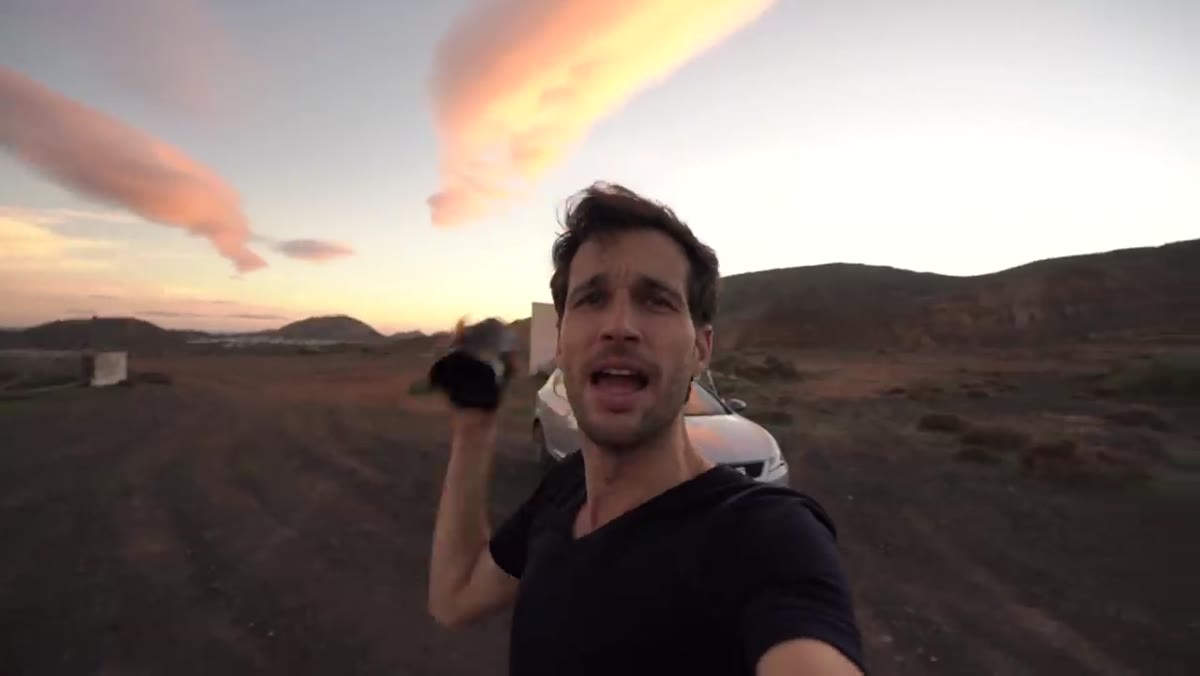 Photographer holding up single 24mm lens to camera in field
Lambert mentions that he is shooting the entire week with only a 24mm lens. He frames this as a challenge, but I would call it a discipline. Restricting yourself to one focal length forces you to solve compositional problems with your feet instead of your zoom ring. You move. You crouch. You back up. You get creative in ways that convenience normally prevents.
Photographer holding up single 24mm lens to camera in field
Lambert mentions that he is shooting the entire week with only a 24mm lens. He frames this as a challenge, but I would call it a discipline. Restricting yourself to one focal length forces you to solve compositional problems with your feet instead of your zoom ring. You move. You crouch. You back up. You get creative in ways that convenience normally prevents.
Pick one lens for a full day or a full trip. It will frustrate you early, and then it will teach you things about seeing that no gear upgrade ever could.
Step 6: Shoot Low, Then Shoot Lower
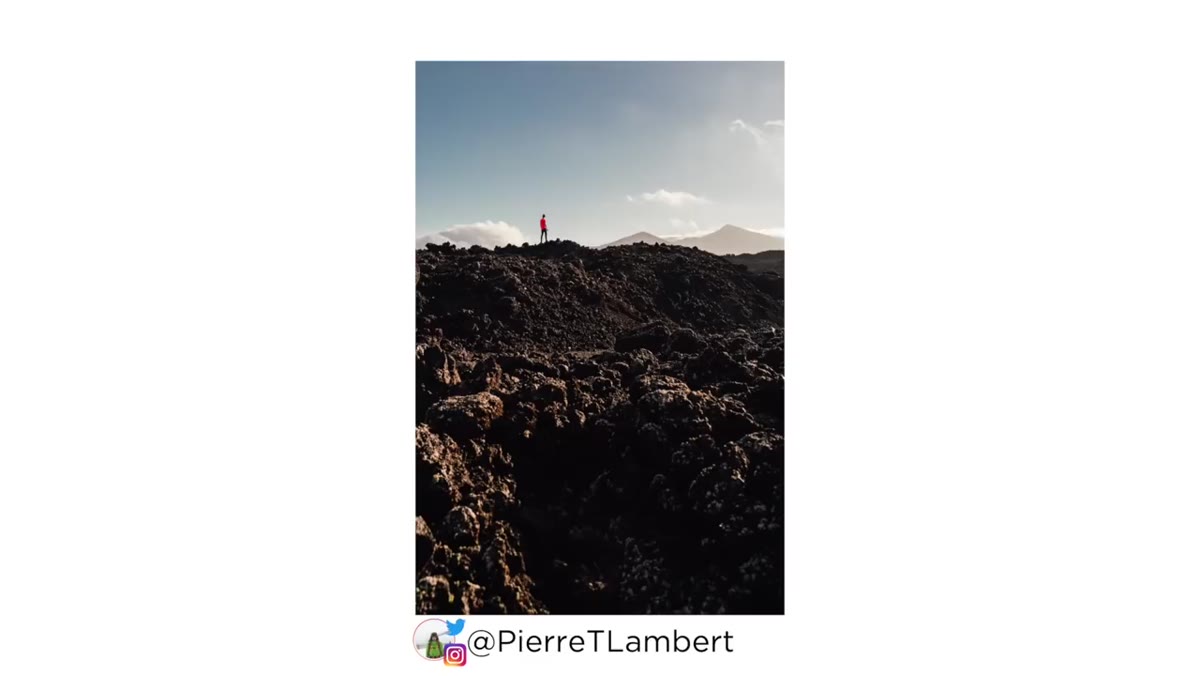 Extreme low angle shot showing volcanic landscape layers receding into distance
This is a continuation of the low-angle principle, but worth isolating because most photographers stop at “pretty low.” Lambert goes further, lying near ground level when the situation calls for it, particularly with volcanic terrain and small botanical subjects.
Extreme low angle shot showing volcanic landscape layers receding into distance
This is a continuation of the low-angle principle, but worth isolating because most photographers stop at “pretty low.” Lambert goes further, lying near ground level when the situation calls for it, particularly with volcanic terrain and small botanical subjects.
The ground-level perspective also changes how sky interacts with the scene. You see more of it, and it becomes a weight that presses down on your landscape rather than just a backdrop.
Step 7: Practice Wide When You Normally Shoot Tight
 Demonstrating wide landscape scene showing full breadth of environment
If your instinct is always to reach for a longer focal length to isolate detail, Lambert’s challenge is to flip that habit. Wide lenses require you to earn the foreground. They demand that you get physically close to interesting elements and include the context of the larger scene at the same time.
Demonstrating wide landscape scene showing full breadth of environment
If your instinct is always to reach for a longer focal length to isolate detail, Lambert’s challenge is to flip that habit. Wide lenses require you to earn the foreground. They demand that you get physically close to interesting elements and include the context of the larger scene at the same time.
Shooting wide forces environmental thinking. You are not extracting a fragment of the landscape. You are making an argument about how everything relates.
From the Field: A Note on Patience
The tip that runs underneath all seven of Lambert’s ideas is one he does not state directly but demonstrates by being out there in the first place. A mentor early in my career told me once that the mountain does not care about your schedule. I have repeated that to myself on locations where nothing is working, where the light goes flat or the fog moves in and stays.
The photographers who come home with consistently strong landscapes are not the ones with the best gear. They are the ones who are still standing in the same spot an hour after most people have left. Every one of these tips rewards that kind of patience. Find the subject, get low, wait for the light, give the scene scale. These are not one-minute fixes. They are the slow accumulation of better decisions in the field.
The single thing I want you to take away from Lambert’s tutorial is this: a landscape without a subject is just scenery. Decide what your image is actually about before you press the shutter. Everything else follows from that clarity.
Watch the full tutorial on YouTube to see all seven tips demonstrated live in the field.
Comments
Leave a Comment