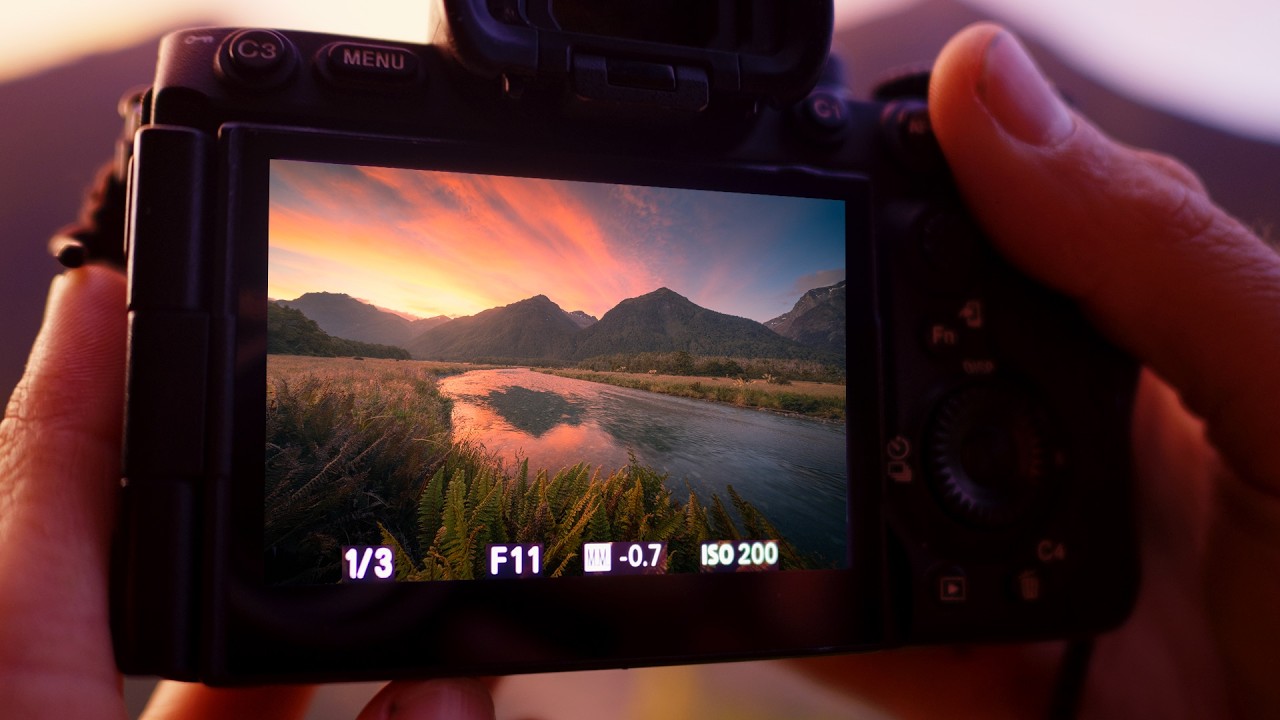
There’s a particular kind of pressure that builds when golden light starts happening and you’re still walking, still looking, still not sure where to plant the tripod. I’ve felt it hundreds of times over the past two decades. The chest tightens, the legs move faster, and suddenly you’re forcing a composition instead of finding one. I’ve come home with technically fine shots that feel hollow because I rushed into them. So when I came across Watch the full tutorial on YouTube from William Patino, filmed during a summer sunset session in Fiordland National Park, I kept nodding along because he was describing the exact problem I still wrestle with, and offering a framework that actually works.
What Patino does well in this tutorial isn’t just the photography. It’s that he shows the full arc of an evening session, including the wrong stops, the indecision, the sky doing something promising while you’re still pulling your boots on. That’s real. And threaded through all of it is a philosophy I’ve come to believe in deeply: you are not trying to collect images. You are trying to make one good one. Everything below unpacks how he gets there.
Step 1: Read the Sky Before You Drive
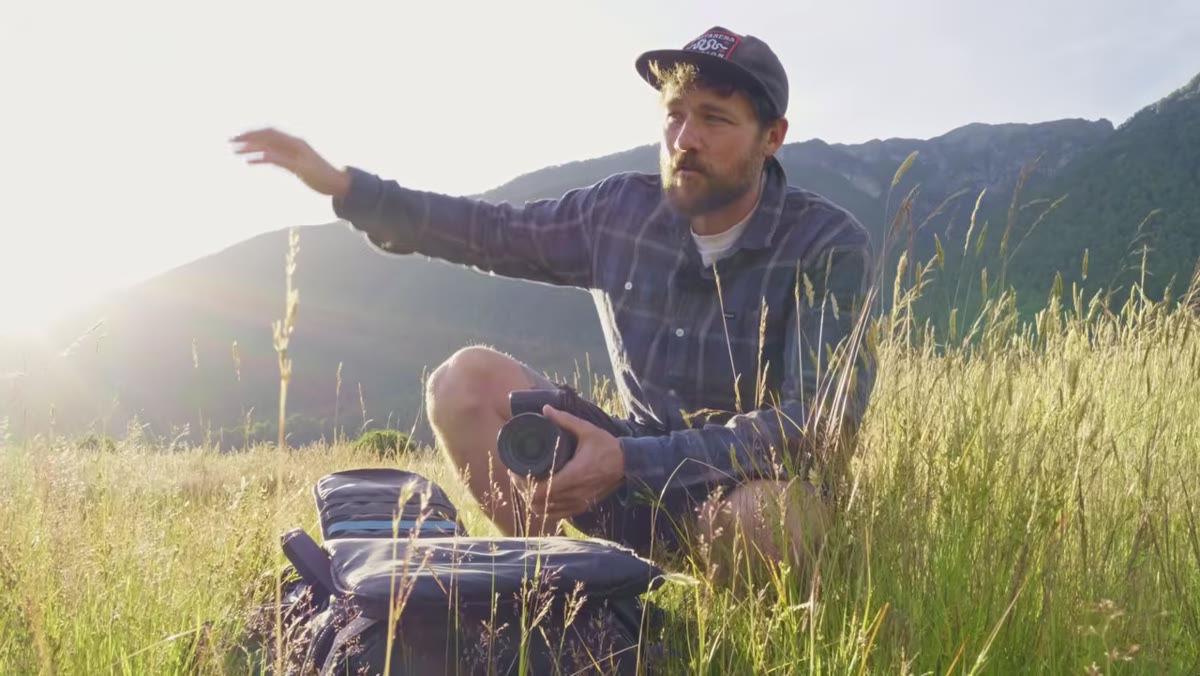 Wide sky showing clearing to southwest and building cloud to north
Before Patino pulls out a single piece of gear, he’s already analyzing the conditions. He notes a clearing to the southwest and high cloud building from the north. That combination, open sky for warm directional light and textured cloud to catch and hold color, is the setup you want for a dramatic sunset. A flat, cloudless sky rarely rewards you. Neither does complete overcast.
Wide sky showing clearing to southwest and building cloud to north
Before Patino pulls out a single piece of gear, he’s already analyzing the conditions. He notes a clearing to the southwest and high cloud building from the north. That combination, open sky for warm directional light and textured cloud to catch and hold color, is the setup you want for a dramatic sunset. A flat, cloudless sky rarely rewards you. Neither does complete overcast.
Get in the habit of checking sky conditions an hour or two before sunset, not just at golden hour. Apps help, but there’s no substitute for stepping outside and looking north and south. High cirrus cloud catching low-angle light can turn an ordinary evening into something unforgettable. If you see that combination forming, move.
Step 2: Pack for the Shoot You’re Actually Doing
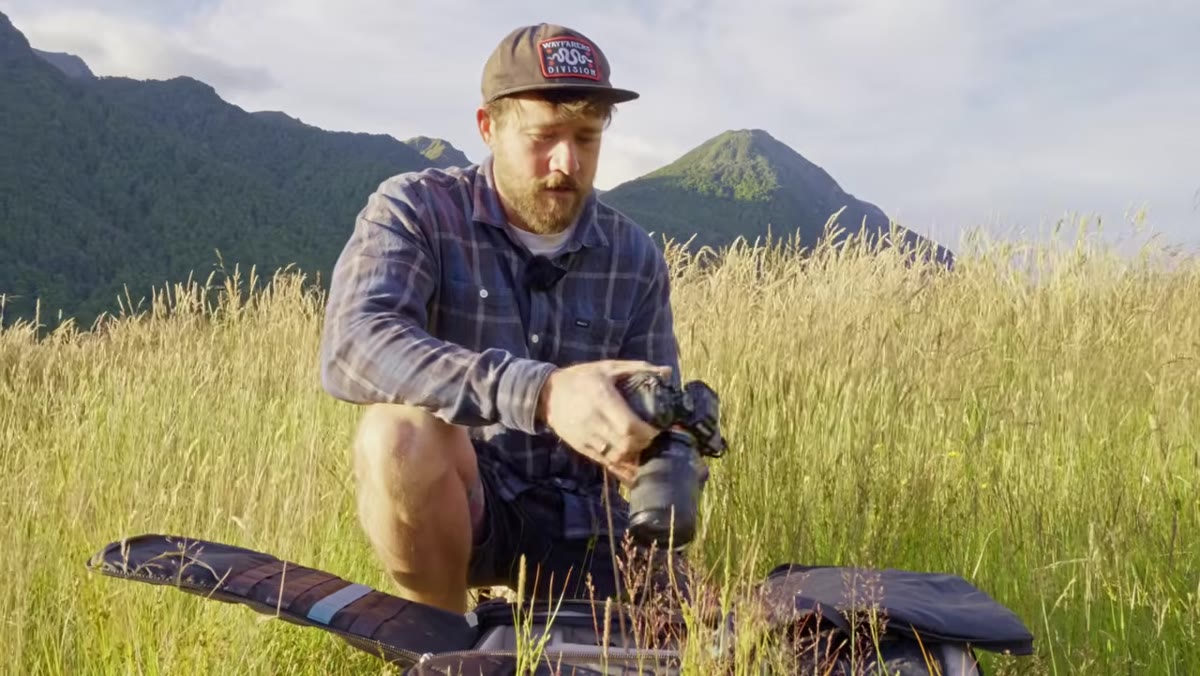 Camera bag open showing Sony body, three lenses laid out
Patino runs through his kit quickly: a Sony A7R5, a 28-75mm mid-range zoom, a 16-35mm f/2.8, and a 10mm prime. He’s not hiking far this evening, so he carries all three. The key decision he flags is that for a sunset with dramatic sky and wide landscape, he’s leaning toward the 16-35 or the 10mm. Wide glass lets you lean into the sky and still hold the foreground elements, mountains, river, forest, all in the same frame.
Camera bag open showing Sony body, three lenses laid out
Patino runs through his kit quickly: a Sony A7R5, a 28-75mm mid-range zoom, a 16-35mm f/2.8, and a 10mm prime. He’s not hiking far this evening, so he carries all three. The key decision he flags is that for a sunset with dramatic sky and wide landscape, he’s leaning toward the 16-35 or the 10mm. Wide glass lets you lean into the sky and still hold the foreground elements, mountains, river, forest, all in the same frame.
When I’m heading out for a grand landscape sunset, I think about the scene I’m hoping to find before I choose a focal length. If you’re working with big sky and layered terrain, go wide. If you’re compressing distant peaks into a reflection, reach for something longer. Don’t haul everything if you’re covering ground quickly. Carry what the light is asking for.
Step 3: Don’t Force a Location That Isn’t Working
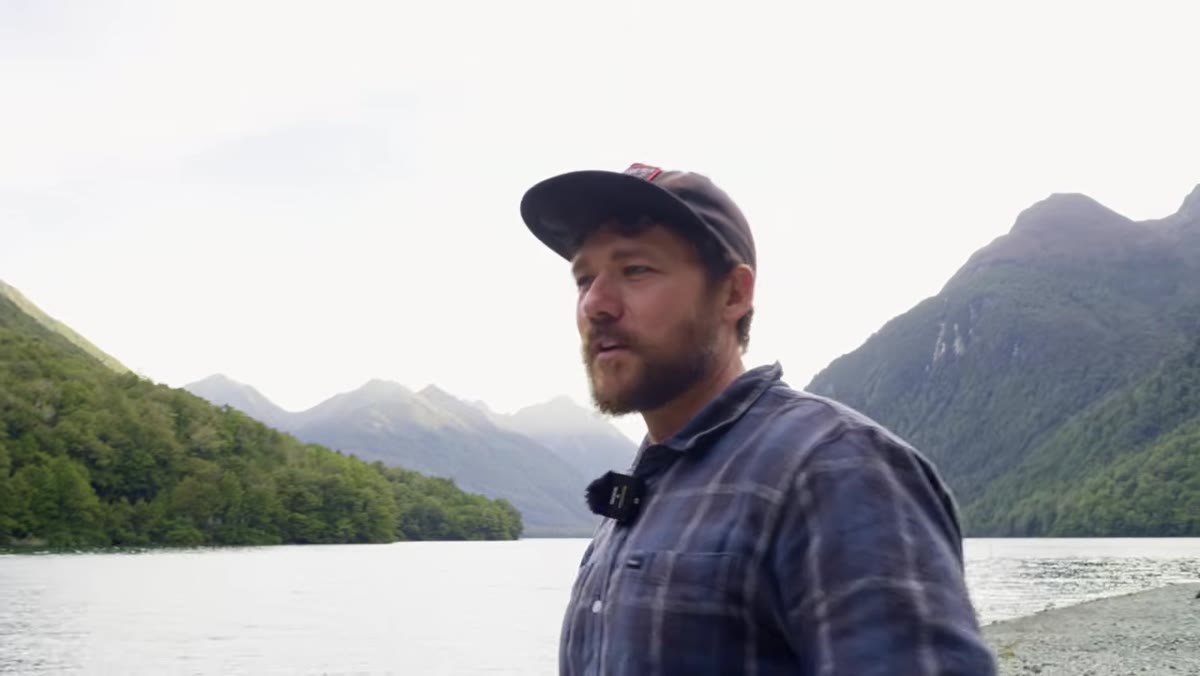 Lake surface with slight ripple, mountains behind, soft light
Patino stops at a beautiful lake with mountain views and immediately identifies the problem: a gentle breeze is chopping the water just enough to kill any clean reflection, but not enough to create interesting wave texture. He calls it “awkward in-between water” and moves on. That decision takes discipline. The scenery is gorgeous. The instinct to shoot anyway is strong.
Lake surface with slight ripple, mountains behind, soft light
Patino stops at a beautiful lake with mountain views and immediately identifies the problem: a gentle breeze is chopping the water just enough to kill any clean reflection, but not enough to create interesting wave texture. He calls it “awkward in-between water” and moves on. That decision takes discipline. The scenery is gorgeous. The instinct to shoot anyway is strong.
I learned years ago from a mentor who used to say that the mountain doesn’t care about your schedule. The scene either offers you something or it doesn’t. Standing in front of a technically beautiful location with bad water, bad light, or nothing to anchor the composition is a good way to waste your best twenty minutes. Evaluate honestly and keep moving if the answer is no.
Step 4: Manage the Adrenaline
 Patino lacing boots in field, golden light beginning to build
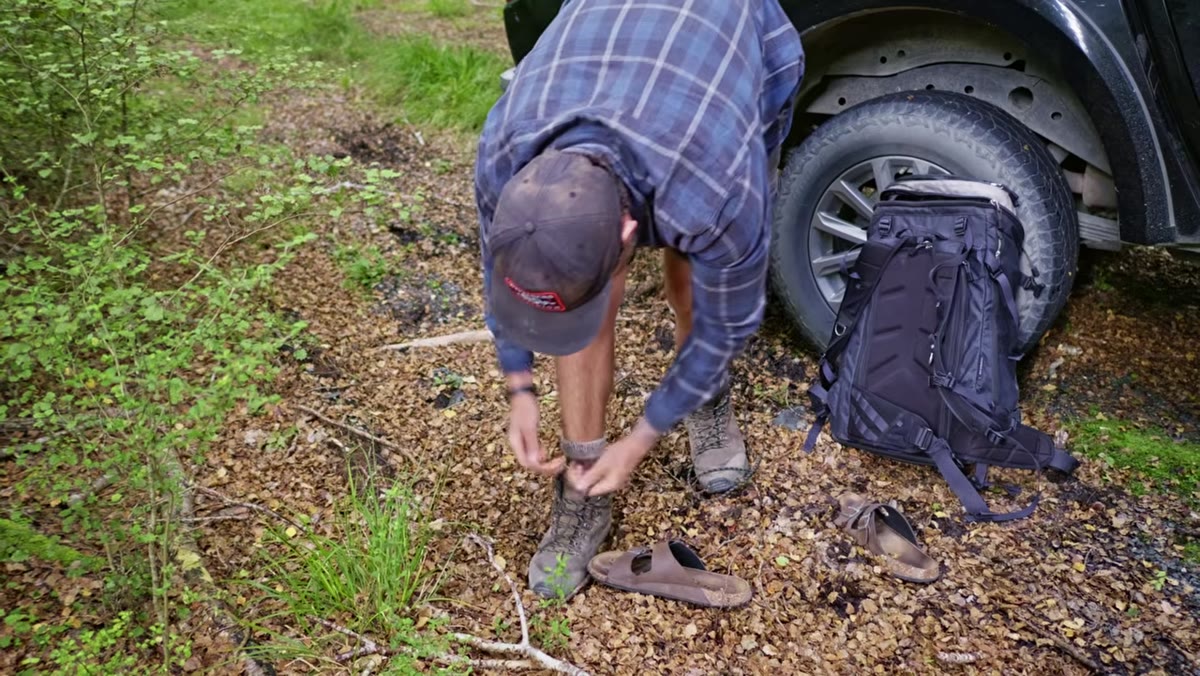
This is the step most tutorials skip entirely. As Patino laces his boots, he talks directly about what happens when you see conditions sharpening: the heart rate climbs, the anxiety builds, and you start rushing. He’s right that it’s a slippery slope. Panic leads to forced shots, and forced shots in beautiful light still feel desperate.
Patino lacing boots in field, golden light beginning to build
This is the step most tutorials skip entirely. As Patino laces his boots, he talks directly about what happens when you see conditions sharpening: the heart rate climbs, the anxiety builds, and you start rushing. He’s right that it’s a slippery slope. Panic leads to forced shots, and forced shots in beautiful light still feel desperate.
His prescription is simple and I’ve adopted it word for word with my own workshop students: you only need one photograph. Not twenty. Not a bracket of five compositions to decide later. One. That singular focus changes how you move through the scene. You slow down. You look harder. You stop when something actually speaks to you instead of grabbing the camera every time the light twitches.
Step 5: Find a Focal Point Before You Build a Composition
 Patino looking across valley toward distinct mountain peak
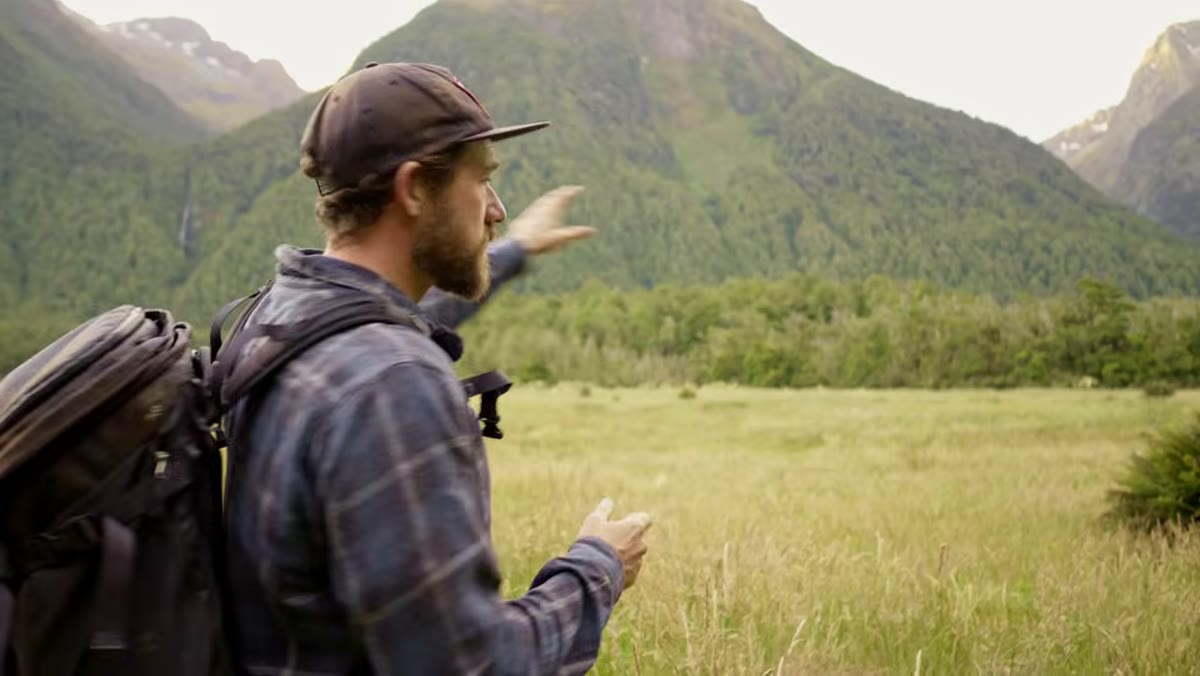
Once Patino drops into the valley and starts reading the landscape, the first thing he does is identify a single dominant focal point. In a grand landscape with multiple peaks, ridgelines, and foreground elements, the temptation is to try to include everything. He narrows it down. He’s looking for a distinct peak, something with a clear point, not a flat ridgeline that the eye slides off.
Patino looking across valley toward distinct mountain peak
Once Patino drops into the valley and starts reading the landscape, the first thing he does is identify a single dominant focal point. In a grand landscape with multiple peaks, ridgelines, and foreground elements, the temptation is to try to include everything. He narrows it down. He’s looking for a distinct peak, something with a clear point, not a flat ridgeline that the eye slides off.
This is the compositional step that separates a strong landscape image from a busy one. Pick your anchor first. Then ask how the foreground, midground, and sky can be arranged to support it. A mountain peak with interesting cloud directly above it becomes the spine of the image. Everything else is built around that spine.
Step 6: Use Foreground Layers to Build Depth
 Valley floor with long grass, river visible, mountains beyond
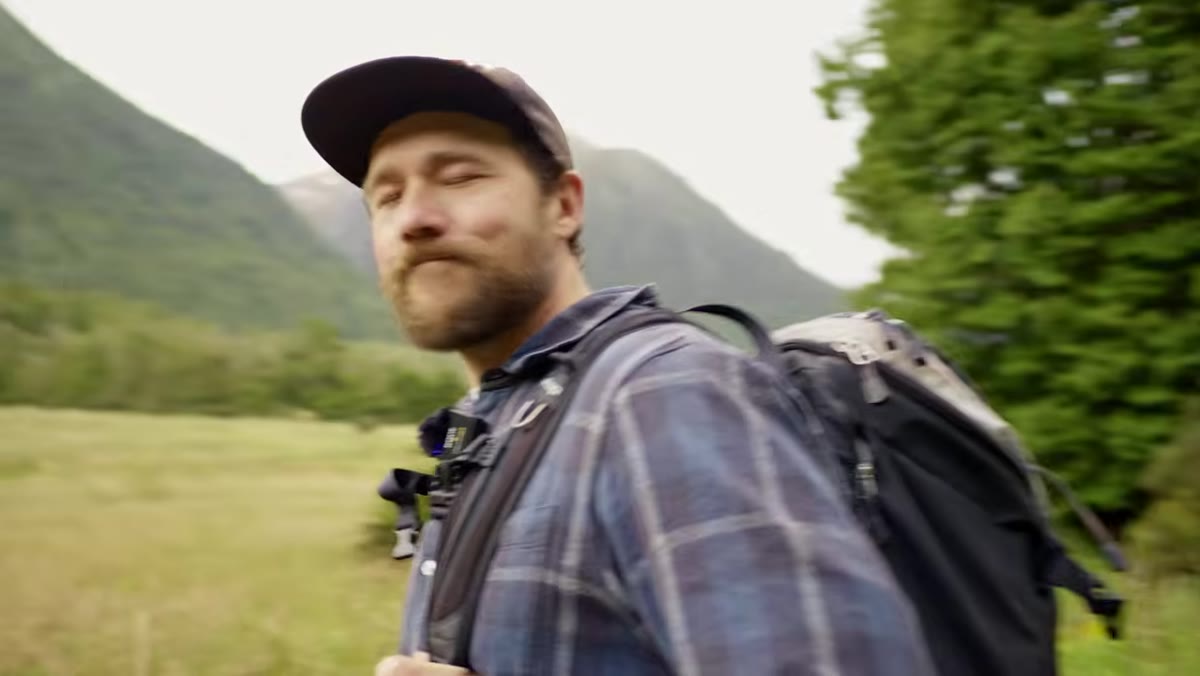
As Patino moves through the valley, he’s mentally layering the scene: long summer grass in the foreground, the Ivo River cutting through the middle distance, the lake beyond, and the mountains rising into the sky. Wide lenses flatten perceived depth, so you have to build it deliberately through what you place at each layer.
Valley floor with long grass, river visible, mountains beyond
As Patino moves through the valley, he’s mentally layering the scene: long summer grass in the foreground, the Ivo River cutting through the middle distance, the lake beyond, and the mountains rising into the sky. Wide lenses flatten perceived depth, so you have to build it deliberately through what you place at each layer.
Look for something with texture or direction in the immediate foreground, even if it’s just grass bending in the breeze. Then find a mid-distance element that leads the eye inward: a river bend, a line of trees, a shoreline. Let the mountain or sky anchor the background. When you stack those three zones with intention, the image pulls the viewer through it rather than stopping them at the surface.
What I’d Add From My Own Experience
Patino’s tutorial is shot in Fiordland, one of the most naturally dramatic landscapes on Earth. The principles he’s demonstrating translate just as well to flatter, less obviously cinematic terrain, which is where most of us are shooting most of the time. Here in the high desert outside Bend, I often have a sky that’s doing everything right and a foreground that’s offering me sagebrush and cracked earth. The same rules apply: find the focal point, layer the composition, resist the urge to rush.
The other thing I’d emphasize is that the “one good photo” mindset isn’t about taking fewer frames. It’s about committing to a composition before you fire the shutter. I still occasionally shoot film for exactly this reason. When you know each frame has a real cost, you think longer and move more carefully. That discipline carries over even when you’re back on a digital body with a full card.
The single most important thing Patino demonstrates in this tutorial isn’t a camera setting or a focal length choice. It’s the willingness to reject a scene that isn’t working and stay calm when one finally is. That combination of honest evaluation and deliberate patience is what actually produces images worth keeping.
Watch the full tutorial on YouTube to see how the evening unfolds and how Patino lands the composition he was building toward.
Comments (4)
Shared this with my photography group. Everyone loved it.
Printing this out and pinning it next to my monitor. That good.
This is fantastic. I've been recommending this approach to my readers too.
This is going in my reference folder. Incredibly useful.
Leave a Comment