
I’ve been waking up before dawn for twenty years, hauling gear into the dark, and the question I get most often at my workshops isn’t about composition or light. It’s this: “What settings should I be using?” People show up with good cameras and genuinely sharp eyes for a scene, and they’re losing the shot because their camera is fighting them instead of working with them. That gap, between owning a capable camera and actually controlling it, is what keeps a lot of beginners stuck.
Watch the full tutorial on YouTube
In this William Patino tutorial, he walks through exactly the settings he uses for landscape photography, starting inside the camera menu before heading out into the field. It’s clear, practical, and skips the fluff. What I want to do here is expand on his walkthrough with some context from my own years of doing this professionally, so you can follow the steps without having to pause and rewind.
Step 1: Switch Your File Format to RAW
 Camera menu open showing image format options
The first thing Patino does is go into the camera menu and change the image format from JPEG to RAW. JPEG files are compressed, which means the camera is making decisions for you, throwing away data to shrink the file size. RAW files keep everything the sensor captured, every highlight, every shadow, every color value. That retained data is what gives you room to work in post-processing.
Camera menu open showing image format options
The first thing Patino does is go into the camera menu and change the image format from JPEG to RAW. JPEG files are compressed, which means the camera is making decisions for you, throwing away data to shrink the file size. RAW files keep everything the sensor captured, every highlight, every shadow, every color value. That retained data is what gives you room to work in post-processing.
If you’ve ever tried to recover a blown-out sky from a JPEG and watched it fall apart, you already know why this matters. With a RAW file, that sky often comes back cleanly. Change this setting once and leave it.
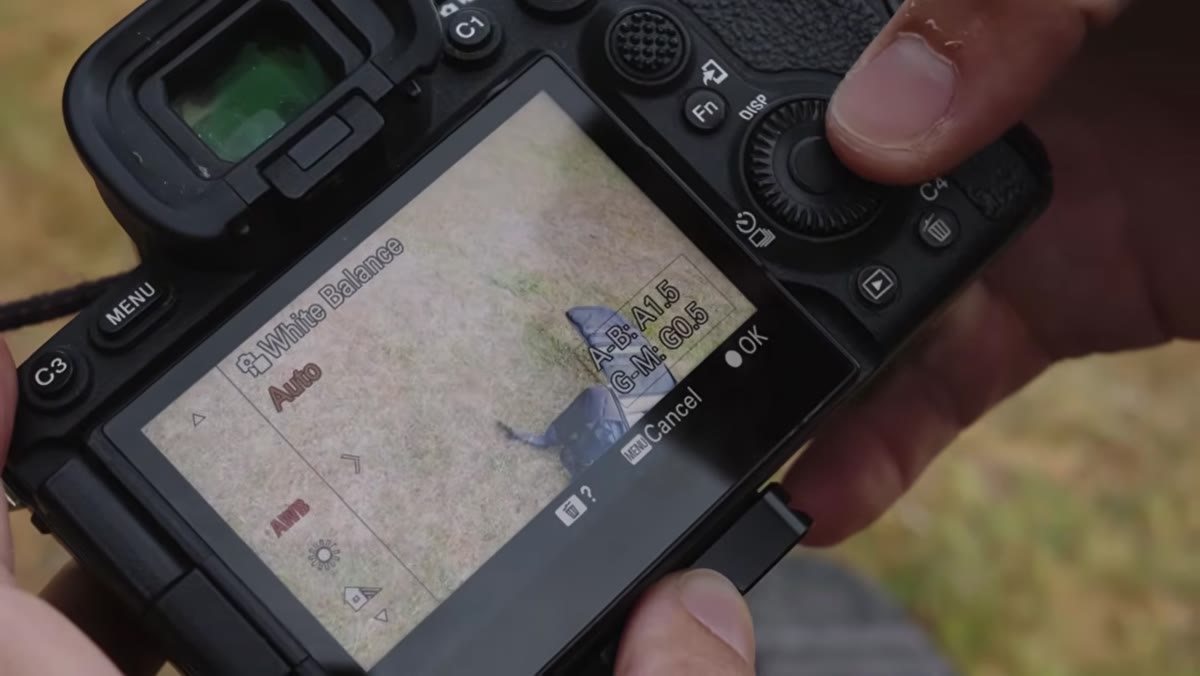
Step 2: Set White Balance to Auto
 White balance menu setting highlighted on camera screen
White balance tells your camera what “white” looks like under the current light, and every other color gets calibrated from there. Patino sets his to auto, and I do the same. The reason is simple: when you’re shooting RAW, white balance is non-destructive. You can shift it completely in post without any quality loss, so there’s no reason to lock it in while you’re standing in a field trying to catch the light before it moves.
White balance menu setting highlighted on camera screen
White balance tells your camera what “white” looks like under the current light, and every other color gets calibrated from there. Patino sets his to auto, and I do the same. The reason is simple: when you’re shooting RAW, white balance is non-destructive. You can shift it completely in post without any quality loss, so there’s no reason to lock it in while you’re standing in a field trying to catch the light before it moves.
Where people get tripped up is thinking they need to match the white balance to the conditions, 5600K for midday, 3200K for golden hour, and so on. You can do that, but in practice, auto works fine as a starting point and keeps one less variable in your head when you’re in the field.
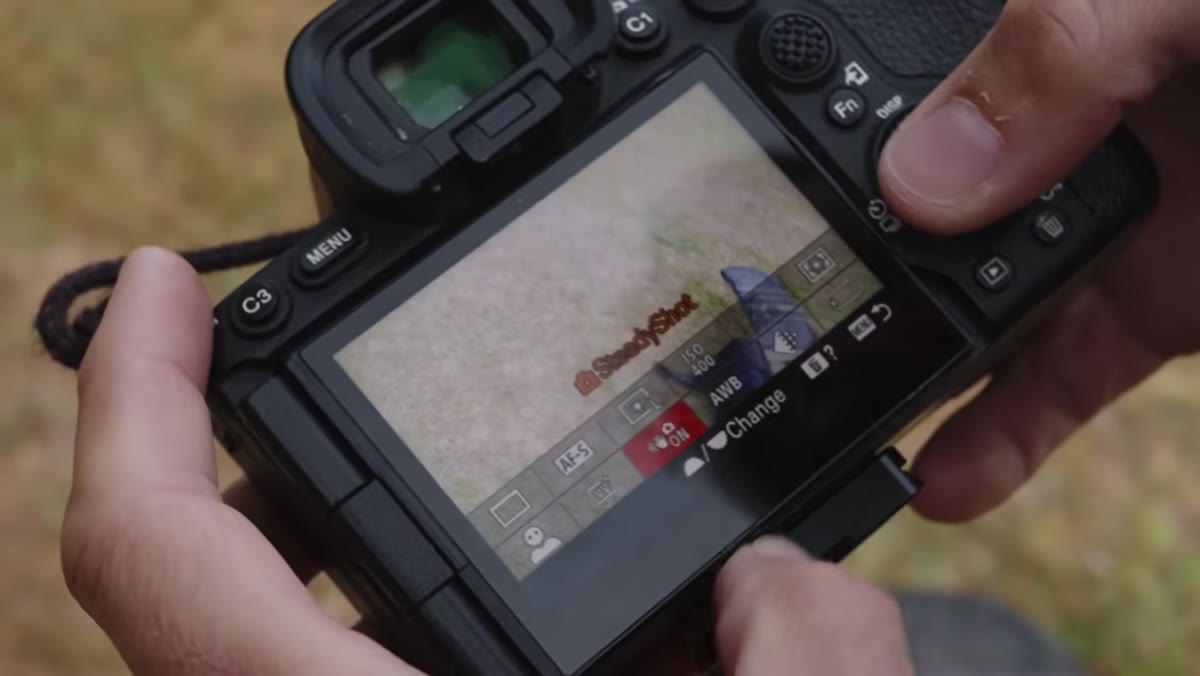
Step 3: Turn On In-Body Image Stabilization
 Camera stabilization setting being enabled in menu
If your camera body has built-in stabilization, Patino’s advice is to make sure it’s switched on. This is easy to overlook, especially on cameras where it’s buried in the menu, but it makes a meaningful difference when you’re shooting handheld at slower shutter speeds. Even on a tripod, some shooters leave it on, though for long exposures it’s worth checking your camera’s manual, since some systems work better switched off when the camera is stationary.
Camera stabilization setting being enabled in menu
If your camera body has built-in stabilization, Patino’s advice is to make sure it’s switched on. This is easy to overlook, especially on cameras where it’s buried in the menu, but it makes a meaningful difference when you’re shooting handheld at slower shutter speeds. Even on a tripod, some shooters leave it on, though for long exposures it’s worth checking your camera’s manual, since some systems work better switched off when the camera is stationary.
For handheld work at dawn or dusk when light is thin and you’re not reaching for a tripod, in-body stabilization can mean the difference between a sharp frame and a soft one.
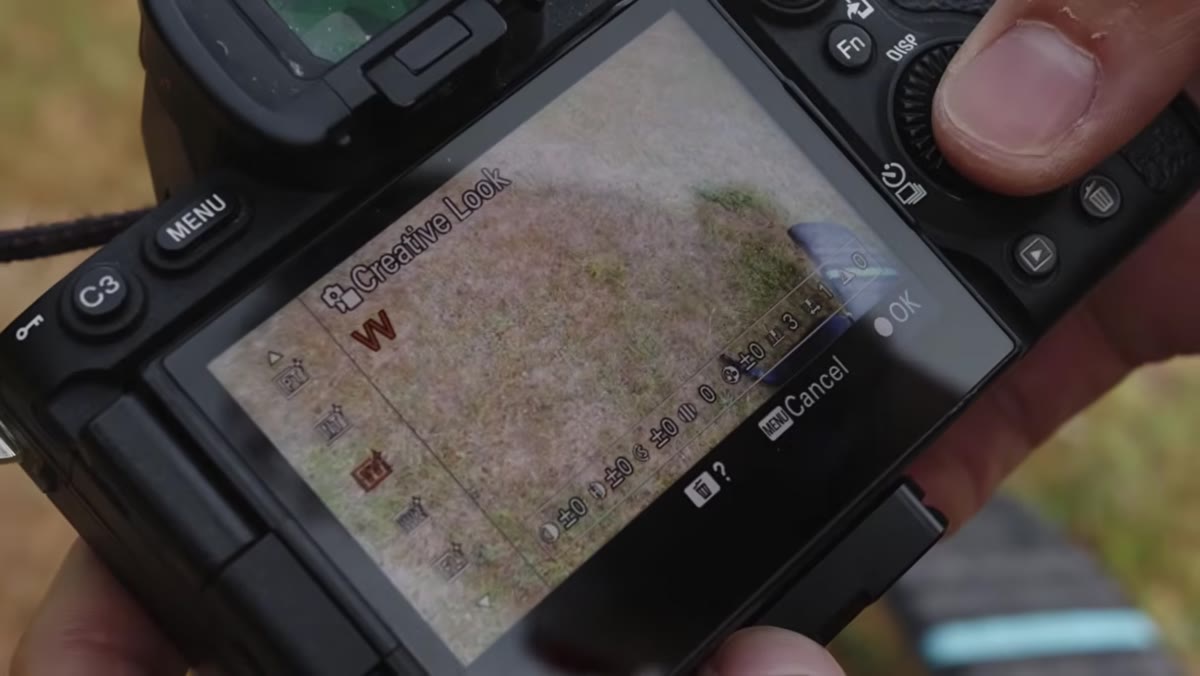
Step 4: Choose a Vivid or Landscape Color Profile
 Picture profile menu showing Vivid/Landscape color option selected
This one surprises people. Patino shoots with a vivid or “landscape” color profile active in his camera, even though it has almost no effect on his actual RAW files. The profile boosts saturation and contrast on the live view image and the JPEG preview embedded in the RAW file, giving a more realistic preview of what the finished edit might look like.
Picture profile menu showing Vivid/Landscape color option selected
This one surprises people. Patino shoots with a vivid or “landscape” color profile active in his camera, even though it has almost no effect on his actual RAW files. The profile boosts saturation and contrast on the live view image and the JPEG preview embedded in the RAW file, giving a more realistic preview of what the finished edit might look like.
The reason I like this approach: a flat, grey live view can be discouraging when you’re standing somewhere beautiful. Your screen should give you enough of a sense of the scene to make compositional decisions with confidence. The RAW file underneath still contains all the original data, so the profile is purely cosmetic during the shoot.
Step 5: Shoot in Manual Mode
 Camera mode dial being moved to Manual (M) setting
Patino is direct here, and I’ll be equally direct. Shoot in manual mode. Aperture priority and shutter priority have their uses, but manual mode is the only setting that puts every variable in your hands. Once you understand the exposure triangle, manual becomes faster than automatic, not slower, because you stop second-guessing the camera’s decisions.
Camera mode dial being moved to Manual (M) setting
Patino is direct here, and I’ll be equally direct. Shoot in manual mode. Aperture priority and shutter priority have their uses, but manual mode is the only setting that puts every variable in your hands. Once you understand the exposure triangle, manual becomes faster than automatic, not slower, because you stop second-guessing the camera’s decisions.
In the field, light changes fast. If you’re in an automatic mode and you pan from shadow to sky, your exposure shifts. In manual, you decide what stays constant. That kind of control is the difference between getting the frame you saw and getting whatever the camera decided.
Step 6: Start ISO at Your Camera’s Native Value
 ISO setting being adjusted on camera to ISO 100
Patino keeps his ISO at 100 for the vast majority of his landscape work, which matches his camera’s native ISO. Every sensor has a native ISO, usually 64, 100, or 200, where it performs at peak dynamic range and lowest noise. The further you push it, the more digital noise you introduce and the more you compress the tonal range the sensor can capture.
ISO setting being adjusted on camera to ISO 100
Patino keeps his ISO at 100 for the vast majority of his landscape work, which matches his camera’s native ISO. Every sensor has a native ISO, usually 64, 100, or 200, where it performs at peak dynamic range and lowest noise. The further you push it, the more digital noise you introduce and the more you compress the tonal range the sensor can capture.
Look up the native ISO for your specific camera body and treat it as your default. Raise it incrementally only when you genuinely need it, and as Patino notes, the one scenario where high ISO is unavoidable is astrophotography. Everywhere else, resist the urge.
Step 7: Select Your Aperture for Depth of Field
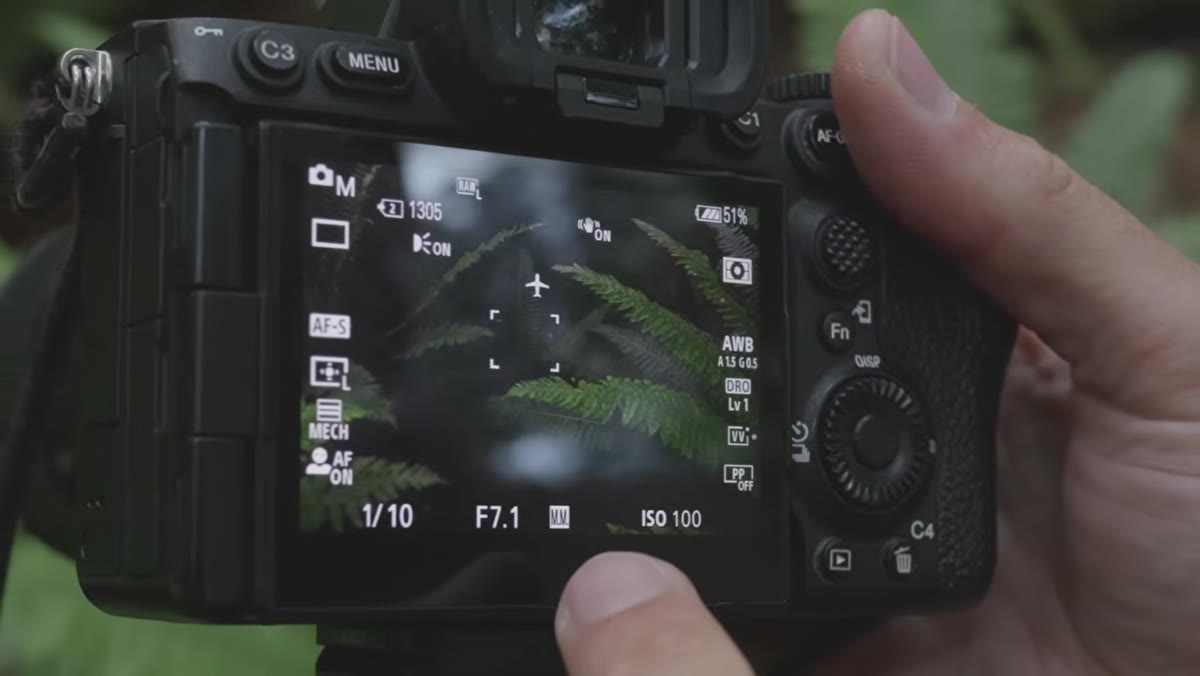 Aperture value shown on camera display being adjusted
Aperture controls how much of the scene is in sharp focus, and in landscape photography, you usually want as much of it sharp as possible. Patino walks through how proximity to your nearest subject affects the aperture you need, which is the core of understanding depth of field in a practical way. Wider apertures (lower f-numbers like f/2.8) bring in more light but limit what’s sharp. Narrow apertures (higher f-numbers like f/11 or f/16) extend sharpness from foreground to background.
Aperture value shown on camera display being adjusted
Aperture controls how much of the scene is in sharp focus, and in landscape photography, you usually want as much of it sharp as possible. Patino walks through how proximity to your nearest subject affects the aperture you need, which is the core of understanding depth of field in a practical way. Wider apertures (lower f-numbers like f/2.8) bring in more light but limit what’s sharp. Narrow apertures (higher f-numbers like f/11 or f/16) extend sharpness from foreground to background.
For most landscape scenes I shoot around Bend, f/8 to f/11 is a reliable starting range. Diffraction starts to soften images at very narrow apertures, so f/16 is generally a practical ceiling for sharpness.
One Thing I’d Add From My Own Experience
Patino doesn’t mention this in the tutorial, but here’s a habit I picked up from a mentor early in my career: before you touch a single setting, stand still for sixty seconds and just look. No viewfinder, no screen. Watch where the light is moving, notice the deepest shadows, find the brightest point in the frame. Your settings exist to serve what you’re seeing, not the other way around. Knowing your exposure triangle is only useful if you’re working from observation, not reflex.
I still shoot a roll of film occasionally for exactly this reason. It slows everything down and forces a decision before the shutter fires. You don’t need film to develop that habit, but you do need to build it deliberately.
If I had to leave you with one thing, it’s this: learn manual mode until it’s automatic. Every setting Patino covers here, ISO, aperture, white balance, file format, feeds into your ability to take control of the camera and make it invisible. The goal is to stop thinking about settings and start thinking about the scene.
Watch the full tutorial on YouTube and follow along with your camera in hand. Run through the menu settings once before your next shoot and spend the rest of the time practicing manual mode in real light.
Comments
Leave a Comment