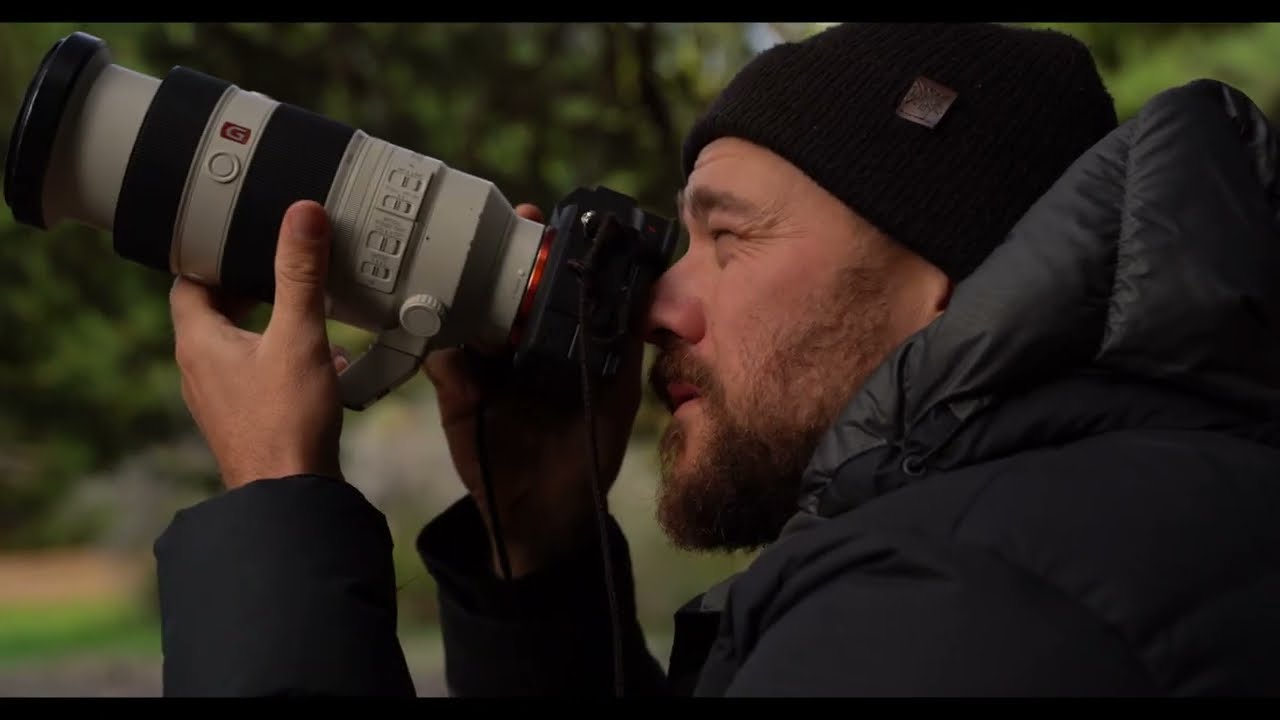
Most of my best mornings start in the dark, coffee in hand, driving toward something grand. A ridgeline, a river bend, a slot canyon lit up for twenty minutes a year. After two decades doing this for a living, I’ve built a practice around chasing those conditions. But here’s the problem no one talks about at workshops: you can’t always chase. Some weeks the schedule doesn’t cooperate. The light is flat. The epic location is four hours away and you have a dog to walk.
That tension is exactly what drew me to this tutorial by William Patino, where a viewer challenged him to shoot somewhere ordinary — a local park, the kind of place you walk through without lifting your camera. Watch the full tutorial on YouTube. What he demonstrates in under thirty minutes is something I’ve had to relearn every few years: strong images live in the observation, not the location. His approach is methodical and honest about constraints, which is why I wanted to break it down step by step.
I’ve had a mentor tell me once that the mountain doesn’t care about your schedule. The local park is the same. It will give you what it gives you. The question is whether you’re trained enough to see it.
Step 1: Choose Your Lens Strategy Before You Leave the Car
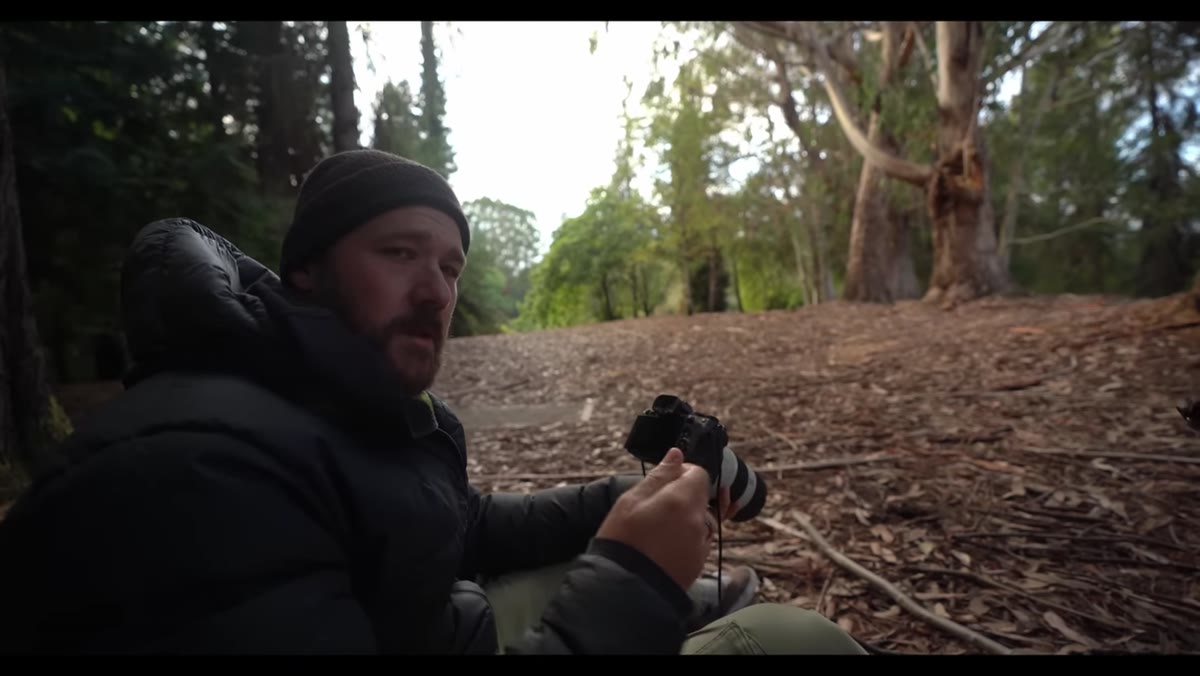
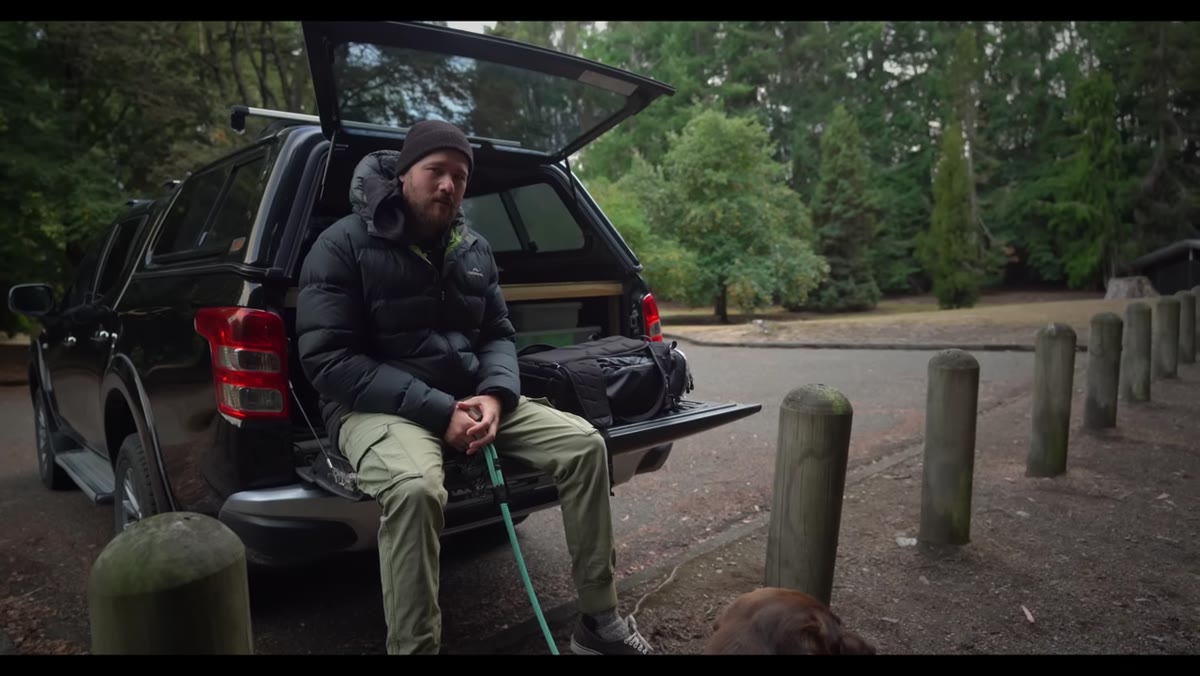 Photographer at park entrance preparing camera gear
The first decision Patino makes before he shoots a single frame is which lenses to bring. He walks with a wide, a mid-range, and a telephoto because he doesn’t want to be limited by what he might encounter. But he’s also honest that this is a choice, not a requirement. If you’re out for a casual walk, one lens is fine and actually makes for a useful creative constraint.
Photographer at park entrance preparing camera gear
The first decision Patino makes before he shoots a single frame is which lenses to bring. He walks with a wide, a mid-range, and a telephoto because he doesn’t want to be limited by what he might encounter. But he’s also honest that this is a choice, not a requirement. If you’re out for a casual walk, one lens is fine and actually makes for a useful creative constraint.
For unfamiliar locations, I’d suggest at minimum a mid-range zoom, something around 24-70mm equivalent. It gives you flexibility without turning the outing into a gear-hauling exercise. If you’re only bringing one prime, a 50mm will force you to move your feet and think compositionally rather than leaning on focal length to solve problems.
Step 2: Accept the Light You Get and Look for What It Suits
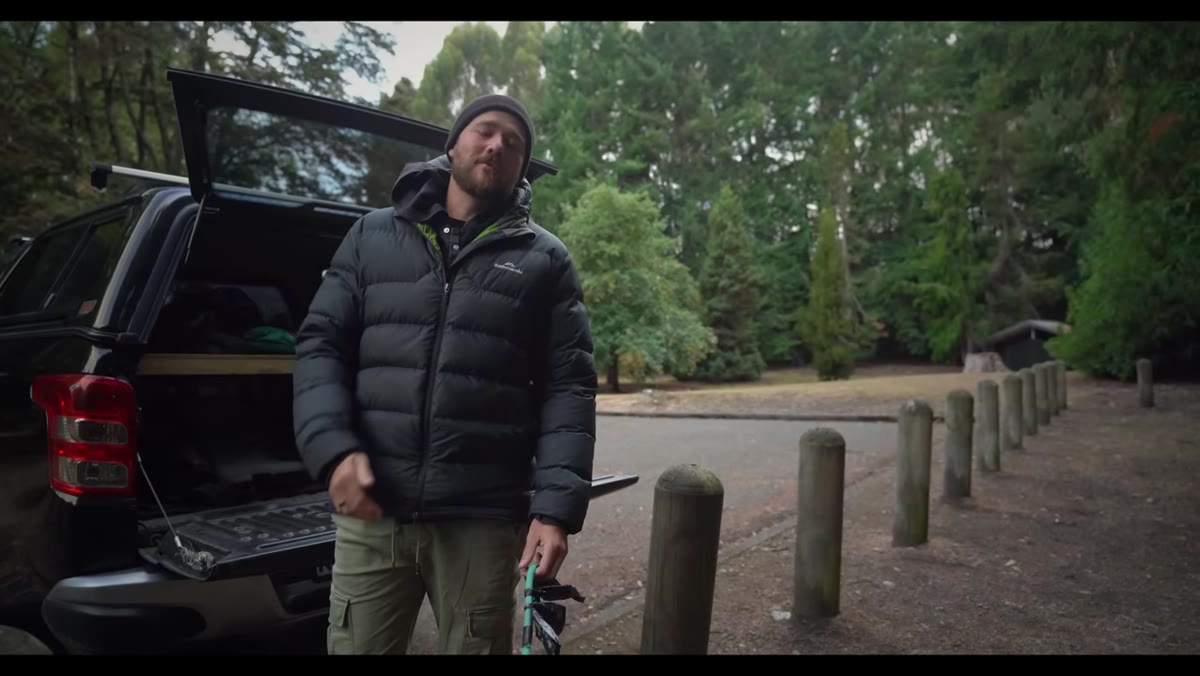 Overcast morning sky above park treeline
Patino arrives on a flat, overcast morning with no directional light. Rather than treating this as a reason to pack up, he identifies what that light actually does well: it’s soft, diffused, and wraps evenly around texture. No hard shadows, no blown highlights. That context shapes every decision he makes for the rest of the session.
Overcast morning sky above park treeline
Patino arrives on a flat, overcast morning with no directional light. Rather than treating this as a reason to pack up, he identifies what that light actually does well: it’s soft, diffused, and wraps evenly around texture. No hard shadows, no blown highlights. That context shapes every decision he makes for the rest of the session.
Overcast light is underrated for subjects with detail. Bark, moss, grasses, still water — these all read beautifully when the light isn’t fighting the texture. The mistake most photographers make is treating flat light as a failure state. It’s a different tool. Adjust your subject choices accordingly instead of trying to shoot as if the sun were out.
Step 3: Use a Telephoto to Isolate and Simplify
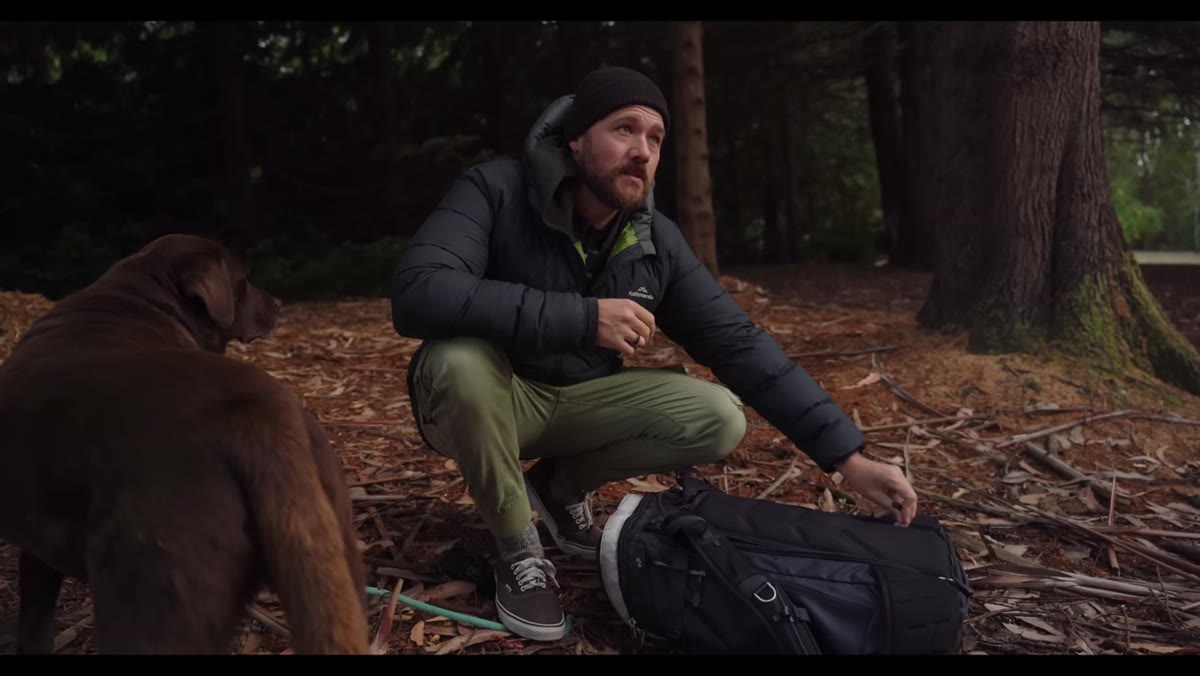 Telephoto lens mounted, aimed at gum tree bark
Faced with a stand of large eucalyptus trees, Patino reaches for a 100-400mm zoom. The reason isn’t to make things look big. It’s to cut away everything that doesn’t belong. A wide shot of that scene would include parked cars, paths, other park visitors. The telephoto collapses the field of view down to bark, branch, and leaf.
Telephoto lens mounted, aimed at gum tree bark
Faced with a stand of large eucalyptus trees, Patino reaches for a 100-400mm zoom. The reason isn’t to make things look big. It’s to cut away everything that doesn’t belong. A wide shot of that scene would include parked cars, paths, other park visitors. The telephoto collapses the field of view down to bark, branch, and leaf.
His settings here are instructive: ISO 200, f/16 for depth at a relatively close working distance, and 1/10 of a second. He’s sitting down and relying on image stabilization. At 100mm, that shutter speed is marginal but manageable with good technique and IS engaged. If you’re shooting in this range and getting motion blur you didn’t want, bump ISO to 400 or 800 before you open the aperture — depth of field is doing real compositional work at f/16 here, and it’s worth protecting.
Step 4: Build Compositions That Return the Eye to Center
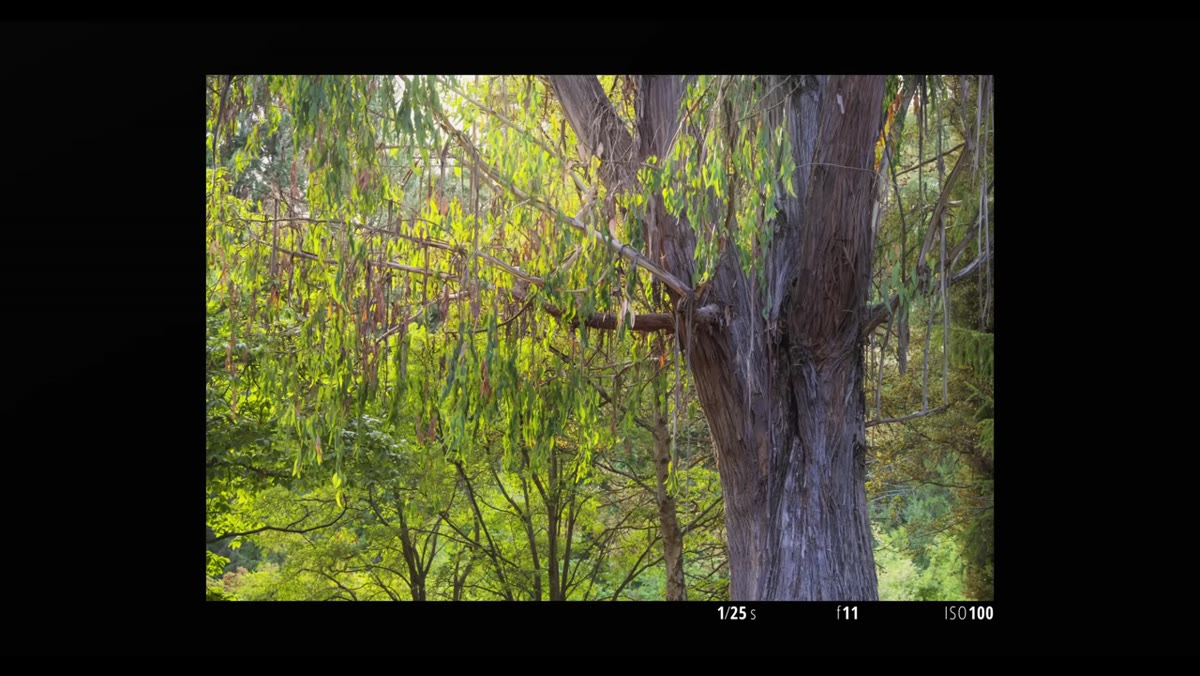
 Viewfinder framing of tree trunks with arching branch
Patino’s compositional thinking on the tree shot is worth sitting with. He places heavy trunk mass on the left and right edges, and uses a curving branch in the middle of the frame to arc the viewer’s eye back inward. He’s consciously avoiding anything that throws attention toward the corners and out of the frame.
Viewfinder framing of tree trunks with arching branch
Patino’s compositional thinking on the tree shot is worth sitting with. He places heavy trunk mass on the left and right edges, and uses a curving branch in the middle of the frame to arc the viewer’s eye back inward. He’s consciously avoiding anything that throws attention toward the corners and out of the frame.
This is classical composition logic applied to a mundane subject, and it works because the logic is sound regardless of location. When you’re shooting trees, look for natural frames within the scene: overhanging branches, converging trunks, negative space that gives a focal point somewhere to breathe. The environment is messier than a mountain vista, but the rules for managing a viewer’s attention don’t change.
Step 5: Turn Chaotic Scenes into Abstract Images with Intentional Camera Movement
 Bulrushes and foliage beside water, cluttered scene
Not every scene resolves into a clean composition. Patino encounters a section of the park that he freely describes as a mess — bulrushes, overgrown vegetation, nothing that hangs together visually. His solution is intentional camera movement, or ICM.
Bulrushes and foliage beside water, cluttered scene
Not every scene resolves into a clean composition. Patino encounters a section of the park that he freely describes as a mess — bulrushes, overgrown vegetation, nothing that hangs together visually. His solution is intentional camera movement, or ICM.
He slows the shutter to 1/6 of a second and pans upward through the shot as he triggers the shutter. The vertical motion streaks everything into soft vertical bands of color and tone. The chaos of the scene is transformed into something closer to a painting. The key insight is this: ICM works best when there’s tonal and color variety in the source scene. A scene with three similar greens will give you a muddy result. A mix of warm browns, cool greens, and pale sky tones gives the streaks contrast and interest. The mess, in this case, was actually an asset.
Step 6: Shift to Wide for Context and Scale
 Wide angle lens on large arching tree in park
Near the end of the session, Patino switches to a wide angle to capture a large tree with branches arching dramatically outward. The telephoto was right for isolating bark detail. The wide angle is right for showing the tree’s scale and relationship to the space around it.
Wide angle lens on large arching tree in park
Near the end of the session, Patino switches to a wide angle to capture a large tree with branches arching dramatically outward. The telephoto was right for isolating bark detail. The wide angle is right for showing the tree’s scale and relationship to the space around it.
Knowing when to switch is a feel that develops over time, but a useful rule is this: if you’re trying to show what something is like to stand inside or beneath, go wide. If you’re trying to show what something looks like, go longer. Both are valid. Neither is default.
What I’d Add: Give Yourself a Time Constraint on Purpose
Patino sets a 20-minute limit for this session, and I think that’s the most underappreciated technique in the whole video. A deadline forces you to move, commit, and stop second-guessing. I’ve watched students spend forty-five minutes reworking the same composition because they had all afternoon. Pressure is clarifying.
When I’m shooting somewhere local and uninspiring, I’ll sometimes leave half my gear in the car on purpose. One body, one lens, thirty minutes. It changes how you see. You stop waiting for the perfect angle and start working with what’s in front of you. That discipline is what separates photographers who grow from photographers who just accumulate better equipment.
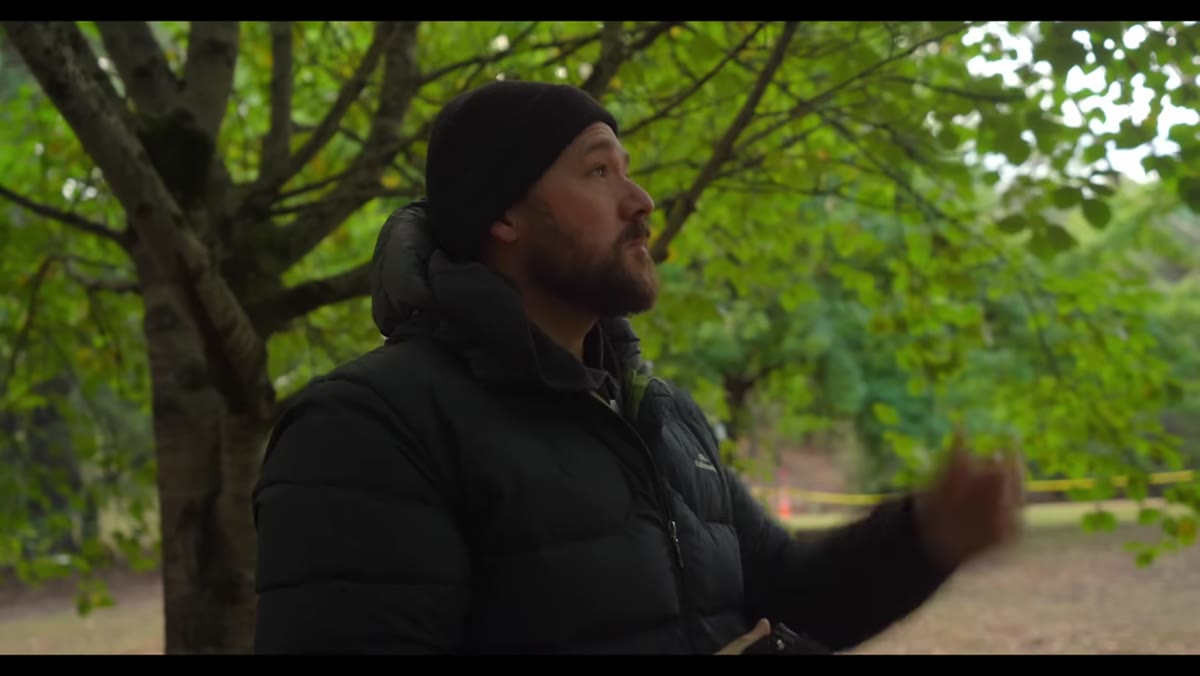
The single most important idea here is one Patino states quietly while watching his dog settle into the grass: photography is about observation first. Technique matters, gear matters, but neither one works without the habit of actually looking. The local park is a better classroom than you think. Go spend thirty minutes there this week with whatever camera you have.
Watch the full tutorial on YouTube
Comments (2)
Finally someone explains this in a way that actually makes sense.
Quality content like this is rare. Keep it up.
Leave a Comment