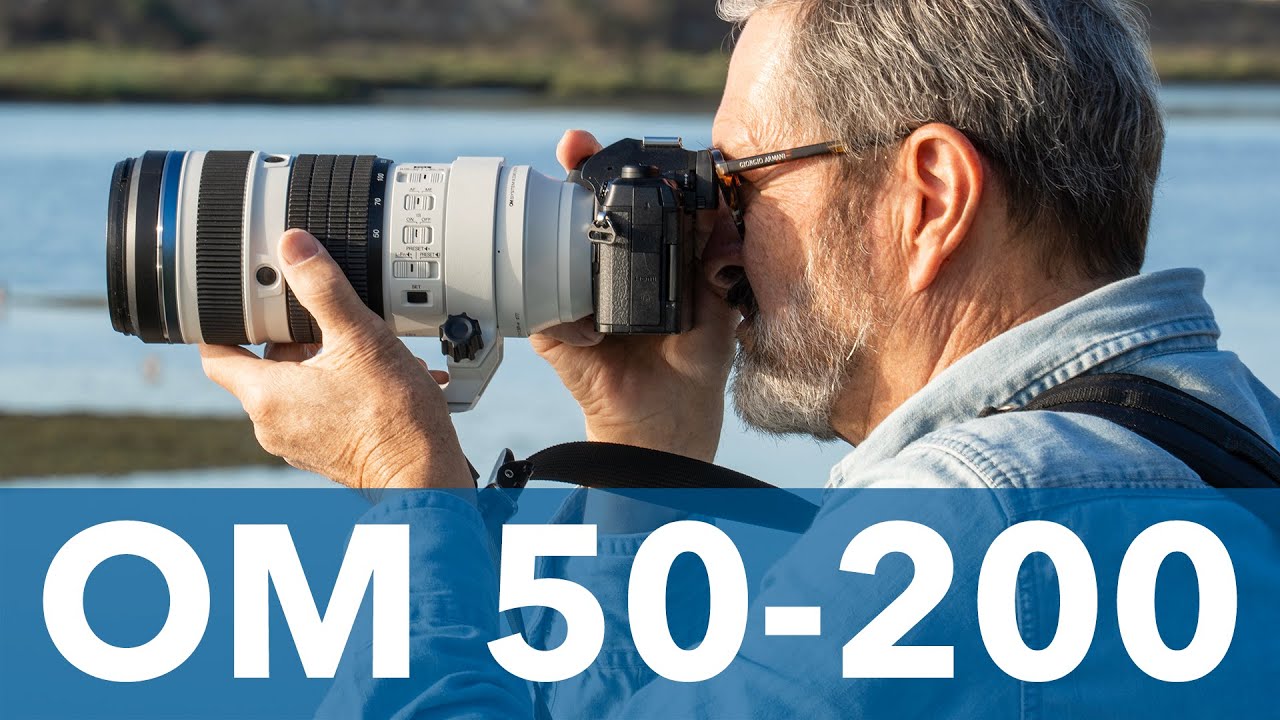
There’s a particular problem I’ve never fully solved with wildlife and wetland shooting: the gear that gives you reach doesn’t give you light, and the gear that gives you light doesn’t go near water. I’ve spent twenty years working around that trade-off, hauling separate kits for different conditions, babying lenses at the edge of marshes, making peace with the idea that a true fast telephoto was something you rented or didn’t own. So when I came across this tutorial from The Slanted Lens covering OM System’s new M. Zuiko 50-200mm f/2.8, I stopped what I was doing and watched it twice.
Watch the full tutorial on YouTube
What Jay P. Morgan at The Slanted Lens is actually field-testing here isn’t just a lens. It’s a system answer to a very specific question that nature photographers ask constantly: can I get a 100-400mm equivalent at f/2.8, use it handheld, and not panic when the weather rolls in? On Micro Four Thirds, the 50-200mm physical focal length delivers exactly that 100-400mm full-frame equivalent range. And the answer, based on what he’s showing here from a morning at Bolsa Chica Ecological Reserve, is yes. Let me walk through how it performs and how to think about each capability in the field.
Step 1: Understand What the Focal Range Actually Means for Your Shooting
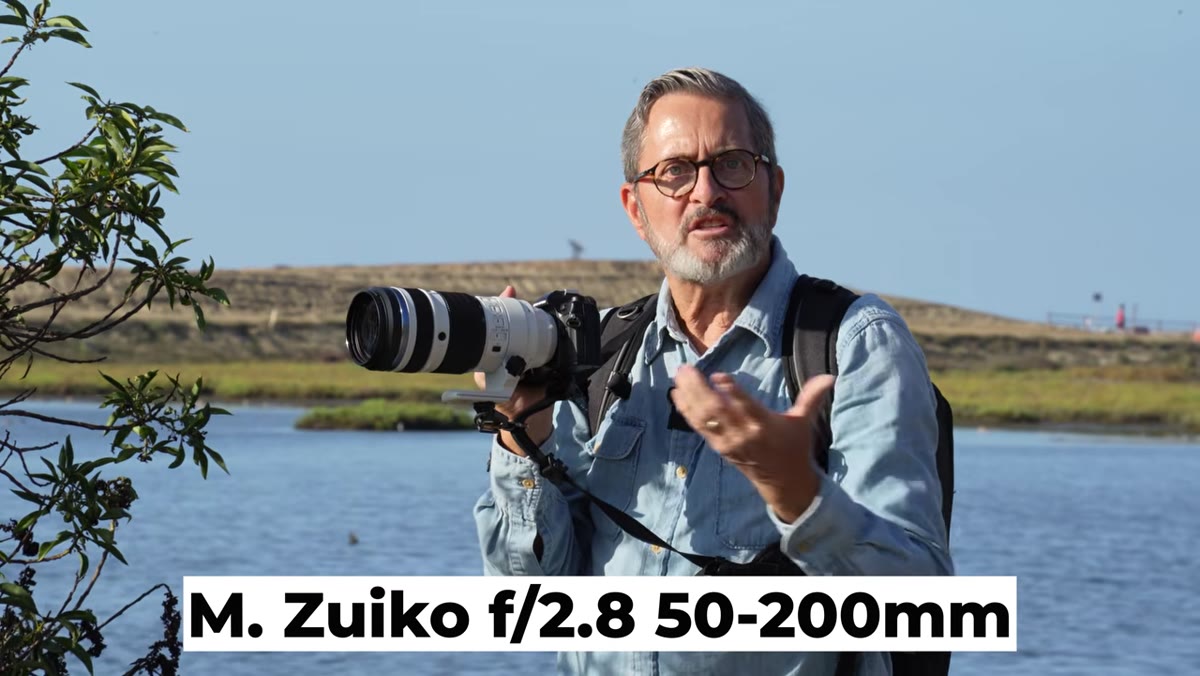 Presenter explaining the 100-400mm equivalent focal range
On Micro Four Thirds, the 2x crop factor is a feature, not a compromise, when you’re after reach. This lens at 200mm is delivering 400mm of effective reach. What that means practically is you can stay far enough back from skittish birds or insects to avoid disturbing the scene, while still filling the frame. At Bolsa Chica, Morgan is shooting herons and shorebirds from a comfortable distance, and the compression and subject isolation you get at the long end are exactly what you’d expect from a true telephoto. The narrow depth of field at f/2.8 separates subjects cleanly from reeds and water backgrounds in a way that a slower telephoto simply cannot match.
Presenter explaining the 100-400mm equivalent focal range
On Micro Four Thirds, the 2x crop factor is a feature, not a compromise, when you’re after reach. This lens at 200mm is delivering 400mm of effective reach. What that means practically is you can stay far enough back from skittish birds or insects to avoid disturbing the scene, while still filling the frame. At Bolsa Chica, Morgan is shooting herons and shorebirds from a comfortable distance, and the compression and subject isolation you get at the long end are exactly what you’d expect from a true telephoto. The narrow depth of field at f/2.8 separates subjects cleanly from reeds and water backgrounds in a way that a slower telephoto simply cannot match.
Step 2: Set Up for Handheld Shooting Using the Stabilization System
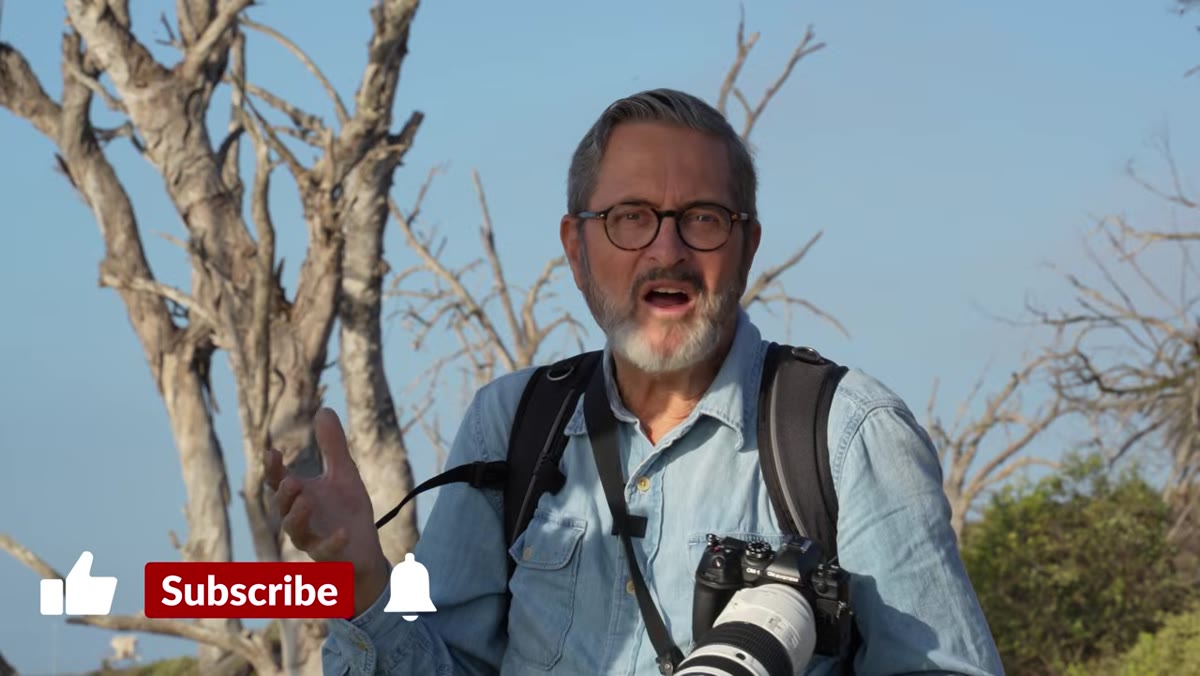 Photographer handholding the lens while shooting birds in the field
The reason this lens is designed as a handheld platform comes down to the combined stabilization between the lens and the OM-1 body. Morgan is shooting at 400mm equivalent, handheld, for an entire morning, and pulling sharp images. The system delivers seven stops of five-axis stabilization when lens and body work together. In practice, that means you can shoot at shutter speeds that would be unthinkable with a traditional 400mm setup. For moving subjects, you’ll still want to keep your shutter speed high enough to freeze motion, but for stationary birds, plants, or landscapes, the stabilization gives you latitude you simply don’t have with other systems. Take the tripod collar off if you’re working handheld all day. The lens is balanced and comfortable without it, and the extra weight isn’t helping you when you’re tracking a bird in flight.
Photographer handholding the lens while shooting birds in the field
The reason this lens is designed as a handheld platform comes down to the combined stabilization between the lens and the OM-1 body. Morgan is shooting at 400mm equivalent, handheld, for an entire morning, and pulling sharp images. The system delivers seven stops of five-axis stabilization when lens and body work together. In practice, that means you can shoot at shutter speeds that would be unthinkable with a traditional 400mm setup. For moving subjects, you’ll still want to keep your shutter speed high enough to freeze motion, but for stationary birds, plants, or landscapes, the stabilization gives you latitude you simply don’t have with other systems. Take the tripod collar off if you’re working handheld all day. The lens is balanced and comfortable without it, and the extra weight isn’t helping you when you’re tracking a bird in flight.
Step 3: Use the Continuous Autofocus for Moving Wildlife
 Presenter describing 50fps continuous autofocus capability
The lens supports up to 50 frames per second in continuous autofocus mode when paired with the OM-1. For most nature shooting, you won’t need 50fps, but having that ceiling matters when you’re tracking a bird banking across a marsh or an insect lifting off a flower. The autofocus system on the OM-1 uses subject recognition, and the lens is built to keep pace with it. When you’re setting up a burst sequence, pre-focus on the zone where you expect the subject to move through, and let the camera track from there. The frame rate gives you options in post, but the autofocus accuracy is what actually determines whether those frames are keepers.
Presenter describing 50fps continuous autofocus capability
The lens supports up to 50 frames per second in continuous autofocus mode when paired with the OM-1. For most nature shooting, you won’t need 50fps, but having that ceiling matters when you’re tracking a bird banking across a marsh or an insect lifting off a flower. The autofocus system on the OM-1 uses subject recognition, and the lens is built to keep pace with it. When you’re setting up a burst sequence, pre-focus on the zone where you expect the subject to move through, and let the camera track from there. The frame rate gives you options in post, but the autofocus accuracy is what actually determines whether those frames are keepers.
Step 4: Leverage the Close-Focus Capability at the Long End
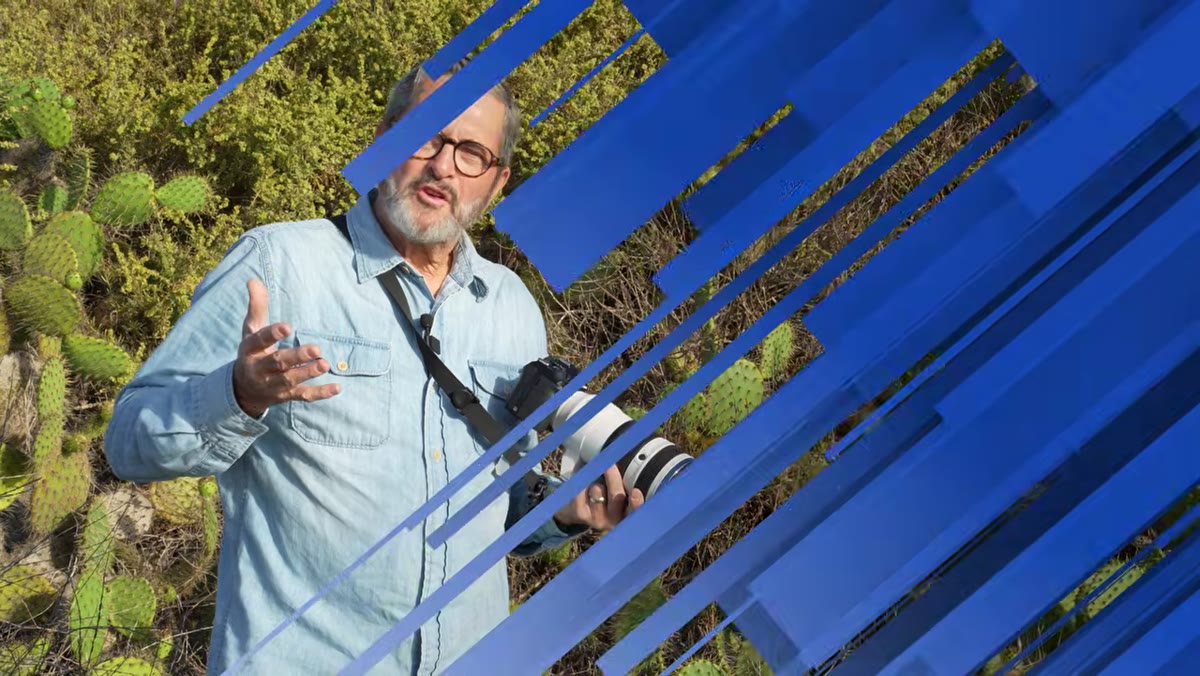 Presenter demonstrating macro-style close focus at 200mm on cactus
One thing Morgan demonstrates that surprised me is how close this lens focuses at 200mm. Without any teleconverter, you’re achieving roughly 0.5x magnification and can focus as close as about 30 inches from your subject. At 200mm, that puts you well into macro-adjacent territory for insects, flowers, and textured surfaces. What makes this genuinely useful in the field is distance. When you’re shooting a dragonfly or a small wildflower at 200mm and 0.5x magnification, you’re not crowding the subject. You’re back far enough that you’re not casting a shadow over it, not disturbing it, and not bumping the flower stem with your lens hood. Add a teleconverter and you reach 1:1 at 200mm, which is a true macro ratio for the most demanding close-up work.
Presenter demonstrating macro-style close focus at 200mm on cactus
One thing Morgan demonstrates that surprised me is how close this lens focuses at 200mm. Without any teleconverter, you’re achieving roughly 0.5x magnification and can focus as close as about 30 inches from your subject. At 200mm, that puts you well into macro-adjacent territory for insects, flowers, and textured surfaces. What makes this genuinely useful in the field is distance. When you’re shooting a dragonfly or a small wildflower at 200mm and 0.5x magnification, you’re not crowding the subject. You’re back far enough that you’re not casting a shadow over it, not disturbing it, and not bumping the flower stem with your lens hood. Add a teleconverter and you reach 1:1 at 200mm, which is a true macro ratio for the most demanding close-up work.
Step 5: Trust the Weather Sealing and Shoot in Conditions You’d Normally Avoid
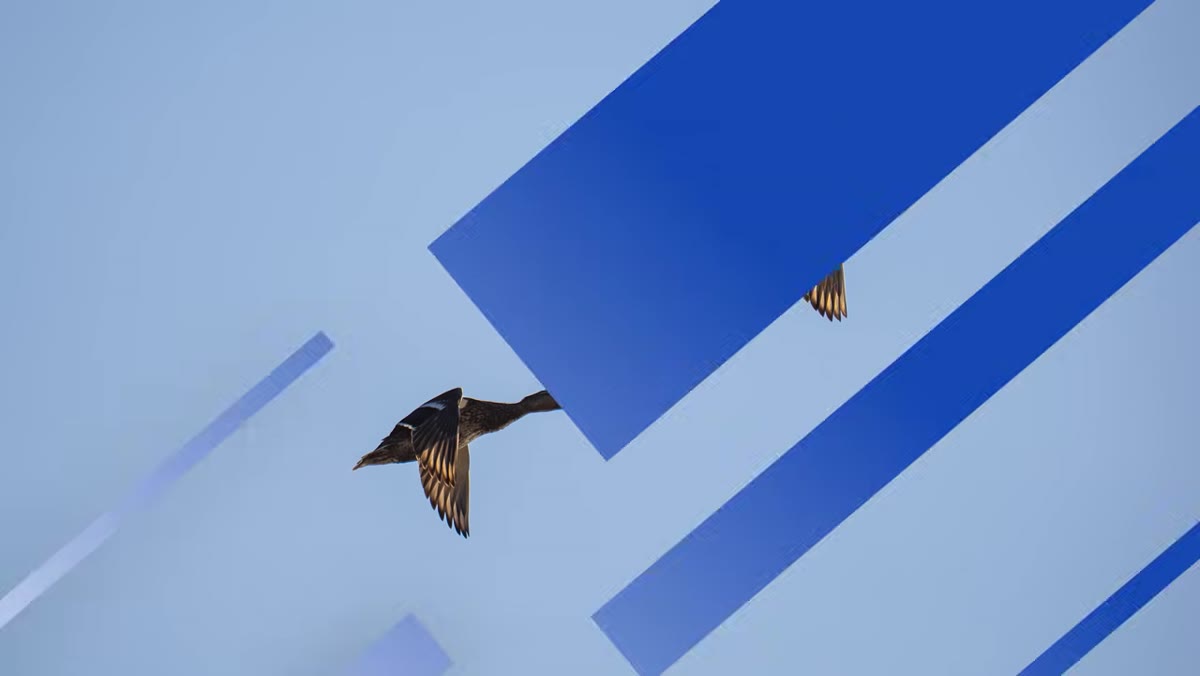 Presenter discussing IP53 certification and real-world weather resistance
This is the part that matters most to me personally. The lens carries an IP53 rating, which is a certified standard. That means it’s been tested for protection against dust and water spray from any direction. Morgan is direct about the distinction: this isn’t marketing language about being “weather resistant.” It’s a certified, tested rating. For a nature and landscape photographer, that changes how you plan shoots. You can set up in light rain. You can work near waterfalls and surf. You can shoot in coastal morning fog without spending the whole time anxious about moisture. Combine that with an OM-1 body, which carries its own weather sealing, and you have a system that’s genuinely built for outdoor conditions, not just tolerated exposure to them.
Presenter discussing IP53 certification and real-world weather resistance
This is the part that matters most to me personally. The lens carries an IP53 rating, which is a certified standard. That means it’s been tested for protection against dust and water spray from any direction. Morgan is direct about the distinction: this isn’t marketing language about being “weather resistant.” It’s a certified, tested rating. For a nature and landscape photographer, that changes how you plan shoots. You can set up in light rain. You can work near waterfalls and surf. You can shoot in coastal morning fog without spending the whole time anxious about moisture. Combine that with an OM-1 body, which carries its own weather sealing, and you have a system that’s genuinely built for outdoor conditions, not just tolerated exposure to them.
Step 6: Decide When to Attach the Tripod Collar
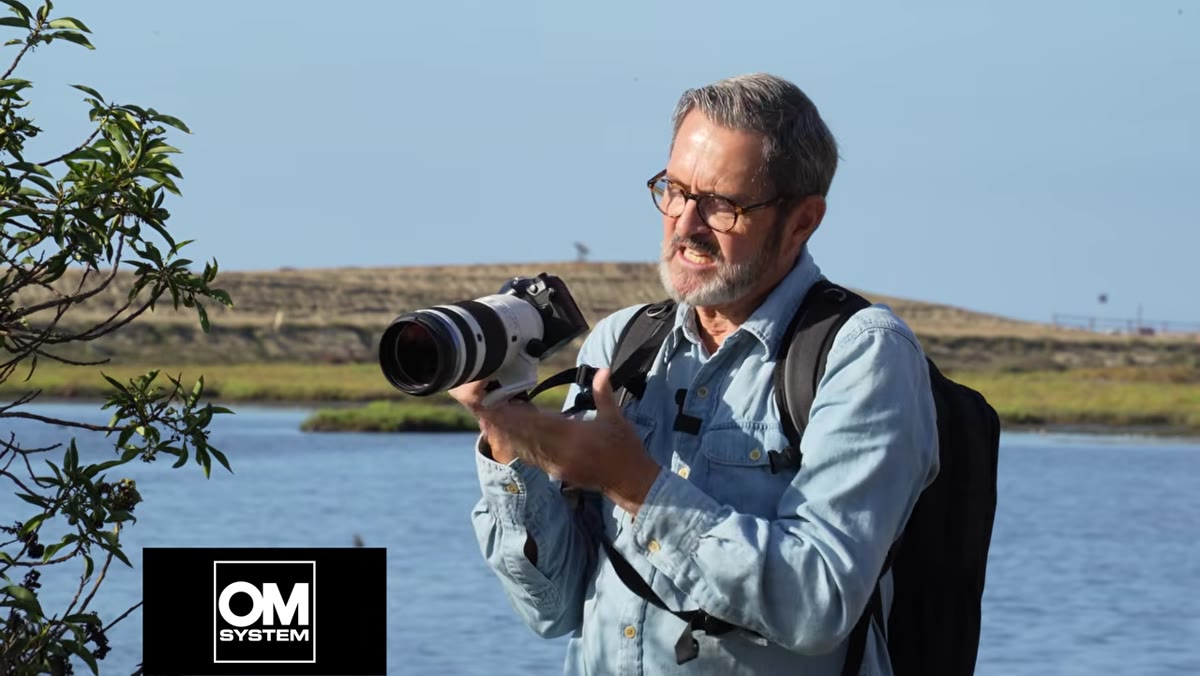 Presenter showing the removable tripod collar on the lens
The lens ships with a tripod collar, and it’s easy to dismiss it as unnecessary if you’re shooting handheld all day. But for specific situations, it earns its place. If you’re shooting from a blind, working a fixed composition at the long end for an extended period, or using focus stacking for close subjects, having the lens balanced on a head rather than the camera body reduces micro-movement and fatigue. The collar removes cleanly when you don’t need it. My approach is to make the call before I leave the car based on what I’m planning to shoot that day, not to carry it along just in case.
Presenter showing the removable tripod collar on the lens
The lens ships with a tripod collar, and it’s easy to dismiss it as unnecessary if you’re shooting handheld all day. But for specific situations, it earns its place. If you’re shooting from a blind, working a fixed composition at the long end for an extended period, or using focus stacking for close subjects, having the lens balanced on a head rather than the camera body reduces micro-movement and fatigue. The collar removes cleanly when you don’t need it. My approach is to make the call before I leave the car based on what I’m planning to shoot that day, not to carry it along just in case.
What I’d Add From My Own Experience
Focal length range like this rewards patience more than speed. Twenty years of standing in cold marshes and mountain meadows before first light has taught me that the lens doesn’t create the shot. It just removes the mechanical excuses. With a true 400mm equivalent at f/2.8 in your hands, the remaining variable is you: how long you’re willing to wait, how still you can hold, how well you’ve read the light. I’d use this lens the way I use every other piece of gear: get to the location before you need to be there, let the environment settle around you, and trust that the shot exists somewhere in the hour ahead. The stabilization and weather sealing just mean you can be there longer and in more conditions than before.
The single most important thing this lens changes for Micro Four Thirds shooters is the relationship between reach and light. A 100-400mm equivalent at f/2.8 with real weather sealing used to mean spending five figures or renting. In this The Slanted Lens tutorial, Morgan makes a convincing case that OM System has closed that gap in a way that genuinely serves working nature photographers.
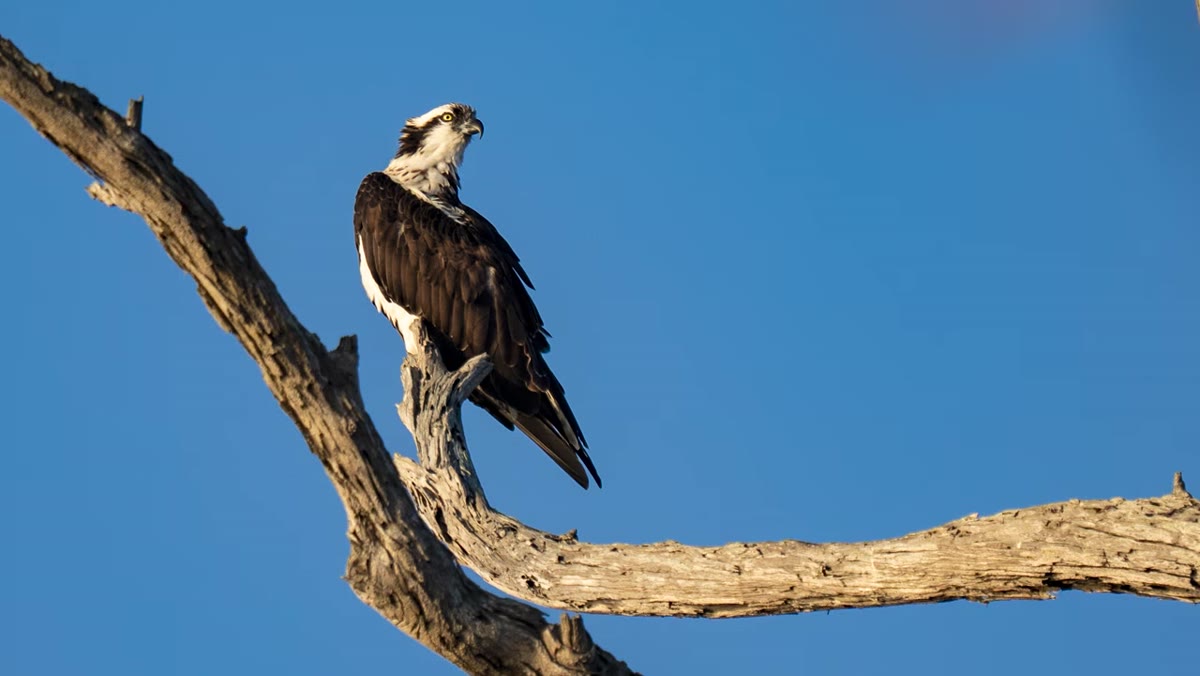
Watch the full tutorial on YouTube and see the field footage for yourself. The bird images from Bolsa Chica say more than the spec sheet does.
Comments (5)
Tried this technique this morning. Game changer for real.
Never thought of approaching it this way. Really creative.
Excellent tutorial. I'd add that from a photoshop standpoint, this technique is incredibly versatile.
Bookmarked. Coming back to this one for sure.
This is going in my reference folder. Incredibly useful.
Leave a Comment