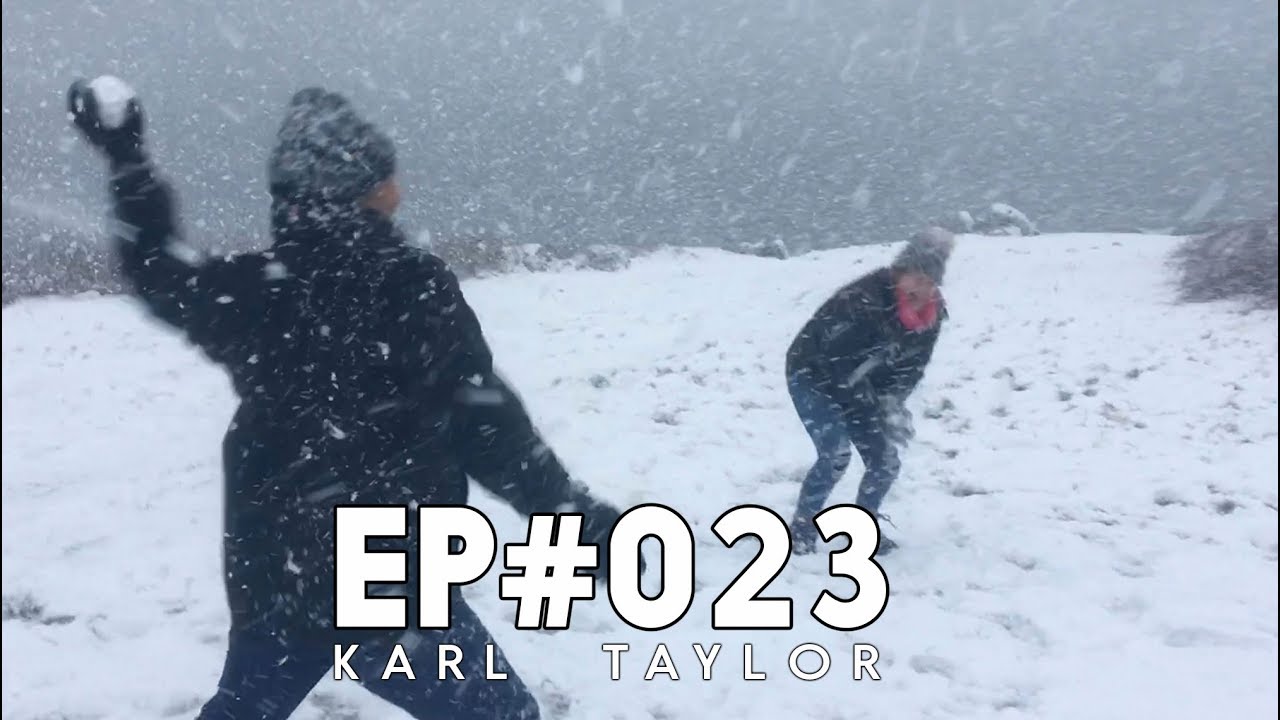
There’s a particular kind of frustration that every serious landscape photographer knows. You’ve driven hours, hiked to the spot, set up your tripod, dialed in your composition, and then the light dies. The clouds roll in. The blizzard arrives. You pack up and go home with nothing. Most photographers experience this and conclude the location wasn’t worth it. The ones who keep going back are the ones who eventually get the shot that defines their portfolio.
In this Visual Education tutorial, the team documents exactly that process across three separate attempts at a single winter landscape location. What makes it worth studying isn’t a technical breakdown of camera settings or a Lightroom workflow. It’s rarer than that. It’s an honest, unfiltered record of what fieldwork actually looks like when conditions refuse to cooperate, and what it costs, mentally and physically, to keep showing up anyway. I’ve watched a lot of tutorial content over the years, and almost none of it shows you what happens when things go wrong in real time. This one does.
A mentor of mine once told me that the mountain doesn’t care about your schedule. I was maybe five years into shooting full time when he said it, and I was annoyed because it felt like a platitude. Twenty years in, I can tell you it’s the most practically useful thing anyone ever said to me about this work. This tutorial is a 13-minute demonstration of that idea, and here’s how to apply what it shows you.
Step 1: Commit to the Location Before You Commit to the Conditions
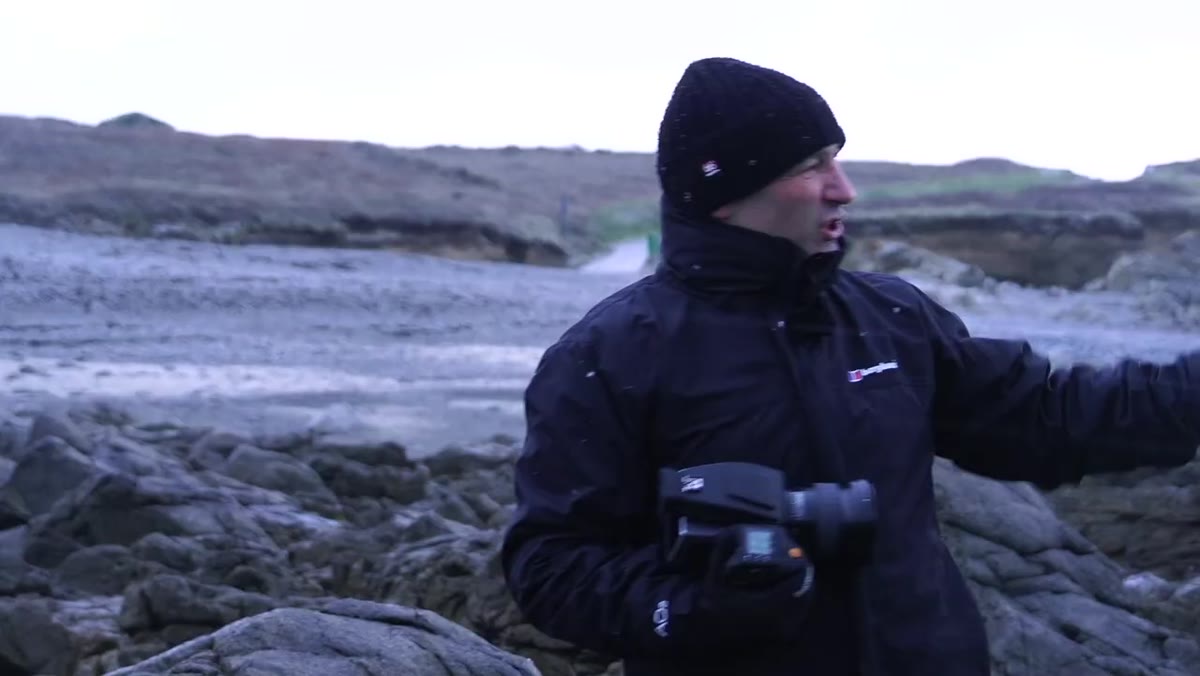 Photographer arriving at winter landscape location in heavy snowfall
The crew arrives at their chosen spot for a sunset shoot and immediately faces a whiteout. Snowfall has covered everything, blocked the light, and made shooting impossible. The instinct for most people is to treat this as a failed trip. The correct instinct is to treat it as reconnaissance. You’ve now seen the location in one set of conditions. You know where the gully is, where the water sits, how the light would fall if the sky were clear. That information is worth something. Don’t waste the drive by treating a bad-weather visit as a wasted visit. Walk the location, note your compositions, and mark your tripod positions mentally. You’re banking information for the next attempt.
Photographer arriving at winter landscape location in heavy snowfall
The crew arrives at their chosen spot for a sunset shoot and immediately faces a whiteout. Snowfall has covered everything, blocked the light, and made shooting impossible. The instinct for most people is to treat this as a failed trip. The correct instinct is to treat it as reconnaissance. You’ve now seen the location in one set of conditions. You know where the gully is, where the water sits, how the light would fall if the sky were clear. That information is worth something. Don’t waste the drive by treating a bad-weather visit as a wasted visit. Walk the location, note your compositions, and mark your tripod positions mentally. You’re banking information for the next attempt.
Step 2: Return With a Specific Technical Goal, Not Just Hope
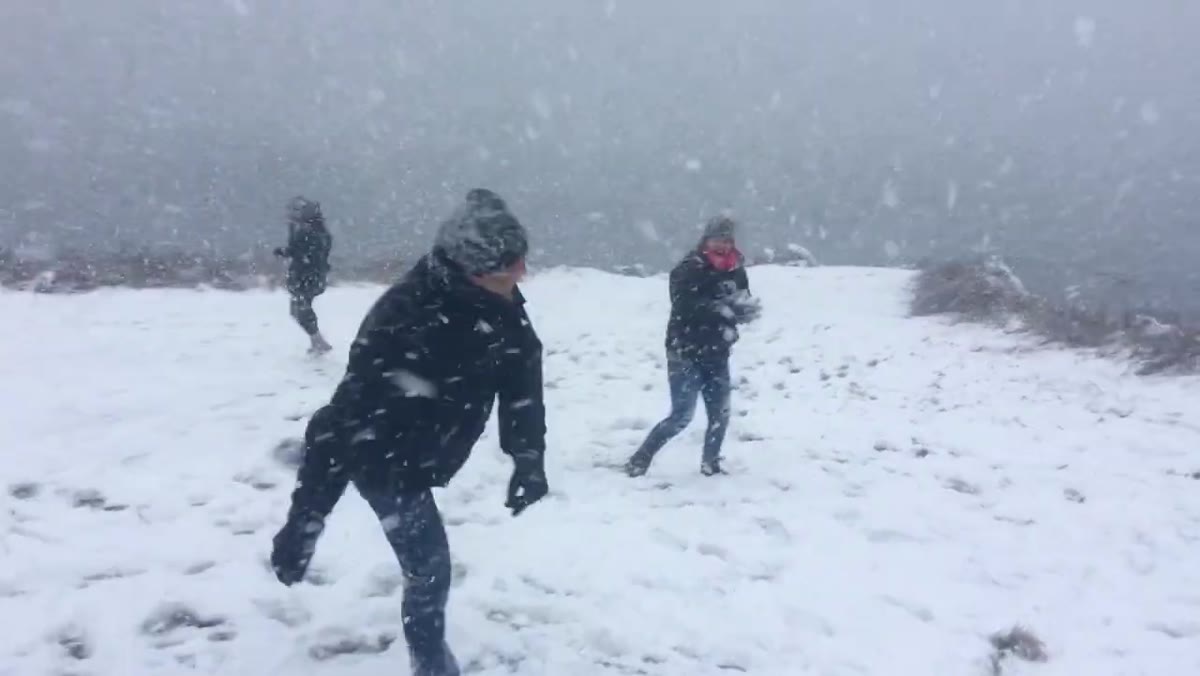 Crew setting up again on second attempt, snow returning
The second attempt follows the same pattern: the sky clears briefly, the light looks promising, and then another wave of snow moves in just as the camera is ready. But listen to what gets said in that moment of frustration. There’s a comment about how the water level in the gully will be higher the next day, which is exactly the kind of foreground interest that separates a strong landscape from a flat one. Between failed attempts, the photographer isn’t just hoping for better weather. They’re thinking about what element of the composition is still missing. Each return visit should have a concrete reason, not just a general wish that conditions will cooperate. Ask yourself: what specifically would make this image better than what I could have captured on attempt one?
Crew setting up again on second attempt, snow returning
The second attempt follows the same pattern: the sky clears briefly, the light looks promising, and then another wave of snow moves in just as the camera is ready. But listen to what gets said in that moment of frustration. There’s a comment about how the water level in the gully will be higher the next day, which is exactly the kind of foreground interest that separates a strong landscape from a flat one. Between failed attempts, the photographer isn’t just hoping for better weather. They’re thinking about what element of the composition is still missing. Each return visit should have a concrete reason, not just a general wish that conditions will cooperate. Ask yourself: what specifically would make this image better than what I could have captured on attempt one?
Step 3: Pre-Position Everything Before the Light Peaks
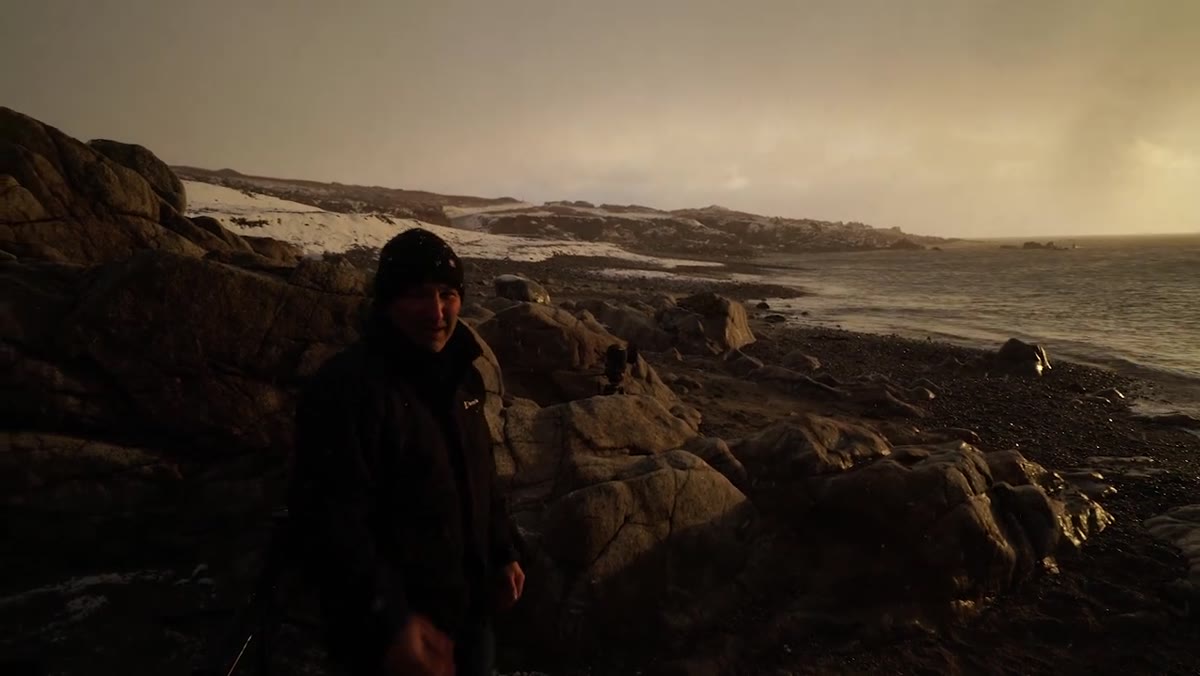 Tripod already placed and composition locked before weather shifts
One of the clearest practical lessons across both failed attempts is how quickly conditions change. The difference between capturing the shot and missing it is often whether your tripod is already locked in place before the light becomes interesting. By the time you’re fiddling with your ball head and adjusting your composition, the window has closed. In winter especially, the quality light during golden hour can last under three minutes before cloud or weather shifts it entirely. Have your position established, your composition confirmed, your exposure settings dialed in, and your remote shutter in your hand before the sky does anything interesting. You are waiting for light, not preparing for it.
Tripod already placed and composition locked before weather shifts
One of the clearest practical lessons across both failed attempts is how quickly conditions change. The difference between capturing the shot and missing it is often whether your tripod is already locked in place before the light becomes interesting. By the time you’re fiddling with your ball head and adjusting your composition, the window has closed. In winter especially, the quality light during golden hour can last under three minutes before cloud or weather shifts it entirely. Have your position established, your composition confirmed, your exposure settings dialed in, and your remote shutter in your hand before the sky does anything interesting. You are waiting for light, not preparing for it.
Step 4: Read the Emotional Rhythm of a Shoot and Manage It
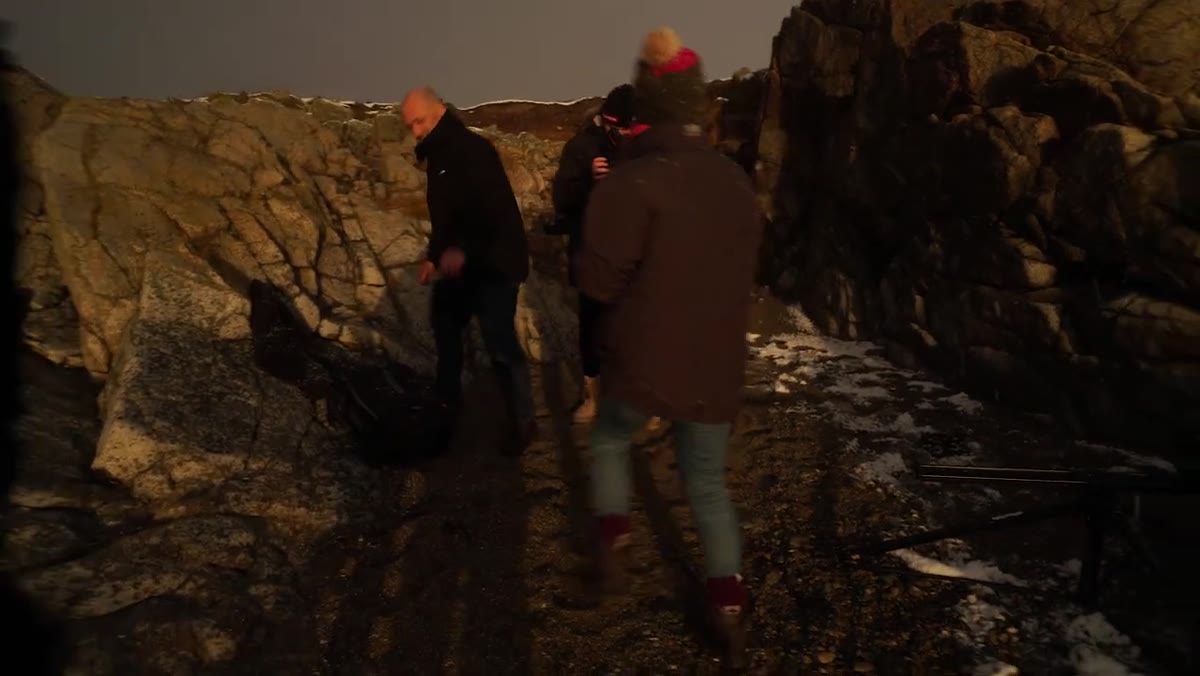 Photographer reacting with visible frustration as blizzard rolls in again
This sounds soft, but it’s genuinely practical. The tutorial captures the emotional arc of a bad shoot with unusual honesty: the excitement when the sky opens up, the sharp frustration when the weather closes in again, the gallows humor between crew members, the cold. If you’ve shot landscapes in winter, you recognize all of it. What it’s easy to miss is that emotional state directly affects your decision-making. Frustration makes you rush. Cold makes you cut corners. The antidote isn’t pretending you’re not frustrated. It’s building enough buffer into your shoot window that you can absorb two failed attempts and still have the composure to work properly on the third. Plan for more time than you think you need, every single time.
Photographer reacting with visible frustration as blizzard rolls in again
This sounds soft, but it’s genuinely practical. The tutorial captures the emotional arc of a bad shoot with unusual honesty: the excitement when the sky opens up, the sharp frustration when the weather closes in again, the gallows humor between crew members, the cold. If you’ve shot landscapes in winter, you recognize all of it. What it’s easy to miss is that emotional state directly affects your decision-making. Frustration makes you rush. Cold makes you cut corners. The antidote isn’t pretending you’re not frustrated. It’s building enough buffer into your shoot window that you can absorb two failed attempts and still have the composure to work properly on the third. Plan for more time than you think you need, every single time.
Step 5: Recognize the Shot When It Arrives and Don’t Second-Guess It
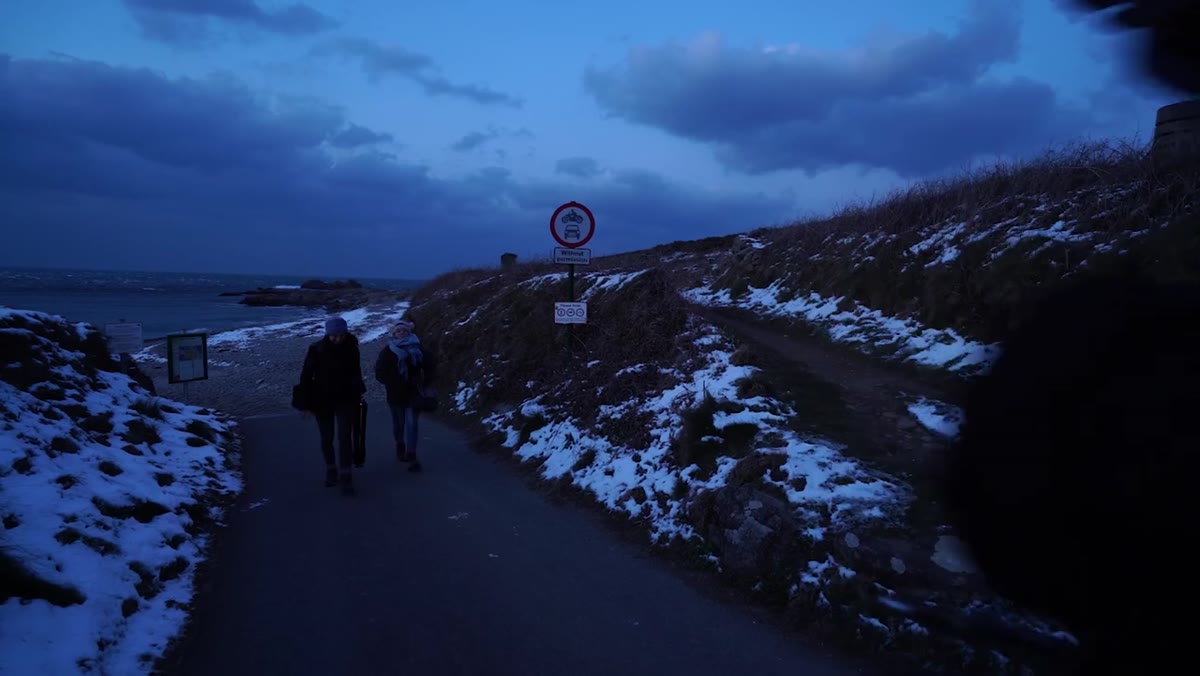 Clear sky and good light finally appearing on the third attempt
Third visit. The cloud holds. The light is good. The sky cooperates. The shot happens. What’s notable is how quickly the mood shifts from resignation to action, and that transition needs to be a trained reflex. After multiple failed attempts, there’s a psychological trap where you almost can’t believe the conditions are finally working. You hesitate. You second-guess your composition. You re-check your settings one more time. That hesitation costs you frames. Trust the preparation you did on the first two visits. Your composition is already figured out. Your exposure logic is already worked through. When the light arrives, shoot.
Clear sky and good light finally appearing on the third attempt
Third visit. The cloud holds. The light is good. The sky cooperates. The shot happens. What’s notable is how quickly the mood shifts from resignation to action, and that transition needs to be a trained reflex. After multiple failed attempts, there’s a psychological trap where you almost can’t believe the conditions are finally working. You hesitate. You second-guess your composition. You re-check your settings one more time. That hesitation costs you frames. Trust the preparation you did on the first two visits. Your composition is already figured out. Your exposure logic is already worked through. When the light arrives, shoot.
What I’d Add From My Own Experience
The tutorial ends when the shot is captured, which is where most field content ends. What it doesn’t cover is the debrief that should happen afterward. When I finally get a shot after multiple failed attempts, I spend time that evening writing down exactly what changed on the successful visit: the cloud cover percentage, the wind direction, the time the light peaked, the water level, what I was shooting on. That record becomes a location file, and that location file becomes the reason my second visit to a place is always more productive than my first. Persistence without documentation is just stubbornness. Persistence with documentation is a system.
The single most important thing this tutorial demonstrates is something no Lightroom panel can teach you. Landscape photography rewards the people who show up more than it rewards the people who are technically gifted. Talent matters. Gear matters. But the image in this video only exists because the photographer went back a third time when every reasonable person would have stayed home. That decision, made in the cold, is the whole craft.
Watch the full tutorial on YouTube and pay attention to the moments between the attempts. That’s where the real lesson lives.
Comments
Leave a Comment