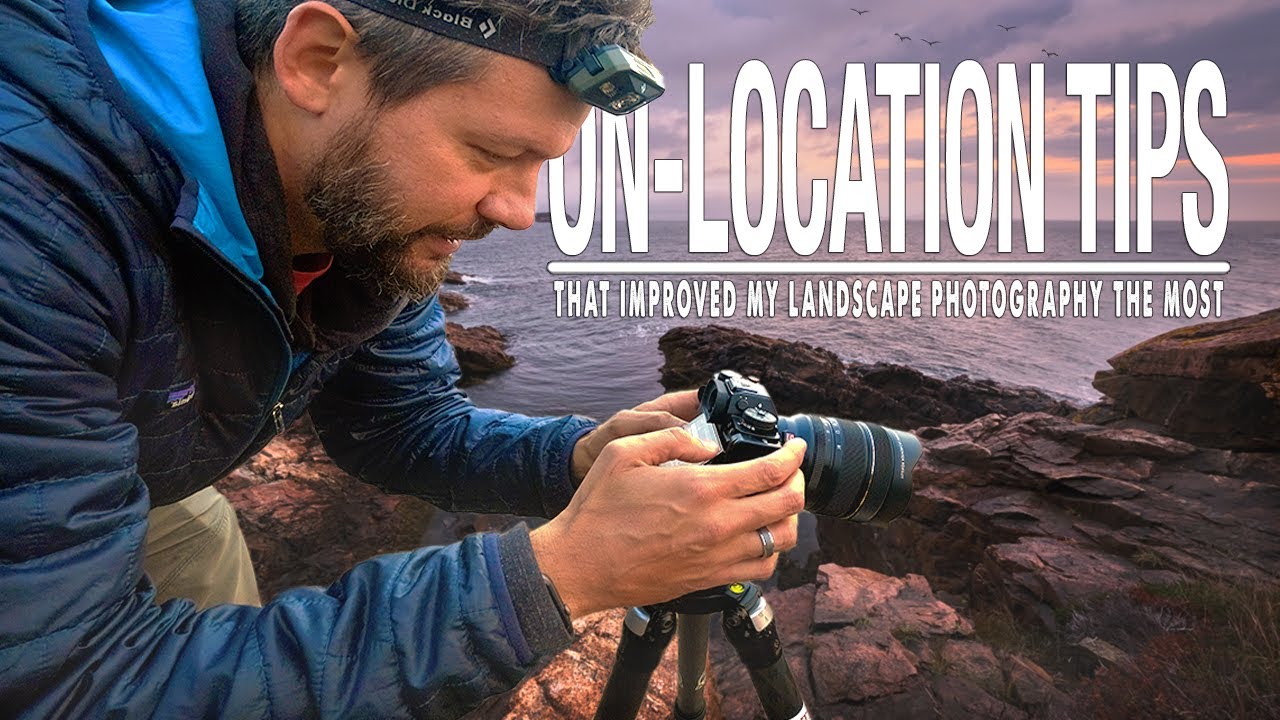
There’s a particular kind of discipline that separates a productive pre-dawn shoot from an expensive drive to watch nothing happen. I’ve been shooting landscapes full-time for two decades and I still catch myself making the same on-location mistakes when I’m rushing, cold, or overconfident about conditions. What I’ve learned is that a good field workflow isn’t about having the right gear. It’s about making a series of small, smart decisions in sequence, each one building on the last. That’s exactly what Mark Denney demonstrates so well in his recent tutorial. Watch the full tutorial on YouTube before or after reading this breakdown, because seeing the actual footage adds real context to what I’m describing here.
In this Mark Denney tutorial, he shoots a coastal location at sunrise, working through a complete on-location process from arrival to capture. What makes it worth studying isn’t a single dramatic tip. It’s how each decision he makes is deliberate. Settings aren’t guessed. Compositions aren’t locked in prematurely. Light is watched, not assumed. I’ve started treating his approach as a kind of mental checklist I run through every time I set up in the dark.
Step 1: Arrive Early and Explore Without an Agenda
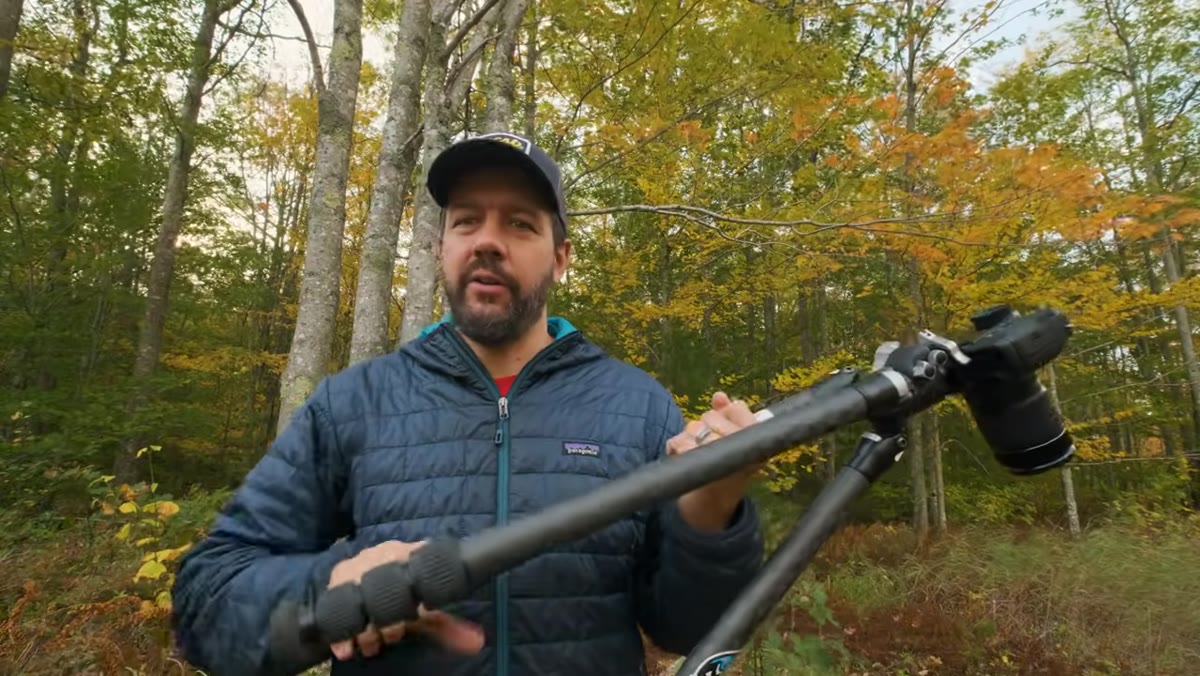 Photographer walking woodland trail with gear before dawn
Get to your location before you need to be there. This sounds obvious until you realize how many people arrive thirty seconds before golden hour and scramble to set up in a panic. Mark arrives with enough time to physically walk the location without a destination in mind. He’s not looking for his shot yet. He’s getting familiar with the space, which is a completely different mental state.
Photographer walking woodland trail with gear before dawn
Get to your location before you need to be there. This sounds obvious until you realize how many people arrive thirty seconds before golden hour and scramble to set up in a panic. Mark arrives with enough time to physically walk the location without a destination in mind. He’s not looking for his shot yet. He’s getting familiar with the space, which is a completely different mental state.
I do this every shoot. My lucky hat goes on, I walk for ten or fifteen minutes before I even pull out the camera. You notice things in that wandering state that you miss when you’re tunnel-visioned on a composition. The shape of a rock, a curve in the shoreline, the direction the light is going to come from. The exploration is part of the process, not a delay of it.
Step 2: Read the Light as It Builds and Adjust Expectations
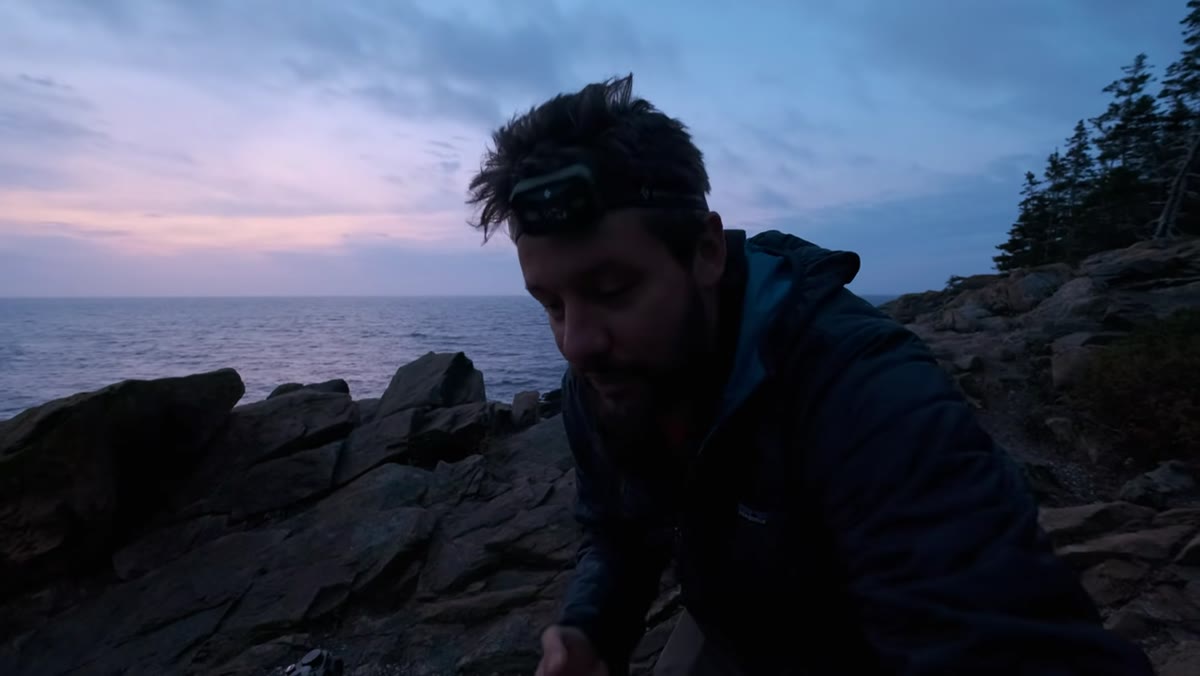
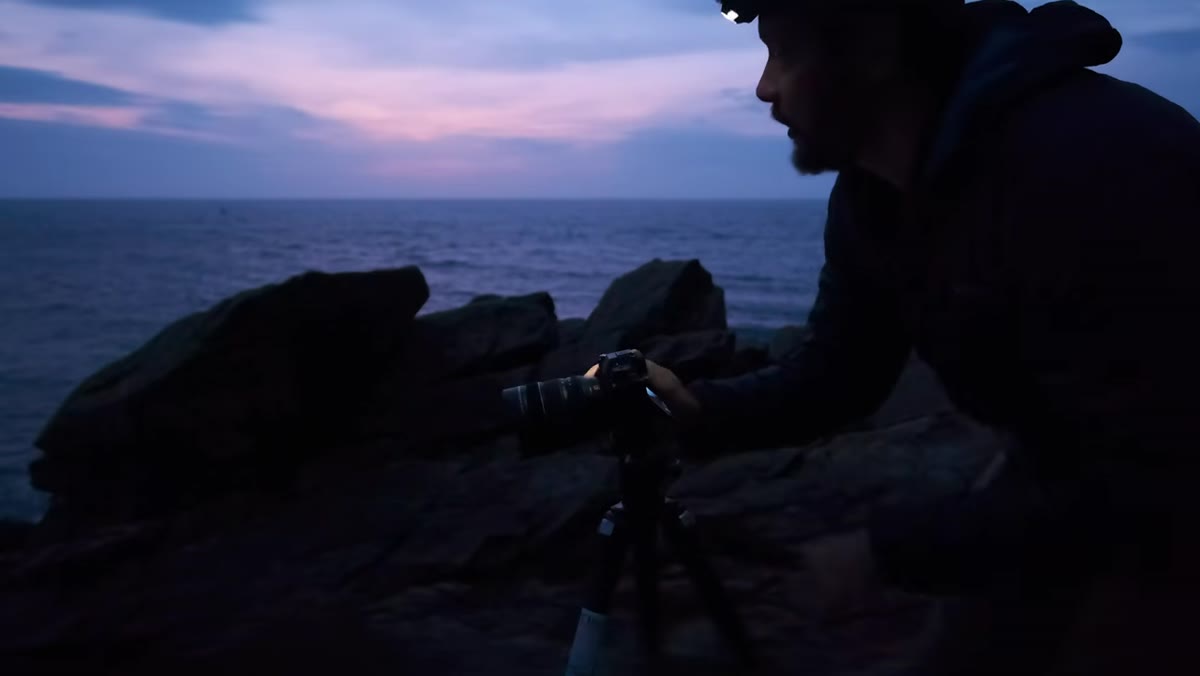 Pre-sunrise sky with color building over coastline
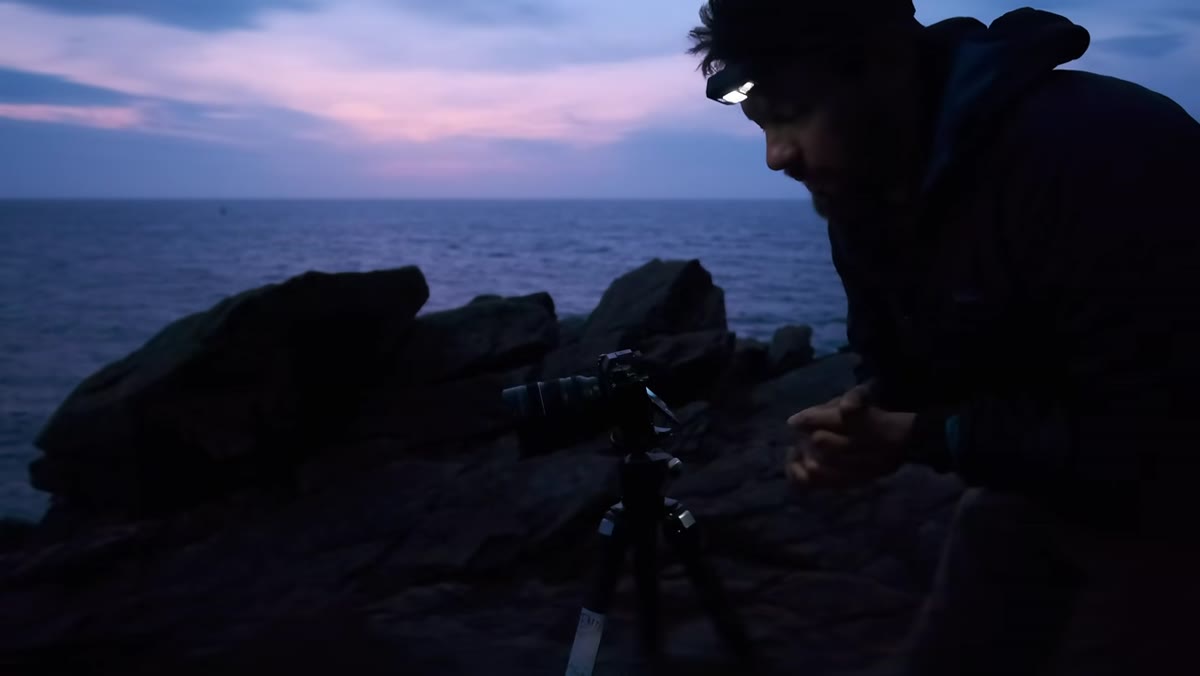
About twenty minutes before sunrise, Mark is already watching the sky and making an honest assessment of what the light is doing. He notes where color is appearing, whether the clouds are positioned to catch warm light, and what he’s hoping the scene will look like when the sun actually clears the horizon. The key word is hoping. He’s not assuming. He’s building an intention while staying open to what actually unfolds.
Pre-sunrise sky with color building over coastline
About twenty minutes before sunrise, Mark is already watching the sky and making an honest assessment of what the light is doing. He notes where color is appearing, whether the clouds are positioned to catch warm light, and what he’s hoping the scene will look like when the sun actually clears the horizon. The key word is hoping. He’s not assuming. He’s building an intention while staying open to what actually unfolds.
This is something my mentor told me years ago, that the mountain doesn’t care about your schedule. I’ve stood on coastlines where I was convinced I had a world-class shot lined up and watched the sky go flat gray in ten minutes. Learning to read ambient light before it peaks, and staying flexible in your vision, saves you from forcing a shot that isn’t there.
Step 3: Dial In a Working Exposure Before the Light Peaks
 Camera settings screen showing f11 and ISO 500
Mark settles on f/11 and ISO 500 with a half-second shutter speed before the sun rises. He’s not waiting for perfect conditions to start making technical decisions. He’s using the pre-dawn window to experiment, test the histogram, and figure out what shutter speed gives him the water movement he wants without smoothing everything into a glassy blur.
Camera settings screen showing f11 and ISO 500
Mark settles on f/11 and ISO 500 with a half-second shutter speed before the sun rises. He’s not waiting for perfect conditions to start making technical decisions. He’s using the pre-dawn window to experiment, test the histogram, and figure out what shutter speed gives him the water movement he wants without smoothing everything into a glassy blur.
This matters more than most beginners realize. If you wait until the best light arrives to start figuring out your exposure, you’ll spend your golden window in the settings menu. I always refuse to use auto mode, even when I’m exhausted and shooting in the dark. Getting the exposure dialed in early means that when the light does what you hoped it would, you press the shutter and capture it instead of chasing it.
Step 4: Use a Two-Shot Focus Stack for Front-to-Back Sharpness
 Foreground rocks in focus during first focus stack shot
At f/11, Mark takes two separate shots for a focus stack: one focused on the foreground, one on the mid-ground rocks. At that aperture, focusing on the mid-ground locks in sharpness from there all the way to infinity. The foreground shot fills in what that first frame misses. Two images, blended in post, give him edge-to-edge sharpness without the diffraction problems that come with stopping down to f/16 or f/22.
Foreground rocks in focus during first focus stack shot
At f/11, Mark takes two separate shots for a focus stack: one focused on the foreground, one on the mid-ground rocks. At that aperture, focusing on the mid-ground locks in sharpness from there all the way to infinity. The foreground shot fills in what that first frame misses. Two images, blended in post, give him edge-to-edge sharpness without the diffraction problems that come with stopping down to f/16 or f/22.
I run focus stacks on most of my coastal and forest work. It’s one of those habits that feels like extra work until you see the difference in your final print. The sharp prints I sell at the highest resolution are almost all stacked. Don’t overthink the blending process, Lightroom and Photoshop both handle it cleanly in most situations.
Step 5: Use Autofocus as a Starting Point, Then Refine with Focus Peaking
 Focus peaking overlay highlighted in red on camera screen
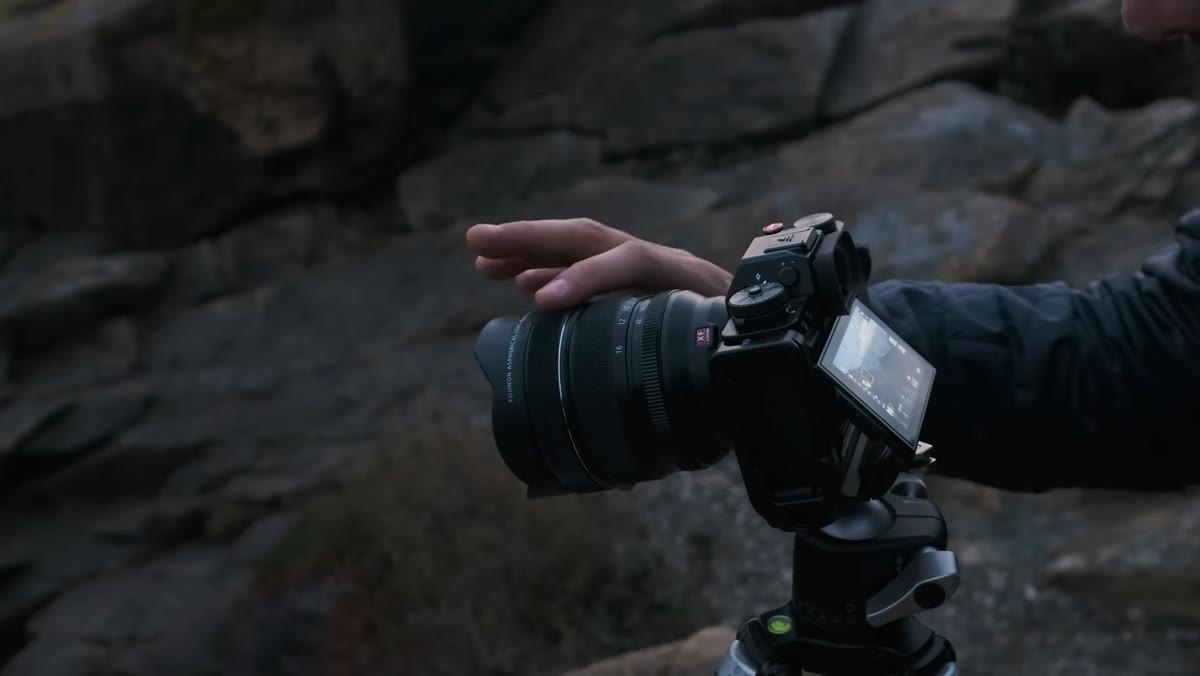
Mark autofocuses to get close, then switches to manual and uses focus peaking with a red highlight to fine-tune. He’s clear that autofocus gets you in the zone, but a small manual adjustment often gets you sharper than the camera’s best guess.
Focus peaking overlay highlighted in red on camera screen
Mark autofocuses to get close, then switches to manual and uses focus peaking with a red highlight to fine-tune. He’s clear that autofocus gets you in the zone, but a small manual adjustment often gets you sharper than the camera’s best guess.
Focus peaking is one of the most underused tools on mirrorless systems. I run it on red always. In low light on a coastline, it’s the difference between a shot that looks sharp on the camera’s LCD and one that actually holds up at full resolution. If you haven’t tested this on your camera, do it this week on a tripod in good light so you understand what you’re seeing before you rely on it in the dark.
Step 6: Bracket Even When You Don’t Think You Need To
 Camera shooting three-shot exposure bracket sequence
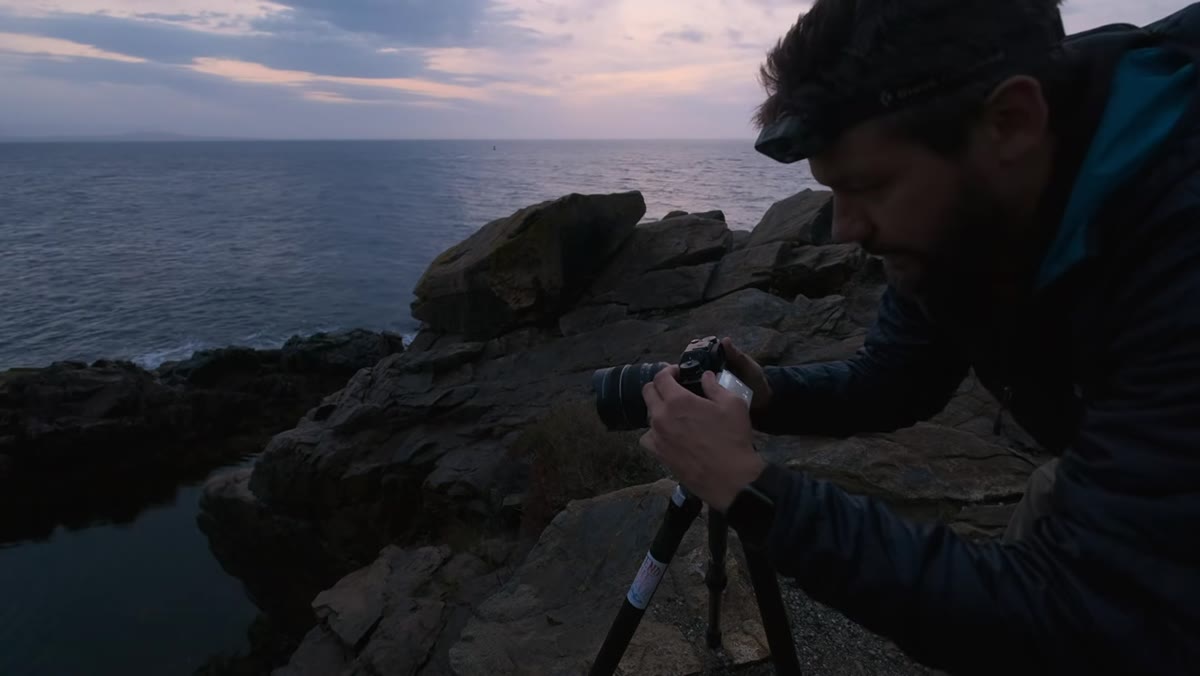
Mark decides to shoot a three-shot exposure bracket two stops apart, even though he says he probably doesn’t need it. He captures it anyway, specifically to preserve flexibility in post if the dynamic range of the scene is wider than it appears on screen.
Camera shooting three-shot exposure bracket sequence
Mark decides to shoot a three-shot exposure bracket two stops apart, even though he says he probably doesn’t need it. He captures it anyway, specifically to preserve flexibility in post if the dynamic range of the scene is wider than it appears on screen.
This is the discipline of not being lazy in the field. I’ve made the mistake of skipping brackets on shots I was confident about. Then I sat down at the editing desk and wished I had two more stops of shadow detail. A bracket costs you ten seconds. Missing it can cost you the image. Shoot the bracket.
One Thing I’d Add: Scout the Tide Before You Scout the Light
The one element Mark’s coastal setup made me think about from my own experience is tidal timing. He mentions that conditions weren’t ideal for water movement because it was far from high tide. When I’m shooting coastal locations, I check tide charts the same way I check weather. The best light on a rocky coastline at low tide is a completely different photograph than the same scene at high tide with water surging between the rocks. Neither is better, but only one of them matches what you might have visualized. Knowing tidal position in advance lets you plan compositions that work with what the water is actually doing, rather than wishing it were doing something else.
The single most important thing this tutorial reinforced for me is that the best field photographers aren’t reacting to conditions. They’re anticipating, preparing, and making structured decisions so that when the light shows up, they’re ready to receive it instead of scrambling to catch it. That’s the whole discipline in one sentence.
Watch the full tutorial on YouTube to see Mark work through this entire coastal session in real time. Watching the light change across the sequence is something a written breakdown can only approximate.
Comments (4)
My workflow just got 10x faster. Not even kidding.
Applied this to my portfolio shots and the improvement is noticeable.
My workflow just got 10x faster. Not even kidding.
Love how you break down complex stuff into manageable steps.
Leave a Comment