There’s a particular kind of frustration that creeps in when you arrive at a location, camera in hand, and immediately feel the pressure to produce. You start firing frames before you’ve even looked at the place. You chase the light without a plan. You come home with a hundred forgettable images and one nagging feeling that you missed something. I’ve been doing this for twenty years and it still happens to me if I’m not deliberate about my process. That’s exactly why I appreciated watching William Patino walk through his complete landscape photography workflow, from arriving at the location through to processing the final image. Watch the full tutorial on YouTube before or after reading this, depending on how you learn best.
What Patino lays out is not a collection of tricks. It’s a way of thinking. A sequence of decisions that builds on itself, starting with observation and ending with an image that actually reflects what you saw and felt standing there. For photographers who have hit a wall, whether you’re wrestling with flat compositions or you’re just not sure why your images aren’t landing, this workflow gives you a framework to interrogate what’s going wrong.
I’ve adapted his approach here into concrete steps you can take into the field on your very next shoot. The settings, the thought process, the order of operations, it’s all here.
Step 1: Arrive Early and Observe Before You Shoot
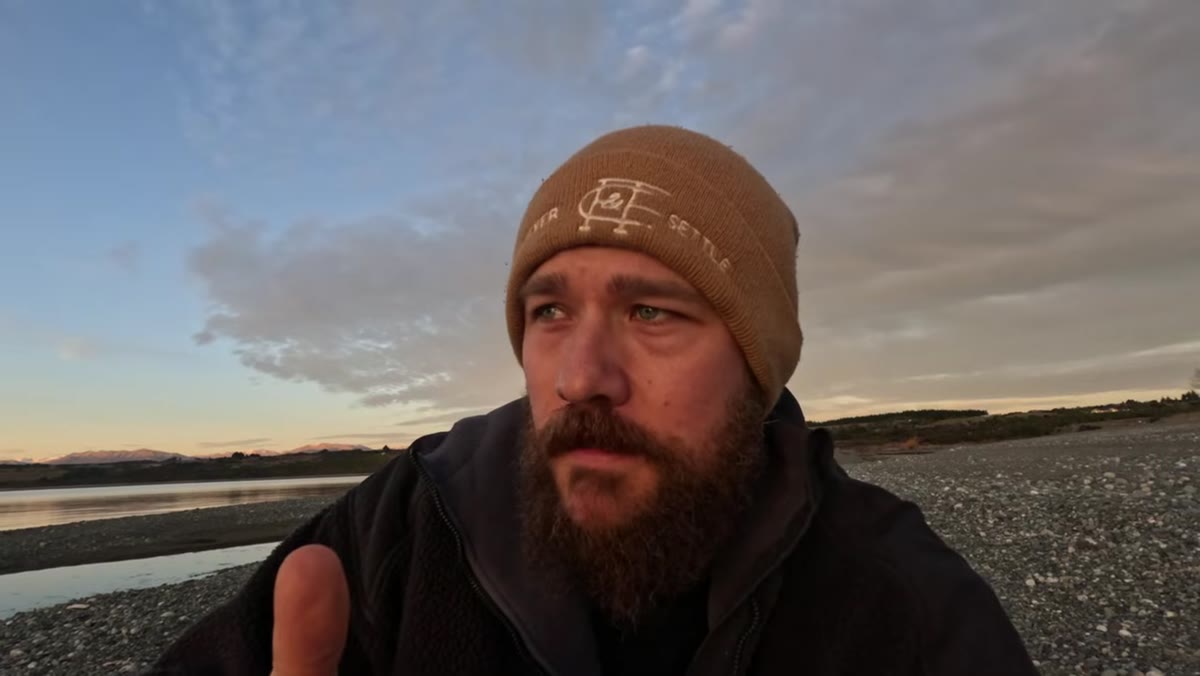
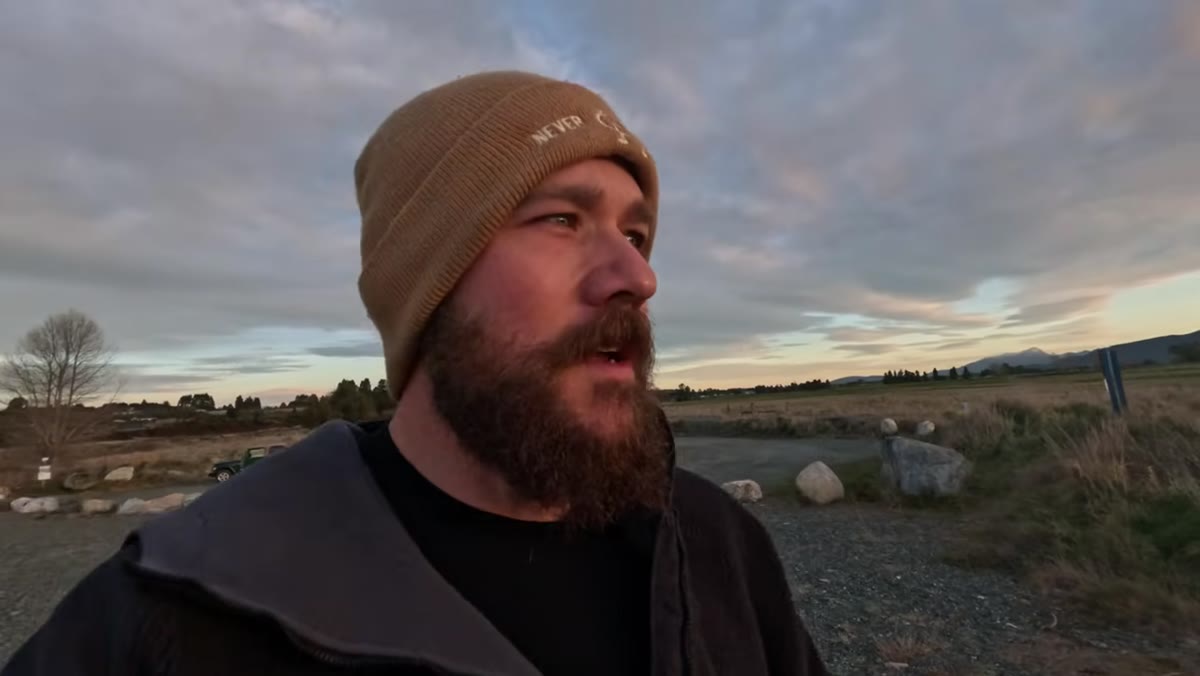 Photographer walking along lake edge, camera lowered
Give yourself at least twenty minutes before the light peaks. When you arrive, put the camera down, or at least keep it at your side. Walk the location. Look at it the way a painter would before picking up a brush. What’s catching your eye? What feels alive? Patino describes noticing a channel of water with reflections that had shifted course recently, something he wouldn’t have registered if he’d charged straight in looking for compositions.
Photographer walking along lake edge, camera lowered
Give yourself at least twenty minutes before the light peaks. When you arrive, put the camera down, or at least keep it at your side. Walk the location. Look at it the way a painter would before picking up a brush. What’s catching your eye? What feels alive? Patino describes noticing a channel of water with reflections that had shifted course recently, something he wouldn’t have registered if he’d charged straight in looking for compositions.
This sounds passive. It isn’t. You’re gathering intelligence. You’re letting the scene tell you what it wants to be photographed as, rather than imposing a shot you pre-imagined at home.
Step 2: Identify Your Main Subject
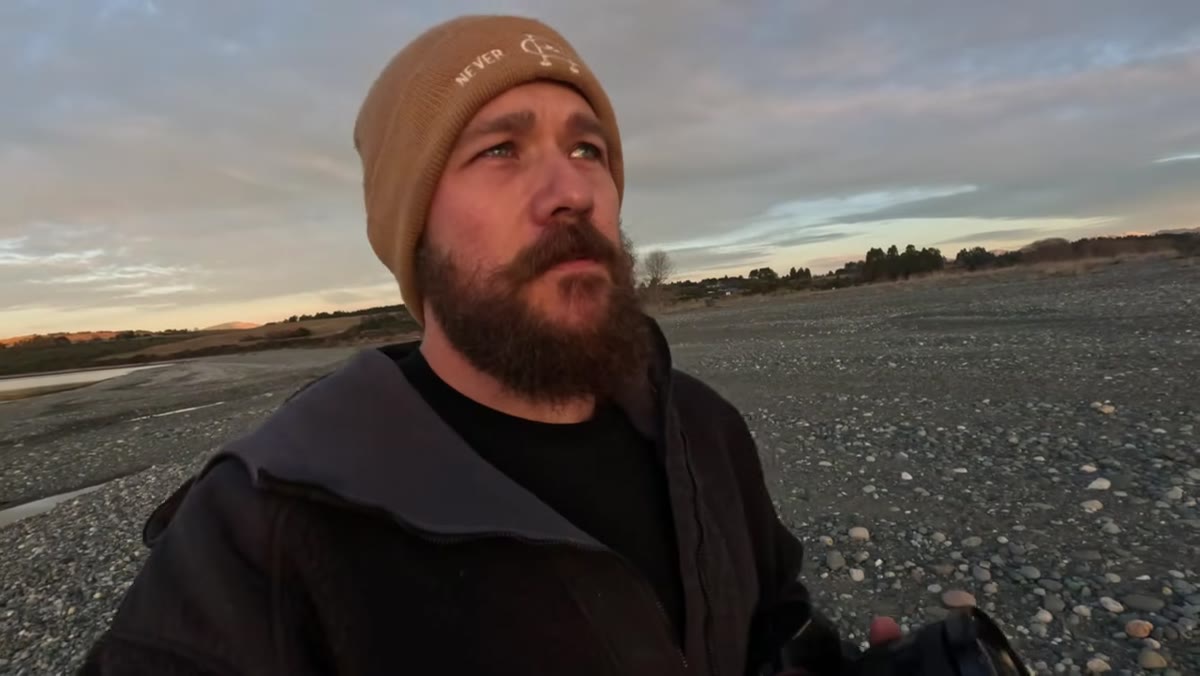 Snow-capped mountain range visible across the lake
Before you touch a dial, ask yourself one question: what is this photograph actually about? A mountain range. A lone tree. A tidal channel. The answer determines everything that follows, from focal length to where you plant your feet. Patino is direct about this. Until you know your subject, composition is just guesswork.
Snow-capped mountain range visible across the lake
Before you touch a dial, ask yourself one question: what is this photograph actually about? A mountain range. A lone tree. A tidal channel. The answer determines everything that follows, from focal length to where you plant your feet. Patino is direct about this. Until you know your subject, composition is just guesswork.
At his lake location, the answer was clear: the snow-capped mountains dominating the background. They were the anchor. Everything else in the frame would exist to serve them. Nail down your subject first, and the rest of the decisions become easier and more purposeful.
Step 3: Choose Your Focal Length to Match the Scene’s Needs
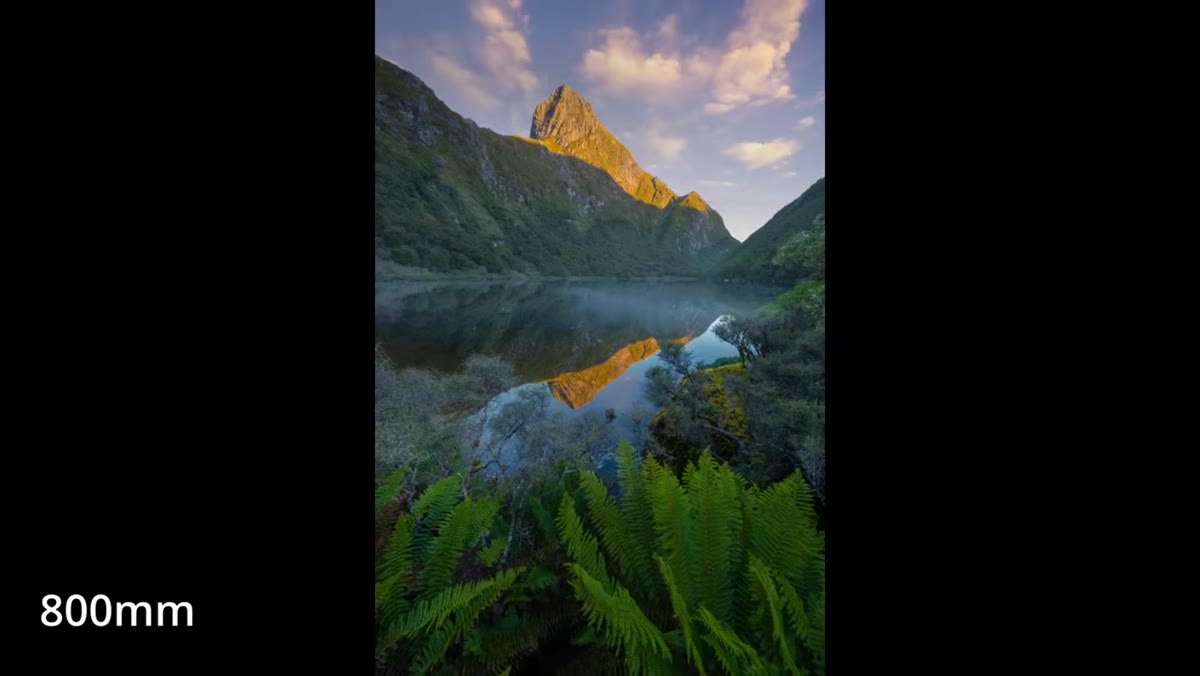 Patino scanning north up the lake, considering telephoto option
Once you know your subject, ask whether it needs space around it or whether it needs to be pulled close. Wide compositions work when the environment itself adds meaning. A telephoto approach strips away context and forces the viewer into an intimate relationship with one thing. Both are valid. They serve different stories.
Patino scanning north up the lake, considering telephoto option
Once you know your subject, ask whether it needs space around it or whether it needs to be pulled close. Wide compositions work when the environment itself adds meaning. A telephoto approach strips away context and forces the viewer into an intimate relationship with one thing. Both are valid. They serve different stories.
Patino notes that looking north up the lake offered a compelling 400mm shot, while the composition facing the mountains with their reflection called for something wider. He wasn’t defaulting to wide angle out of habit. He was making a deliberate choice based on what the subject needed. Let the scene guide the lens selection, not the other way around.
Step 4: Build the Frame in Layers
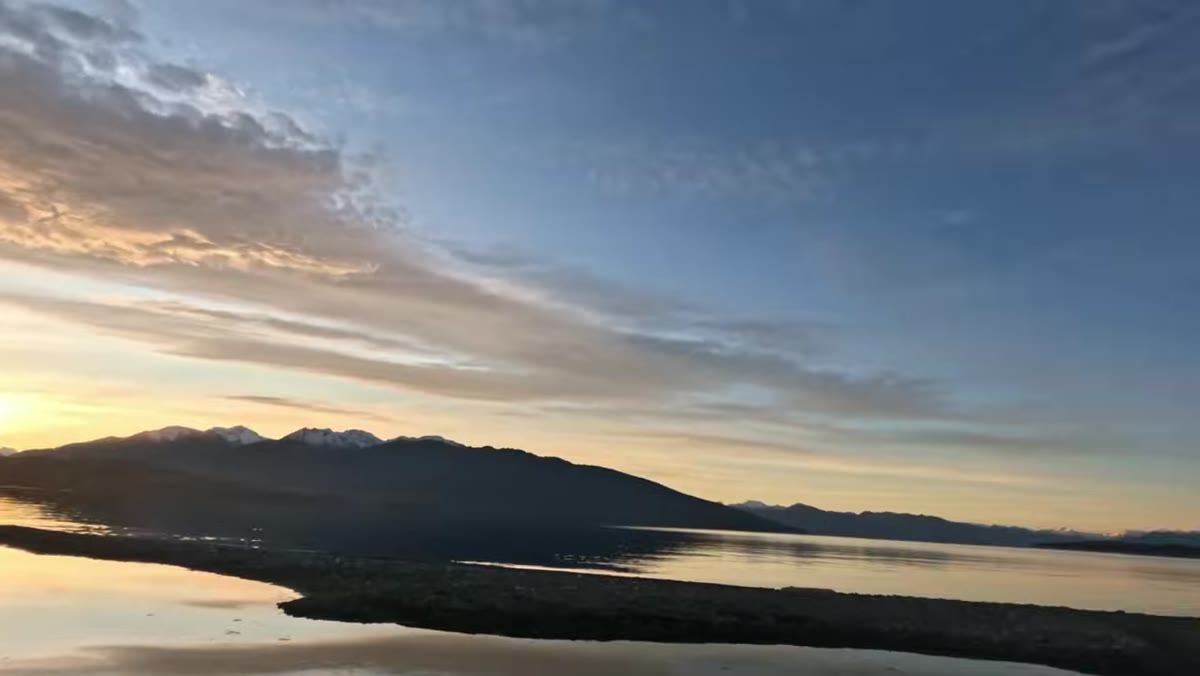
 Foreground stones, mid-ground lake reflection, background mountains
This is where composition gets interesting. Patino’s approach is to build depth through layers, foreground, mid-ground, background, so the viewer’s eye travels through the image rather than landing on a flat plane. It’s the difference between a photograph that feels three-dimensional and one that looks like a postcard.
Foreground stones, mid-ground lake reflection, background mountains
This is where composition gets interesting. Patino’s approach is to build depth through layers, foreground, mid-ground, background, so the viewer’s eye travels through the image rather than landing on a flat plane. It’s the difference between a photograph that feels three-dimensional and one that looks like a postcard.
In practice, this means getting lower, moving closer to a foreground element, or repositioning until those layers stack naturally. At the lake, it was rocks in the immediate foreground, their reflections and more stones in the middle, then the lake surface rolling back to the hills and mountains. Each layer does work. If a layer isn’t adding depth or interest, you either find one that does or you tighten your focal length until you’re only showing what earns its place in the frame.
Step 5: Fine-Tune Framing and Avoid the Extremes
 Comparing ultra-wide framing versus slightly tighter composition
One thing Patino is careful about is avoiding the trap of going so wide that you lose focus, or so tight that you lose context. There’s a sweet spot for every scene, and finding it usually means shooting a few variations and comparing. Move your feet. Shift your angle a few degrees. Drop lower or come up slightly.
Comparing ultra-wide framing versus slightly tighter composition
One thing Patino is careful about is avoiding the trap of going so wide that you lose focus, or so tight that you lose context. There’s a sweet spot for every scene, and finding it usually means shooting a few variations and comparing. Move your feet. Shift your angle a few degrees. Drop lower or come up slightly.
I’ve learned from years in the field that the first composition you settle on is rarely the best one. It’s the starting point. The better frame usually comes after you’ve made two or three small adjustments and asked yourself, each time, whether the balance feels right. Is the foreground pulling its weight? Is the subject still dominant? Is anything in the frame competing with what matters?
A Note From My Own Experience: The Patience Problem
There’s a mentor I worked with early in my career who had a way of shutting down any complaint about difficult conditions. He’d say, “The mountain doesn’t care about your schedule.” It took me years to really understand that.
The workflow Patino describes only works if you slow down enough to actually follow it. In my workshops, I see photographers rush steps two and three constantly. They identify a rough subject, skip the focal length thinking, and go straight to setting up the tripod, usually in the first spot they walked to. The result is technically competent images that feel oddly hollow. Observation and subject-first thinking aren’t soft skills. They’re the foundation of every strong landscape image I’ve ever made. When I work with newer photographers, I ask them to spend ten full minutes at a location before they touch their camera settings. It feels agonizing. It changes everything.
The single most valuable idea in this tutorial is deceptively simple: arrive with a game plan, then set the camera aside and actually look at the place before you start photographing it. That shift from “photographer arriving” to “observer noticing” is where better images begin. Everything else, the layers, the focal length, the composition refinements, follows naturally once you’ve genuinely seen the scene in front of you.
Watch the full tutorial on YouTube to see Patino work through the processing and export side of the workflow, which picks up right where this field guide leaves off.
Comments (2)
Love how you break down complex stuff into manageable steps.
The before and after really sells it. Incredible difference.
Leave a Comment