Capturing the Rhythm of Coastal Light: A Photographer’s Guide to Seascapes
I’ve spent countless hours standing on rocky shores and sandy beaches, watching light dance across water, and I’ve learned that coastal photography demands something different from other landscape work. The coast teaches patience in ways that mountains don’t. There’s an unpredictability to it—the light shifts rapidly, waves behave differently each minute, and the interplay between water, sky, and land creates technical challenges that require both preparation and adaptability.
Understanding Coastal Light Cycles
The first lesson I learned was to stop fighting the light and start timing myself to it. Coastal scenes benefit enormously from the directional light of early morning and late evening, but not in the way you might expect. The golden hour at a beach isn’t just about warm tones—it’s about the way low-angle light rakes across wet sand, creating texture and dimension that midday sun completely flattens.
I’ve found that the hour before sunrise at the coast offers something even more valuable: cool, even light that reveals subtle color gradations in the sky. This is when I typically arrive, giving myself time to scout the scene, test compositions, and prepare before the light actually turns interesting. By the time the sun reaches the horizon, I’m already positioned and focused, rather than scrambling to set up.
Managing Water Movement and Exposure
Moving water presents a dual challenge. You need to decide whether you want to freeze wave motion or create that dreamy, blurred effect. This decision should drive your shutter speed strategy, not be an accident.
For frozen water and sharp detail in crashing waves, I use shutter speeds of 1/500th or faster, depending on wave intensity. For that ethereal, silk-like water effect, I dial down to 2-4 seconds and use a neutral density filter—essential equipment for coastal work. I typically carry both ND2 and ND4 filters; the ND4 gives me enough stopping power to reach those longer exposures even in bright morning light.
Exposure metering at the coast requires caution. Large expanses of reflective water and sky will fool your camera’s meter into underexposure. I use spot metering on the midtones of the sky or a darker sand area, then bracket my shots—typically shooting three frames at -1, 0, and +1 exposure compensation. This gives me options during processing and accounts for the meter’s tendency to underestimate bright coastal scenes.
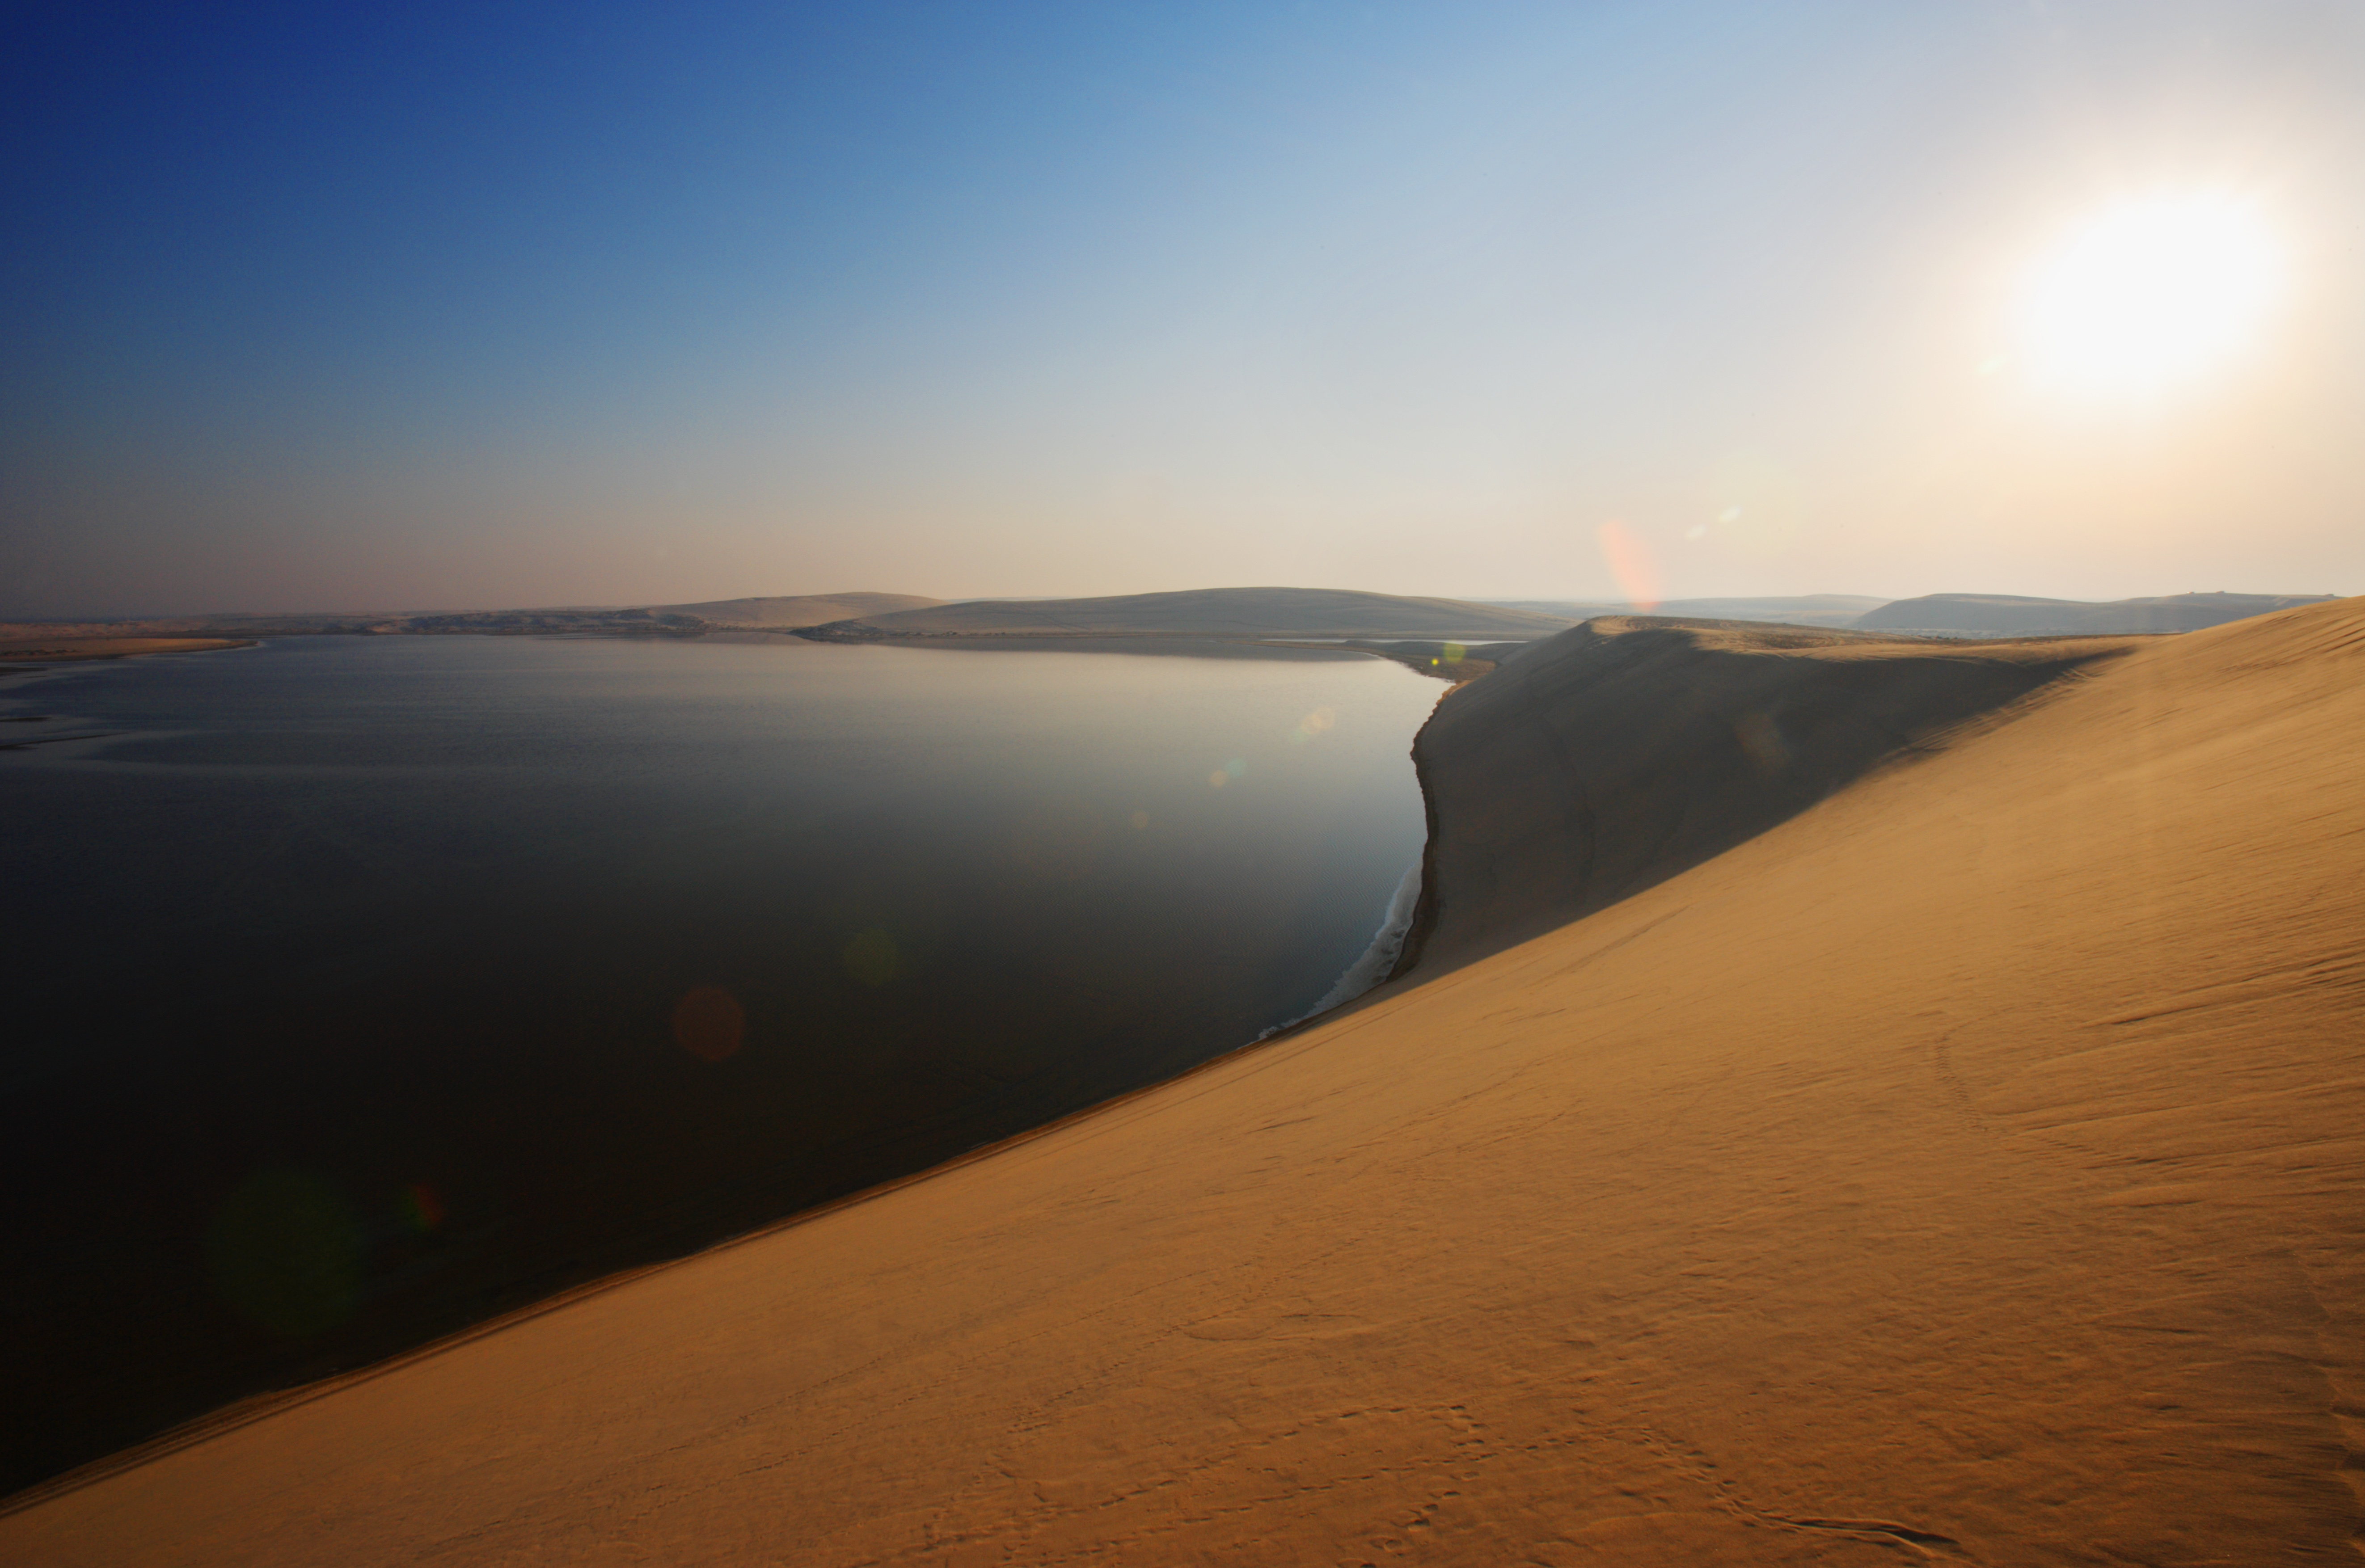
Composition Strategies for Dynamic Shorelines
The horizon line matters more at the coast than almost anywhere else. I rarely place it in the center, and I’m intentional about whether the sky or the water dominates my frame. A dramatic sky demands a lower horizon line—I’ll often place it at the lower third. When the water itself is the compelling element—reflecting color, textured with interesting wave patterns—I elevate the horizon to the upper third.
Leading lines are more abundant at the coast than we sometimes realize. I look for the line where wet sand meets dry sand, for rocky formations that direct the eye, for patterns in tide pools. These natural guides transform a simple beach scene into something with purpose and movement.
Practical Field Preparation
Your gear matters less than your preparation. I always check tide charts before a coastal shoot—low tide often reveals rock formations and textures that vanish underwater. I arrive with a rough plan but stay flexible; sometimes the most compelling compositions emerge from light and conditions I didn’t anticipate.
Protect your equipment ruthlessly. Salt spray corrodes faster than you’d expect. I bring a lens cloth and use it frequently, and my camera bag’s rain cover earns its weight. Wet sand gets everywhere, so I work deliberately and cover my gear between shots.
The coast demands that we slow down. There’s a rhythm to coastal photography that mirrors the rhythm of the waves themselves. Respect that rhythm, and the coast will reveal images worth the effort.
Comments (1)
Finally someone explains this in a way that actually makes sense.
Leave a Comment