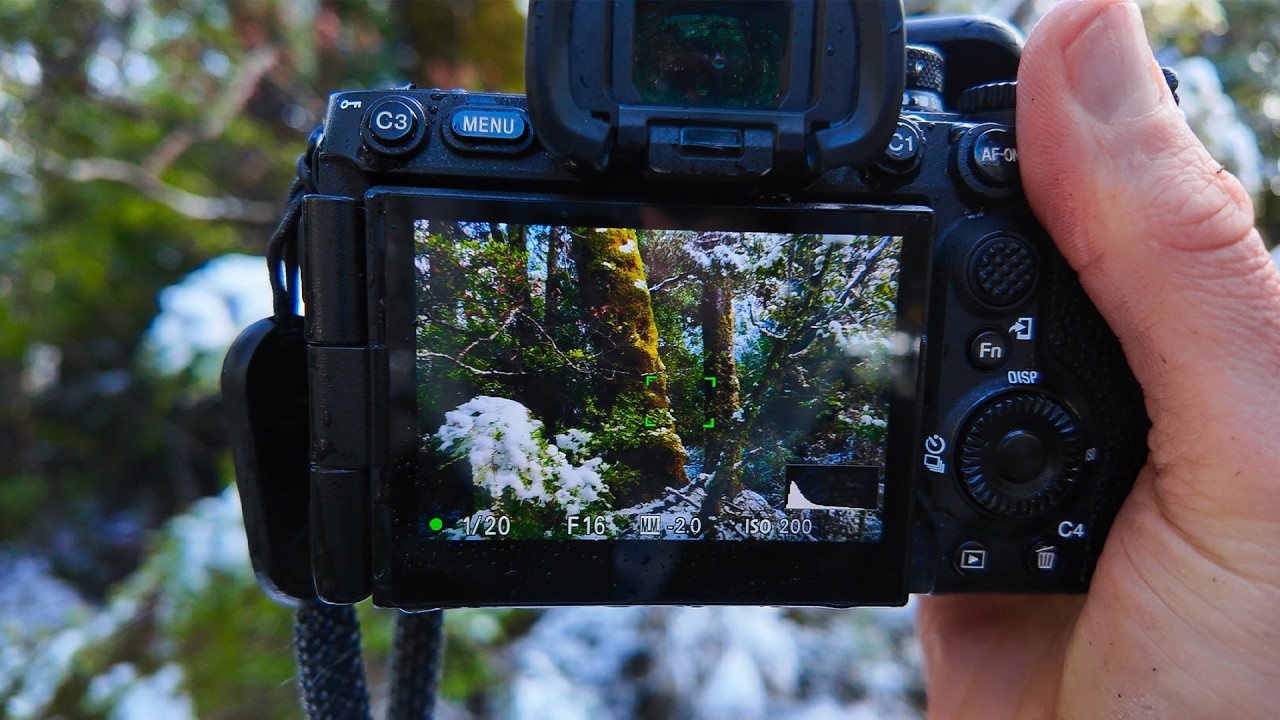
There’s a particular kind of morning that every landscape photographer chases but almost never gets: fresh snow on trees, clearing clouds, and soft directional light all arriving at the same time. When it happens, the instinct is to run. To shoot everything. To panic. I’ve been at this for twenty years and I still feel that surge the moment conditions align into something magical. The problem is, that surge can wreck your shooting if you let it run the show.
That’s exactly what William Patino works through in this tutorial, filmed during a stunning snow morning in Fiordland National Park in New Zealand. Watch the full tutorial on YouTube before or after reading this, because watching him move through that forest is as instructive as anything he says out loud. What he’s really teaching here isn’t a technical camera trick. It’s a way of operating under pressure, in beautiful and fast-changing conditions, that produces images instead of near-misses.
The specific problem this tutorial solves is one I run into constantly in the Pacific Northwest forests around Bend: you arrive in spectacular conditions, you feel the excitement spike, and then you spend the whole morning chasing light instead of photographing it. Patino offers a practical, fieldable approach to that exact situation. Here’s how he does it.
Step 1: Arrive Early and Accept the Wait
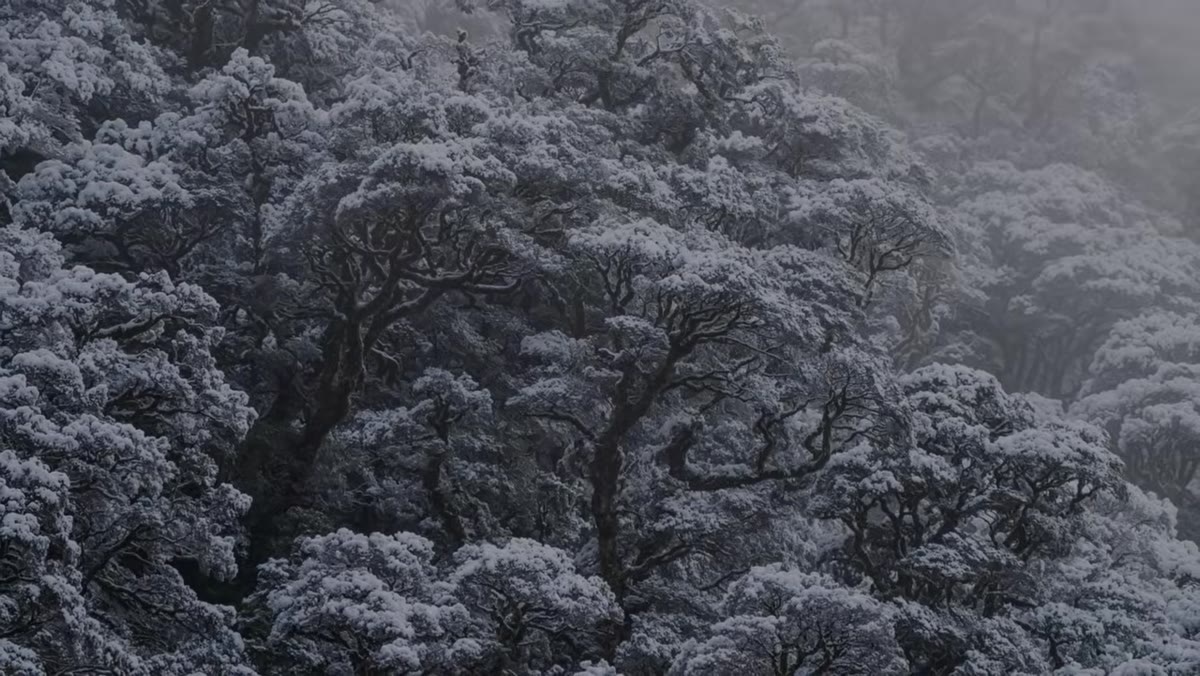 Patino describing low clouds and no mountains visible
Patino notes that when he first arrived at the park that morning, conditions were poor. Low clouds, no mountain visibility, nothing that screamed “shoot now.” Most photographers pack up or scroll their phones during this window. The better move is to stay present and use the waiting time to read the landscape: where the light will come from, which trees have the best snow cover, where the shadows fall deep.
Getting to your location before conditions peak means you’re already calibrated when the light arrives. You’re not orienting yourself for the first time while the best moment burns off. Arrive early enough to have walked the area once before you ever raise the camera.
Step 2: Slow Down the Moment You Feel Excited
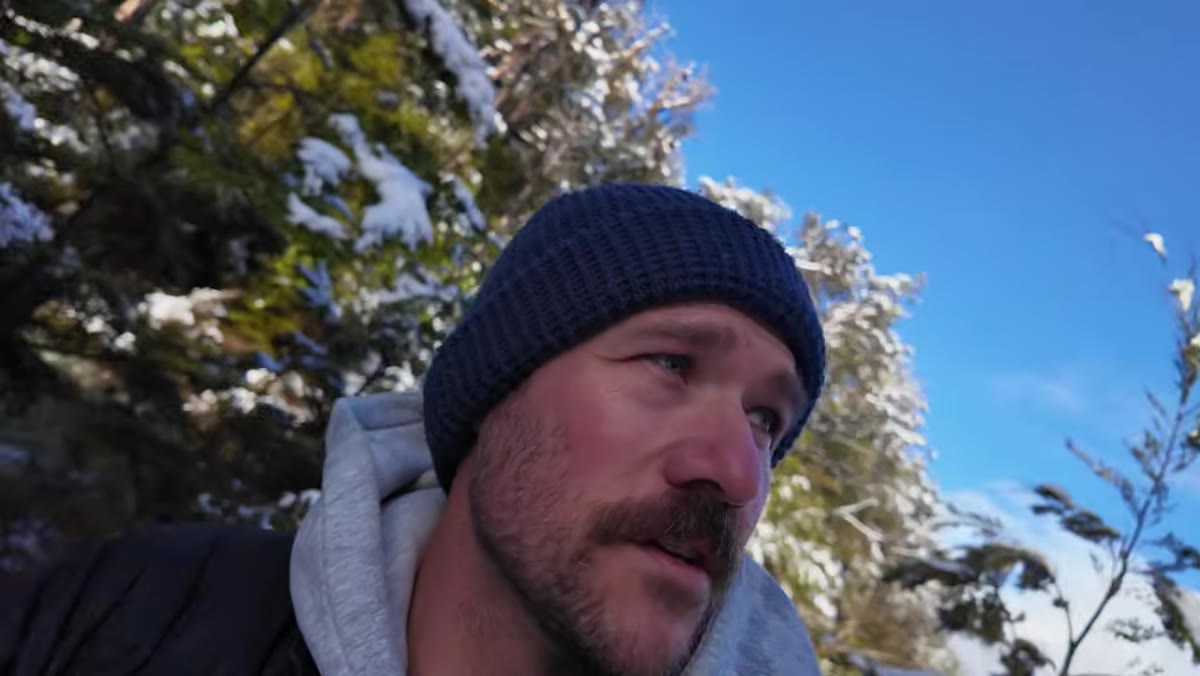
 Patino pausing, describing taking a deep breath to slow down
This is the centerpiece of Patino’s approach and it’s genuinely hard to do in the field. He describes feeling his heart rate climb as the light breaks through, and his deliberate response: take a breath, slow the pace, resist the urge to fire off frames immediately. The adrenaline of rare conditions is real, and it works against you.
My mentor years ago told me that the mountain doesn’t care about your schedule. That line stuck because it’s also true in reverse: the light doesn’t care how excited you are. Moving slowly forces your eye to actually see what’s in front of you rather than react to it. Walk, stop, look. Then look again before raising the camera.
Step 3: Use Shadows to Focus Your Composition
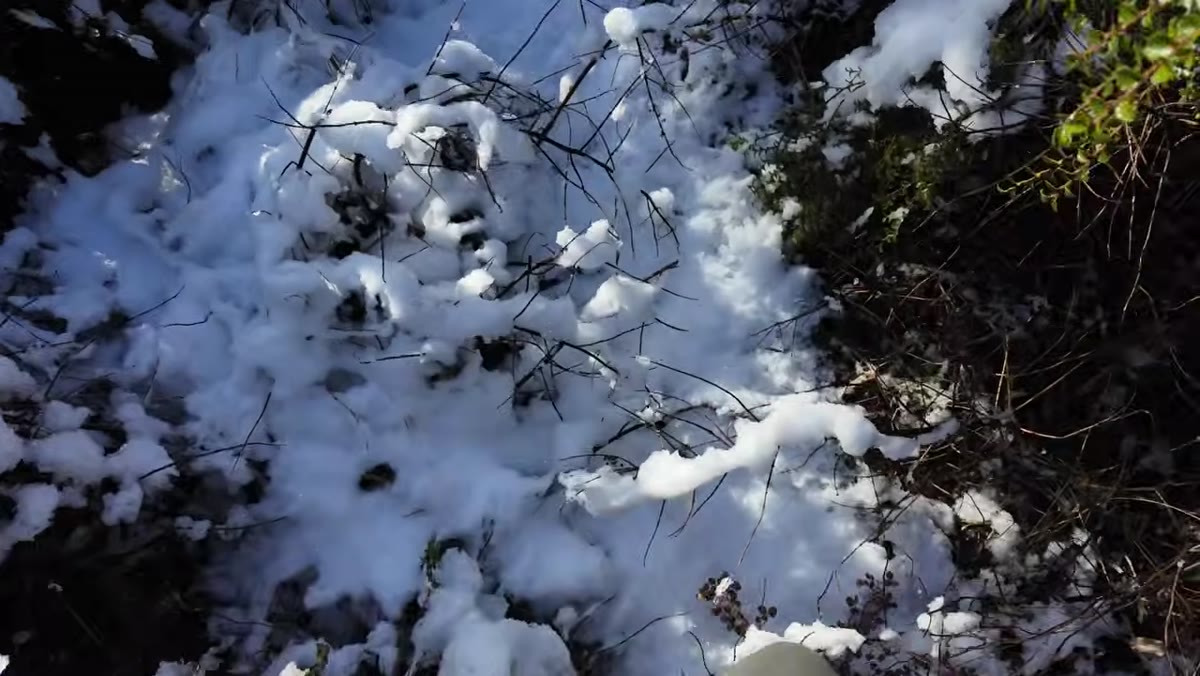
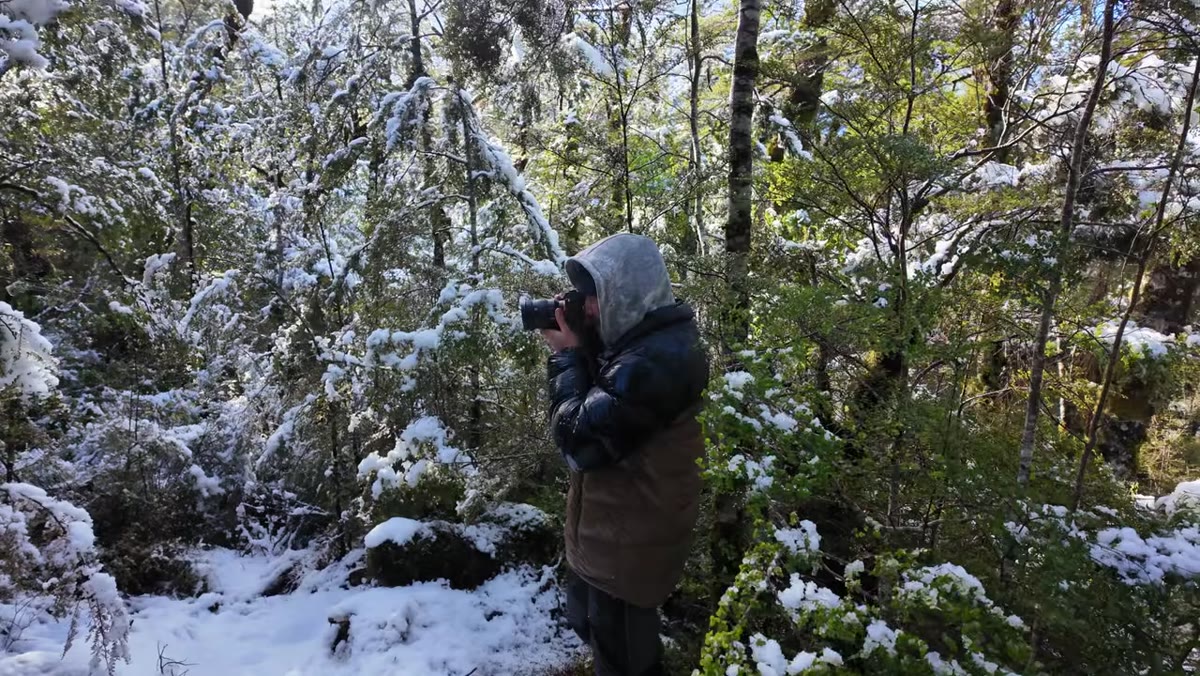
 Patino stepping into shadowed area of the forest
One concrete technique Patino uses to calm his eye in a visually busy environment: he steps into a shadowed section of the forest. This reduces the overall visual noise and helps him isolate a single point of interest rather than trying to compose the entire scene at once.
Forests are compositionally chaotic by nature. Shadows act as a natural cropping tool, narrowing what your eye is drawn to. When you’re standing in open light, everything competes for attention. Step into shade, face toward the light, and let the contrast do the editorial work for you.
Step 4: Look for Even Snow Distribution Across the Frame
 Patino examining two snow-covered beech trees with balanced snow coverage
Patino makes a point that’s easy to miss and hard to unsee once you know it: when photographing snow in forests, uneven snow distribution becomes a compositional distraction. A heavy clump of white in one corner of the frame pulls the eye out of the image rather than through it.
Look for scenes where snow is spread relatively evenly across the trees in your frame, or where the distribution creates a natural leading line or balance. The goal is for snow to enhance the shapes of your subjects, not compete with them. Patino pairs this with soft side light on the beech trees, which keeps the tonal range manageable and preserves texture in both the snow and the bark.
Step 5: Move Deeper Into Shade When Light Gets Too Bright
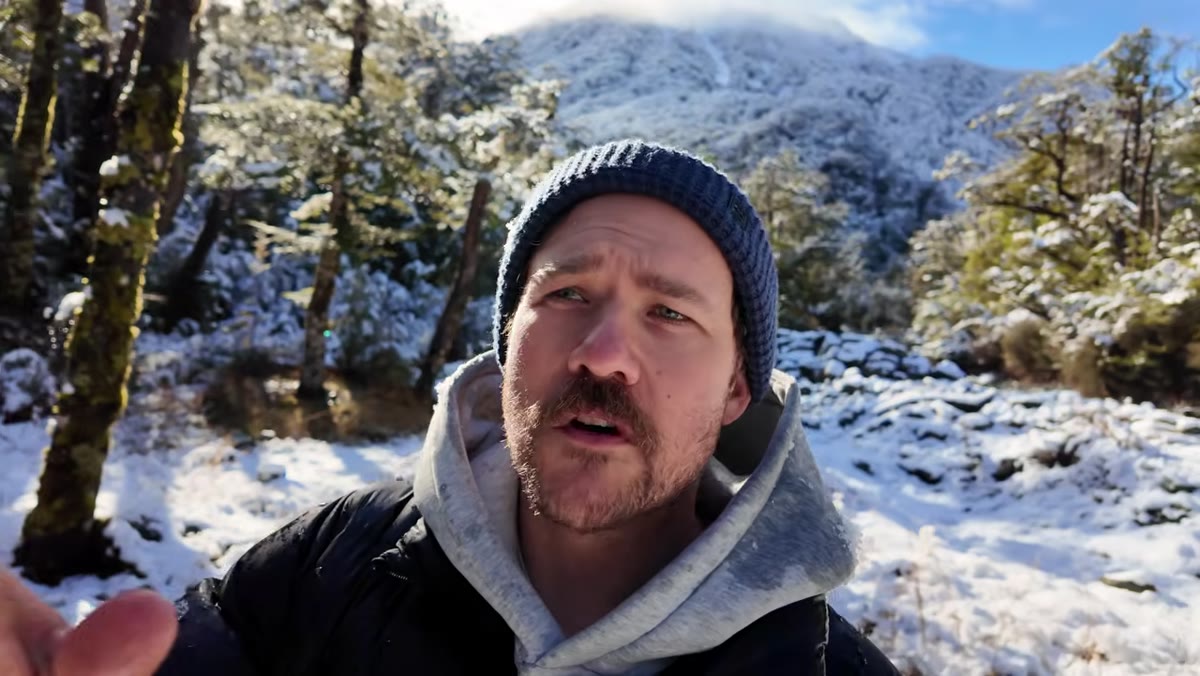 Patino explaining moving deeper into the forest to find shade
As the morning progressed and the sun climbed, Patino ran into a problem common to snow shoots: the best snow coverage was on the forest edges, but that’s also where the direct light was hitting and blowing out the scene. Too much contrast, harsh shadows, blown highlights in the snow. He made the call to move deeper into the forest.
This is a discipline move. The temptation is to stay where the snow is prettiest. But a properly exposed, balanced frame in the shade will almost always produce a stronger image than a technically difficult frame in harsh light. Moving into shade also sets up the next technique.
Step 6: Use Backlight to Reveal Moss and Texture
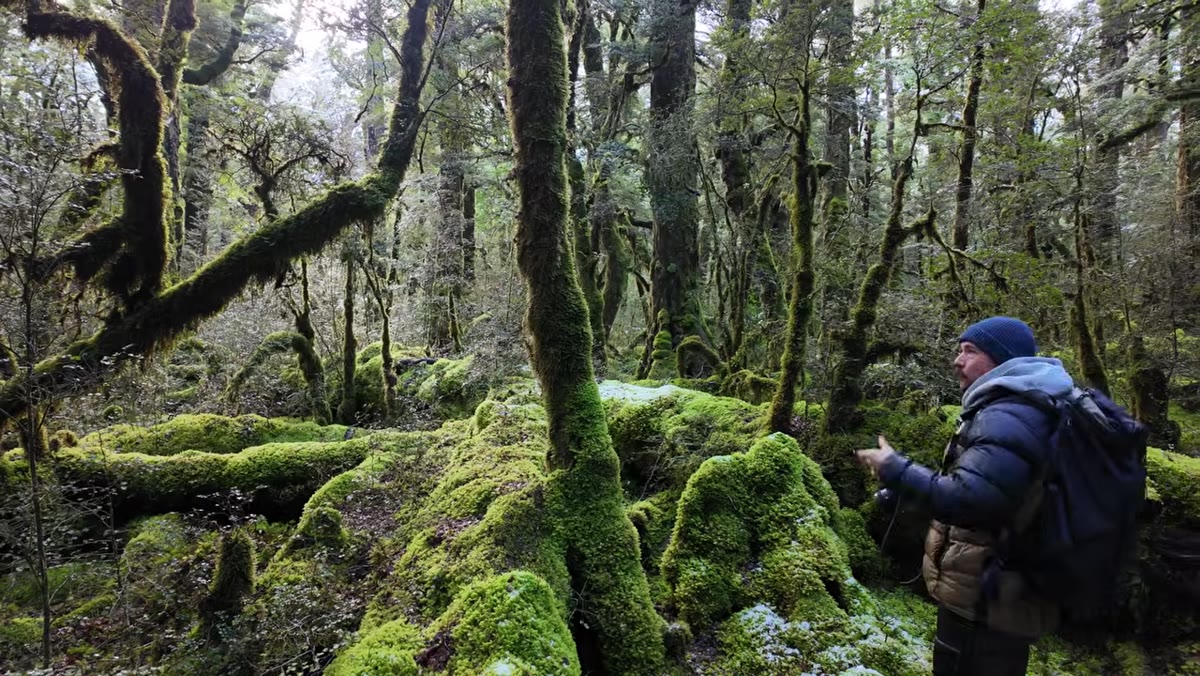
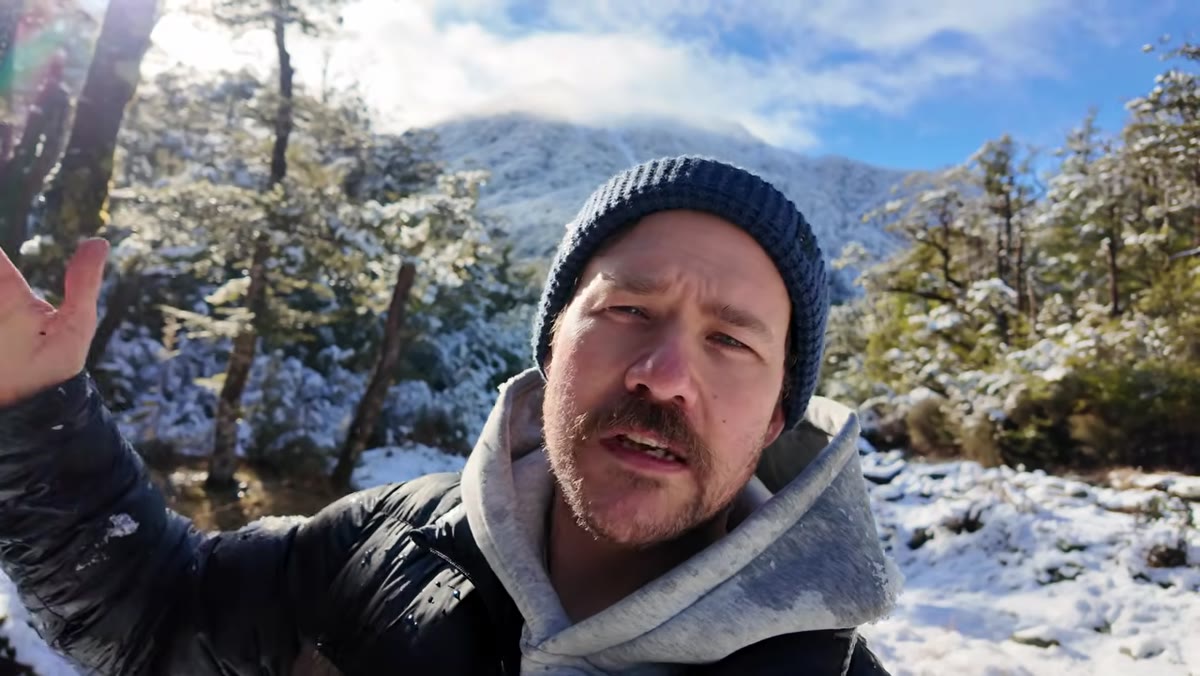 Patino positioning for backlighting to illuminate forest moss
Once inside the shaded canopy, Patino positions himself to use backlight, where the light source is behind the subjects, glowing through and around them. In a wet, snowy forest environment, this technique does something remarkable: it illuminates the moss on tree trunks and rocks with a warm inner glow that front or side light simply can’t produce.
The key is finding balance in the backlit frame. Patino specifically calls out keeping visual elements on multiple sides of the composition so the viewer’s eye circulates through the image rather than exiting off an edge. Position yourself so that bright areas exist at or near the frame edges symmetrically enough to hold the eye inside the image.
Step 7: Keep Your Lens Dry and Shoot a Medium Focal Length
 Patino wiping wet lens during active snowfall
Practical but critical: in melting snow conditions, moisture falls constantly. Patino is wiping his lens throughout the session. A clean lens cloth in an accessible pocket, not buried in your bag, is non-negotiable. Check the glass before every composition, especially after repositioning.
On focal length: Patino favors a medium focal length lens for forest work. A moderate telephoto compresses depth slightly, which helps clean up busy backgrounds and isolates subject trees from the surrounding tangle. Wide angles tend to exaggerate chaos in dense forests. Something in the 70-135mm range on a full-frame sensor gives you enough reach to isolate without losing the sense of place.
What I’d Add: The Shot After the Shot
The thing Patino demonstrates implicitly but doesn’t fully name is what I call “the shot after the shot.” When you make what feels like a strong frame, the instinct is to move on. Don’t. Stand there a moment longer. Let the scene change slightly, adjust your angle by a few feet, or wait for the light to shift. Some of my strongest forest images came from thirty seconds of stillness after I thought I was done with a composition.
In rapidly changing conditions like melting snow, the scene you photographed two minutes ago no longer exists. But the scene two minutes ahead is still forming. Staying grounded in one spot long enough to see that evolution is where the deeper images live.
The single most important thing Patino demonstrates in this tutorial is that emotional control is a photographic technique. Managing your reaction to extraordinary conditions is as important as knowing your settings. Slow down, step into the shadows, look for balance, and let the light tell you where to stand.
Watch the full tutorial on YouTube to see William Patino work through this snow morning in real time. His woodland photography course linked in the video description goes deep on many of these compositional principles if you want the full framework.
Comments
Leave a Comment