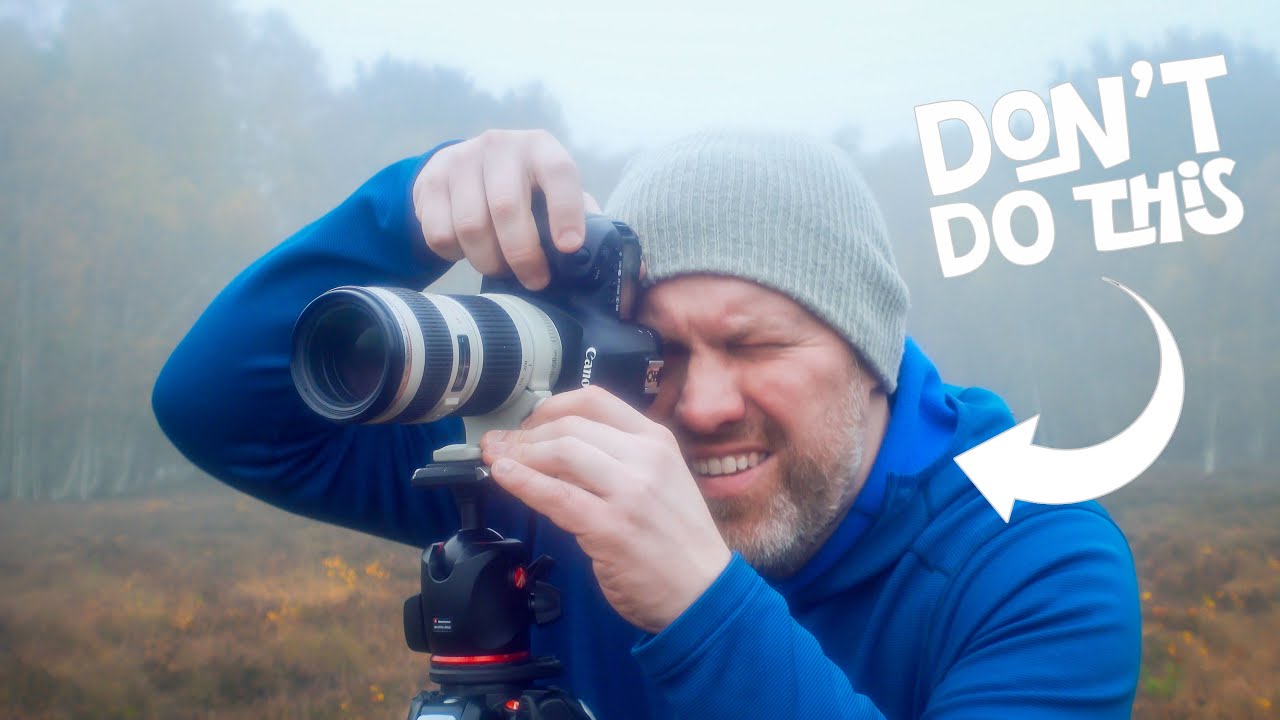
I’ve driven six hours to a location, set up my kit in the dark, and sat in featureless fog for two full days. I came home with one usable frame. That single image is now my best-selling print. The lesson wasn’t about fog or bad luck or planning failure. It was about what happens when you finally let go of the image you had already built in your head before you ever arrived. That shift, from chasing a predetermined shot to actually seeing what’s in front of you, is something most landscape photographers have to learn the hard way. I keep learning it, honestly.
So when I came across this First Man Photography tutorial on what ruins a landscape shoot, I recognized every mistake Adam walks through. He’s filming in a misty, autumnal moorland environment, the kind of morning that looks like it should produce something extraordinary, and he’s candid about the fact that he’s still fighting these habits even as he names them. That honesty is what makes it worth your time. Watch the full tutorial on YouTube
The tutorial covers two core problems, and together they explain a lot of the frustration that photographers feel in the field without quite knowing why. Here’s how to work through both of them.
Step 1: Recognize When You’re Shooting the Image in Your Head Instead of What’s There
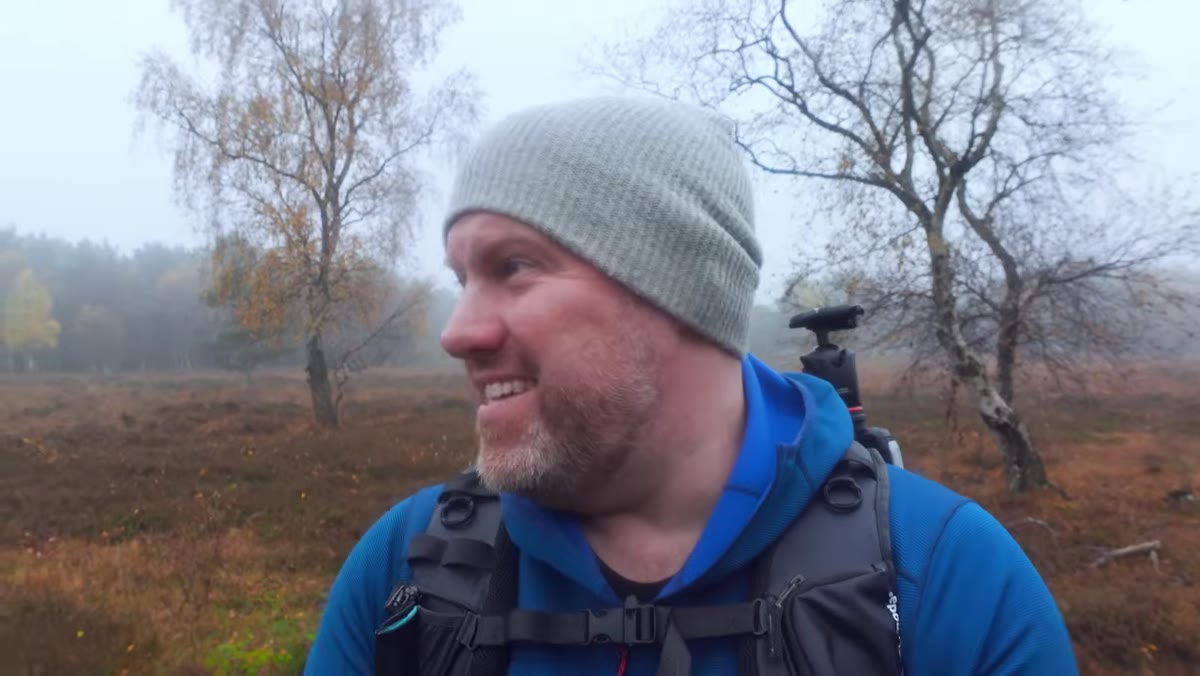 Misty trees visible behind Adam as he describes expectations
Before you raise the camera, ask yourself which image you’re actually trying to make. The one you scouted on Instagram three weeks ago, or the one standing in front of you right now? Adam describes arriving at locations with an “overexaggerated” version of the shoot already playing in his mind, and then feeling flat when reality doesn’t match it. That flatness isn’t the landscape’s fault.
The practical fix is to spend the first ten minutes at any location without touching the camera. Walk the scene. Notice what the light is actually doing, not what you hoped it would do at this hour. When Adam turns away from the trees he had been fixating on and looks behind him, he finds a panoramic view he hadn’t planned for at all. The best shot of a session is often the one you find after you’ve stopped looking for the shot you came to get.
Step 2: Let the Scene Tell You the Format Before You Decide
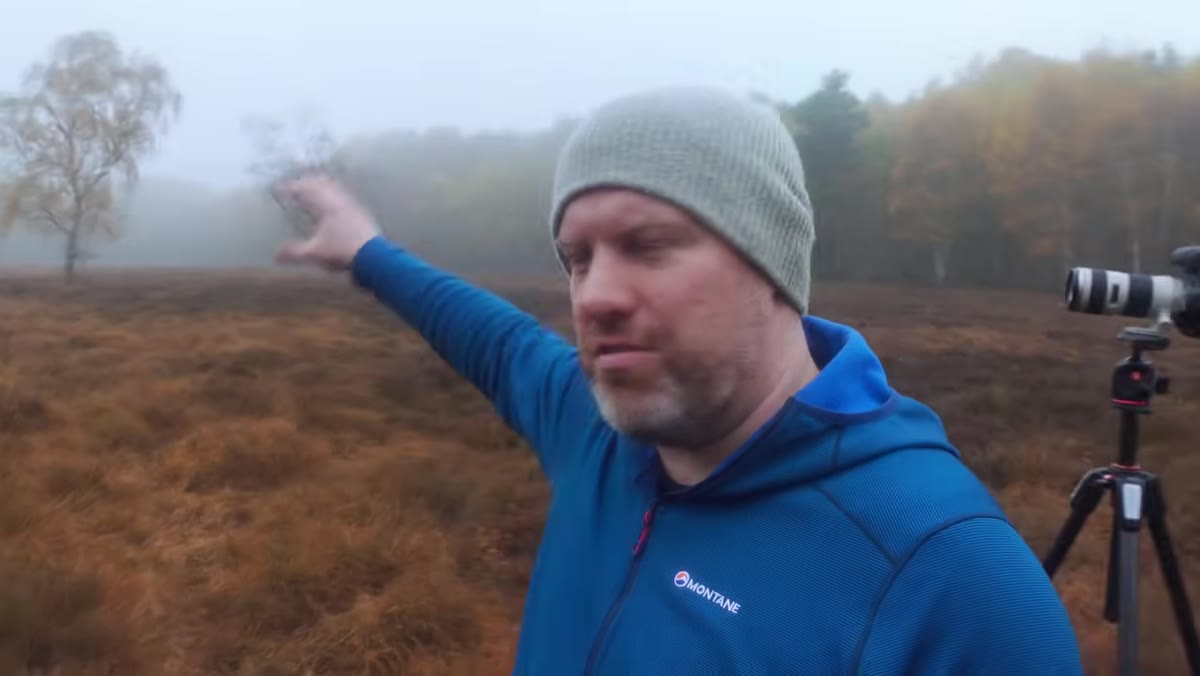 Adam sets up tripod for panorama across open moorland
Once you’ve spent time reading the scene without the camera, the right framing often becomes obvious. Adam lands on a panorama because the landscape in front of him is wide and low, with trees dotted across an open moorland. Forcing a standard 3:2 frame onto that scene would have cropped out exactly what made it interesting.
Think about the shape of what you’re looking at before you think about settings. Is the subject vertical, horizontal, or distributed across a wide horizontal plane? Moorlands, mountain ridgelines, and long coastal exposures almost always reward a panoramic treatment. Tight woodland scenes or single-subject shots often don’t. Let the landscape vote on its own format.
Step 3: Shoot the Panorama Handheld Before You Overthink the Gear Setup
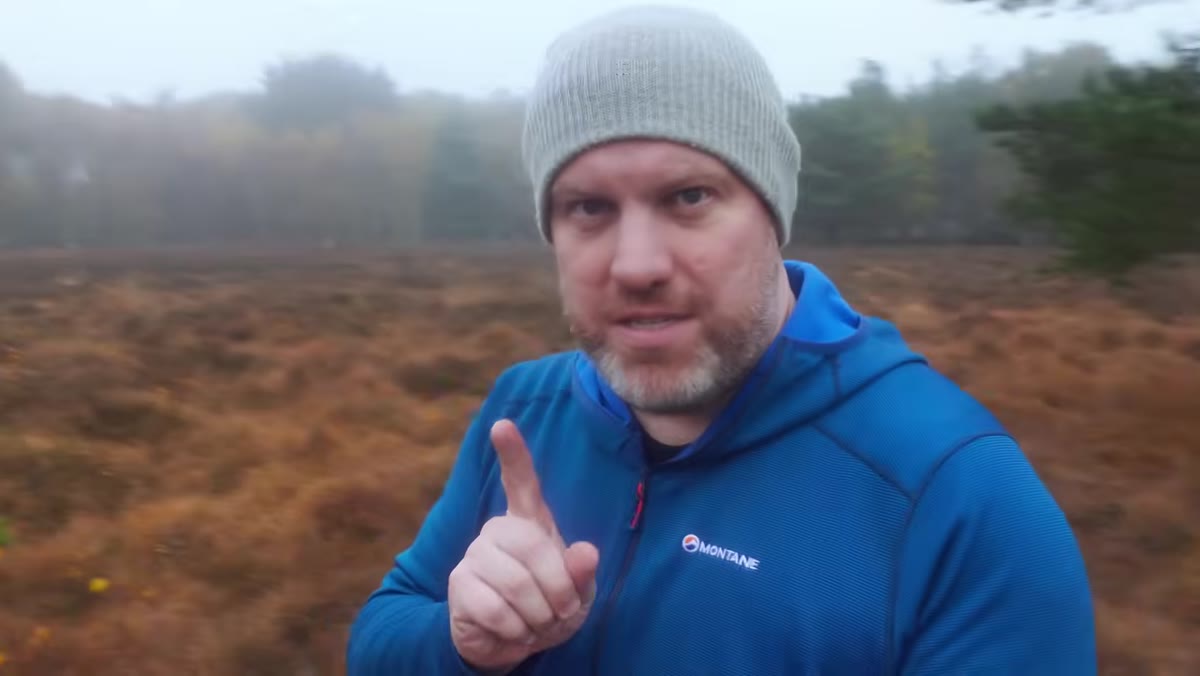 Adam discusses parallax shift and handheld panorama technique
Here’s where Adam makes a point that I think a lot of intermediate photographers need to hear. He’s been vocal in the past about shooting panoramas handheld and getting perfectly stitchable results. Modern software handles handheld panoramas well in most conditions, particularly when you’re not shooting at very close focusing distances with a wide foreground element.
Rotate on your feet, keep the camera level, overlap each frame by about a third, and shoot your sequence quickly so the light doesn’t shift between frames. If you’re working near subjects closer than three or four meters, you’ll start to see parallax errors and may want a nodal head. For the kind of wide, open scene Adam is shooting here, handheld works, and it keeps you moving and present in the moment rather than fussing with hardware.
Step 4: Resist the Reflex to Reach for Complex Techniques When Simple Ones Will Do
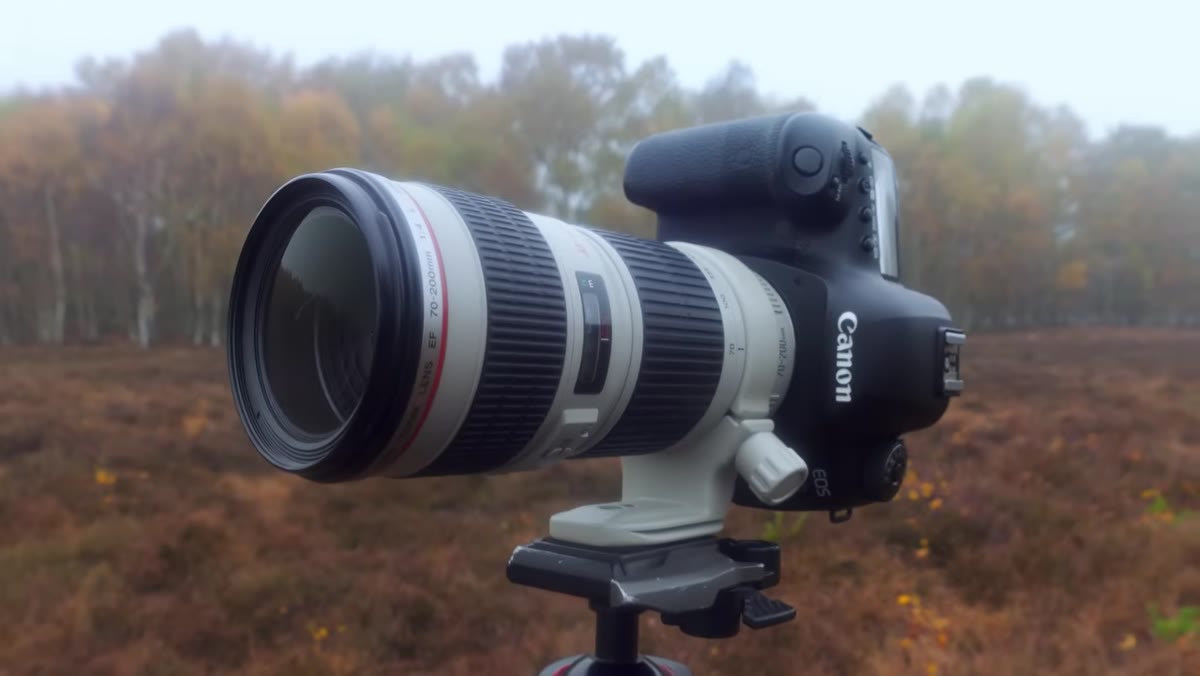 Adam explains why focus stacking kills momentum on a shoot
Adam is direct about focus stacking. He finds it momentum-killing, and he can’t point to an image where it added something he couldn’t have achieved through simpler means. That’s worth sitting with, because focus stacking gets talked about as if it’s the default solution for landscape depth-of-field problems, when often it isn’t necessary at all.
For most landscape compositions, stopping down to f/8 or f/11 and placing your focus point at the hyperfocal distance will give you front-to-back sharpness without any stacking. Reserve focus stacking for situations where you genuinely have a foreground subject within half a meter of the lens and a distant background that both need to be critically sharp. The rest of the time, keep it simple and keep shooting.
Step 5: When the Moment Changes, Follow It
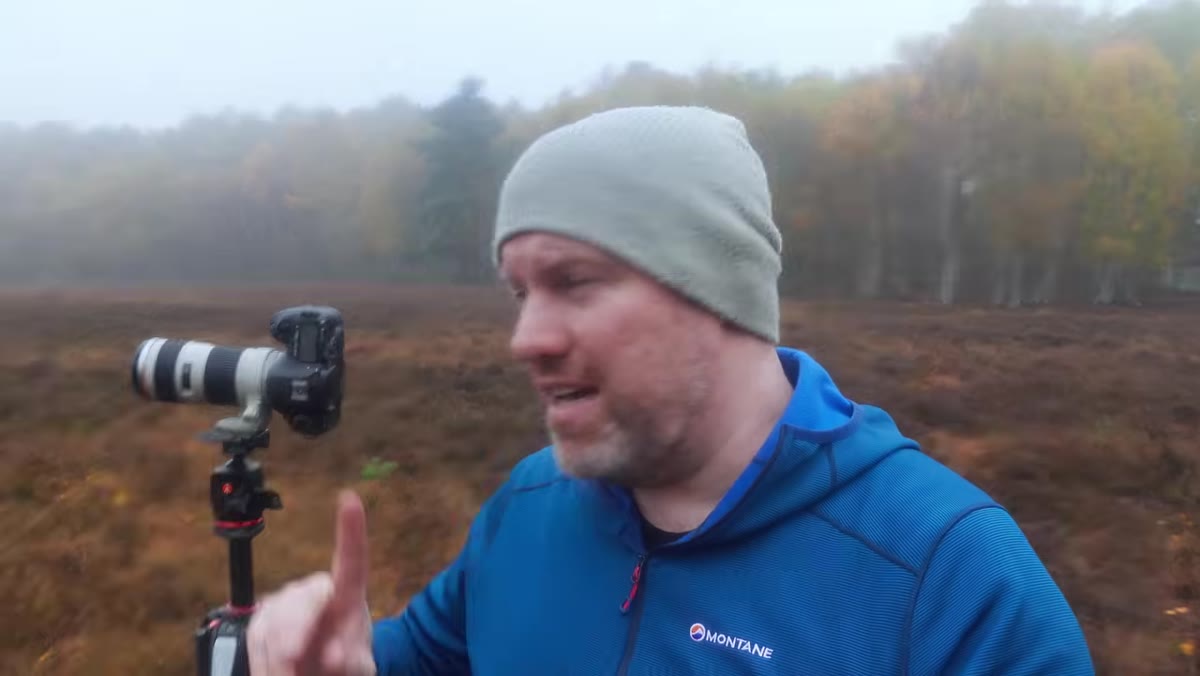 Adam turns and spots new composition behind him while walking away
This is the step that ties everything together. Adam is walking away from a composition he couldn’t quite make work, and that movement, away from the thing he was fixating on, is what reveals the better shot. Landscape photography rewards mobility and attention, not stubbornness.
Give any composition a fair effort, but set a mental time limit. If you’ve worked a scene for fifteen minutes and it still isn’t resolving, move. Walk fifty meters. Turn around. Look up. Look at the ground. The fog, the light, and the landscape are all changing while you stand fixed in one spot. Your willingness to move is often more valuable than any technical skill.
What I’d Add After Twenty Years in the Field
The deeper issue underneath both of Adam’s points is the same one. We show up to landscapes trying to produce, when the better posture is to show up ready to receive. My mentor once told me that the mountain doesn’t care about your schedule, and I’ve never found a more useful thing to hold onto when a shoot is going sideways.
What I’ve started doing on difficult mornings is shooting a few frames I don’t care about within the first five minutes. Not test shots exactly, just low-stakes frames to physically break the habit of waiting for the perfect moment. The act of pressing the shutter loosens something. You stop protecting the shoot and start making it. This works in flat light, in difficult conditions, and especially on those mornings when you’ve driven a long way and the scene isn’t cooperating.
That willingness to make something rather than wait for something perfect is the real skill, and no amount of technical knowledge replaces it.
The single thing I want you to take from this tutorial is that the gap between a mediocre shoot and a great one usually has nothing to do with gear, settings, or technique. It has to do with whether you showed up expecting a specific image or genuinely open to finding one. Every time I’ve managed to hold that open posture, even imperfectly, I’ve come home with something.
Watch the full tutorial on YouTube and see how Adam works through both of these habits in real time, in a real landscape, on a morning that wasn’t cooperating. It’s one of the more honest walk-throughs I’ve seen.
Comments
Leave a Comment