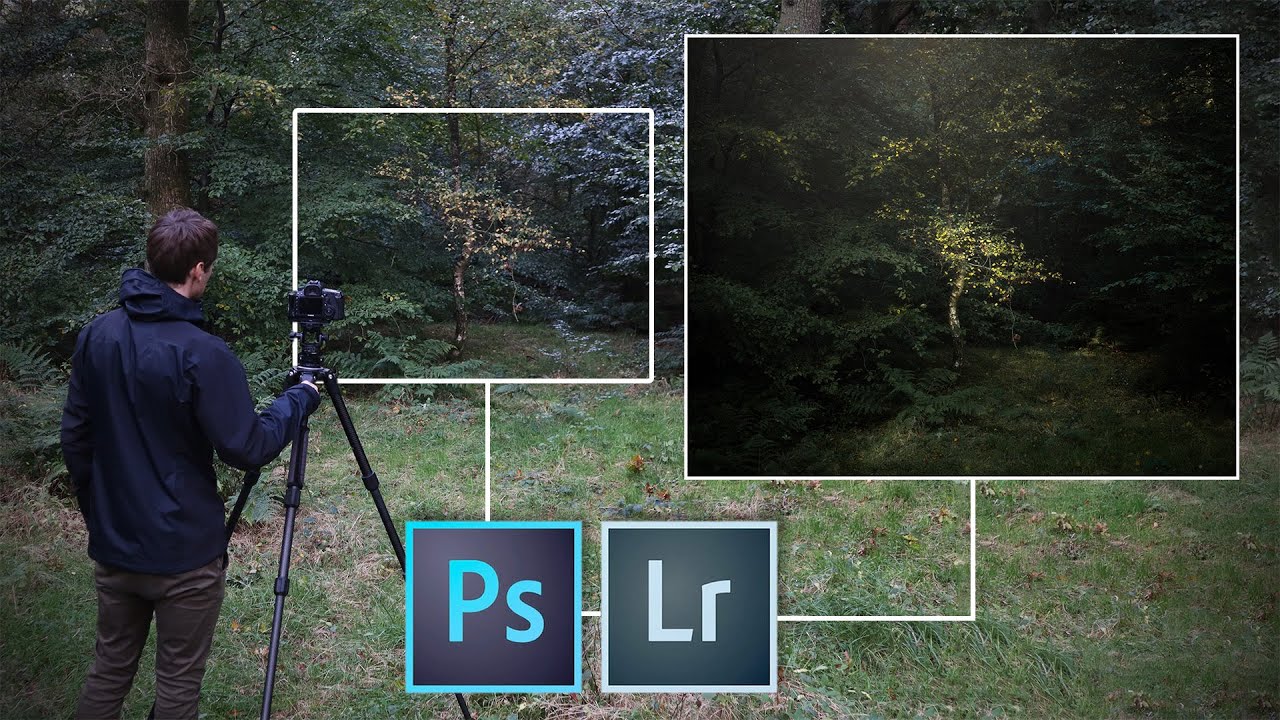
There’s a particular kind of frustration that every landscape photographer knows. You’ve scouted the location. You’ve checked the forecast three times. You drive out before dawn, and the woods are just… flat. No mist pooling between the trunks, no raking golden light cutting through the canopy. Just grey, slightly windy, slightly damp nothing. I’ve been shooting full-time for twenty years and I still have weeks where conditions feel like they’re working against me at every turn. The instinct is to pack up, go home, and wait for a better day. Sometimes that’s the right call. But Thomas Heaton’s tutorial pushed me to think about what’s actually possible when you stay and work the problem instead.
Watch the full tutorial on YouTube
In this Thomas Heaton tutorial, filmed in a Northumberland woodland during early October, he confronts something most photographers quietly suffer through but rarely discuss on camera: autumn in the UK rarely delivers the misty, light-drenched scenes that define the best woodland photographs. Storms roll in off the jet stream and strip the leaves before they’ve had a chance to peak. What makes the video worth studying isn’t just the post-processing technique he demonstrates. It’s the mindset shift he models. When the atmosphere isn’t there in reality, you don’t quit. You find a subject, you trust your vision, and you build the atmosphere yourself in processing. That’s a professional’s approach, and it translates directly to shooting in Oregon, Montana, Patagonia, or anywhere else weather refuses to cooperate.
Step 1: Accept the Conditions and Reframe Your Goal
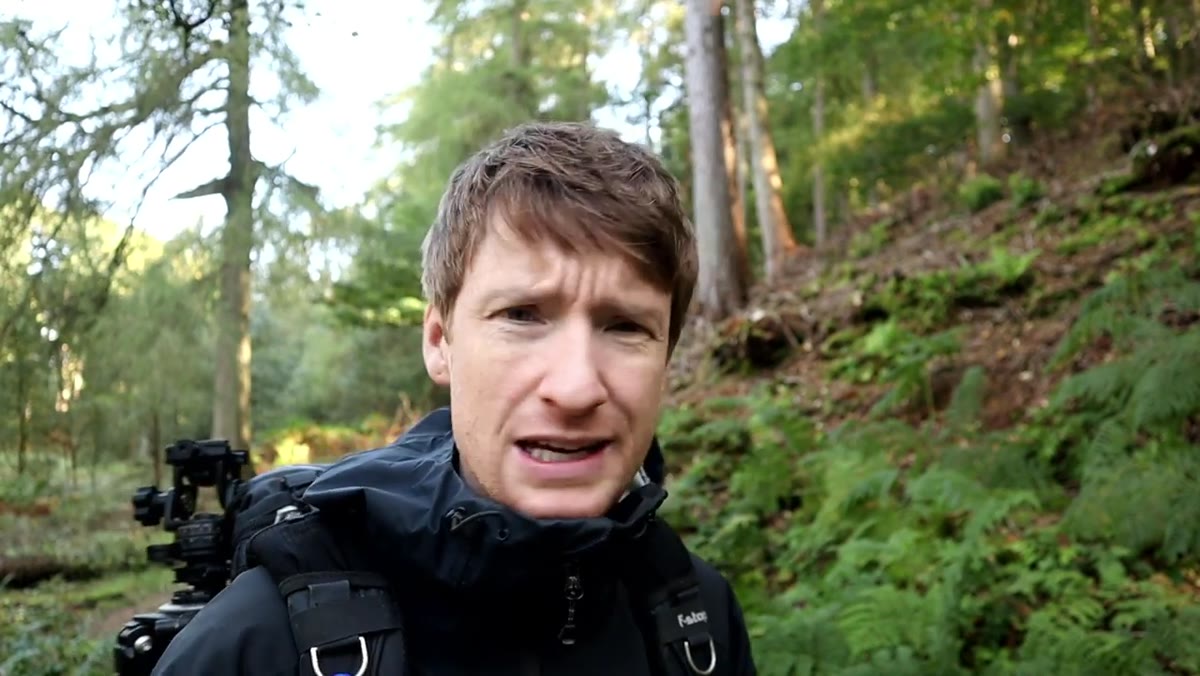
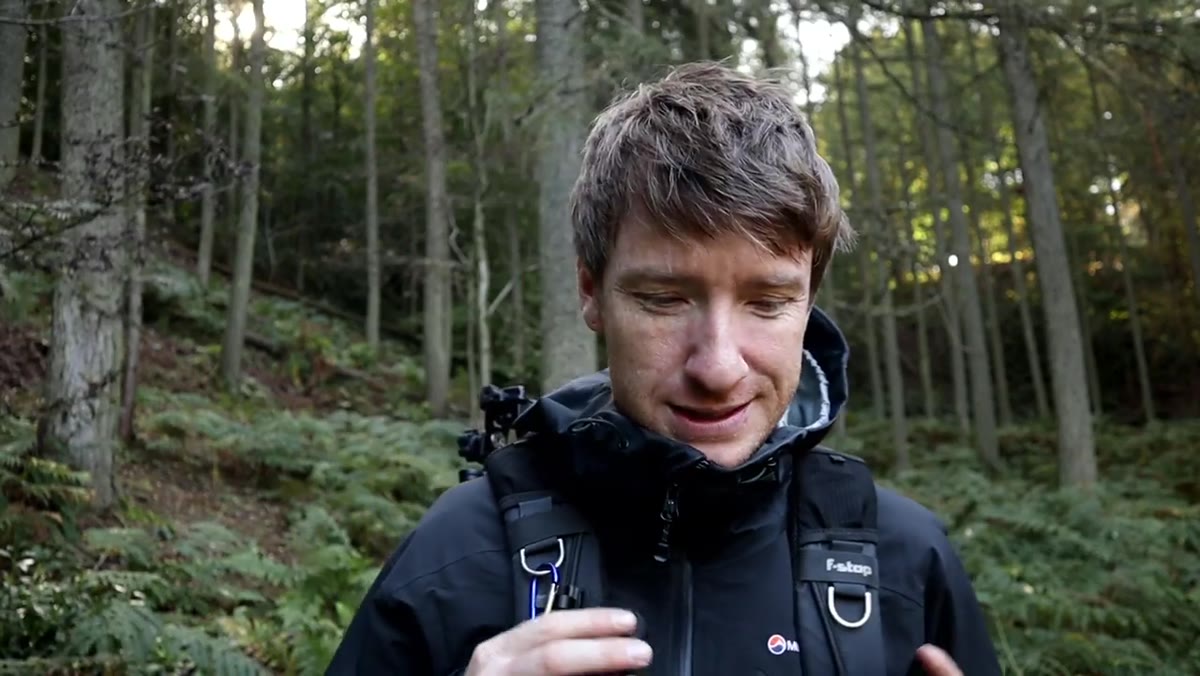 Heaton standing in overcast Northumberland woodland, flat light
Before you touch your camera, you need to make a decision. Are you chasing the shot you planned, or are you hunting for the shot that’s actually possible today? Heaton is direct about this. On a windy, overcast day with no mist and no dramatic light, trying to recreate a classic atmospheric woodland image in-camera is a losing battle. The better move is to redefine success. Your goal shifts from capturing perfect conditions to finding one strong subject that can anchor a processed image. This frees you from the paralysis of waiting and puts you back in creative control.
Heaton standing in overcast Northumberland woodland, flat light
Before you touch your camera, you need to make a decision. Are you chasing the shot you planned, or are you hunting for the shot that’s actually possible today? Heaton is direct about this. On a windy, overcast day with no mist and no dramatic light, trying to recreate a classic atmospheric woodland image in-camera is a losing battle. The better move is to redefine success. Your goal shifts from capturing perfect conditions to finding one strong subject that can anchor a processed image. This frees you from the paralysis of waiting and puts you back in creative control.
Step 2: Search for a Single, Isolated Subject
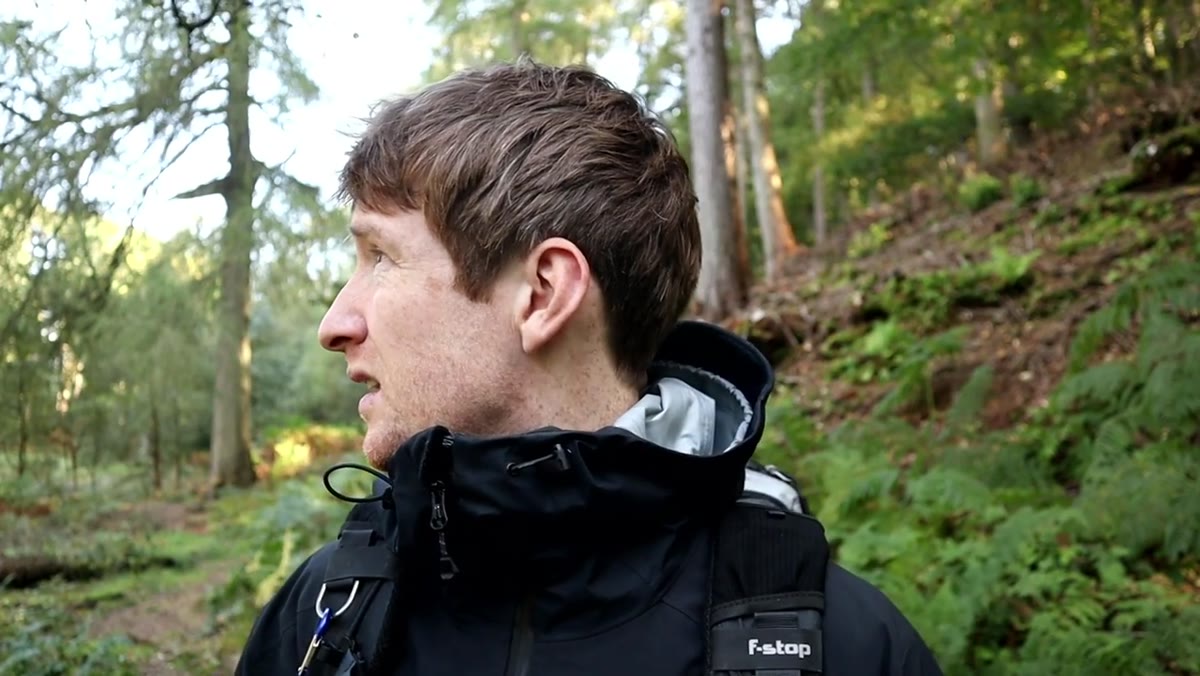
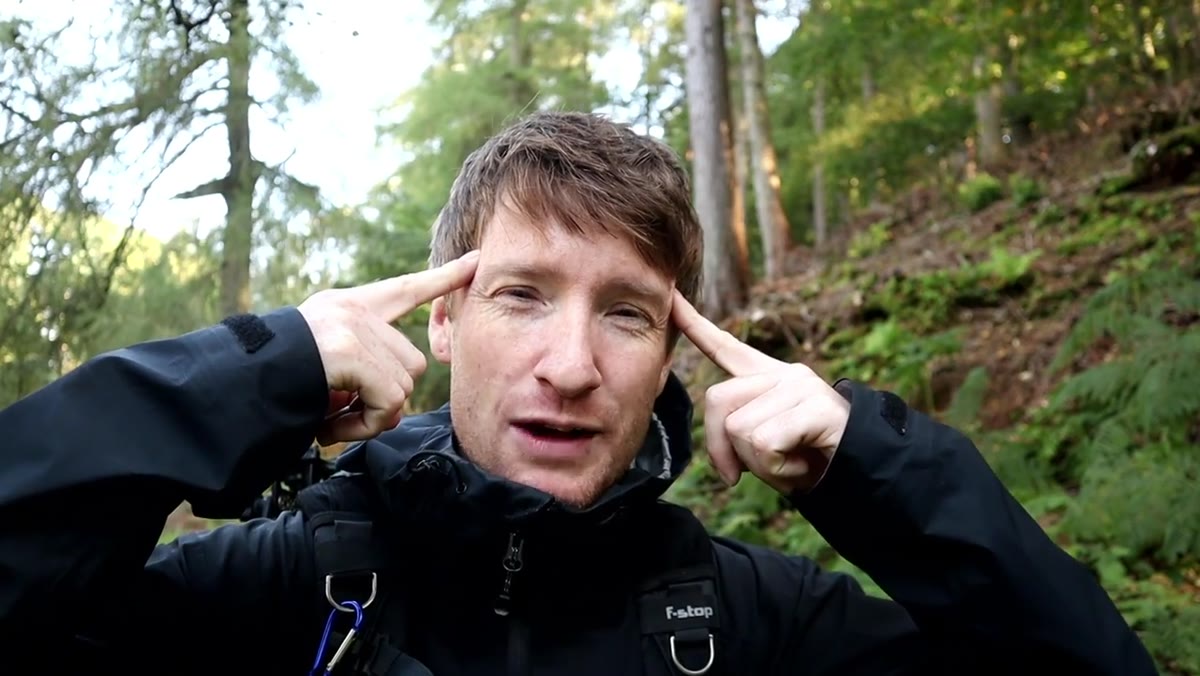 Heaton walking slowly through woodland, scanning for subjects
Heaton narrows his focus down to finding one compelling element within the landscape rather than trying to work the whole scene. In a woodland, that usually means a lone tree with interesting form, a cluster of fungi, a mossy boulder, or any subject with enough visual weight to hold the frame on its own. Move slowly. I mean genuinely slow, the kind of pace where you stop every few metres and actually look instead of just walking through. The subject needs to have some natural separation from its background, because in processing you’ll be working to isolate it tonally. Strong shape and some depth behind it are what you’re looking for.
Heaton walking slowly through woodland, scanning for subjects
Heaton narrows his focus down to finding one compelling element within the landscape rather than trying to work the whole scene. In a woodland, that usually means a lone tree with interesting form, a cluster of fungi, a mossy boulder, or any subject with enough visual weight to hold the frame on its own. Move slowly. I mean genuinely slow, the kind of pace where you stop every few metres and actually look instead of just walking through. The subject needs to have some natural separation from its background, because in processing you’ll be working to isolate it tonally. Strong shape and some depth behind it are what you’re looking for.
Step 3: Compose for Simplicity and Depth
 Camera framing a tree against deeper woodland background
Once you’ve identified your subject, compose with the final processed image in mind. Heaton positions his subject so there’s genuine depth receding behind it into the trees. That depth is what mist and atmospheric haze will later work against in post. A flat, busy background with no separation between foreground and distance gives you very little to enhance. Shoot at a focal length that flatters the subject’s scale in the landscape. A wide angle too close tends to distort and dominate. A short telephoto in the 50mm to 100mm range often keeps the relationships between subject and background feeling natural and three-dimensional.
Camera framing a tree against deeper woodland background
Once you’ve identified your subject, compose with the final processed image in mind. Heaton positions his subject so there’s genuine depth receding behind it into the trees. That depth is what mist and atmospheric haze will later work against in post. A flat, busy background with no separation between foreground and distance gives you very little to enhance. Shoot at a focal length that flatters the subject’s scale in the landscape. A wide angle too close tends to distort and dominate. A short telephoto in the 50mm to 100mm range often keeps the relationships between subject and background feeling natural and three-dimensional.
Step 4: Expose for the Subject, Bracket if Necessary
 Heaton adjusting camera settings before shooting
On a flat, overcast day, your histogram is going to be dull and centre-heavy. That’s fine. Expose to protect your highlight detail while keeping shadow information recoverable. Shoot in RAW. Always RAW. The dynamic range latitude you get in post is not comparable to what a JPEG gives you, and for this technique you need every bit of tonal information the sensor can capture. If you’re shooting a high-contrast scene where bright sky is visible through the canopy, bracket two or three exposures and blend in post. The goal at capture is clean data, nothing more.
Heaton adjusting camera settings before shooting
On a flat, overcast day, your histogram is going to be dull and centre-heavy. That’s fine. Expose to protect your highlight detail while keeping shadow information recoverable. Shoot in RAW. Always RAW. The dynamic range latitude you get in post is not comparable to what a JPEG gives you, and for this technique you need every bit of tonal information the sensor can capture. If you’re shooting a high-contrast scene where bright sky is visible through the canopy, bracket two or three exposures and blend in post. The goal at capture is clean data, nothing more.
Step 5: Build Atmosphere in Post Through Tone and Haze
 Lightroom or editing software open with woodland RAW file
This is where the technique lives. Heaton’s approach to creating atmosphere in post centres on mimicking what mist actually does to a scene physically. Mist compresses tonal range, lifts shadows toward the mid-tones, softens edges, and reduces colour saturation in the distance. In Lightroom or Camera Raw, start by lifting your blacks and shadows to simulate that lifted, veiled quality. Bring highlights down. Reduce overall contrast slightly. Then add a graduated or radial filter over the background to selectively desaturate and increase exposure or haze effect further back in the frame. The Dehaze slider used in reverse, pushed into negative values, adds a soft atmospheric diffusion that reads convincingly as light through mist.
Lightroom or editing software open with woodland RAW file
This is where the technique lives. Heaton’s approach to creating atmosphere in post centres on mimicking what mist actually does to a scene physically. Mist compresses tonal range, lifts shadows toward the mid-tones, softens edges, and reduces colour saturation in the distance. In Lightroom or Camera Raw, start by lifting your blacks and shadows to simulate that lifted, veiled quality. Bring highlights down. Reduce overall contrast slightly. Then add a graduated or radial filter over the background to selectively desaturate and increase exposure or haze effect further back in the frame. The Dehaze slider used in reverse, pushed into negative values, adds a soft atmospheric diffusion that reads convincingly as light through mist.
Step 6: Use Light and Colour Grading to Sell the Mood
 Colour grading panel with warm tone adjustments applied
Mist in woodland photography rarely sits in isolation from light. The images Heaton references, and the ones we’re all trying to make, show mist lit from within by soft directional light. You can suggest this in post through colour grading. Add a warm, slightly golden tone to your highlights and a cooler, neutral or slightly green tone to your shadows. This split creates the visual impression of filtered morning light without needing the sun to have cooperated. Keep the effect restrained. Heavy-handed grading reads as artificial immediately. You want the viewer’s eye to move through the scene naturally without catching on anything that feels digital or forced.
Colour grading panel with warm tone adjustments applied
Mist in woodland photography rarely sits in isolation from light. The images Heaton references, and the ones we’re all trying to make, show mist lit from within by soft directional light. You can suggest this in post through colour grading. Add a warm, slightly golden tone to your highlights and a cooler, neutral or slightly green tone to your shadows. This split creates the visual impression of filtered morning light without needing the sun to have cooperated. Keep the effect restrained. Heavy-handed grading reads as artificial immediately. You want the viewer’s eye to move through the scene naturally without catching on anything that feels digital or forced.
A Note From My Own Workflow
I’ve used variations of this approach for years, particularly during the Pacific Northwest shoulder seasons when flat marine layer skies make outdoor light about as inspiring as a hospital waiting room. One thing Heaton doesn’t dwell on but I’d add from experience: the technique lives or dies on subject selection. If the subject isn’t interesting on its own terms, no amount of atmospheric processing saves the image. I once spent two hours building haze and mood around a tree that was, if I’m honest, just not a very good tree. The processing just made the problem more elaborate. Find a subject you’d want to photograph even if the light were perfect, then use these tools to give it the conditions it deserves.
The single most transferable idea from this tutorial is that atmosphere is partly a property of the scene and partly a property of how you choose to render it. Waiting for perfect conditions is sometimes patience and sometimes just avoidance. The photographers who build consistent bodies of work are the ones who go out anyway, adapt to what’s there, and bring their vision to the image rather than waiting for the image to arrive fully formed.
Watch the full tutorial on YouTube to follow Heaton’s complete workflow from the field to the finished edit.
Comments
Leave a Comment