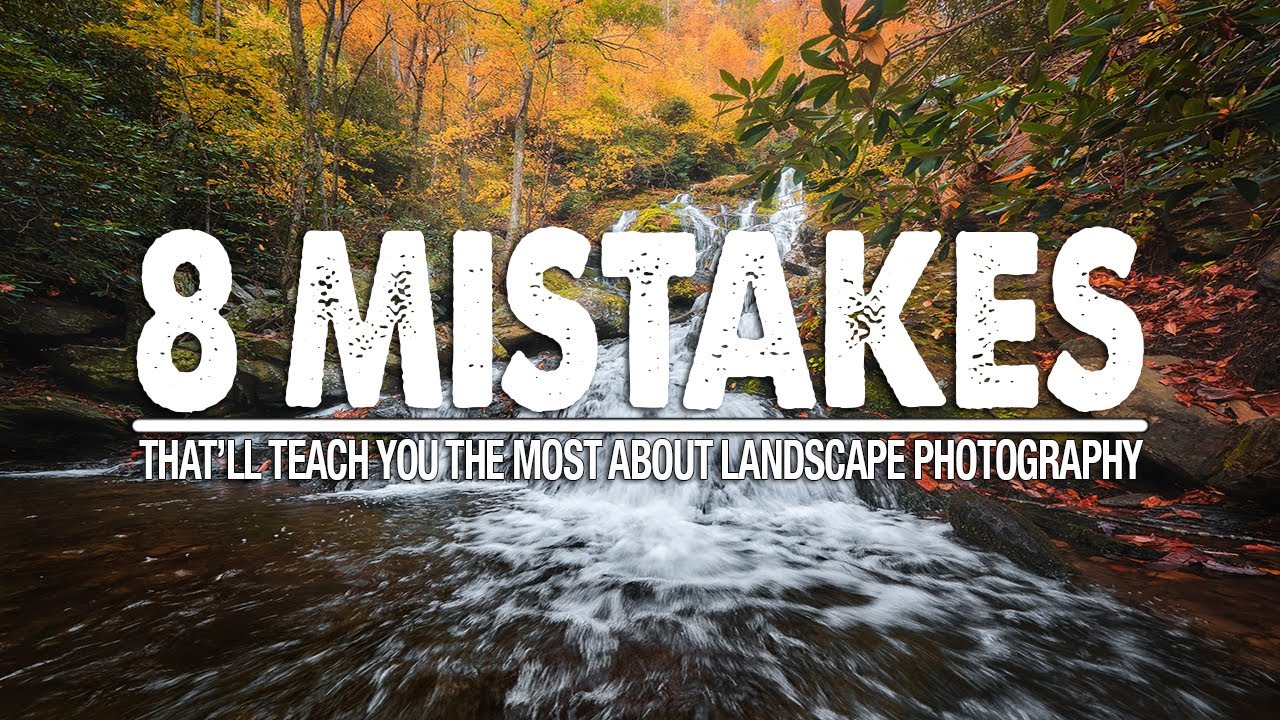
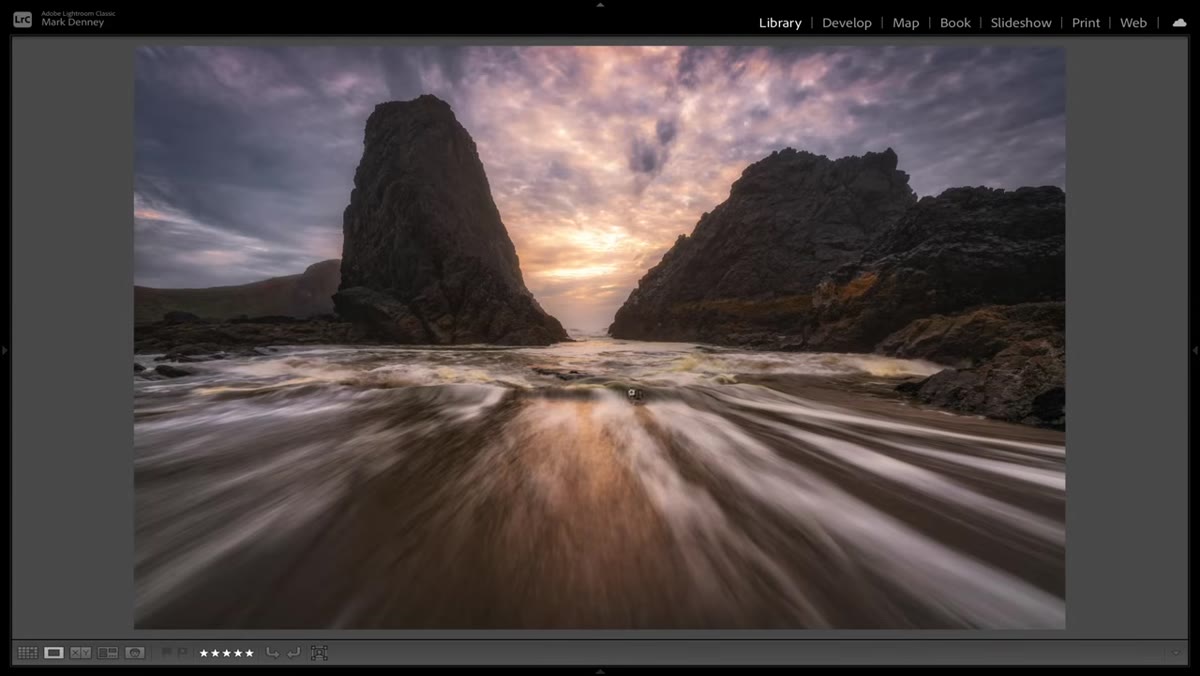
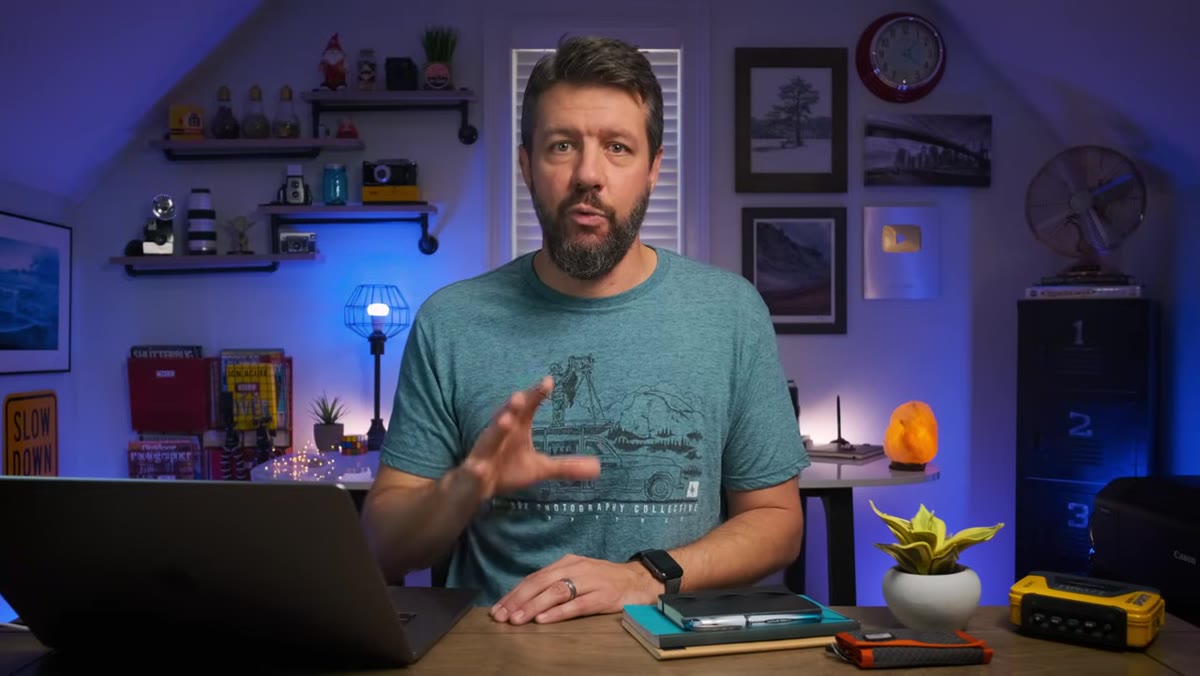
I’ve been doing this for twenty years, and I still catch myself slipping into old habits. The difference between where I was in year two and where I am now isn’t gear or locations. It’s the slow, sometimes painful process of identifying the things I was doing wrong and actually changing them. That’s why when I came across this Mark Denney tutorial breaking down the eight biggest beginner landscape mistakes, I sat with it longer than I expected to. Not because it was all new information, but because he named things I had internalized so gradually I’d forgotten they were ever problems. Watch the full tutorial on YouTube
Mark is refreshingly honest about his own learning curve, and that honesty is what makes this video worth your time. He’s not presenting himself as someone who figured it all out from day one. He made these mistakes repeatedly, over years, and that’s exactly the kind of source material worth learning from. Below I’ve broken down each mistake into concrete, actionable steps you can apply the next time you’re in the field, with a few notes from my own experience where it felt relevant.
Step 1: Stop Defaulting to Landscape Orientation
 Camera rotating from horizontal to vertical orientation
The names trip everyone up. “Landscape orientation” sounds like the obvious choice when you’re photographing landscapes, and for years Mark shot almost exclusively horizontal frames because of that assumption. The fix is simple but requires deliberate habit-breaking: before you fire a single shot at any new location, physically rotate your camera to vertical and evaluate the scene that way first.
Camera rotating from horizontal to vertical orientation
The names trip everyone up. “Landscape orientation” sounds like the obvious choice when you’re photographing landscapes, and for years Mark shot almost exclusively horizontal frames because of that assumption. The fix is simple but requires deliberate habit-breaking: before you fire a single shot at any new location, physically rotate your camera to vertical and evaluate the scene that way first.
Wide-angle lenses in vertical orientation compress the foreground into the frame much more effectively, giving you a stronger sense of depth through clear foreground, mid-ground, and background separation. That layering is what pulls a viewer into a photograph. Make it a rule: shoot the horizontal version, then rotate and shoot the vertical version. Compare them later. You’ll be surprised how often the vertical wins.
Step 2: Build Compositions With a Clear Visual Path
 Split composition showing disjointed versus flowing foreground elements
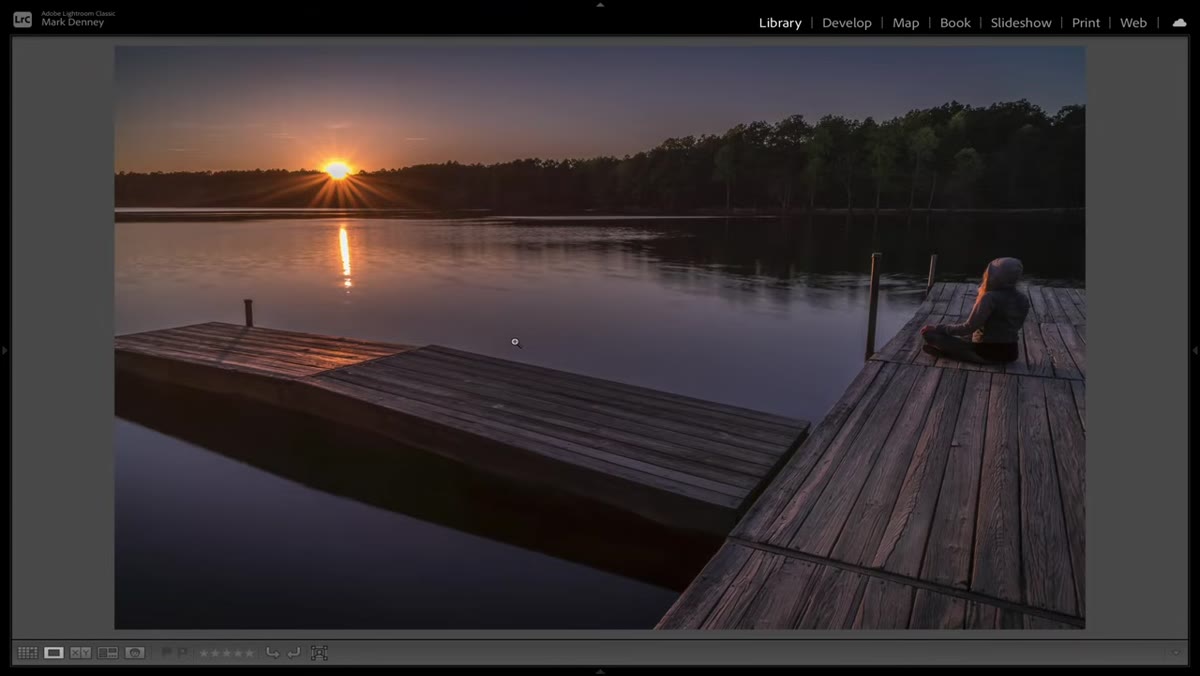
Researching composition rules is a good starting point, but Mark points out that knowing the rules and actually applying visual flow are two different things. A composition where the foreground points one direction, the mid-ground leads another, and the background sits disconnected will feel restless to viewers, even if they can’t explain why.
Split composition showing disjointed versus flowing foreground elements
Researching composition rules is a good starting point, but Mark points out that knowing the rules and actually applying visual flow are two different things. A composition where the foreground points one direction, the mid-ground leads another, and the background sits disconnected will feel restless to viewers, even if they can’t explain why.
Before you set up your tripod, stand at the location and trace an imaginary line with your eyes from the nearest foreground element through the scene to your main subject. Can you find a natural path? Leading lines, curves in a riverbank, patterns in rock formations, rows of trees. If you can’t trace a path, move. Changing your position by even a few feet can completely reorder the visual relationship between elements and create the flow that was missing.
Step 3: Engage Your Foreground Intentionally
 Wide-angle lens positioned low over textured foreground rocks
One of the most common weak points in beginner landscape work is a dead, empty foreground. Mark identifies this as a mistake that flattens an image immediately. The solution is to get low and get close. This isn’t about cramming something into the bottom third of your frame. It’s about finding a foreground element that has texture, shape, or leading quality and then positioning yourself so that element feels genuinely connected to everything behind it.
Wide-angle lens positioned low over textured foreground rocks
One of the most common weak points in beginner landscape work is a dead, empty foreground. Mark identifies this as a mistake that flattens an image immediately. The solution is to get low and get close. This isn’t about cramming something into the bottom third of your frame. It’s about finding a foreground element that has texture, shape, or leading quality and then positioning yourself so that element feels genuinely connected to everything behind it.
Wide-angle lenses exaggerate distance, so the closer you get to your foreground subject, the more dramatic the sense of depth becomes. Set your lens to somewhere between 16mm and 24mm, drop your tripod as low as it goes, and work within a foot or two of rocks, flowers, tide pools, or whatever the scene offers. Your aperture should sit between f/8 and f/11 to keep sharpness across that extended depth of field.
Step 4: Stop Chasing Light You Haven’t Scouted
 Photographer arriving at location in poor light with no foreground plan
Showing up at golden hour doesn’t guarantee a good image. Mark’s point here is that many beginners treat the light itself as the subject, rather than using light to reveal a scene they already understand. If you don’t know where you’re going to stand, what you’re going to point at, and roughly what foreground and background relationship you’re after before the light arrives, you’ll spend the best fifteen minutes of the day running around reacting instead of shooting.
Photographer arriving at location in poor light with no foreground plan
Showing up at golden hour doesn’t guarantee a good image. Mark’s point here is that many beginners treat the light itself as the subject, rather than using light to reveal a scene they already understand. If you don’t know where you’re going to stand, what you’re going to point at, and roughly what foreground and background relationship you’re after before the light arrives, you’ll spend the best fifteen minutes of the day running around reacting instead of shooting.
Scout locations in flat midday light or even on a separate day entirely. Walk the area. Find your composition. Note where the sun will rise or set relative to your frame. Then when the light turns golden and the sky does something interesting, you’re already planted, already composed, and you can focus entirely on the moment rather than the logistics.
Step 5: Learn to Use a Tripod as a Compositional Tool, Not Just a Stabilizer
 Tripod being adjusted for precise low-angle composition framing
Most beginners use a tripod because they know they’re supposed to, but they set it up quickly and treat it as a fixed point. Mark emphasizes slowing down the tripod process. Every leg adjustment, every head movement is an opportunity to refine your frame. The deliberate pace a tripod forces on you is a feature, not an inconvenience.
Tripod being adjusted for precise low-angle composition framing
Most beginners use a tripod because they know they’re supposed to, but they set it up quickly and treat it as a fixed point. Mark emphasizes slowing down the tripod process. Every leg adjustment, every head movement is an opportunity to refine your frame. The deliberate pace a tripod forces on you is a feature, not an inconvenience.
Work the tripod like a darkroom tool. Adjust height in small increments and look through the viewfinder after each change. Slide the center column down fully and get the head as close to the ground as possible for foreground-heavy compositions. Resist the urge to just extend legs to a comfortable working height. The best vantage point and the most comfortable vantage point are rarely the same thing.
Step 6: Expose for the Scene, Not the Sky
 Histogram showing blown highlights from sky-exposed foreground scene
A blown-out sky or a crushed black foreground are both symptoms of the same problem: trusting the camera’s metering without understanding what you’re asking it to do. Mark’s advice is to understand where the dynamic range of your scene exceeds what your sensor can capture in a single frame, and then decide intentionally how to handle it.
Histogram showing blown highlights from sky-exposed foreground scene
A blown-out sky or a crushed black foreground are both symptoms of the same problem: trusting the camera’s metering without understanding what you’re asking it to do. Mark’s advice is to understand where the dynamic range of your scene exceeds what your sensor can capture in a single frame, and then decide intentionally how to handle it.
Check your histogram after every shot. Expose to the right as much as possible without clipping your highlights, then recover your shadows in post. If the contrast is extreme, consider a graduated neutral density filter to pull down the sky, or plan to blend two exposures. The key is making a deliberate choice rather than letting the camera make it for you.
Step 7: Treat Bad Weather as Good Weather
 Dramatic storm clouds rolling over mountain landscape
Mark makes the point that many beginners pack up the moment conditions get difficult. Rain, fog, incoming storms, these are exactly the conditions that produce the most compelling light and atmosphere. The willingness to stay in uncomfortable conditions is one of the most direct separators between images that look like postcards and images that stop people mid-scroll.
Dramatic storm clouds rolling over mountain landscape
Mark makes the point that many beginners pack up the moment conditions get difficult. Rain, fog, incoming storms, these are exactly the conditions that produce the most compelling light and atmosphere. The willingness to stay in uncomfortable conditions is one of the most direct separators between images that look like postcards and images that stop people mid-scroll.
Keep a dry bag for your camera and carry a microfiber cloth for your lens. If rain is light, position yourself under tree cover and shoot outward. Fog deserves its own shooting session entirely. It collapses the background, simplifies compositions, and creates a mood that no amount of post-processing can fake.
Step 8: Stop Neglecting the Sky’s Role in Composition
 Sky taking up two-thirds of frame versus one-third in same scene
This one comes down to balance. Mark’s early images often split the frame evenly between land and sky or buried the sky entirely. The decision of how much sky to include should be driven by which element is more visually interesting at that moment. A dramatic cloud formation deserves two-thirds of the frame. A flat gray sky deserves a sliver, or none at all.
Sky taking up two-thirds of frame versus one-third in same scene
This one comes down to balance. Mark’s early images often split the frame evenly between land and sky or buried the sky entirely. The decision of how much sky to include should be driven by which element is more visually interesting at that moment. A dramatic cloud formation deserves two-thirds of the frame. A flat gray sky deserves a sliver, or none at all.
Before you shoot, look up. If the sky is doing something, give it room. If it isn’t, anchor your horizon line high in the frame and let the land carry the image. This is a decision you make before you press the shutter, not a crop you apply after the fact.
What Twenty Years Adds to This List
The one thing I’d layer onto everything Mark covers here is the relationship between patience and preparation. My mentor once told me that the mountain doesn’t care about your schedule, and I’ve found that to be one of the most useful pieces of advice I’ve ever received. I’ve driven six hours to a location, sat in fog for two full days with almost nothing to show for it, and come home with a single frame that became my best-selling print. That image only exists because I stayed when it would have been easier to leave.
Every one of Mark’s eight mistakes has patience somewhere underneath it. Beginners rush their compositions, rush their setups, rush past bad weather toward better forecasts. Slowing down is the technique that makes every other technique work.
The single most important shift you can make right now is to evaluate your camera orientation deliberately at every location before you set up your tripod. It takes ten seconds and it will immediately expand what you’re seeing. Everything else in this tutorial builds from that kind of intentional attention.
Watch the full tutorial on YouTube to see Mark walk through each mistake with his own before-and-after images. It’s one of the more honest and practically useful beginner breakdowns I’ve seen in a while.
Comments
Leave a Comment