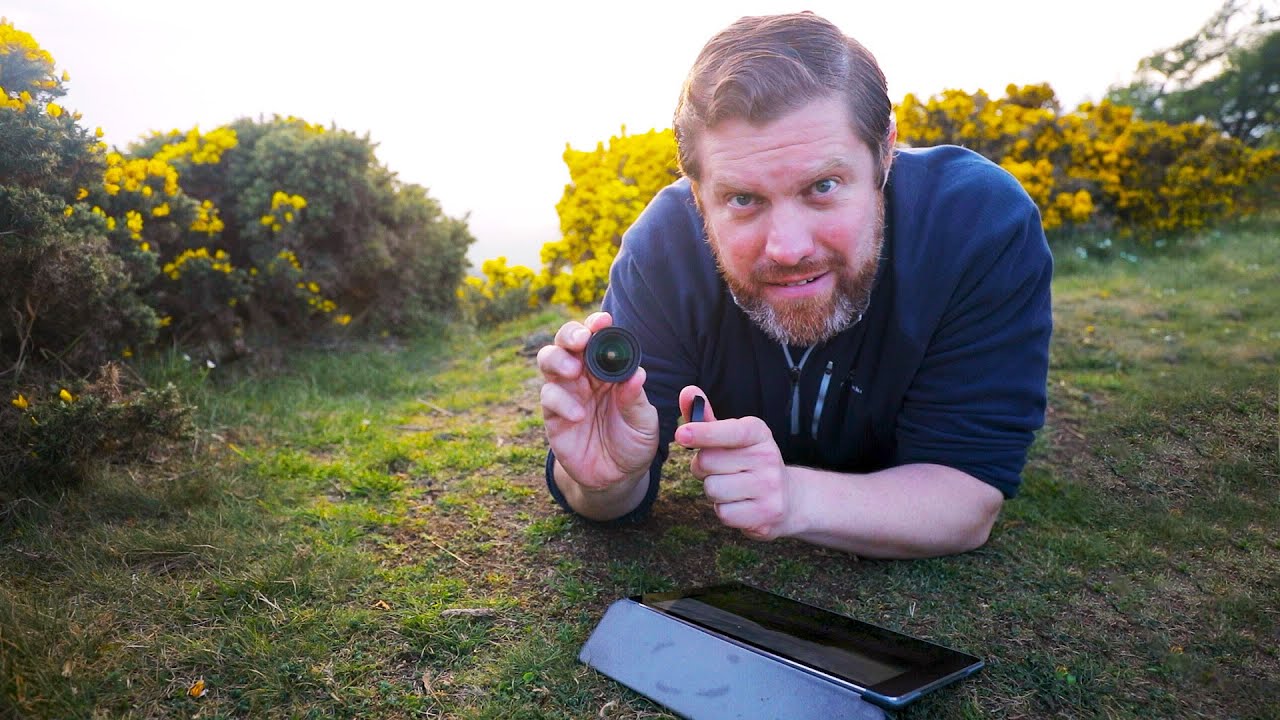
There is a specific kind of stubbornness that develops after twenty years of hauling a full kit up mountain ridges before dawn. You stop questioning the weight. The tripod, the filters, the two camera bodies “just in case” - it becomes ritual, and ritual starts to feel like craft. I have stood in freezing rivers at first light with fifty pounds on my back and told myself that suffering was part of the work. My kids think I am insane. They are probably right. So when a tutorial landed in my feed that asked whether a smartphone with a clip-on lens attachment could hold its own in the landscape, I almost scrolled past it. Almost.
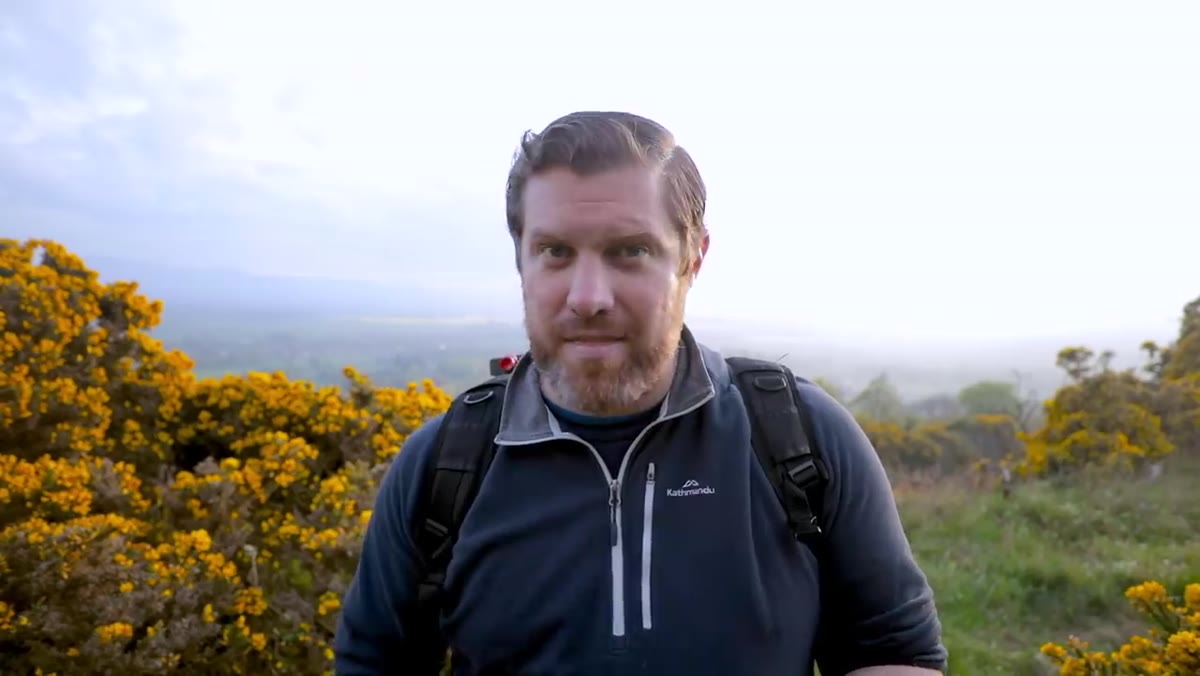
In this First Man Photography tutorial, Watch the full tutorial on YouTube, the creator does something I did not expect. Before he gets to any gear talk, he shares a medical diagnosis that reframed everything for him - a rare form of macular degeneration that may eventually cost him his sight. He did not share it for sympathy. He shared it because it changed how he thinks about photography time, about presence, and about what tools actually serve the work versus which ones we just haul out of habit. That framing hit differently than I expected. It is the kind of honesty that earns your full attention.
The practical question the tutorial explores is straightforward: can a modern smartphone, fitted with an aftermarket wide-angle or telephoto lens attachment, produce landscape images worth making? His answer is more nuanced than a yes or no, and the breakdown of how to actually use these systems is worth walking through step by step.
Step 1: Assess What Your Smartphone Camera Already Does Well
 iPhone camera portrait mode demonstration on screen
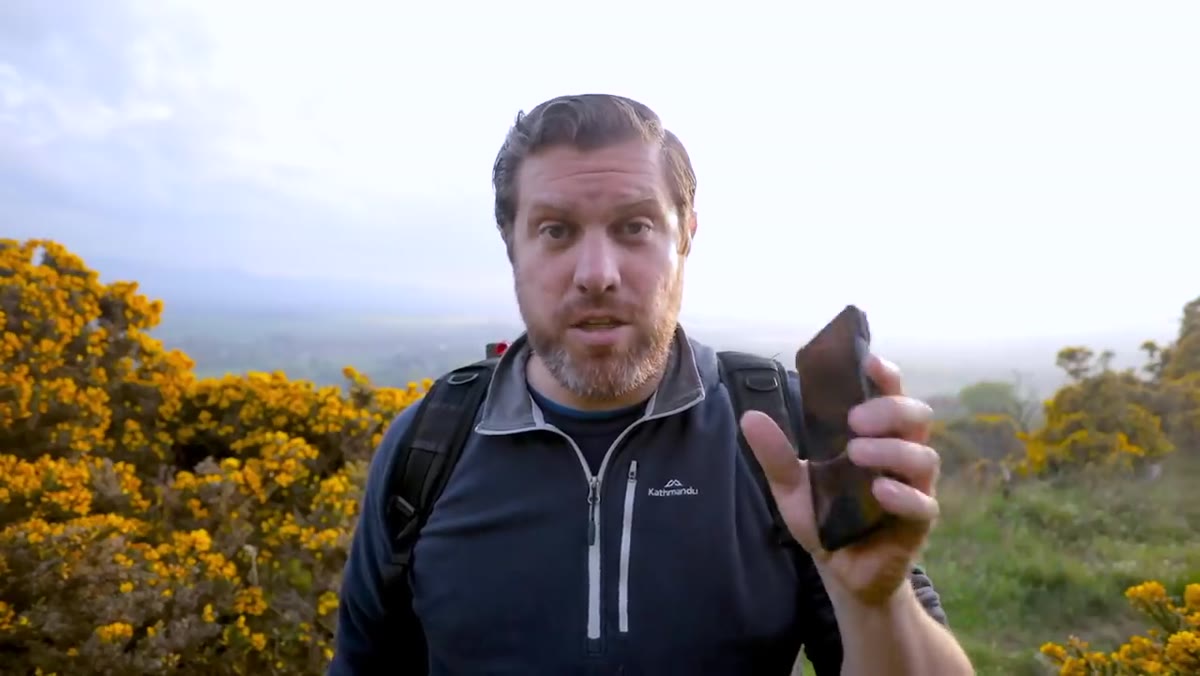
Before reaching for any accessory, spend time understanding your phone’s native capabilities. The tutorial starts here, and it is the right place to start. Modern flagship phones - the video references the iPhone XS Max specifically, though this applies broadly to current Android flagships - have computational photography features that are genuinely impressive: multi-lens systems, night modes, and software-driven depth simulation that produces convincing background separation. For landscape work, the native ultra-wide lens on most current phones already covers a lot of ground. The question is not whether your phone can shoot landscapes. It can. The question is whether the focal length range is wide enough for your compositions.
iPhone camera portrait mode demonstration on screen
Before reaching for any accessory, spend time understanding your phone’s native capabilities. The tutorial starts here, and it is the right place to start. Modern flagship phones - the video references the iPhone XS Max specifically, though this applies broadly to current Android flagships - have computational photography features that are genuinely impressive: multi-lens systems, night modes, and software-driven depth simulation that produces convincing background separation. For landscape work, the native ultra-wide lens on most current phones already covers a lot of ground. The question is not whether your phone can shoot landscapes. It can. The question is whether the focal length range is wide enough for your compositions.
Step 2: Identify the Focal Length Gap You Need to Fill
 Comparison of standard phone focal length versus wide lens attachment
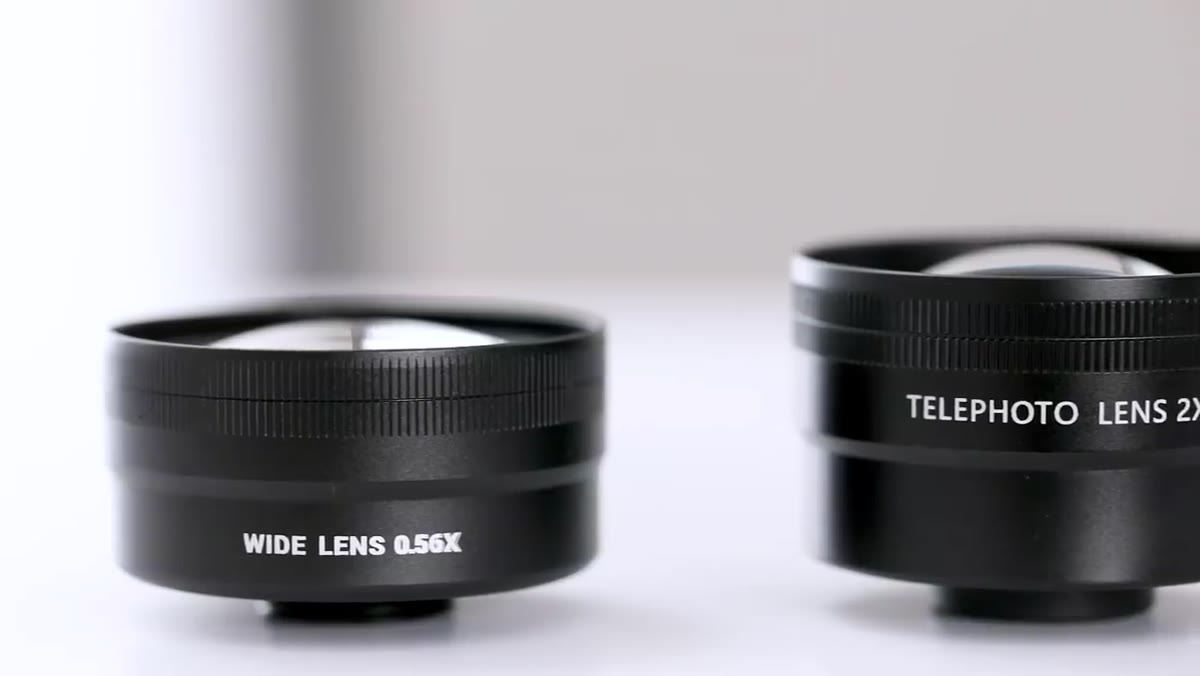
Smartphone cameras are locked into fixed focal lengths. You cannot zoom optically - you can only crop digitally, which degrades quality. For landscape photographers, this creates a specific problem: the native wide angle on most phones is not always wide enough to capture sweeping foregrounds and distant peaks in the same frame without distortion. The tutorial makes this limitation explicit and uses it to justify the lens attachment approach. Before you buy anything, photograph your most common landscape subjects with your phone’s native lenses and note where you feel constrained. That gap is what an attachment lens can address.
Comparison of standard phone focal length versus wide lens attachment
Smartphone cameras are locked into fixed focal lengths. You cannot zoom optically - you can only crop digitally, which degrades quality. For landscape photographers, this creates a specific problem: the native wide angle on most phones is not always wide enough to capture sweeping foregrounds and distant peaks in the same frame without distortion. The tutorial makes this limitation explicit and uses it to justify the lens attachment approach. Before you buy anything, photograph your most common landscape subjects with your phone’s native lenses and note where you feel constrained. That gap is what an attachment lens can address.
Step 3: Research Clip-On Lens Attachment Options
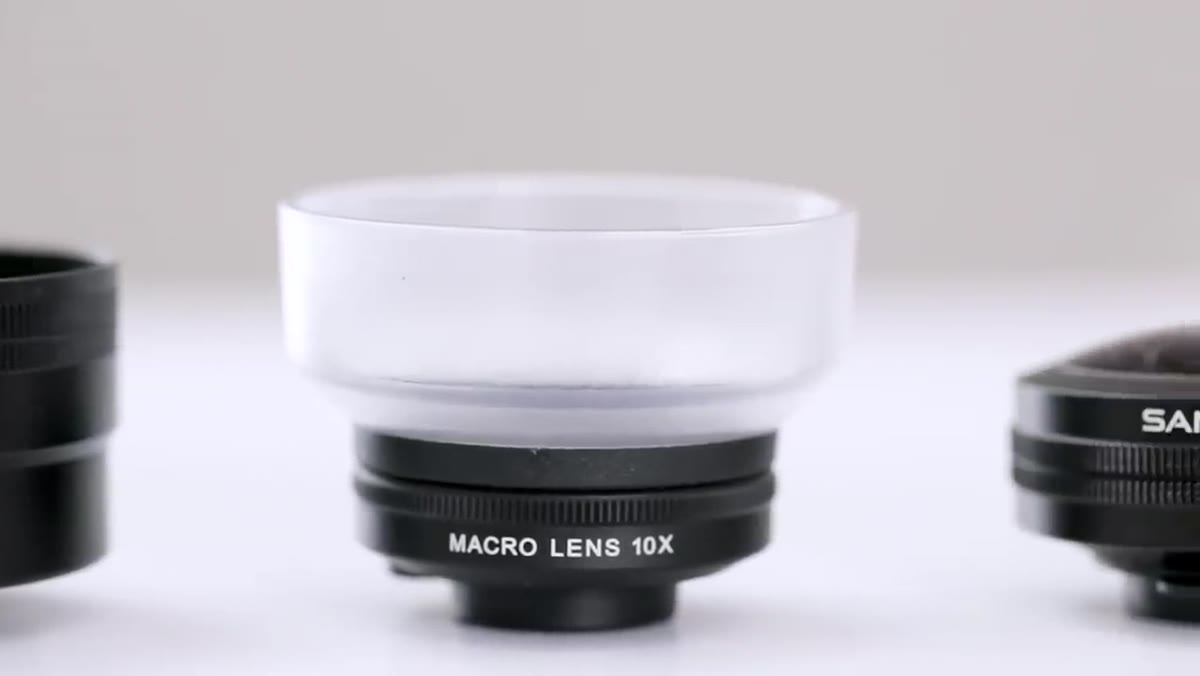
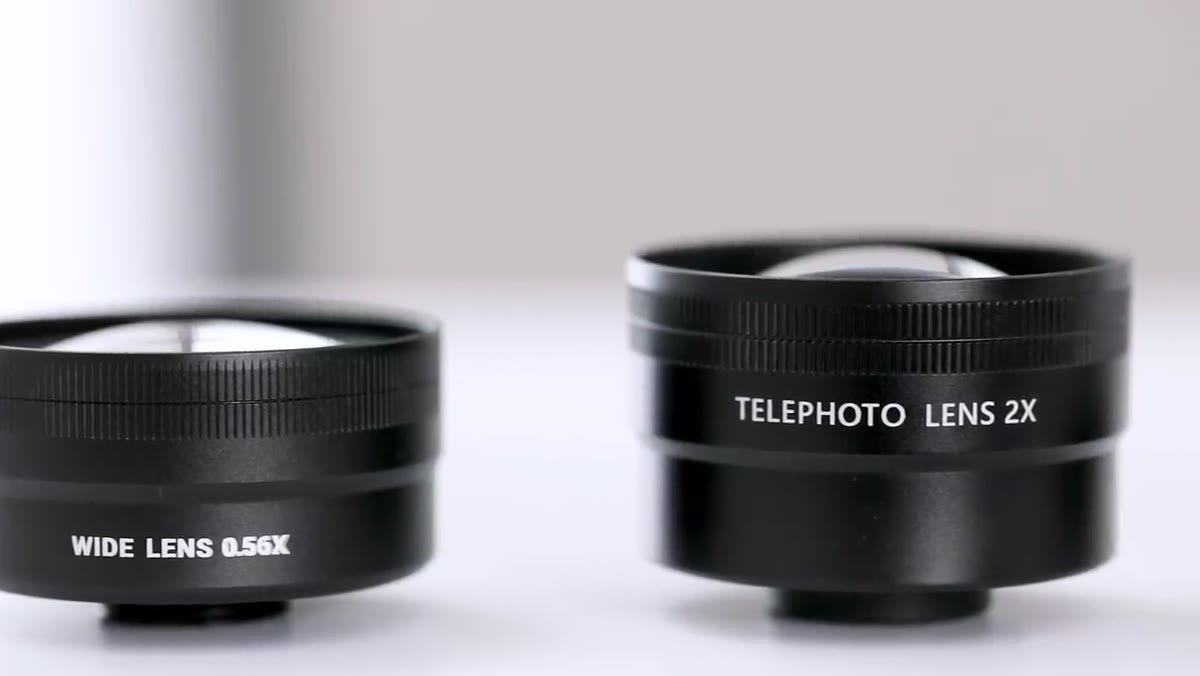
 Sandmarc lens attachments shown alongside phone
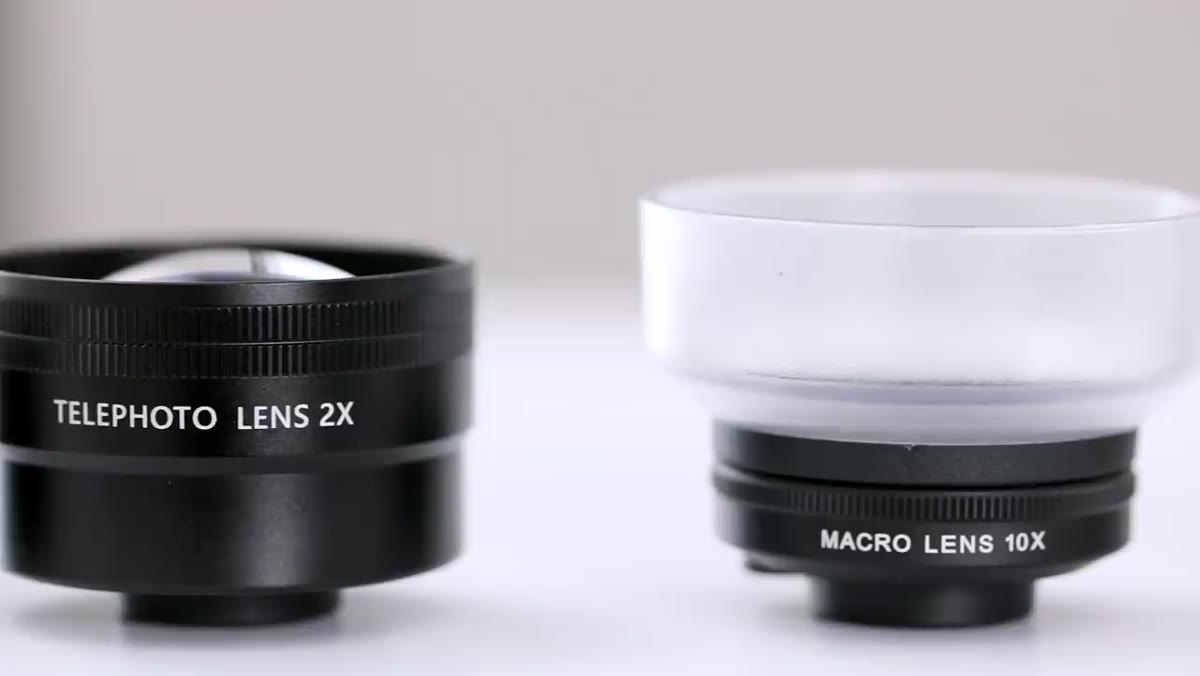
Not all clip-on lenses are equal, and the tutorial is direct about this. The creator specifically tested a brand called Sandmarc after surveying the market for quality options. The key criteria are: optical glass quality (not plastic), a clip mechanism that aligns precisely with your phone’s existing lens, and minimal vignetting at the edges of the frame. Cheap clip-on lenses introduce chromatic aberration and soft corners that will undermine any image you shoot with them. Budget for quality here or skip the category entirely.
Sandmarc lens attachments shown alongside phone
Not all clip-on lenses are equal, and the tutorial is direct about this. The creator specifically tested a brand called Sandmarc after surveying the market for quality options. The key criteria are: optical glass quality (not plastic), a clip mechanism that aligns precisely with your phone’s existing lens, and minimal vignetting at the edges of the frame. Cheap clip-on lenses introduce chromatic aberration and soft corners that will undermine any image you shoot with them. Budget for quality here or skip the category entirely.
Step 4: Attach and Align the Lens Carefully
 Sandmarc lens being clipped onto phone camera module
Alignment is where most clip-on systems fail in practice. The lens needs to sit centered over your phone’s camera lens - even a millimeter of offset produces noticeable distortion or a double-image effect. Take time to position the clip carefully before you shoot. The tutorial demonstrates this hands-on. Once attached, shoot a test frame of something with straight lines - a building edge, a horizon - and zoom in at 100 percent to check for alignment before you commit to a location or a light window. Fixing it in the field takes thirty seconds. Discovering it at home costs you the shot.
Sandmarc lens being clipped onto phone camera module
Alignment is where most clip-on systems fail in practice. The lens needs to sit centered over your phone’s camera lens - even a millimeter of offset produces noticeable distortion or a double-image effect. Take time to position the clip carefully before you shoot. The tutorial demonstrates this hands-on. Once attached, shoot a test frame of something with straight lines - a building edge, a horizon - and zoom in at 100 percent to check for alignment before you commit to a location or a light window. Fixing it in the field takes thirty seconds. Discovering it at home costs you the shot.
Step 5: Adjust Your Shooting Technique for the Smaller System
 Creator shooting handheld with phone and lens attachment outdoors
A phone with a lens attachment behaves differently in your hands than a mirrorless body. The center of gravity shifts, the clip can create a wobble point, and there is no optical viewfinder to brace against your face. The tutorial implicitly addresses this by showing handheld technique. Brace your elbows against your torso, use a two-handed grip, and shoot in burst mode to give yourself the best chance of a sharp frame. For landscapes at dawn or dusk when light is low, prop the phone against a rock, fence post, or small travel tripod. Many clip-on lens systems are compatible with standard tripod mounts via phone cage accessories.
Creator shooting handheld with phone and lens attachment outdoors
A phone with a lens attachment behaves differently in your hands than a mirrorless body. The center of gravity shifts, the clip can create a wobble point, and there is no optical viewfinder to brace against your face. The tutorial implicitly addresses this by showing handheld technique. Brace your elbows against your torso, use a two-handed grip, and shoot in burst mode to give yourself the best chance of a sharp frame. For landscapes at dawn or dusk when light is low, prop the phone against a rock, fence post, or small travel tripod. Many clip-on lens systems are compatible with standard tripod mounts via phone cage accessories.
Step 6: Evaluate Image Quality Honestly Against Your Intended Use
 Side by side image comparison on laptop screen
The tutorial asks you to be honest about what you are actually making the images for. Screen viewing, social media, and moderate print sizes are where smartphone-plus-attachment images can hold up respectably. Large fine art prints where a client is standing at arm’s length - that is still the domain of a full sensor with quality glass. This is not a failing of the system. It is simply the correct tool for the correct output. The video pushes back against the all-or-nothing thinking that leads photographers to dismiss mobile work entirely. A lighter kit that you actually bring is better than a heavy kit that stays in the car.
Side by side image comparison on laptop screen
The tutorial asks you to be honest about what you are actually making the images for. Screen viewing, social media, and moderate print sizes are where smartphone-plus-attachment images can hold up respectably. Large fine art prints where a client is standing at arm’s length - that is still the domain of a full sensor with quality glass. This is not a failing of the system. It is simply the correct tool for the correct output. The video pushes back against the all-or-nothing thinking that leads photographers to dismiss mobile work entirely. A lighter kit that you actually bring is better than a heavy kit that stays in the car.
A Note From My Own Experience in the Field
I still shoot film occasionally, specifically because it forces me to think before I press the shutter. That discipline - the pause before committing - transfers directly to smartphone landscape work. Because the system is light and the camera is always with you, there is a temptation to shoot everything and curate nothing. Resist it. Apply the same compositional standards you would to any other camera. Find the foreground interest, check the horizon line, wait for the light to do something. The tool being lighter does not mean the eye should work less hard.
The First Man Photography tutorial reminded me that the future of landscape photography is not purely a gear question. It is a question of access and presence. A system that weighs nothing means you are never without a camera when the light breaks right. Twenty years ago I would have called that a compromise. Today, I am not so sure.
The single most important takeaway from this tutorial is this: the weight of your kit should not be an excuse for missing a shot. Clip-on lens systems are not a replacement for a dedicated camera, but they are a legitimate field tool when used with intention and honest expectations.
Watch the full tutorial on YouTube and make up your own mind about whether the quality clears your personal bar.
Comments
Leave a Comment