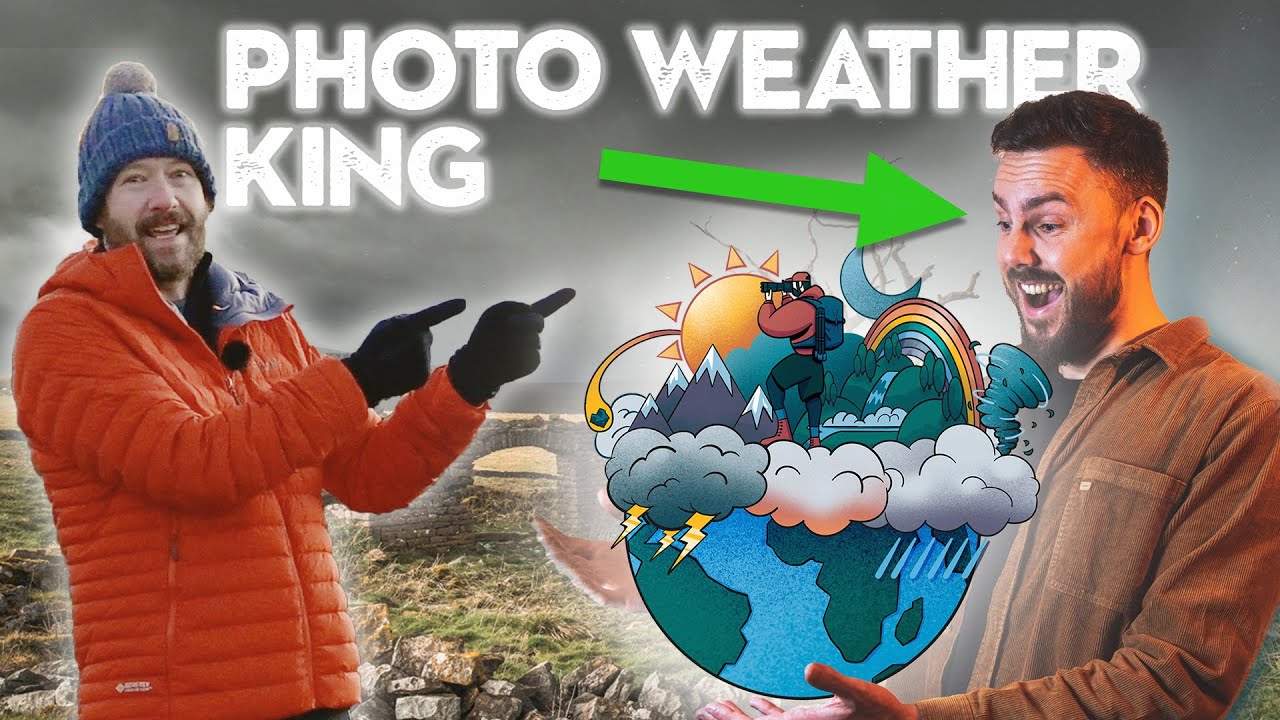
There’s a version of me from about fifteen years ago who drove purely on instinct. I’d check if it was going to rain, decide it wasn’t, and drive out to a location in central Oregon hoping for the best. I came home with a lot of mediocre shots and a lot of wasted pre-dawn hours. What I was missing wasn’t gear, technique, or even a better eye. I was missing the ability to read the sky before I ever left the house. That gap between a good photographer and a great one often has nothing to do with what happens behind the lens.
Watch the full tutorial on YouTube
In this Nigel Danson tutorial, Nigel sits down with landscape photographer Tom in what looks like a valley location in the UK to talk about one of the most honest secrets in this craft: predicting weather is as important as understanding light, composition, or exposure. Tom’s perspective is particularly valuable because his path mirrors a lot of ours. He came to weather study gradually, almost accidentally, and only after he’d plateaued on the technical side of photography. What pushed him deeper into forecasting was the realization that conditions are what separate a memorable image from a forgettable one. Below I’ve broken down the key ideas from their conversation into a practical field framework you can start using immediately.
Step 1: Accept That You Are, at Least Partly, a Weather Photographer
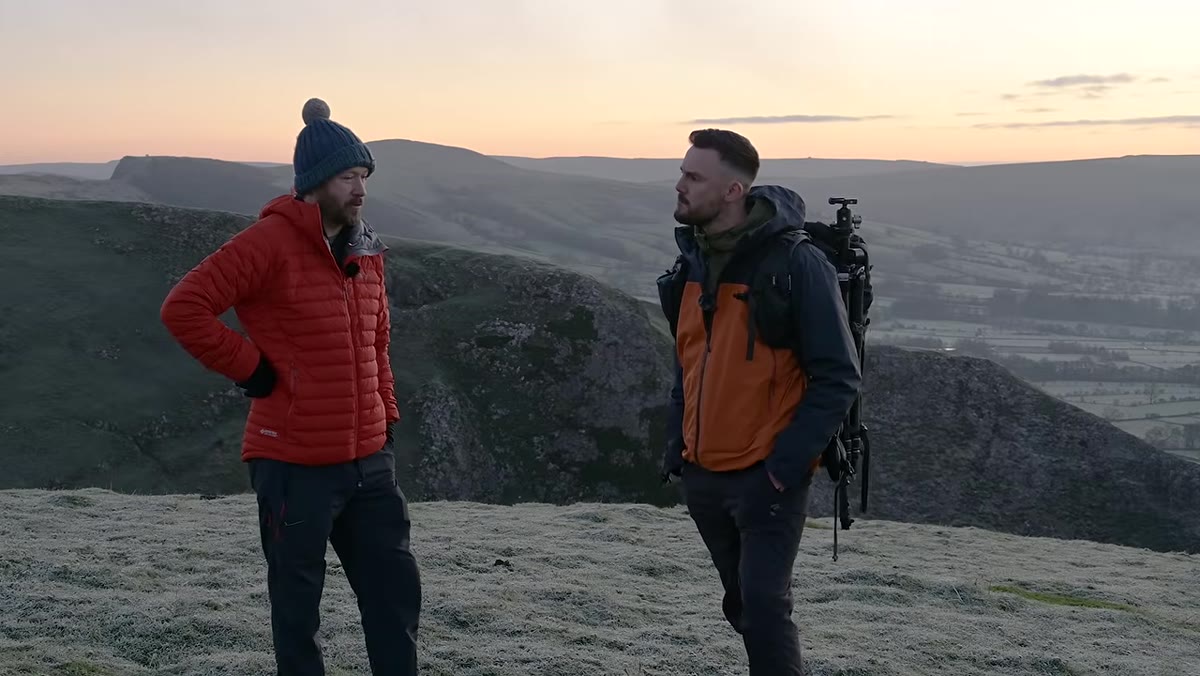 Nigel and Tom discussing chasing weather conditions outdoors
This might sting a little, but Nigel and Tom say it plainly: landscape photographers are weather chasers. That’s not an insult. It’s a clarification of priorities. Once you accept this, your planning changes completely. You stop asking “where should I go this weekend?” and start asking “what conditions are developing this weekend, and which location fits them?” The image you’re chasing doesn’t begin at the trailhead. It begins in a weather app two or three days out.
Nigel and Tom discussing chasing weather conditions outdoors
This might sting a little, but Nigel and Tom say it plainly: landscape photographers are weather chasers. That’s not an insult. It’s a clarification of priorities. Once you accept this, your planning changes completely. You stop asking “where should I go this weekend?” and start asking “what conditions are developing this weekend, and which location fits them?” The image you’re chasing doesn’t begin at the trailhead. It begins in a weather app two or three days out.
Practically, this means building a habit of checking forecasts daily, even when you’re not planning a shoot. You want to develop fluency with how systems move in your region, how quickly fog clears, and how fast fronts push through. In the high desert around Bend, I’ve learned that a clearing storm the night before often means spectacular cloud structure at first light. That knowledge came from years of logging what the sky did versus what the apps predicted.
Step 2: Study the Conditions That Create Extraordinary Light
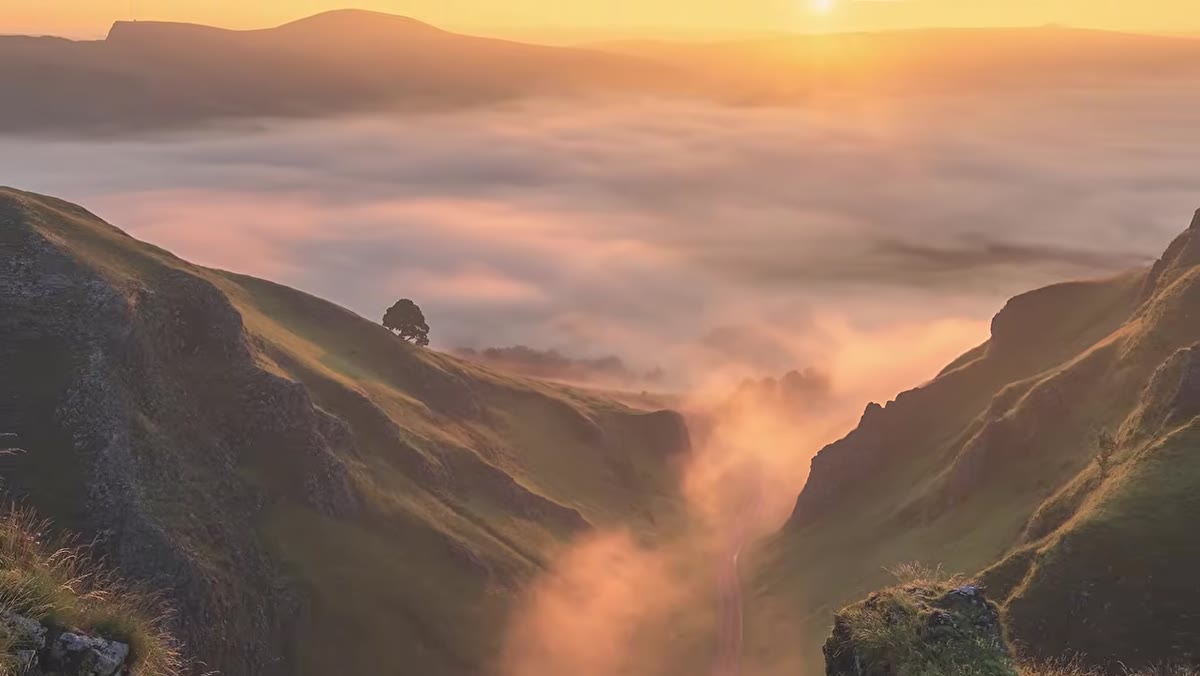 Valley landscape filling with mist visible behind Nigel and Tom
Tom is specific about what drew him deeper into weather study: he wanted to understand the mechanics behind the moments that made his images stand out. Fog, temperature inversions, dramatic cloud formations after frontal passages. These aren’t random. They follow patterns, and those patterns are learnable. A temperature inversion, for example, where warm air sits above cooler air near the ground, creates the kind of valley mist that fills a landscape with mystery. Understanding that inversions are most likely after clear, calm nights with high humidity lets you anticipate them rather than stumble into them.
Valley landscape filling with mist visible behind Nigel and Tom
Tom is specific about what drew him deeper into weather study: he wanted to understand the mechanics behind the moments that made his images stand out. Fog, temperature inversions, dramatic cloud formations after frontal passages. These aren’t random. They follow patterns, and those patterns are learnable. A temperature inversion, for example, where warm air sits above cooler air near the ground, creates the kind of valley mist that fills a landscape with mystery. Understanding that inversions are most likely after clear, calm nights with high humidity lets you anticipate them rather than stumble into them.
Start by picking one weather phenomenon you love photographing and researching what atmospheric conditions produce it. Ground fog, for instance, typically forms when skies are clear overnight and wind is minimal. That’s actionable. You can build a checklist around it and filter your forecasting accordingly.
Step 3: Build a Pre-Shoot Forecasting Routine
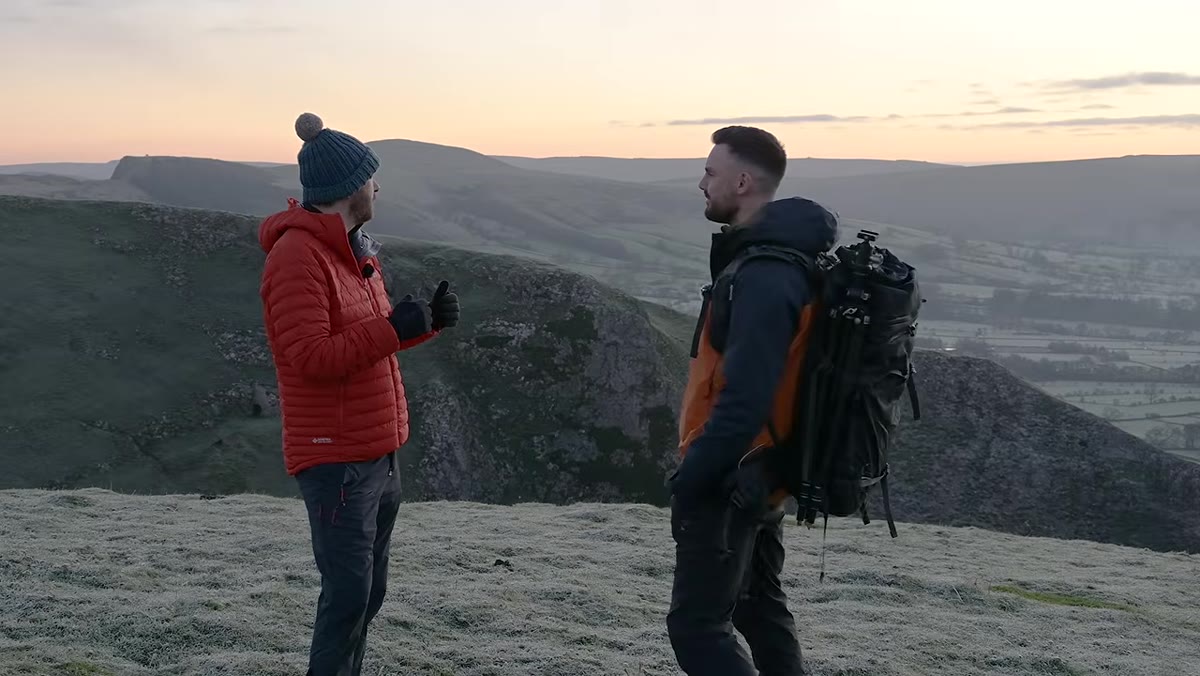 Nigel and Tom reviewing conditions and discussing forecast expectations
Nigel mentions that even he had some doubt about conditions on the morning of this particular shoot. That honest admission is instructive. Even experienced photographers misread forecasts. The goal isn’t perfect prediction. The goal is giving yourself the best possible odds by doing thorough prep work before you commit to the drive.
Nigel and Tom reviewing conditions and discussing forecast expectations
Nigel mentions that even he had some doubt about conditions on the morning of this particular shoot. That honest admission is instructive. Even experienced photographers misread forecasts. The goal isn’t perfect prediction. The goal is giving yourself the best possible odds by doing thorough prep work before you commit to the drive.
A solid pre-shoot routine includes checking at least two or three different weather sources and comparing them. Apps like Windy, Meteoblue, or the NOAA hourly forecast (if you’re in the US) give you different angles on what’s developing. Look at cloud cover percentages, dew point, overnight low temperatures, and wind speed. Cross-reference these against what you know about your specific location. A hilltop location behaves very differently from a valley floor when fog is involved, even if they’re only a mile apart.
Step 4: Learn to Predict Fire Skies Specifically
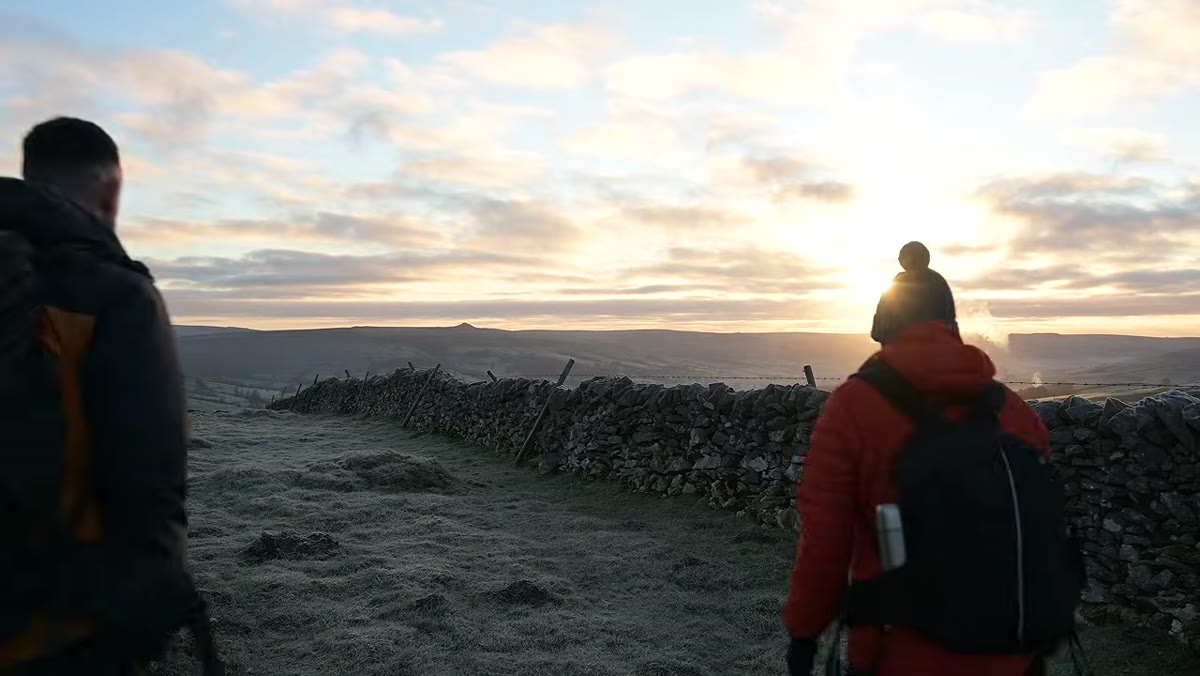 Nigel teasing fire sky prediction content to come in video
Nigel flags this as one of the most sought-after skills for landscape photographers: predicting fire skies, the kind of saturated orange and red light at sunrise or sunset that stops your breath. Tom offers guidance on this later in the video, and the core principle is worth internalizing. Dramatic color at golden hour requires the right atmospheric conditions, not just the right time of day.
Nigel teasing fire sky prediction content to come in video
Nigel flags this as one of the most sought-after skills for landscape photographers: predicting fire skies, the kind of saturated orange and red light at sunrise or sunset that stops your breath. Tom offers guidance on this later in the video, and the core principle is worth internalizing. Dramatic color at golden hour requires the right atmospheric conditions, not just the right time of day.
The presence of high-altitude cloud or thin cirrus at the right angle to the sun, combined with lower humidity near the horizon, tends to produce the most spectacular color. After a cold front clears through, the air often scrubs clean and the cloud structure at height can light up like a fire. If you see a frontal system moving through in the afternoon, don’t write off the next morning as a wash. That clearing sky might be exactly what you need. Log those post-frontal mornings in your area and see if a pattern emerges.
Step 5: Let the Story of the Conditions Become Part of Your Photography
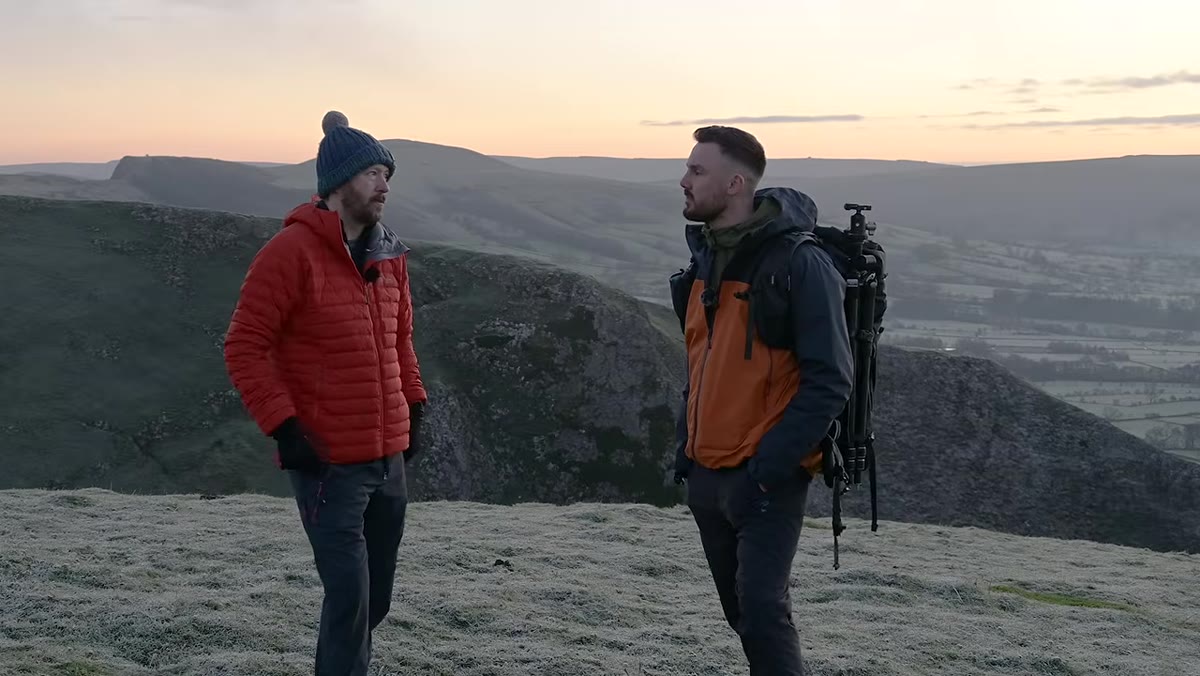 Nigel and Tom talking about storytelling behind the image
Tom makes a point that resonated with me immediately. The story of how you got the shot has become almost as important as the shot itself. Showing up at 4am, waiting in the dark for fog to shift, watching a valley slowly reveal itself. That context gives your image a depth that a technically perfect midday capture can’t match. It communicates that you understood what was happening, planned for it, and were present at exactly the right moment.
Nigel and Tom talking about storytelling behind the image
Tom makes a point that resonated with me immediately. The story of how you got the shot has become almost as important as the shot itself. Showing up at 4am, waiting in the dark for fog to shift, watching a valley slowly reveal itself. That context gives your image a depth that a technically perfect midday capture can’t match. It communicates that you understood what was happening, planned for it, and were present at exactly the right moment.
This matters for how you present your work, whether that’s on Instagram, in print, or in a workshop setting. When I share the conditions behind a shot, the response is almost always different. People understand the photograph differently when they know a temperature inversion that lasted forty minutes created it. The weather isn’t just context. It’s content.
From My Own Field Notes: The Patience Problem
I want to add one thing Nigel and Tom touch on but don’t fully unpack: weather forecasting only works if you’re willing to be wrong and go anyway. I once drove six hours to a location in the Steens Mountain wilderness on what looked like a promising forecast, sat in fog for two days, and came home with one usable shot. That shot is now my best-selling print. The fog I’d cursed turned the landscape into something I couldn’t have planned.
A mentor of mine put it in a way I’ve never forgotten. The mountain doesn’t care about your schedule. Weather forecasting is not about controlling outcomes. It’s about increasing your chances of being in the right place when the sky decides to do something extraordinary. You have to show up even when the odds are uncertain. That’s the part no app can do for you.
The single most important shift you can make as a landscape photographer is this: treat weather fluency as a core skill, not an afterthought. The light you dream about doesn’t arrive randomly. It arrives when specific atmospheric conditions align, and learning to anticipate those conditions is what separates photographers who capture extraordinary images from those who photograph what’s simply there.
Watch the full tutorial on YouTube to hear Tom’s full breakdown of fire sky prediction. It’s the kind of practical, field-tested knowledge that changes how you plan every shoot going forward.
Comments
Leave a Comment