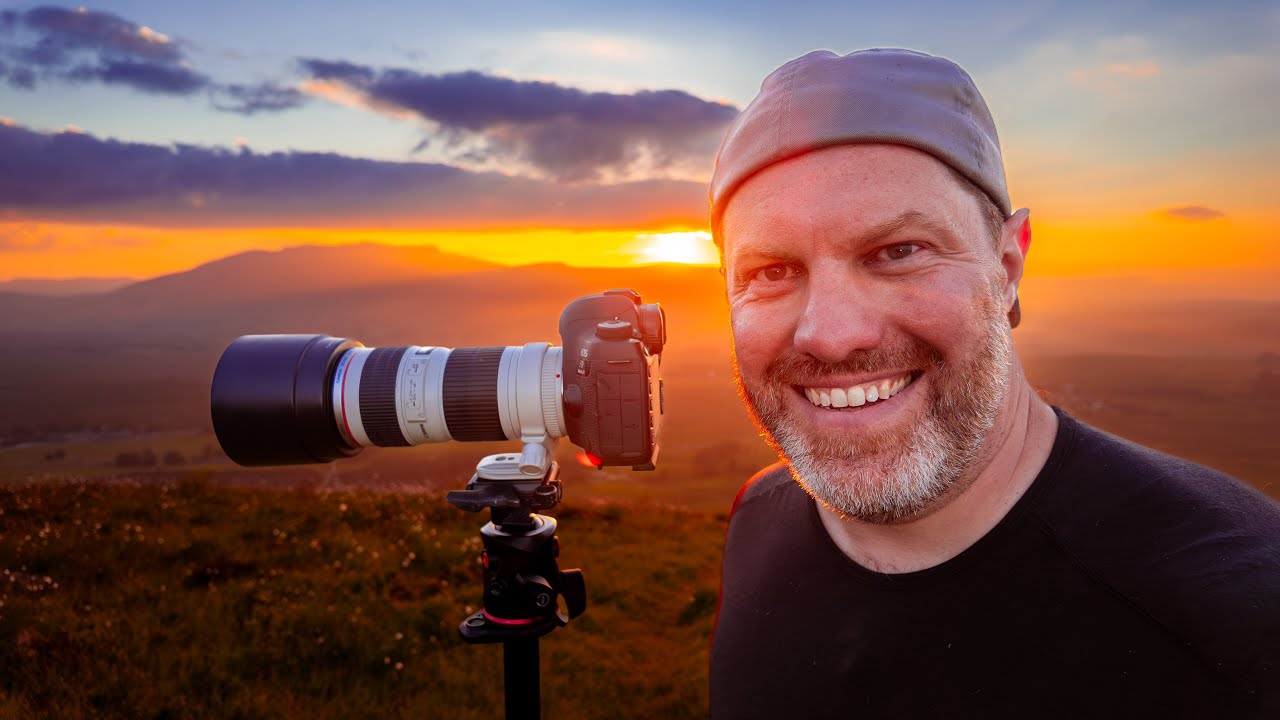
There’s a compositional problem I’ve wrestled with for years, and I suspect you have too. You find a patch of wildflowers or grasses right in front of a mountain range. The scene looks extraordinary to your eye. You put a wide angle on, get low, fill the foreground with the flowers, and the mountains shrink to a thin, forgettable sliver on the horizon. You try moving back to give the mountains more presence, and suddenly the flowers are specks. The scene that stopped you in your tracks becomes impossible to render faithfully. It’s one of the more quietly maddening gaps between what we see and what the camera records.
I’ve been thinking about this problem differently since watching a recent tutorial from First Man Photography, where the creator documents a summer evening hike across what looks like moorland in the UK. Watch the full tutorial on YouTube. He stumbles into exactly this scenario with a cluster of cotton grass set against distant peaks, and his solution is clean, practical, and immediately transferable. What follows is my breakdown of his approach, with some notes from my own time working this technique in the high desert and mountains of central Oregon.
The core move is telephoto compression. A long lens, typically 70-200mm or longer, collapses the apparent distance between foreground and background. Elements that are physically far apart appear stacked and close together in the frame. For landscape photographers who have mostly lived on the wide end, this reframe is genuinely liberating.
Step 1: Find a Tight, Defined Foreground Subject
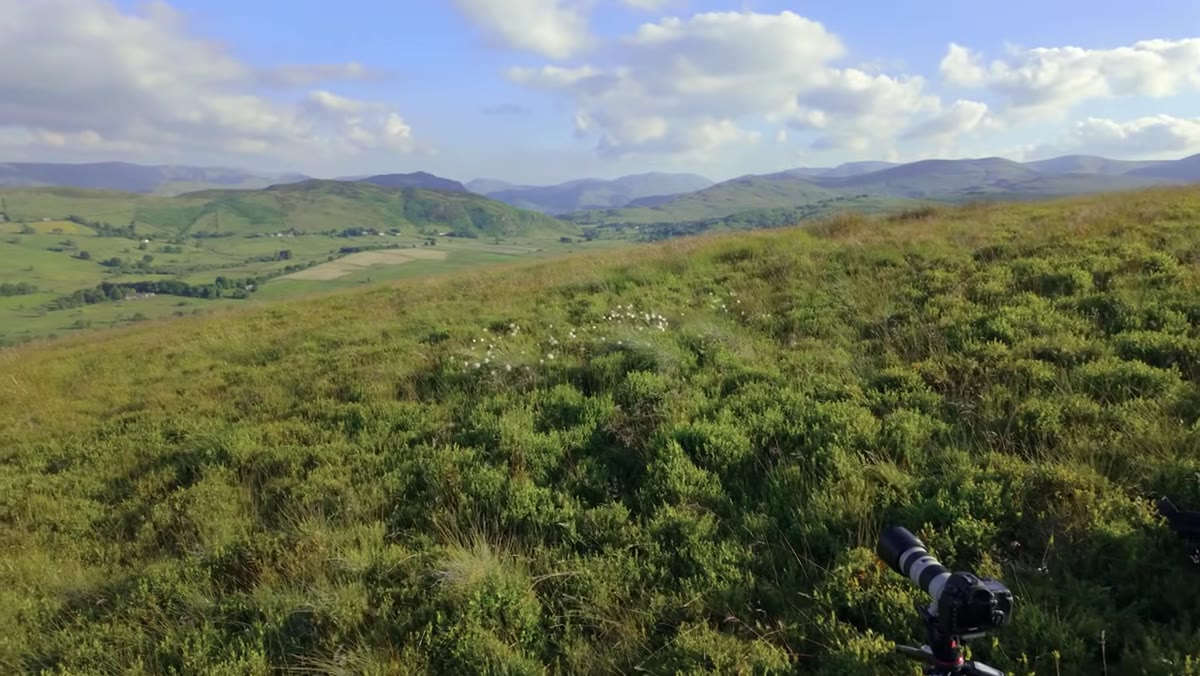
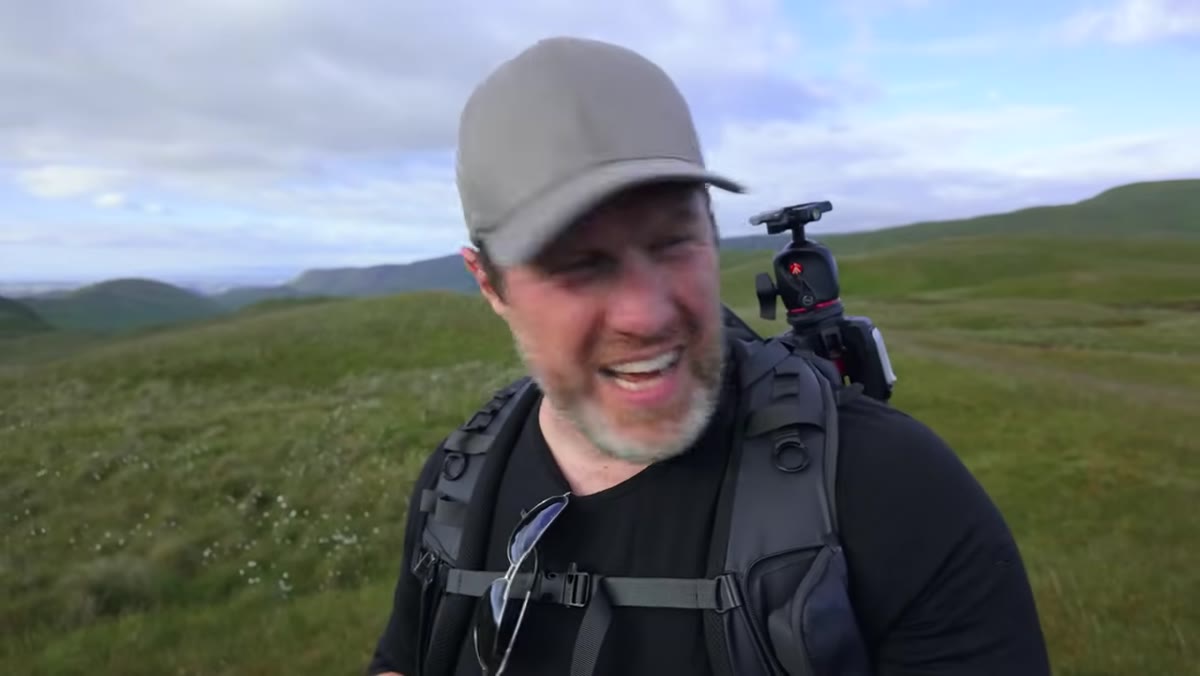 Photographer locating small cotton grass cluster on moorland
Don’t try to work with a sprawling carpet of foreground material when shooting with a telephoto. The compression that makes this technique powerful also means your field of view narrows dramatically. At 200mm, even a modest cluster of flowers or grasses can fill a substantial portion of the frame. Look for a concentrated grouping, a single interesting plant, a small patch of texture, rather than a wide expanse. The intimacy of a tight subject works with the lens, not against it.
Photographer locating small cotton grass cluster on moorland
Don’t try to work with a sprawling carpet of foreground material when shooting with a telephoto. The compression that makes this technique powerful also means your field of view narrows dramatically. At 200mm, even a modest cluster of flowers or grasses can fill a substantial portion of the frame. Look for a concentrated grouping, a single interesting plant, a small patch of texture, rather than a wide expanse. The intimacy of a tight subject works with the lens, not against it.
This is a mental shift if you’re used to wide angle landscape work. You’re no longer trying to lead the viewer from their feet to the horizon. You’re presenting two elements, near and far, as though they occupy the same plane.
Step 2: Set Your Focal Length Long and Get Low
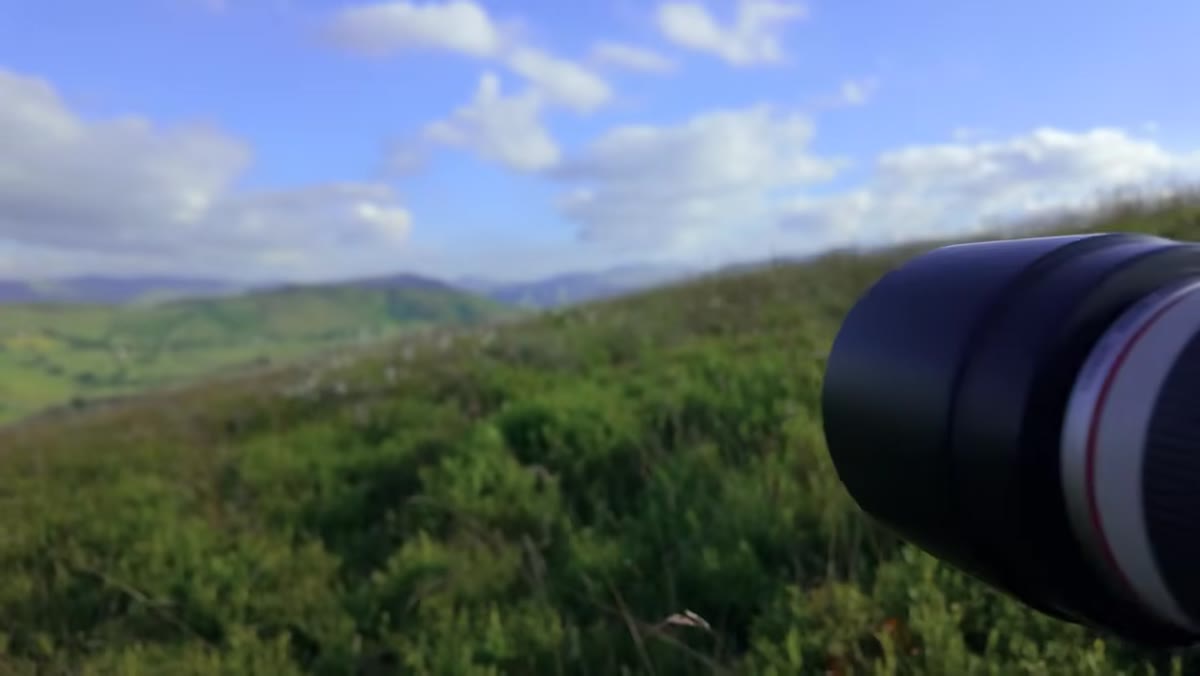 Camera on tripod low to ground aimed at cotton grass and mountains
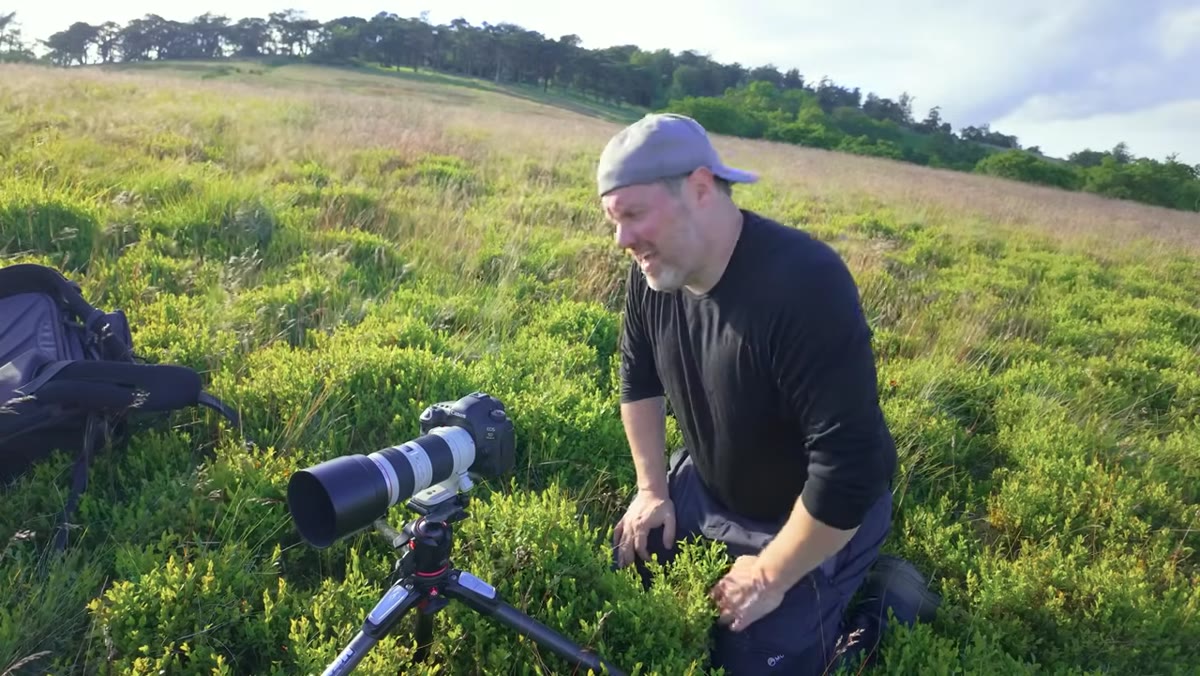
Once you’ve identified your foreground subject, zoom to the longer end of your range, 150-200mm is a good starting point, and get your camera low. Very low. Close to ground level if you can manage it. The low angle does two things simultaneously. It gives the foreground subject visual weight and prominence within the frame, and it helps separate the subject from the ground behind it, letting the distant mountains rise cleanly in the background.
Camera on tripod low to ground aimed at cotton grass and mountains
Once you’ve identified your foreground subject, zoom to the longer end of your range, 150-200mm is a good starting point, and get your camera low. Very low. Close to ground level if you can manage it. The low angle does two things simultaneously. It gives the foreground subject visual weight and prominence within the frame, and it helps separate the subject from the ground behind it, letting the distant mountains rise cleanly in the background.
Getting this low can be awkward. A ball head that lets you angle the camera sharply downward, or simply removing the center column and spreading your tripod legs wide, makes this more manageable. Some situations call for lying flat. It’s not elegant, but the images justify it.
Step 3: Position the Horizon Near the Upper Third
 Viewfinder composition showing horizon above rule of thirds line
With a long lens and a low camera position, you have real control over where the horizon sits. In this tutorial, the horizon lands just above the upper rule-of-thirds line, which keeps the foreground subject dominant while still giving the mountain background enough presence to read clearly. The background is softened and slightly overexposed from the bright sky, but that’s acceptable here because the mountain silhouette still communicates what it is.
Viewfinder composition showing horizon above rule of thirds line
With a long lens and a low camera position, you have real control over where the horizon sits. In this tutorial, the horizon lands just above the upper rule-of-thirds line, which keeps the foreground subject dominant while still giving the mountain background enough presence to read clearly. The background is softened and slightly overexposed from the bright sky, but that’s acceptable here because the mountain silhouette still communicates what it is.
Experiment with horizon placement as you compose. Dropping it lower compresses the sky out of the frame entirely and puts more weight on the relationship between subject and mountain. Raising it introduces more sky, which can work beautifully with dramatic cloud or color, but risks making the foreground feel crowded at the bottom.
Step 4: Choose Aperture for Selective, Not Total, Blur
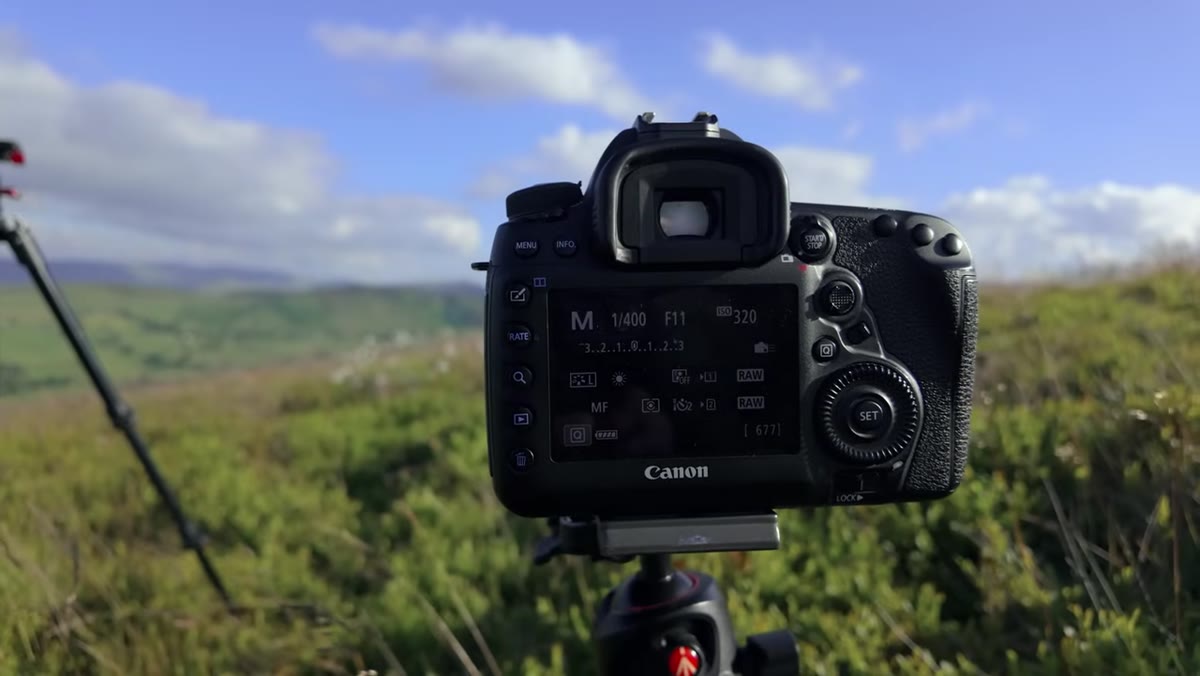
 Camera settings showing f11 aperture and 1/400 shutter speed
This is where most beginners get the telephoto landscape wrong. The instinct is to open wide, f/2.8 or f/4, chase maximum background blur, and render the mountains as a smooth wash of color. That can work, but you lose all the information that makes the background meaningful. In this tutorial, f/11 is chosen deliberately. At 200mm, f/11 still produces a noticeably blurred background, but enough detail survives that the viewer reads “mountains” rather than “green-blue blur.”
Camera settings showing f11 aperture and 1/400 shutter speed
This is where most beginners get the telephoto landscape wrong. The instinct is to open wide, f/2.8 or f/4, chase maximum background blur, and render the mountains as a smooth wash of color. That can work, but you lose all the information that makes the background meaningful. In this tutorial, f/11 is chosen deliberately. At 200mm, f/11 still produces a noticeably blurred background, but enough detail survives that the viewer reads “mountains” rather than “green-blue blur.”
Think of it as selective softening rather than total obliteration. You want the background to feel atmospheric and recessive, not absent. Test your setup by chimping the back of the camera at different apertures before committing to a sequence of frames.
Step 5: Set Shutter Speed to Freeze Moving Foreground Elements
 Windy conditions causing cotton grass movement in foreground
Wind is the enemy of foreground sharpness when shooting close subjects with a telephoto. Grasses, flowers, and seed heads move constantly, and any shutter speed below 1/400 of a second is likely to introduce blur in the subject, which ruins the shot. In the tutorial, 1/400 to 1/500 of a second is used as the baseline, with ISO lifted to 320 to compensate for the narrowed aperture and faster shutter.
Windy conditions causing cotton grass movement in foreground
Wind is the enemy of foreground sharpness when shooting close subjects with a telephoto. Grasses, flowers, and seed heads move constantly, and any shutter speed below 1/400 of a second is likely to introduce blur in the subject, which ruins the shot. In the tutorial, 1/400 to 1/500 of a second is used as the baseline, with ISO lifted to 320 to compensate for the narrowed aperture and faster shutter.
Don’t fight this adjustment. ISO 320 or even 800 on any modern sensor will give you a clean image. The grain is far less damaging to a final print than a softened, blurred foreground subject. Shoot in bursts when the wind gusts, and pick the frame where the plant is most still and the composition reads cleanest.
Step 6: Shoot Multiple Frames and Edit Compositionally
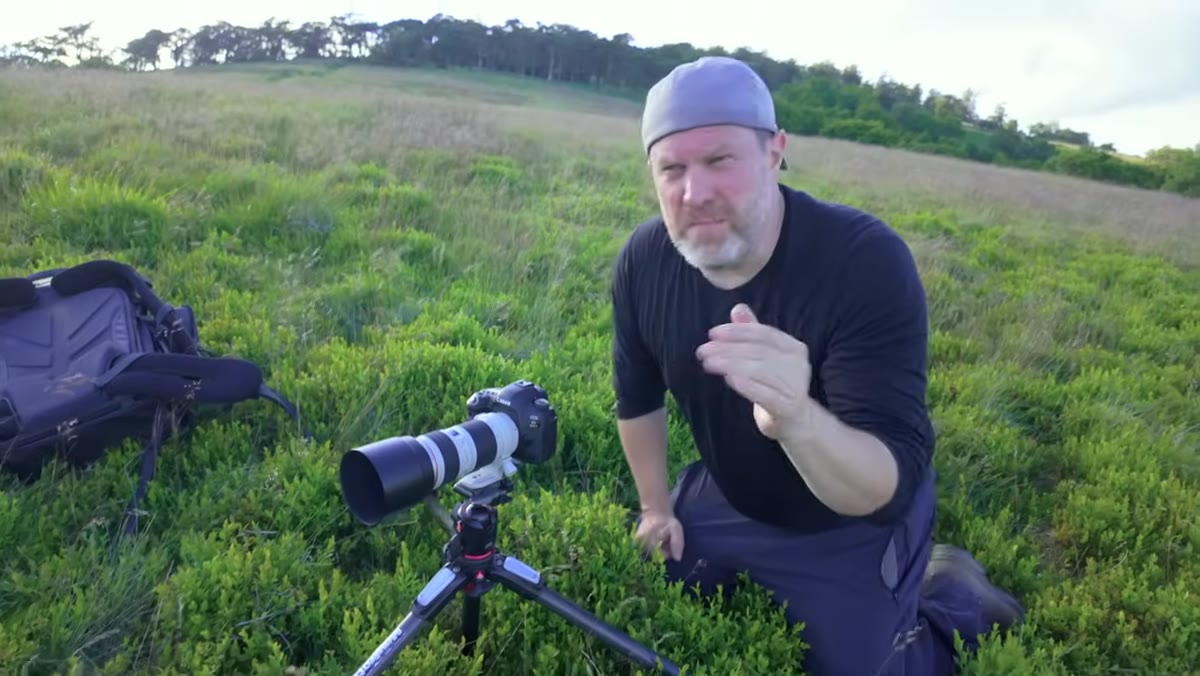
 Photographer firing multiple frames while cotton grass sways
With a moving subject in variable light, your best frame is rarely the first one you fire. Shoot generously across a range of plant positions, light quality, and slight camera adjustments. In post, the selection process becomes part of the compositional work. You’re choosing which moment of plant movement best complements the static background, and which slight shift in framing tightens the relationship between foreground and distance.
Photographer firing multiple frames while cotton grass sways
With a moving subject in variable light, your best frame is rarely the first one you fire. Shoot generously across a range of plant positions, light quality, and slight camera adjustments. In post, the selection process becomes part of the compositional work. You’re choosing which moment of plant movement best complements the static background, and which slight shift in framing tightens the relationship between foreground and distance.
I usually cull aggressively down to three or four candidates, then let them sit overnight before making a final call. Distance from the shoot clears the attachment to the effort of getting there and lets the actual image quality speak.
A Note on Light Timing with Telephoto Foregrounds
Late afternoon and early evening light transforms this technique. The low angle of the sun, combined with a telephoto’s narrowed field of view, can pick out a single lit foreground subject against a shadowed or blown-out background in a way that feels almost studio-controlled. I’ve found that the window between one hour before sunset and the actual moment the sun touches the horizon is consistently the most productive for this kind of work. The light is directional, warm, and low enough to skim the tops of grasses and flowers in a way that midday overhead light simply cannot replicate.
My mentor once told me the mountain doesn’t care about your schedule. It doesn’t. But the light absolutely has a schedule, and this technique rewards photographers who are already in position when that narrow window opens.
The single most transferable lesson from this tutorial is that telephoto lenses are not just for wildlife photographers. When you’re standing in front of a scene where your foreground and background refuse to coexist in the same frame, reach for the long end before you give up on the shot. The compression effect is not a trick. It’s a faithful rendering of how those elements can relate to each other, rendered at a scale the eye actually appreciates.
Watch the full tutorial on YouTube to see the technique demonstrated in the field, including how the light changes across the shoot and how the second location with the dead tree develops.
Comments
Leave a Comment