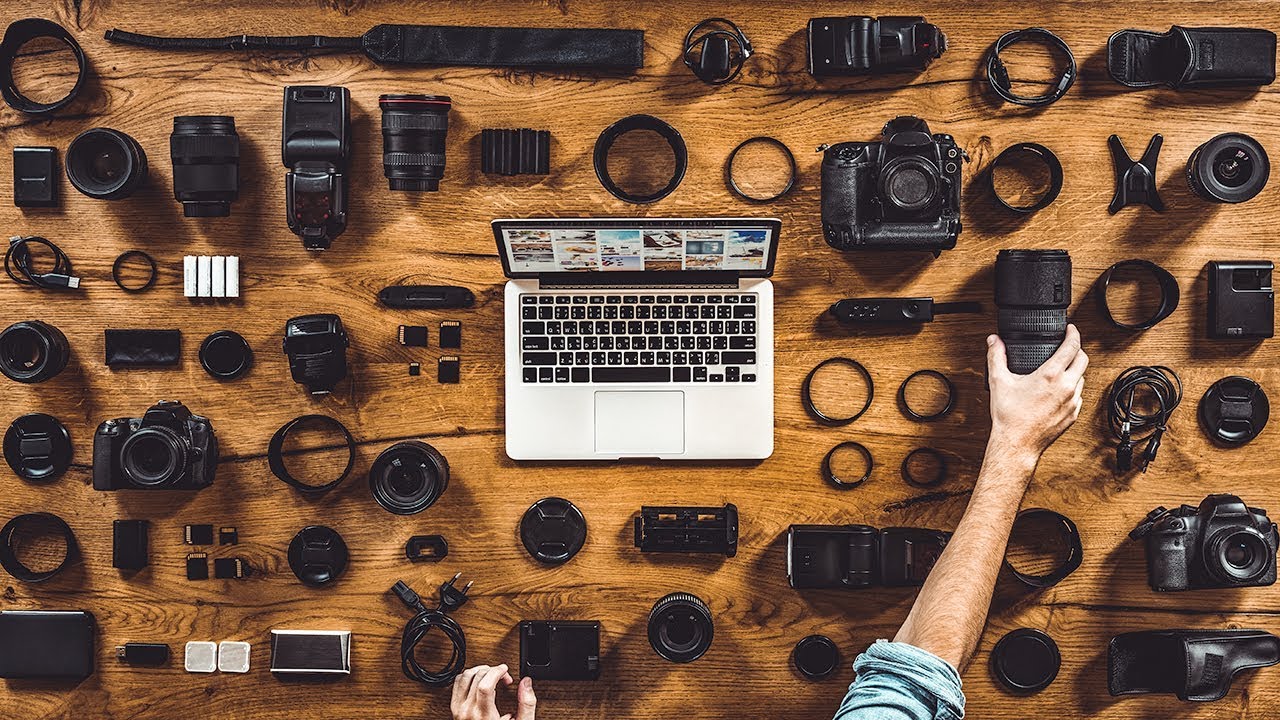
Every few years I do something that humbles me. I dump my entire camera bag onto the kitchen table and count what’s actually in it. Last time I did this, I hit thirty-one items before I stopped counting. Thirty-one things I’d carried up ridgelines, into rivers, and across desert flats. Maybe twelve of them had been touched on the last three trips combined.
That moment of reckoning is exactly what prompted Mark Denney to make this tutorial, and it’s why I keep coming back to it. He was unpacking after a weekend shoot and had the same unsettling realization: most of what he’d hauled wasn’t doing him any good. What came out of that reflection was a focused list of ten gear essentials stripped of everything optional. Watch the full tutorial on YouTube if you want to see him walk through each item, but below I’ve laid out the key steps in sequence with my own two decades of field experience layered in.
This kind of list matters more than it might seem. When you’re leaving the trailhead at 4am, every extra pound is a decision you made the night before. Getting intentional about your kit isn’t about being minimalist for its own sake. It’s about carrying what earns its weight and leaving behind what just gives you options you’ll never use.
Step 1: Start With a Camera That Shoots RAW
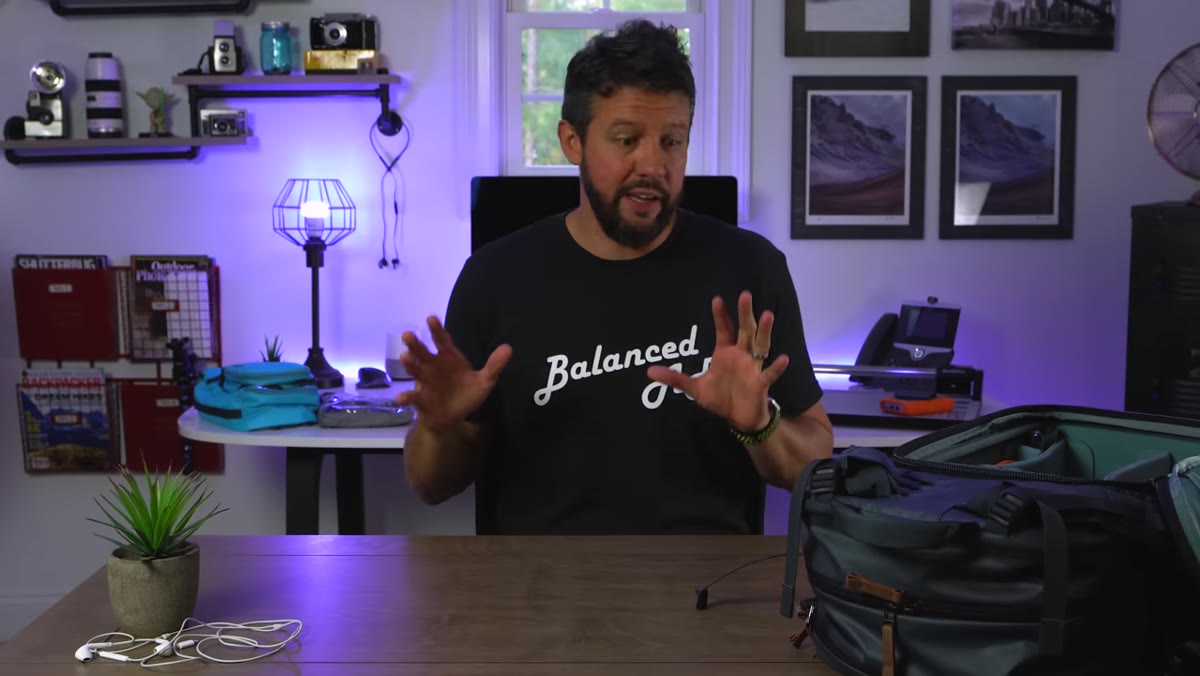 Mark Denney speaking at his desk about camera essentials
The camera body conversation tends to derail beginners faster than anything else. Mark cuts through it cleanly: the single non-negotiable feature is RAW capability. Not sensor size, not megapixel count, not brand. RAW. A 20-megapixel crop sensor body bought secondhand will take stunning landscape images. A 45-megapixel flagship shooting JPEG will limit your editing before you’ve even started.
Mark Denney speaking at his desk about camera essentials
The camera body conversation tends to derail beginners faster than anything else. Mark cuts through it cleanly: the single non-negotiable feature is RAW capability. Not sensor size, not megapixel count, not brand. RAW. A 20-megapixel crop sensor body bought secondhand will take stunning landscape images. A 45-megapixel flagship shooting JPEG will limit your editing before you’ve even started.
I shot on a mid-range APS-C body for the first four years of my career and sold prints from it. If you’re just getting into this genre, buy used, shoot RAW, and put the money you save toward glass or travel. The format you capture in shapes what’s possible in post more than almost any other choice you’ll make at the point of purchase.
Step 2: Invest in a Sturdy, Lightweight Tripod
 Tripod on location during a landscape shoot at low light
Landscape photography lives at the edges of the day. Sunrise, sunset, blue hour, the hour before a storm breaks. These are low-light moments, and the reflex to crank ISO is one you want to resist. A solid tripod lets you stretch the shutter instead, keeping your ISO low and your image clean.
Tripod on location during a landscape shoot at low light
Landscape photography lives at the edges of the day. Sunrise, sunset, blue hour, the hour before a storm breaks. These are low-light moments, and the reflex to crank ISO is one you want to resist. A solid tripod lets you stretch the shutter instead, keeping your ISO low and your image clean.
Mark emphasizes two qualities that I’d underline from my own experience: height and weight. Get a tripod tall enough that you shoot standing upright. Hunching over a short tripod for an hour on a rocky beach will end your enthusiasm faster than bad weather. Carbon fiber costs more than aluminum, but if you’re putting miles on your legs to reach locations, the weight difference adds up fast. I hiked fourteen miles round-trip to a high alpine lake last August. I was grateful for every ounce I hadn’t packed.
Step 3: Pair It With a Reliable Ball Head
 Ball head mounted on tripod being adjusted quickly
A tripod without a good ball head is like a sturdy ladder with a broken rung. Mark’s point here is about confidence under pressure. The best light in landscape photography is almost always brief. Sometimes you get thirty minutes. Sometimes you get ninety seconds before the color drains out of the sky. You cannot be fumbling with a stiff or imprecise head during that window.
Ball head mounted on tripod being adjusted quickly
A tripod without a good ball head is like a sturdy ladder with a broken rung. Mark’s point here is about confidence under pressure. The best light in landscape photography is almost always brief. Sometimes you get thirty minutes. Sometimes you get ninety seconds before the color drains out of the sky. You cannot be fumbling with a stiff or imprecise head during that window.
The ball head you choose should feel intuitive when you’re wearing gloves, working in the dark, and moving fast between compositions. Drag tension, locking friction, the smoothness of the panning base – these things matter in the field in ways they never will on a store shelf. Find one that becomes invisible in practice, meaning you stop thinking about it and just shoot.
Step 4: Use a Remote Shutter Release
 Remote shutter release being used during a long exposure
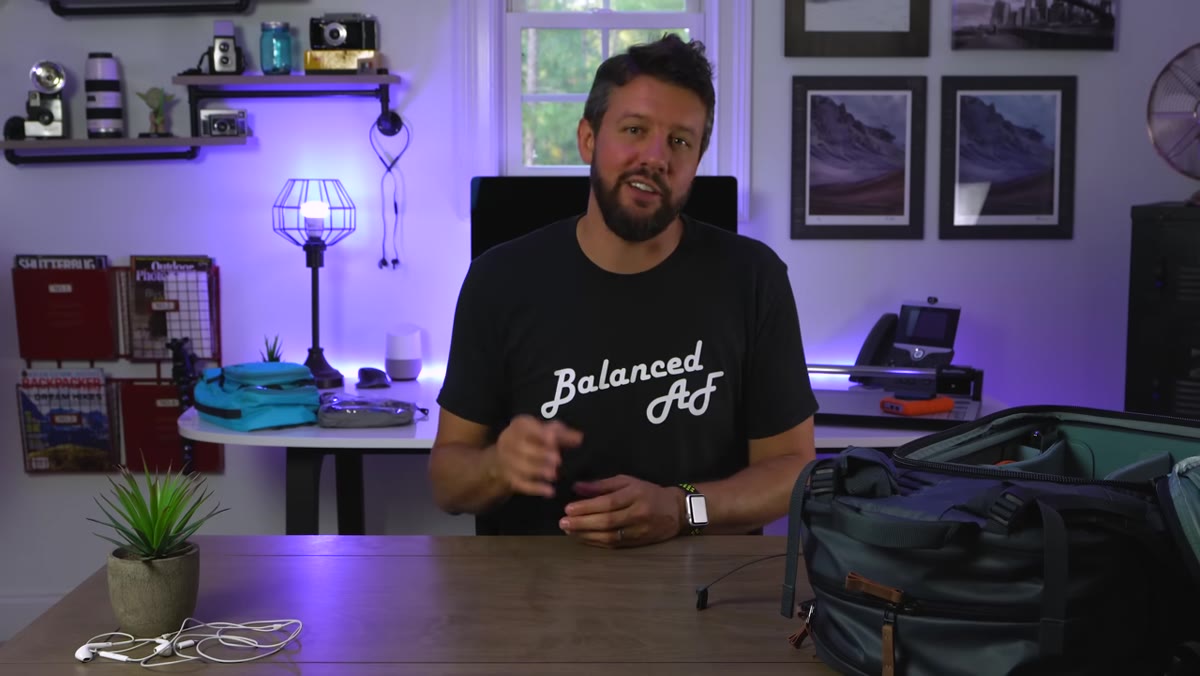
Camera shake doesn’t just come from wind or an unsteady hand on the shutter button. Even the mirror slap inside a DSLR or the slight vibration from pressing the shutter manually can soften a long-exposure shot in ways you won’t see until you’re back at your desk at 100% zoom. A wired or wireless remote shutter release removes your physical contact from the equation entirely.
Remote shutter release being used during a long exposure
Camera shake doesn’t just come from wind or an unsteady hand on the shutter button. Even the mirror slap inside a DSLR or the slight vibration from pressing the shutter manually can soften a long-exposure shot in ways you won’t see until you’re back at your desk at 100% zoom. A wired or wireless remote shutter release removes your physical contact from the equation entirely.
For exposures longer than a second, I won’t fire without one. At 4am when the light is just beginning to change, the last thing I want is to ruin a technically perfect moment with a soft image I could have prevented for the cost of a twenty-dollar cable. Some cameras have an intervalometer built in, which doubles as a remote. That’s worth knowing before you buy a separate unit.
Step 5: Carry a Set of ND and Polarizing Filters
 Neutral density filter being attached to a lens in the field
Filters are the piece of gear that separate landscape images that look photographed from ones that feel experienced. A circular polarizer cuts glare off water and deepens blue skies in a way that cannot be fully replicated in post. A neutral density filter lets you slow your shutter down in broad daylight, turning moving water into silk or stretching a wave into a long soft sweep across rocks.
Neutral density filter being attached to a lens in the field
Filters are the piece of gear that separate landscape images that look photographed from ones that feel experienced. A circular polarizer cuts glare off water and deepens blue skies in a way that cannot be fully replicated in post. A neutral density filter lets you slow your shutter down in broad daylight, turning moving water into silk or stretching a wave into a long soft sweep across rocks.
Mark treats these as essentials, not accessories, and I agree completely. I use a 6-stop ND for most daylight long exposures and a 10-stop for situations where I want to push shutter speeds to thirty seconds or longer in bright conditions. Start with a solid polarizer and one ND filter in the 6-to-10 stop range. That combination will cover the majority of situations you’ll encounter in the field.
Step 6: Pack Extra Batteries and Memory Cards
 Extra batteries and memory cards laid out on a table
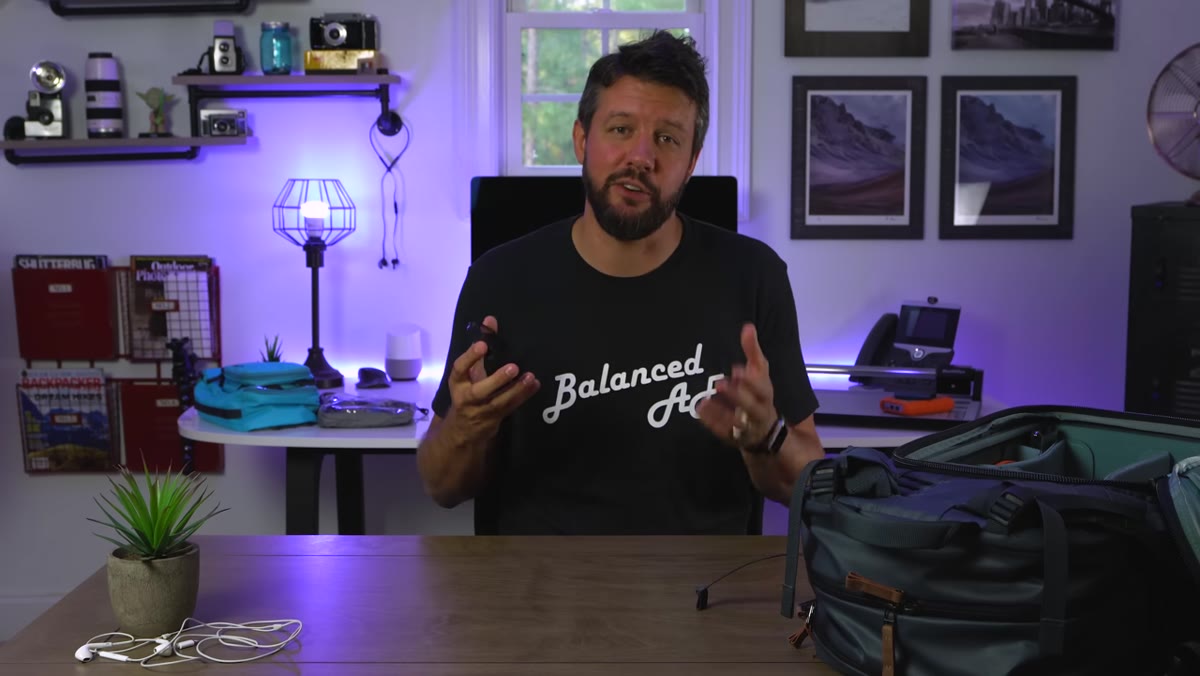
Cold mornings drain batteries faster than anything listed in any camera manual. I’ve had batteries report eighty percent charge in a warm car and hit critical low within forty-five minutes of standing in thirty-degree air. Bring more than you think you need. The same logic applies to memory cards. RAW files are large. A long morning shoot can fill a card faster than expected, and running out of space when the light is perfect is the kind of mistake you make once.
Extra batteries and memory cards laid out on a table
Cold mornings drain batteries faster than anything listed in any camera manual. I’ve had batteries report eighty percent charge in a warm car and hit critical low within forty-five minutes of standing in thirty-degree air. Bring more than you think you need. The same logic applies to memory cards. RAW files are large. A long morning shoot can fill a card faster than expected, and running out of space when the light is perfect is the kind of mistake you make once.
I keep a minimum of two fully charged batteries and two formatted cards in my bag before every single shoot. It takes five minutes the night before and has saved me more times than I can count.
What Twenty Years in the Field Adds to This List
Mark’s list is clean and right. If I could add one thing from my own experience, it’s this: know your gear well enough that using it feels like muscle memory. Technique matters, but so does the mental quiet that comes from not having to think about your equipment while you’re standing in a beautiful place.
A mentor told me early on that the mountain doesn’t care about your schedule. The light changes when it changes, and the shot appears when it appears. The only thing you can control is whether you’re ready. That readiness is partly about what’s in your bag. But it’s mostly about having practiced with those tools until they disappear, leaving you free to just see.
The single most important takeaway from this tutorial is Mark’s point about RAW. Everything else on this list supports the image. RAW is what protects it. Build your kit around that capability and let everything else serve it.
Watch the full tutorial on YouTube to see Mark walk through all ten items with his own context and commentary. It’s worth the time, especially if you’re building your kit from scratch or stripping it back down to what matters.
Comments
Leave a Comment