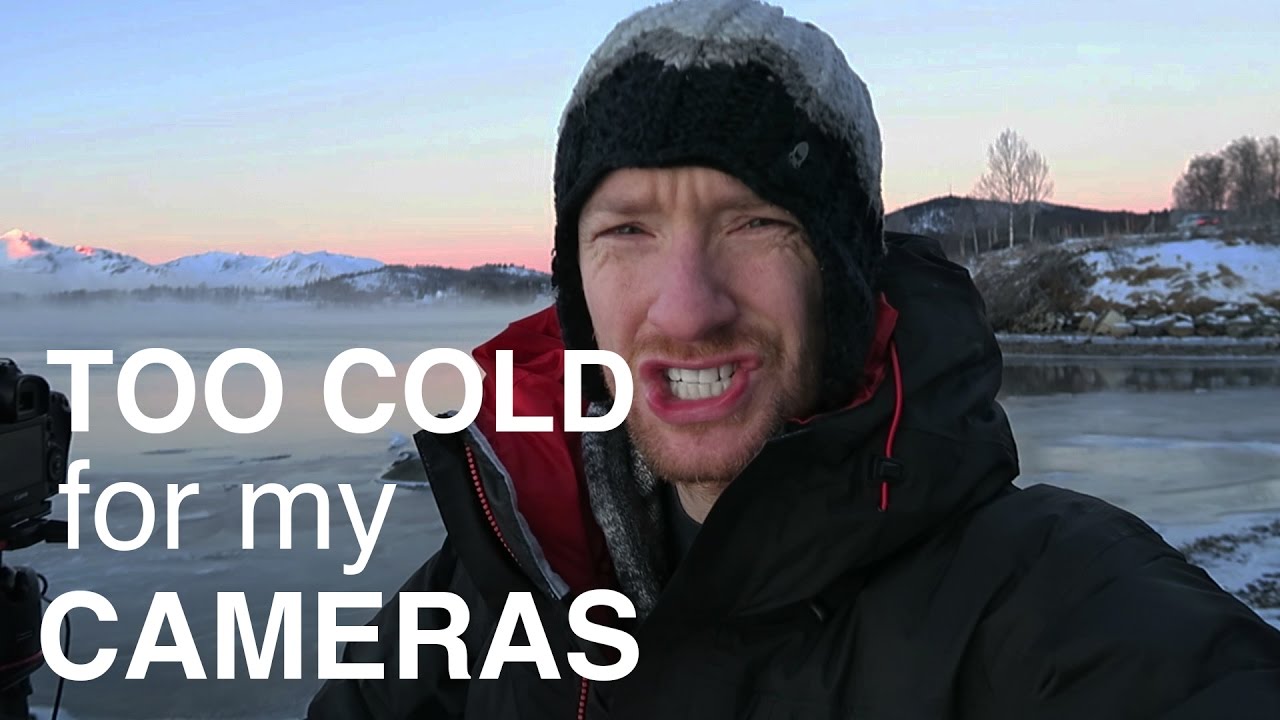
There’s a particular kind of disappointment that hits when you wake up before dawn and the sky is absolutely clear. No clouds, no drama, no atmosphere. I know it well. I’ve driven four hours to a location at 3am only to watch a perfectly boring sunrise unfold with nothing to work with. That’s the gamble. But what Thomas Heaton demonstrates in his Norwegian fjord tutorial is something I think about a lot: the shot isn’t always at the destination you planned. Sometimes it’s the thin ribbon of mist you spot out a car window half a kilometer before you were going to pull over. Watch the full tutorial on YouTube
In this Thomas Heaton tutorial, he’s shooting in Norway in brutally cold conditions, somewhere around minus ten to minus fifteen Celsius. Everything is dying battery-wise, checkout time has already passed at his hotel, and yet the images he’s pulling together are genuinely extraordinary. What I want to break down here isn’t just the filter technique, which is excellent and specific, but the entire decision-making chain that lets you work a location like this methodically even when conditions are extreme and time is short.
The core problem this video solves is one I run into constantly: how do you build a sequence of images from a single location as light changes, without just taking the same shot over and over with slightly different exposure values? Heaton moves from a polarizer-only foreground shot, to a compressed telephoto capture of rising mist, to a long-exposure six-stop ND, to a wide focus-stacked final composition. That progression is a repeatable workflow, not a lucky accident.
Step 1: Drive Past the Obvious and Look for Small Inlets
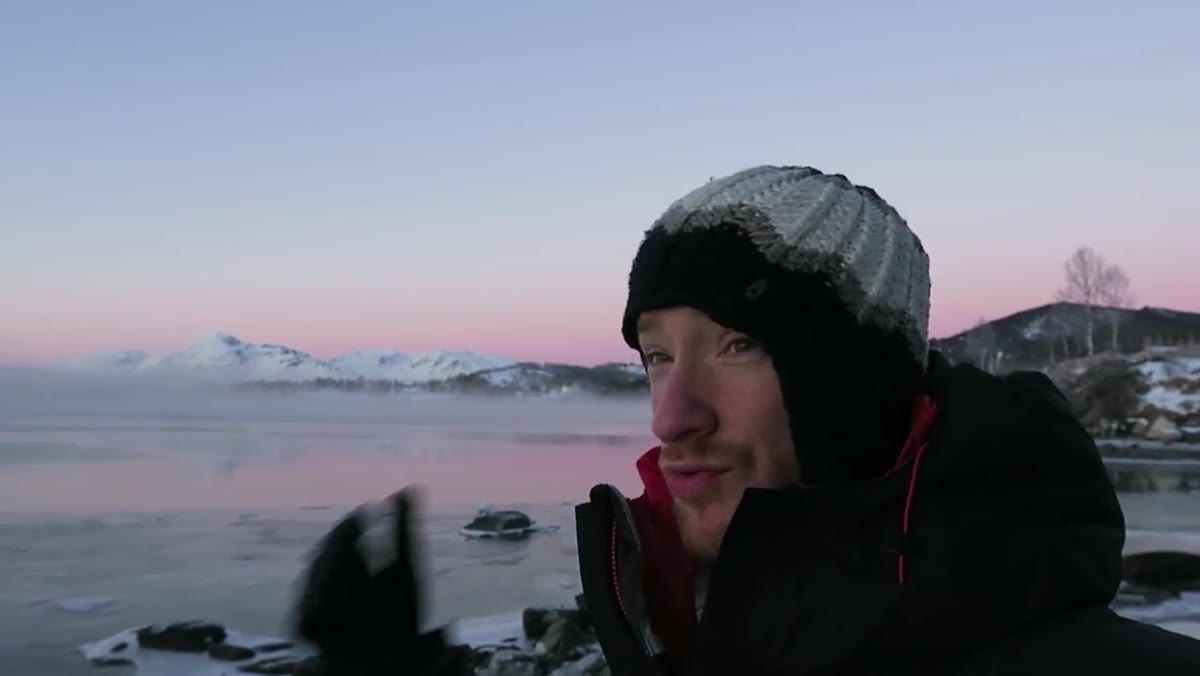 Thomas gesturing toward small rocky cove along fjord shoreline
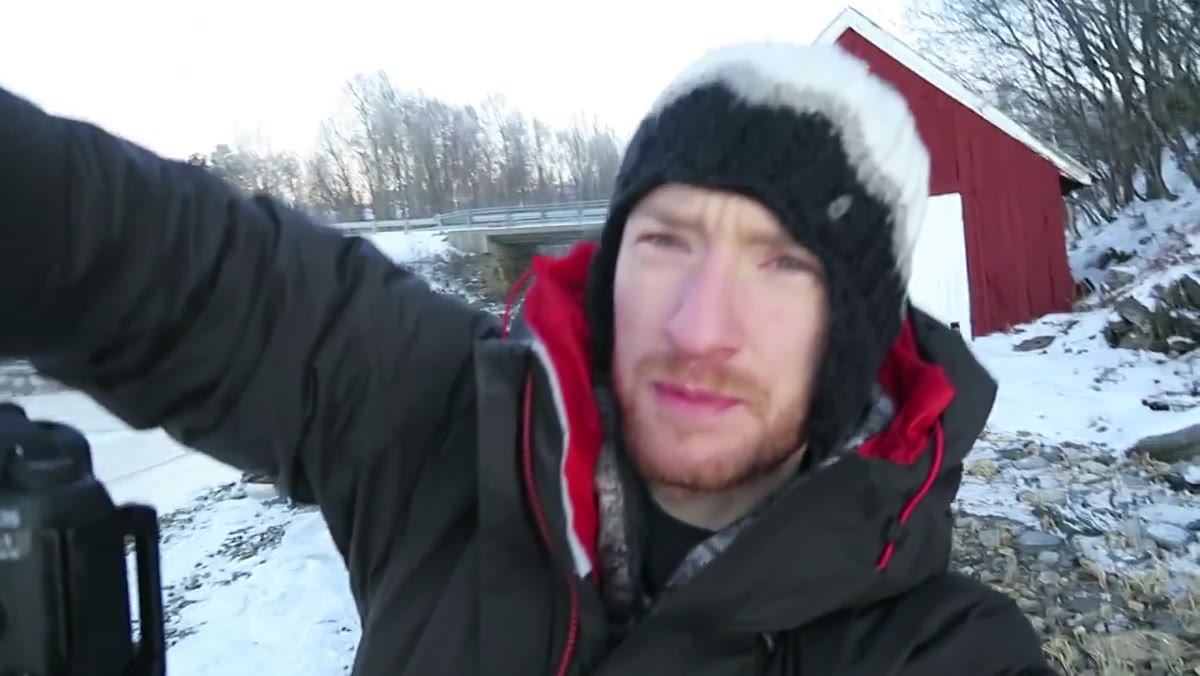
The instinct in a grand landscape like a Norwegian fjord is to find the widest, most dramatic viewpoint and plant your tripod there. Heaton pushes back on this directly. His approach is to drive slowly, kilometer by kilometer, watching for the small coves and inlets that break up an otherwise continuous shoreline. These tighter spaces give you intimate foreground elements, like icy rocks, pebble shores, and ice formations, that the wide panorama viewpoints simply don’t offer. If you’re shooting a similar large-scale landscape, build in thirty minutes of slow driving or walking before you commit to a spot. What you find in the margins is often better than what you find at the trailhead.
Thomas gesturing toward small rocky cove along fjord shoreline
The instinct in a grand landscape like a Norwegian fjord is to find the widest, most dramatic viewpoint and plant your tripod there. Heaton pushes back on this directly. His approach is to drive slowly, kilometer by kilometer, watching for the small coves and inlets that break up an otherwise continuous shoreline. These tighter spaces give you intimate foreground elements, like icy rocks, pebble shores, and ice formations, that the wide panorama viewpoints simply don’t offer. If you’re shooting a similar large-scale landscape, build in thirty minutes of slow driving or walking before you commit to a spot. What you find in the margins is often better than what you find at the trailhead.
Step 2: Start with a Polarizer and Read the Foreground First
 Camera mounted on tripod at rocky shoreline, polarizer attached
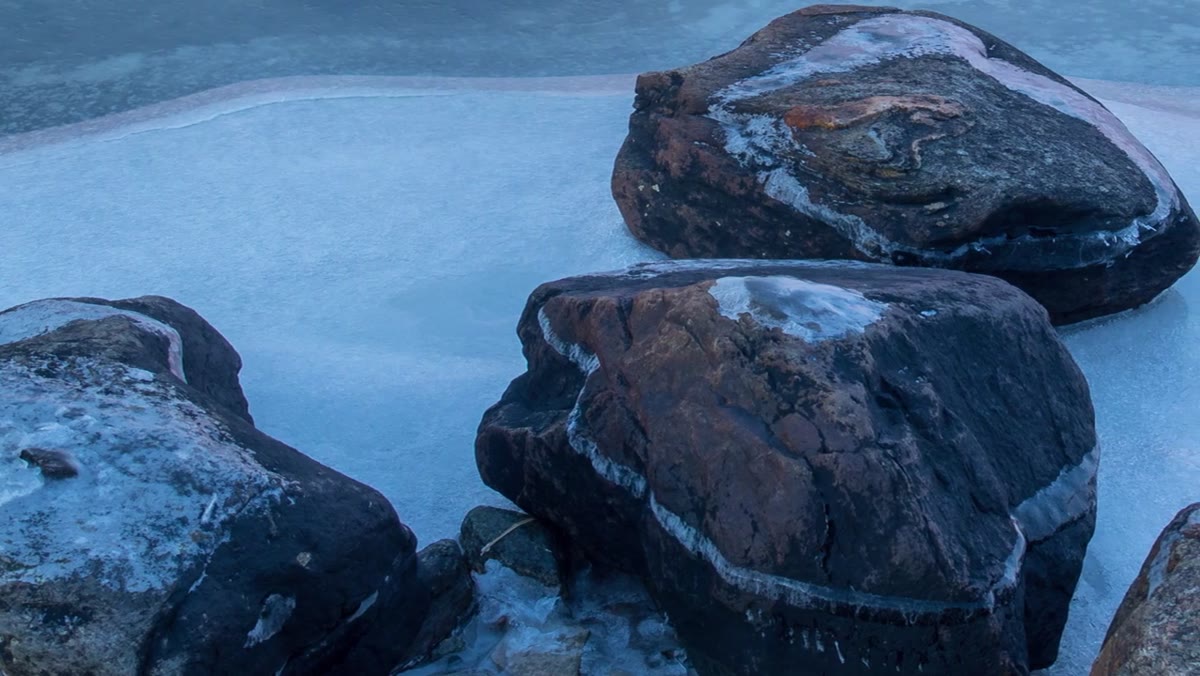
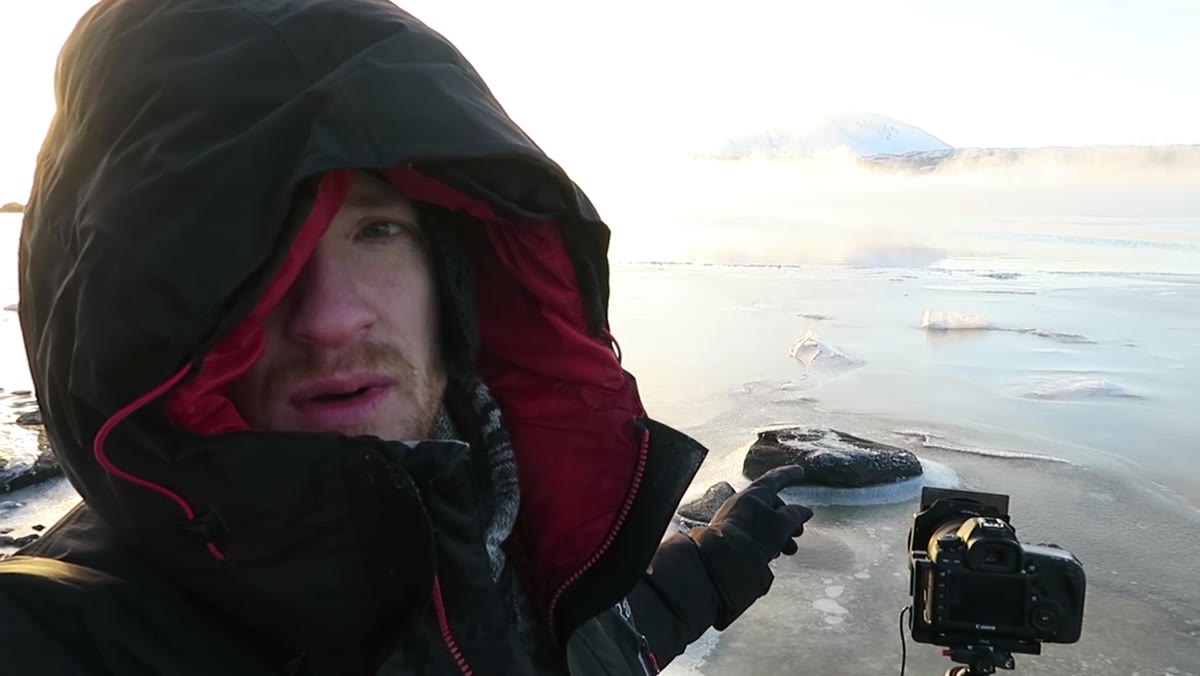
Before the sun breaks the horizon, Heaton identifies a foreground-to-background composition: a cluster of textured, ice-covered rocks leading the eye toward a mist-shrouded mountain. He’s using only a polarizer at this point. No ND, nothing fancy. The polarizer is doing two things here. It’s cutting glare off the wet rocks and ice so the texture reads clearly, and it’s giving him a modest light reduction that lets him balance the bright pre-sunrise sky against the darker foreground. In low, flat, pre-dawn light this is almost always my first filter choice too. Set your polarizer, rotate it until the surface reflections drop off without losing color in the sky, and shoot your baseline frame before you start adding glass.
Camera mounted on tripod at rocky shoreline, polarizer attached
Before the sun breaks the horizon, Heaton identifies a foreground-to-background composition: a cluster of textured, ice-covered rocks leading the eye toward a mist-shrouded mountain. He’s using only a polarizer at this point. No ND, nothing fancy. The polarizer is doing two things here. It’s cutting glare off the wet rocks and ice so the texture reads clearly, and it’s giving him a modest light reduction that lets him balance the bright pre-sunrise sky against the darker foreground. In low, flat, pre-dawn light this is almost always my first filter choice too. Set your polarizer, rotate it until the surface reflections drop off without losing color in the sky, and shoot your baseline frame before you start adding glass.
Step 3: React Immediately When the Scene Changes
 Mist rising rapidly to mirror the mountain peak shape
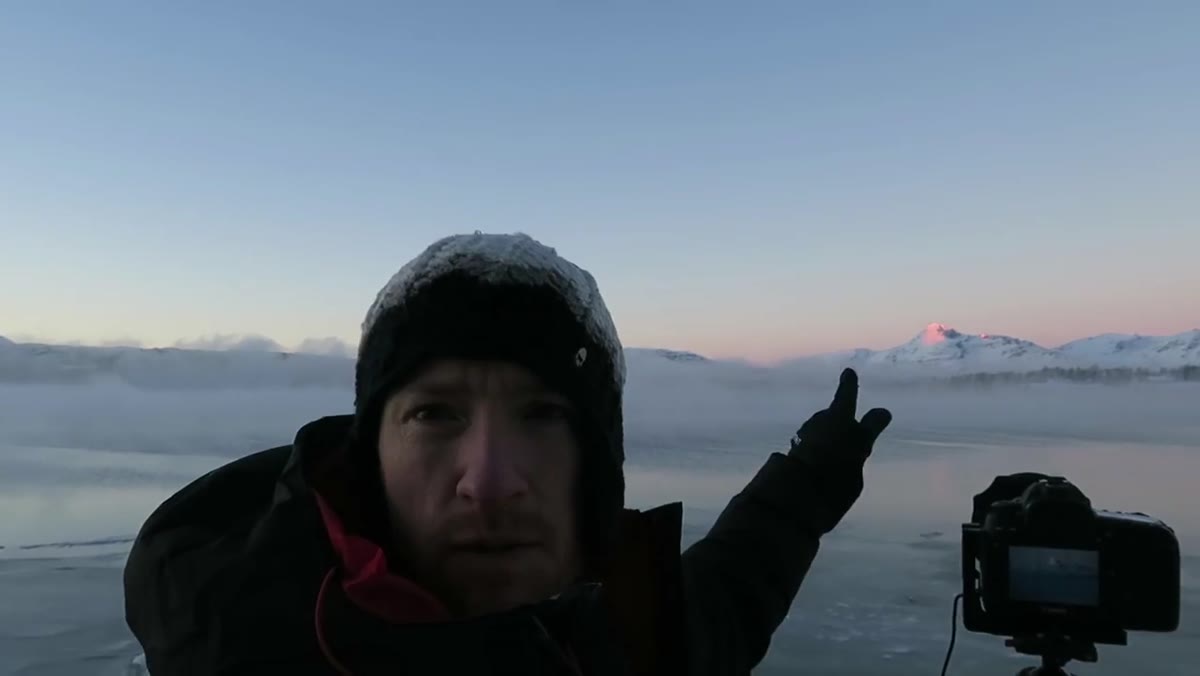
This is the step that separates photographers who come home with one good image from photographers who come home with five. When the sun begins to crest the horizon, Heaton switches to a 70-200mm lens and moves to 135mm. The reason is specific: the low mist over the fjord has suddenly risen and begun to mirror the shape of the mountain behind it, creating an eerie echo effect between landform and vapor. That’s a telephoto moment, not a wide-angle one. His settings here are f/10 with a polarizer still attached. The tight compression collapses the distance between the mist layer and the peak and makes the symmetry visible in a way a wider focal length would lose entirely. When the light shifts or the atmosphere moves, stop what you’re doing and react. You can return to your original composition. You cannot return to that moment.
Mist rising rapidly to mirror the mountain peak shape
This is the step that separates photographers who come home with one good image from photographers who come home with five. When the sun begins to crest the horizon, Heaton switches to a 70-200mm lens and moves to 135mm. The reason is specific: the low mist over the fjord has suddenly risen and begun to mirror the shape of the mountain behind it, creating an eerie echo effect between landform and vapor. That’s a telephoto moment, not a wide-angle one. His settings here are f/10 with a polarizer still attached. The tight compression collapses the distance between the mist layer and the peak and makes the symmetry visible in a way a wider focal length would lose entirely. When the light shifts or the atmosphere moves, stop what you’re doing and react. You can return to your original composition. You cannot return to that moment.
Step 4: Add a Six-Stop ND for Motion and Mood
 Attaching six-stop ND filter to lens in extreme cold conditions
Once Heaton has his telephoto frame, he stacks a six-stop ND filter onto the polarizer to go after a longer exposure. His target is around twenty seconds. At that shutter speed, moving mist turns from a defined cloud shape into something much softer and more atmospheric, almost watercolor-like. The word he reaches for is “ethereal,” and it’s accurate. The key technical note here is that at minus ten or colder, your filter glass can fog or even develop condensation on the inside surface if you’ve been breathing near it. Heaton doesn’t dwell on this but the implication is clear: work fast, keep the filter in a pocket against your body between uses, and don’t exhale toward the front element. A twenty-second exposure at f/10 to f/16 with a six-stop ND in low early light is a solid starting point. Bracket your exposures by five to ten seconds on either side of your target.
Attaching six-stop ND filter to lens in extreme cold conditions
Once Heaton has his telephoto frame, he stacks a six-stop ND filter onto the polarizer to go after a longer exposure. His target is around twenty seconds. At that shutter speed, moving mist turns from a defined cloud shape into something much softer and more atmospheric, almost watercolor-like. The word he reaches for is “ethereal,” and it’s accurate. The key technical note here is that at minus ten or colder, your filter glass can fog or even develop condensation on the inside surface if you’ve been breathing near it. Heaton doesn’t dwell on this but the implication is clear: work fast, keep the filter in a pocket against your body between uses, and don’t exhale toward the front element. A twenty-second exposure at f/10 to f/16 with a six-stop ND in low early light is a solid starting point. Bracket your exposures by five to ten seconds on either side of your target.
Step 5: Shift to a Wide Composition with Focus Stacking for the Final Image
 Wide angle composition with icy foreground rock and mountain background
By this point the sun is up and the light, rather than blowing out, has been softened and diffused by cloud cover. Heaton notes this directly: side lighting diffused through cloud gives you a much more balanced and manageable image than direct harsh sun. He moves to a wide composition anchored by a large foreground ice formation that leads the eye toward the mist and mountain behind. His settings are f/8 at thirty seconds. Crucially, he’s doing a focus stack, focusing first on the foreground rock and then refocusing on the background mountain, to ensure the image is sharp front to back. This is a technique I use on almost every wide foreground shot in low light. At f/8 you get excellent lens sharpness without diffraction softness, and two frames properly blended in post will beat any single f/22 exposure for overall clarity.
Wide angle composition with icy foreground rock and mountain background
By this point the sun is up and the light, rather than blowing out, has been softened and diffused by cloud cover. Heaton notes this directly: side lighting diffused through cloud gives you a much more balanced and manageable image than direct harsh sun. He moves to a wide composition anchored by a large foreground ice formation that leads the eye toward the mist and mountain behind. His settings are f/8 at thirty seconds. Crucially, he’s doing a focus stack, focusing first on the foreground rock and then refocusing on the background mountain, to ensure the image is sharp front to back. This is a technique I use on almost every wide foreground shot in low light. At f/8 you get excellent lens sharpness without diffraction softness, and two frames properly blended in post will beat any single f/22 exposure for overall clarity.
What I’d Add from My Own Experience
Cold weather photography is as much a logistics problem as a creative one. I’ve stood in icy conditions long enough to know that your battery situation is your real limiting factor, not your vision. Heaton’s drone, phone, and spare camera all died on this shoot. I now carry every battery I own tucked against my body in an inner vest pocket, only swapping them into the camera the moment I need them. Lithium batteries in particular shed capacity alarmingly fast below freezing but recover almost fully when warmed back up. Rotate them constantly. The image you couldn’t take because your shutter died at the wrong moment is a specific kind of painful.
The single most transferable lesson from this tutorial is the idea of building a compositional sequence as light and atmosphere evolve, rather than locking into one frame and waiting for it to be perfect. Heaton shoots a polarizer foreground, a telephoto mist compression, a six-stop long exposure, and a wide focus-stacked finale, all from the same general location, all within a single golden hour. That discipline of reading what the scene is offering at each stage, and matching your filter and focal length choice to that moment, is what separates a productive morning from a one-shot outing. Watch the full tutorial on YouTube and pay close attention to the moments when Heaton stops mid-sentence and redirects. That instinct to pivot is the real lesson.
Comments
Leave a Comment