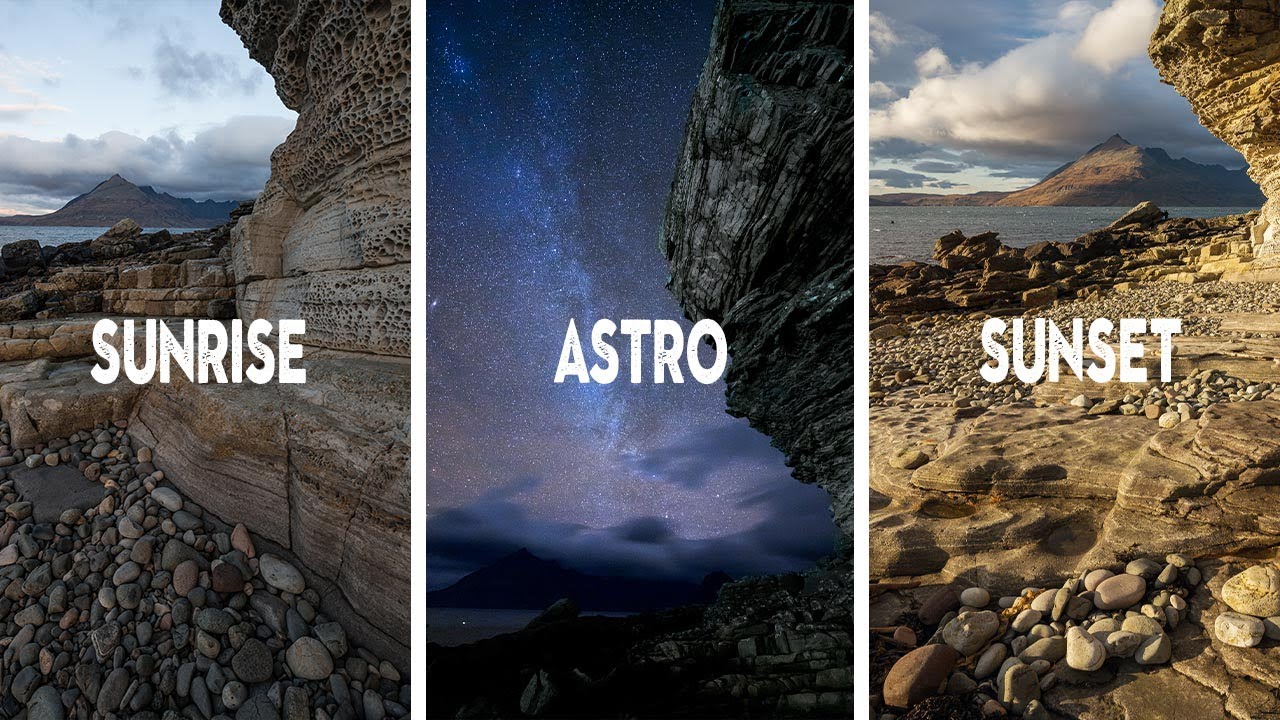
There’s a version of a photography trip where you drive somewhere beautiful, shoot for an hour at golden hour, and go home satisfied. And then there’s the other kind — the kind where you’re sleeping in the car, shooting at 2am in the dark, and dragging yourself back to the same beach three separate times in eighteen hours. The second kind is where the real work happens, and it’s where the memorable images come from. I’ve been doing this for twenty years and I still find myself learning from photographers who document that full-cycle commitment honestly.
In this Nigel Danson tutorial covering seascape photography in the Scottish Highlands, he does exactly that. Over a single ambitious day, he cycles through nighttime astrophotography, a predawn sunrise session, and a return sunset shoot on the same stretch of coastline. Watch the full tutorial on YouTube before diving into these notes, or use this breakdown as a companion while you plan your own multi-session shoot.
What strikes me most about his approach is how deliberately he treats location knowledge as a technical asset. He’s not guessing when he returns at sunset. He already knows which rocks will be in shadow, where the mountains frame best, and how the tide is moving. That’s not luck. That’s scouting treated like gear.
Step 1: Scout the Location Before Committing to Any Single Shoot
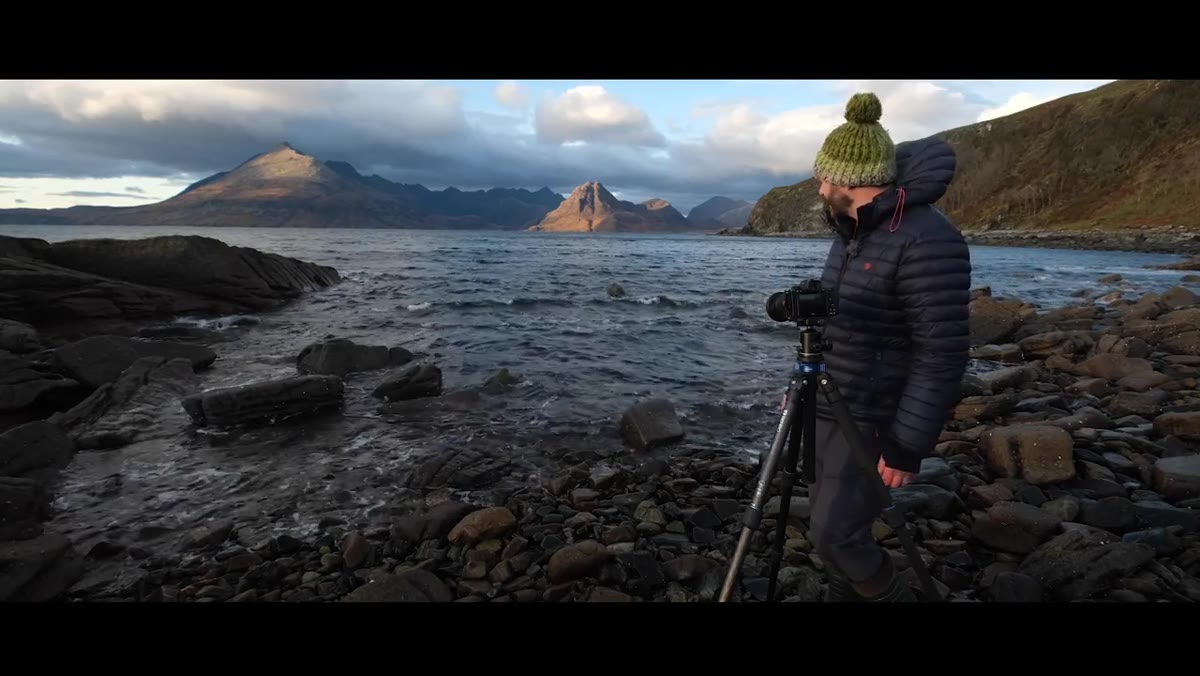 Nigel standing at the coast watching the ocean at dawn
When Danson returns to the beach for sunrise, he’s already been there. He knows the rock face behind him. He noticed the patterned stone formations on the ground during an earlier visit. This is the part photographers skip when they’re working with limited time, and it costs them. If you’re traveling to a coastal location, plan at least one unpressured walkthrough before you’re racing a rising Milky Way or a setting sun. Note where the light will fall, which foreground elements have texture worth shooting, and where you’ll physically stand for each different session. I keep a voice memo going while I scout. Later, those thirty-second clips are worth more than any planning app.
Nigel standing at the coast watching the ocean at dawn
When Danson returns to the beach for sunrise, he’s already been there. He knows the rock face behind him. He noticed the patterned stone formations on the ground during an earlier visit. This is the part photographers skip when they’re working with limited time, and it costs them. If you’re traveling to a coastal location, plan at least one unpressured walkthrough before you’re racing a rising Milky Way or a setting sun. Note where the light will fall, which foreground elements have texture worth shooting, and where you’ll physically stand for each different session. I keep a voice memo going while I scout. Later, those thirty-second clips are worth more than any planning app.
Step 2: Return at Night for Astrophotography Using What You Already Know
 Nigel describing Milky Way framed in gap between rock faces
Because Danson had already walked the location, he recognized immediately that the gap between two rock faces was framing the Milky Way perfectly. He wasn’t searching in the dark from scratch. He was confirming what he’d half-noticed in daylight. For this shoot, he was working with a Sony Z7 and a 14-70mm lens at around 40mm, which he acknowledges isn’t the ideal focal length for astrophotography. Wide prime lenses in the 14-24mm range will give you more sky coverage and faster apertures, but his point is useful: work with what you have and know its limits. He also shot the same scene on a Google Pixel 4 for comparison, which is worth doing at any coastal Milky Way location. Smartphone computational photography handles high-ISO noise differently than mirrorless sensors and occasionally surprises you.
Nigel describing Milky Way framed in gap between rock faces
Because Danson had already walked the location, he recognized immediately that the gap between two rock faces was framing the Milky Way perfectly. He wasn’t searching in the dark from scratch. He was confirming what he’d half-noticed in daylight. For this shoot, he was working with a Sony Z7 and a 14-70mm lens at around 40mm, which he acknowledges isn’t the ideal focal length for astrophotography. Wide prime lenses in the 14-24mm range will give you more sky coverage and faster apertures, but his point is useful: work with what you have and know its limits. He also shot the same scene on a Google Pixel 4 for comparison, which is worth doing at any coastal Milky Way location. Smartphone computational photography handles high-ISO noise differently than mirrorless sensors and occasionally surprises you.
For practical settings at a dark-sky coastal site: start at ISO 3200, f/2.8 or your widest aperture, and use the 500 rule divided by your crop factor to set your maximum shutter speed before stars trail. Adjust from there based on what you see on the back of the camera.
Step 3: Stay for Sunrise Even When You’re Running on No Sleep
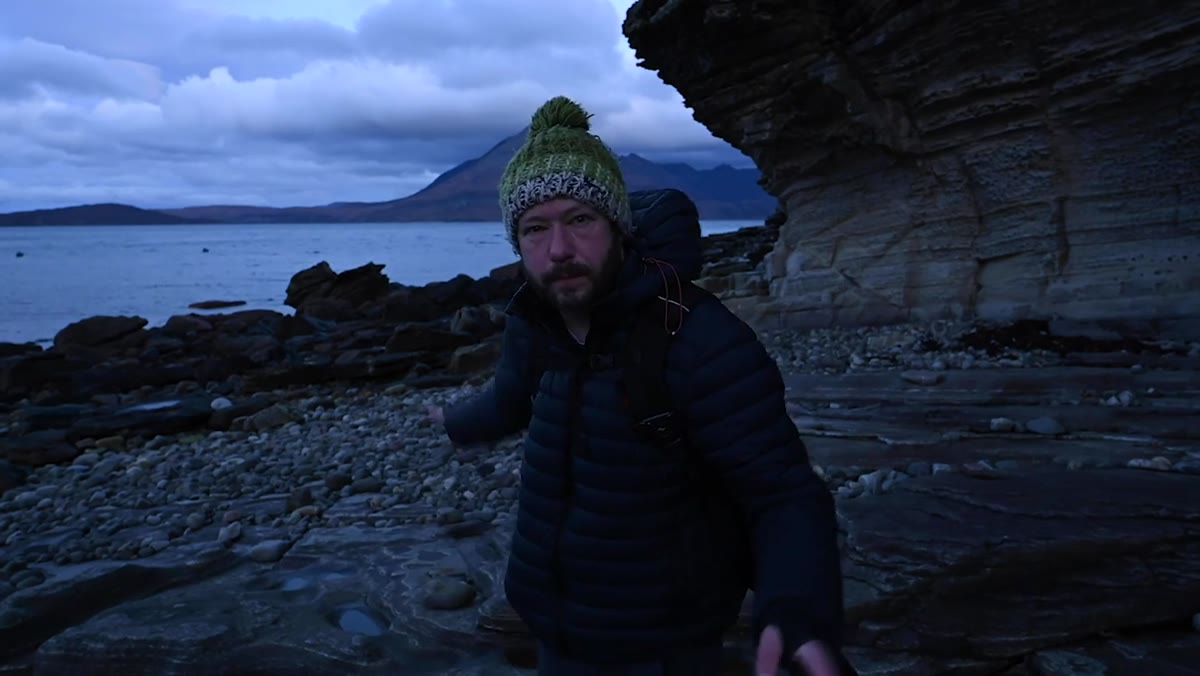
 Nigel talking to camera, visibly tired, pre-sunrise light behind him
Danson is honest that he’s exhausted heading into sunrise. He’s been up most of the night. The light doesn’t cooperate particularly well that morning. The clouds go pink briefly around 45 minutes before sunrise and then flatten out. This is where most photographers pack up early and miss the window, however modest it turns out to be. His approach here is instructive: he accepts that the session isn’t going to produce his best work, takes a few frames he’s quietly satisfied with, and uses the remaining time to sit and observe. He’s watching how the light moves across the water, where the rocks are in relation to where the waves reach, how the wind is affecting the surface. That observation session is actually preparation for the sunset return visit. Don’t waste a mediocre sunrise by leaving early. Watch instead.
Nigel talking to camera, visibly tired, pre-sunrise light behind him
Danson is honest that he’s exhausted heading into sunrise. He’s been up most of the night. The light doesn’t cooperate particularly well that morning. The clouds go pink briefly around 45 minutes before sunrise and then flatten out. This is where most photographers pack up early and miss the window, however modest it turns out to be. His approach here is instructive: he accepts that the session isn’t going to produce his best work, takes a few frames he’s quietly satisfied with, and uses the remaining time to sit and observe. He’s watching how the light moves across the water, where the rocks are in relation to where the waves reach, how the wind is affecting the surface. That observation session is actually preparation for the sunset return visit. Don’t waste a mediocre sunrise by leaving early. Watch instead.
Step 4: Identify the Shot You Didn’t Get and Plan for It
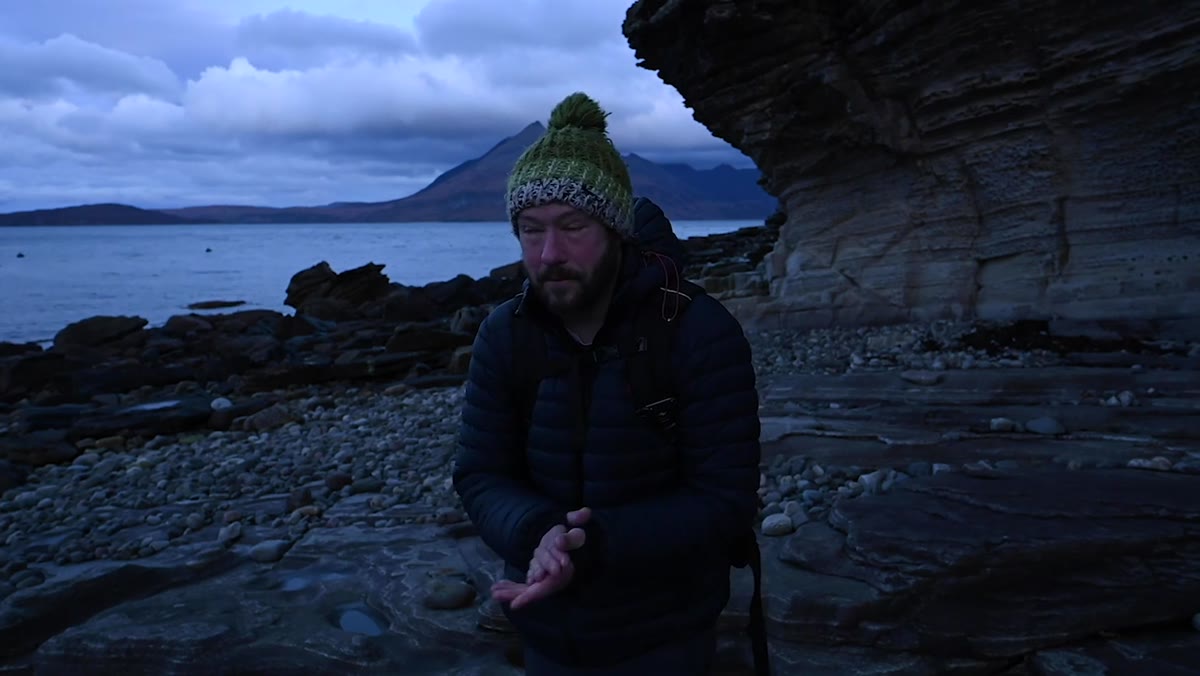
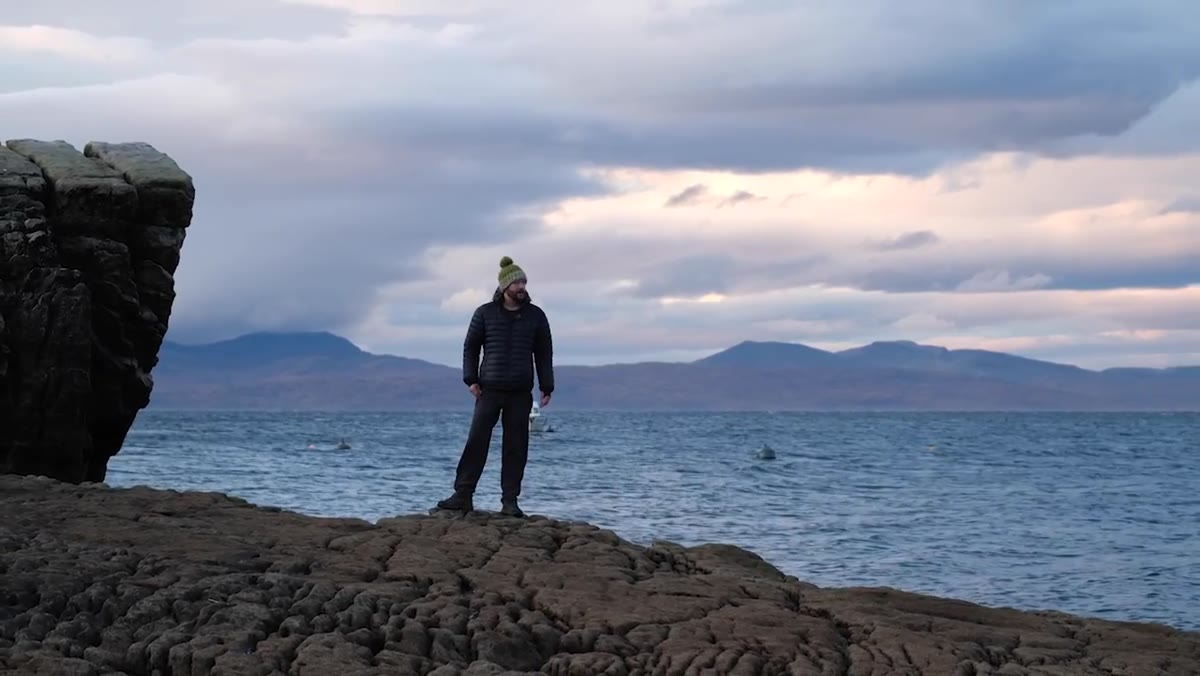 Nigel describing plans to return for sunset, gesturing toward the water
After the sunrise session, Danson does something that separates working photographers from weekend shooters: he catalogs exactly what he didn’t capture and decides to come back for it. He notes that the location reads better as a sunset spot, identifies two specific compositions he wants to try, and mentally flags the honeycomb-patterned rock formation as a key foreground element. When you’re packing up from a shoot that didn’t fully deliver, take five minutes and write down the specific images you wish you’d made. Those notes are your shooting script for the return.
Nigel describing plans to return for sunset, gesturing toward the water
After the sunrise session, Danson does something that separates working photographers from weekend shooters: he catalogs exactly what he didn’t capture and decides to come back for it. He notes that the location reads better as a sunset spot, identifies two specific compositions he wants to try, and mentally flags the honeycomb-patterned rock formation as a key foreground element. When you’re packing up from a shoot that didn’t fully deliver, take five minutes and write down the specific images you wish you’d made. Those notes are your shooting script for the return.
Step 5: Compose Around Foreground Texture and Manage the Light Differential
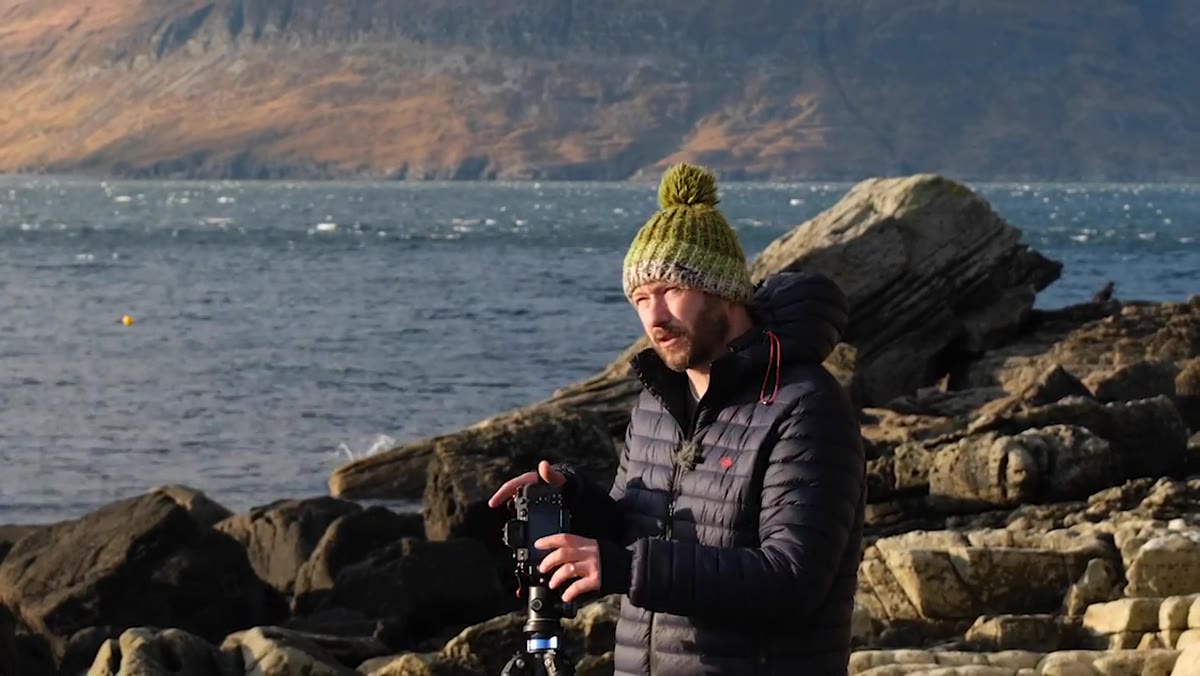 Nigel composing near water with rock in foreground, polarizer on lens
At sunset, Danson moves slightly down the beach to open up his view of two mountains while using a single rock to balance the frame. He’s thinking explicitly about the light differential between foreground and background. When the sun is partially behind cloud, shadows in the foreground soften and the exposure gap between sky and rock narrows. He chooses to shoot the honeycomb rock during that flatter light specifically so shadows don’t eat the texture. He’s using a magnetic polarizing filter on his 14-30mm lens, which cuts glare off the wet rock surface and deepens the water color. A polarizer at a coastal sunset is not optional if you’re shooting wet foreground elements. Rotate it until you see the reflection pop out of the rock surface, then stop there.
Nigel composing near water with rock in foreground, polarizer on lens
At sunset, Danson moves slightly down the beach to open up his view of two mountains while using a single rock to balance the frame. He’s thinking explicitly about the light differential between foreground and background. When the sun is partially behind cloud, shadows in the foreground soften and the exposure gap between sky and rock narrows. He chooses to shoot the honeycomb rock during that flatter light specifically so shadows don’t eat the texture. He’s using a magnetic polarizing filter on his 14-30mm lens, which cuts glare off the wet rock surface and deepens the water color. A polarizer at a coastal sunset is not optional if you’re shooting wet foreground elements. Rotate it until you see the reflection pop out of the rock surface, then stop there.
Step 6: Work the Waves Actively and Let the Tide Change Your Composition
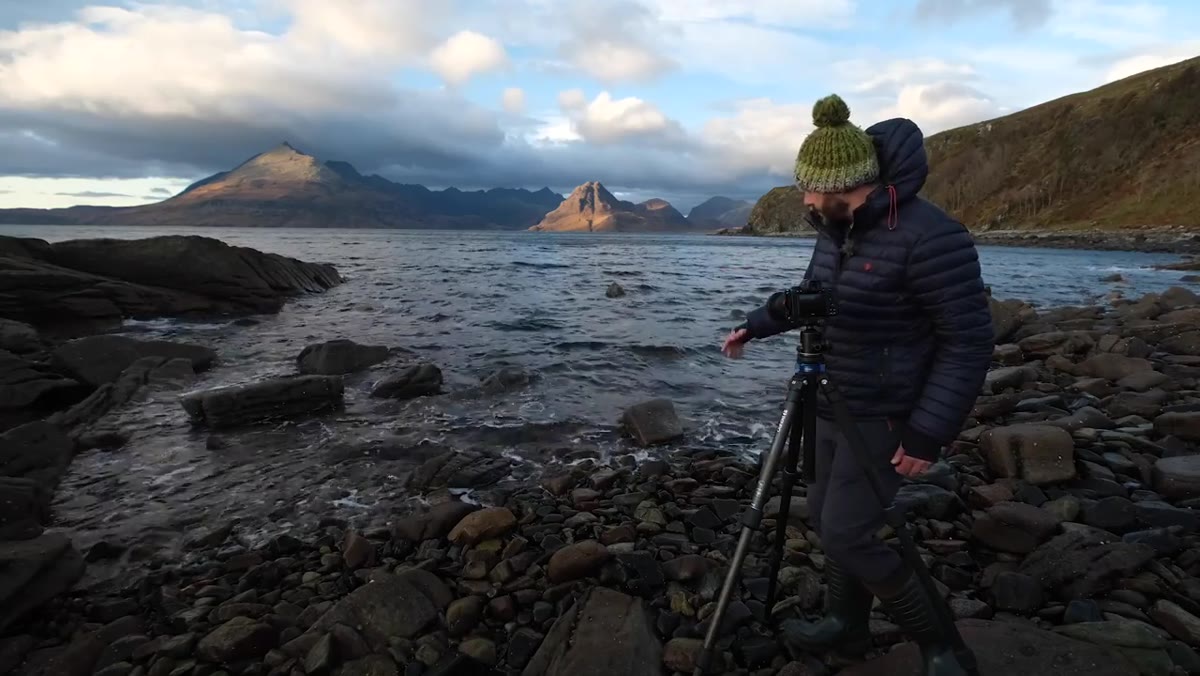 Waves crashing across foreground rocks, Nigel repositioning tripod
With the tide moving out and wind pushing white-capped waves across the foreground, Danson is constantly repositioning. The rocks he’s composing around are changing as water retreats and advances, so he’s treating composition as a moving target rather than a fixed decision. He’s shooting a high volume of frames, letting the waves create leading lines through the rock formations. The practical approach here: pick a general anchor point in the frame, usually the dominant rock or mountain line, and then let everything in the foreground be a variable. Take thirty frames in quick succession during a wave sequence. You’ll throw out twenty-eight of them and the other two will be worth it.
Waves crashing across foreground rocks, Nigel repositioning tripod
With the tide moving out and wind pushing white-capped waves across the foreground, Danson is constantly repositioning. The rocks he’s composing around are changing as water retreats and advances, so he’s treating composition as a moving target rather than a fixed decision. He’s shooting a high volume of frames, letting the waves create leading lines through the rock formations. The practical approach here: pick a general anchor point in the frame, usually the dominant rock or mountain line, and then let everything in the foreground be a variable. Take thirty frames in quick succession during a wave sequence. You’ll throw out twenty-eight of them and the other two will be worth it.
What I’d Add From Twenty Years of Coastal Work
The multi-session approach Danson demonstrates requires something that doesn’t get talked about enough: patience that isn’t passive. I learned from a mentor early in my career that the location doesn’t owe you anything based on your effort or your timeline. The mountain doesn’t care about your schedule. What changes when you truly accept that is how you spend the slow hours. Instead of watching the clock between sessions, you’re watching the scene. The light at a coastal location forty minutes before sunrise is different from the light twenty minutes before, which is different again at the moment the sun clears the horizon. Each of those windows is its own image if you’re paying attention.
The other thing I’d emphasize: always go back. One session at a beautiful location gives you photographs. Two sessions give you understanding. Three sessions give you your best work.
The single most important takeaway from this tutorial is that location knowledge is a technical skill, not a bonus. Everything Danson does well in this video, from framing the Milky Way in that rock gap to knowing exactly where to position for sunset, flows directly from time spent observing the place before the camera came out.
Watch the full tutorial on YouTube to see how he moves through each session and how the finished frames actually look against the conditions he describes.
Comments
Leave a Comment