There’s a particular kind of photographer paralysis I’ve watched set in over twenty years of doing this work. Life gets loud, the to-do list multiplies, and the camera bag sits by the door collecting a thin layer of dust. You tell yourself you’ll go out when conditions are perfect, when you have a full day free, when you feel ready. I’ve been there more than I’d like to admit. What pulls me back, every single time, is remembering that the act of going out is the point, not the portfolio addition waiting at the other end of it. Watch the full tutorial on YouTube
In this First Man Photography tutorial, creator Ross takes a solo shoot to a quietly spectacular quarry location in the Lake District and frames the whole session around a question worth sitting with: why do so many of us quietly abandon photography the moment life gets difficult, even when it’s exactly what we need? The video is equal parts field tutorial and honest reflection, and that combination is what made me want to break it down properly. The technical content is real and usable, but the thread running through it about showing up, getting outside, and giving yourself permission to just make pictures is the part I think working photographers need to hear most.
What follows is a step-by-step walkthrough of how Ross approaches this location from arrival through sunset, with the practical notes a field shooter can actually use.
Step 1: Scout on Foot Before You Commit to a Composition
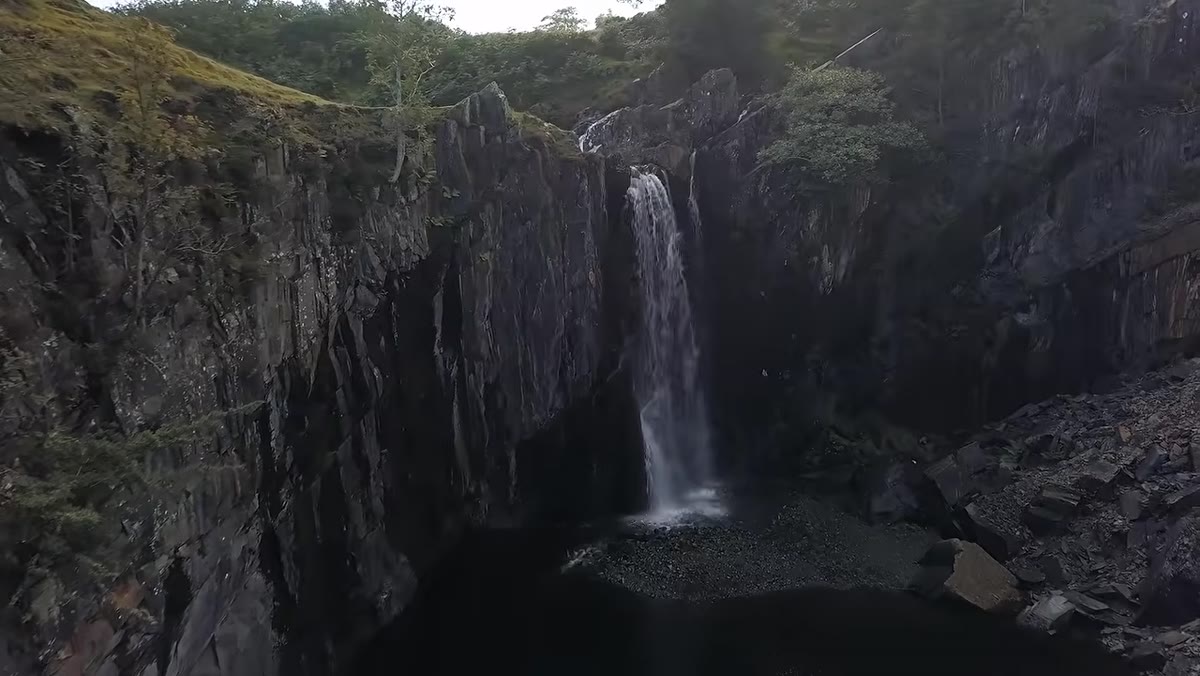
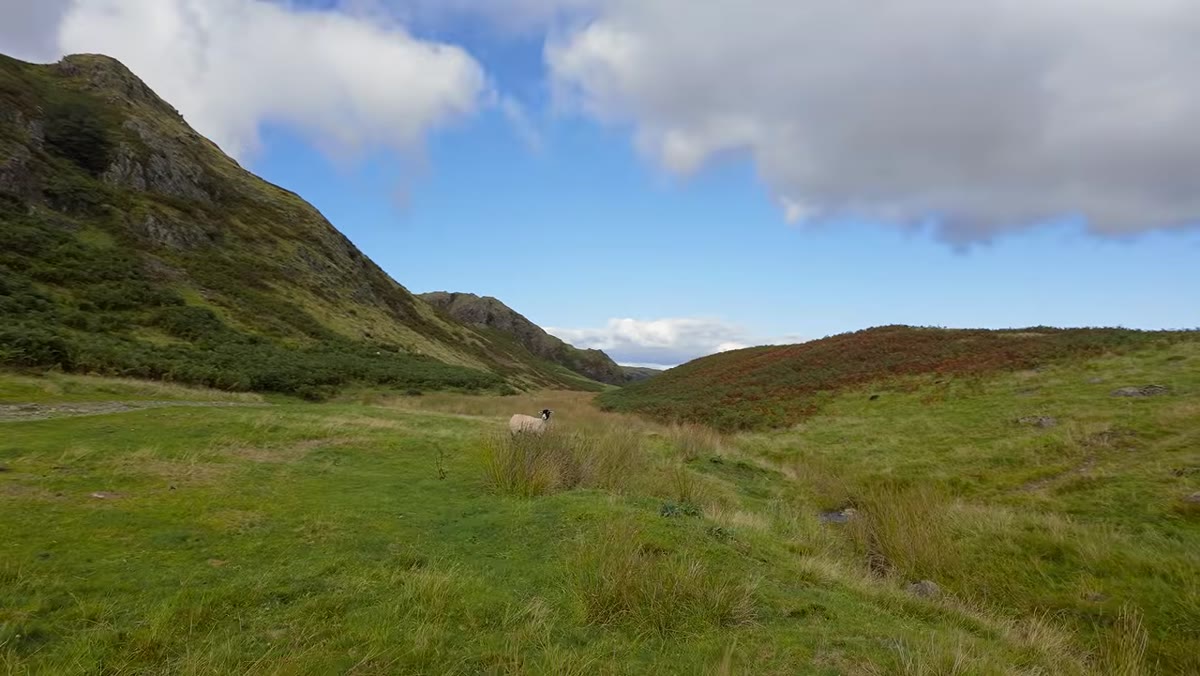 Wide shot of reclaimed quarry waterfall revealed through wire fence
When Ross arrives at the location, the parking area is full of people who all headed for the high peaks. He walks a moderate, lower trail instead and discovers a reclaimed quarry that most visitors completely bypassed. The lesson is tactical: the obvious path isn’t always the photographic one. Before you plant your tripod anywhere, walk the full perimeter of a location. Listen as much as look. Ross hears the waterfall before he sees it, which is a genuine field reminder that sound can orient you toward compositions your eyes haven’t found yet. Bring comfortable shoes you don’t mind getting rough, and leave the tripod on your shoulder until you’ve done at least one full pass.
Wide shot of reclaimed quarry waterfall revealed through wire fence
When Ross arrives at the location, the parking area is full of people who all headed for the high peaks. He walks a moderate, lower trail instead and discovers a reclaimed quarry that most visitors completely bypassed. The lesson is tactical: the obvious path isn’t always the photographic one. Before you plant your tripod anywhere, walk the full perimeter of a location. Listen as much as look. Ross hears the waterfall before he sees it, which is a genuine field reminder that sound can orient you toward compositions your eyes haven’t found yet. Bring comfortable shoes you don’t mind getting rough, and leave the tripod on your shoulder until you’ve done at least one full pass.
Step 2: Identify Your Anchor Element and Build the Frame Around It
 Birch tree in foreground with full quarry landscape behind it
Standing at the rim of the quarry, Ross immediately locks onto a birch tree as his foreground anchor. He notes the composition out loud: tree in the foreground, a band of sky above, the full sweep of landscape filling the middle. This is a reliable structure for any wide landscape frame, a strong near element that gives the eye a place to enter, with depth receding behind it. The key decision he makes here is to wait. The sun is too high. He knows the geometry will improve as light drops toward the quarry rim, and he doesn’t force a mediocre shot just because he’s already set up. Patience is a technical skill. Knowing when not to press the shutter is as important as knowing when to.
Birch tree in foreground with full quarry landscape behind it
Standing at the rim of the quarry, Ross immediately locks onto a birch tree as his foreground anchor. He notes the composition out loud: tree in the foreground, a band of sky above, the full sweep of landscape filling the middle. This is a reliable structure for any wide landscape frame, a strong near element that gives the eye a place to enter, with depth receding behind it. The key decision he makes here is to wait. The sun is too high. He knows the geometry will improve as light drops toward the quarry rim, and he doesn’t force a mediocre shot just because he’s already set up. Patience is a technical skill. Knowing when not to press the shutter is as important as knowing when to.
Step 3: Descend Carefully to Reach a Second, Closer Composition
 Steep rocky descent toward the base of the waterfall
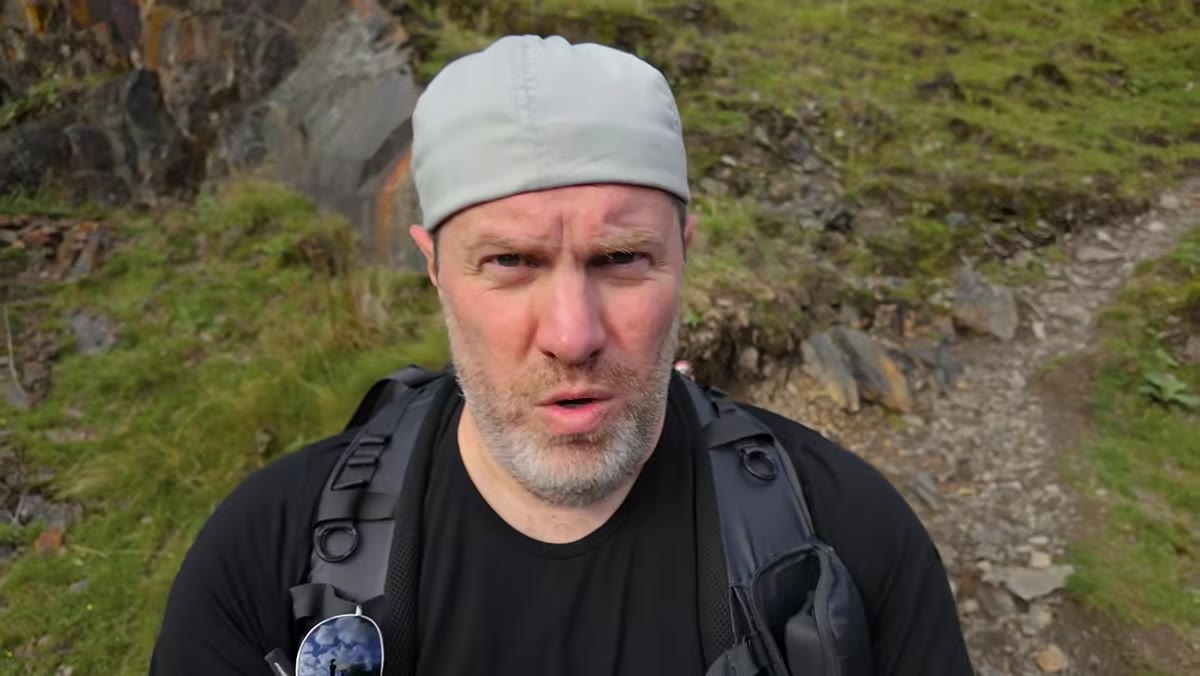
With two hours until sunset, Ross decides to climb down into the quarry floor to photograph from close to the waterfall itself. He’s honest about the difficulty, uneven footing, a steep angle, no clear trail. He uses the three-point contact rule his father taught him, two feet and one hand, or two hands and one foot, always stable before the next move. For photographers: if you’re carrying a tripod and a loaded pack on technical terrain, collapse the tripod fully and clip it to your bag. Keep both hands free. The shot at the bottom is only worth it if you get there and back safely, and a damaged lens costs far more than the time it takes to move slowly.
Steep rocky descent toward the base of the waterfall
With two hours until sunset, Ross decides to climb down into the quarry floor to photograph from close to the waterfall itself. He’s honest about the difficulty, uneven footing, a steep angle, no clear trail. He uses the three-point contact rule his father taught him, two feet and one hand, or two hands and one foot, always stable before the next move. For photographers: if you’re carrying a tripod and a loaded pack on technical terrain, collapse the tripod fully and clip it to your bag. Keep both hands free. The shot at the bottom is only worth it if you get there and back safely, and a damaged lens costs far more than the time it takes to move slowly.
Step 4: Time Your First Shot to the Sun’s Edge Position
 Sun sinking to quarry rim casting side light on rock wall and birch tree
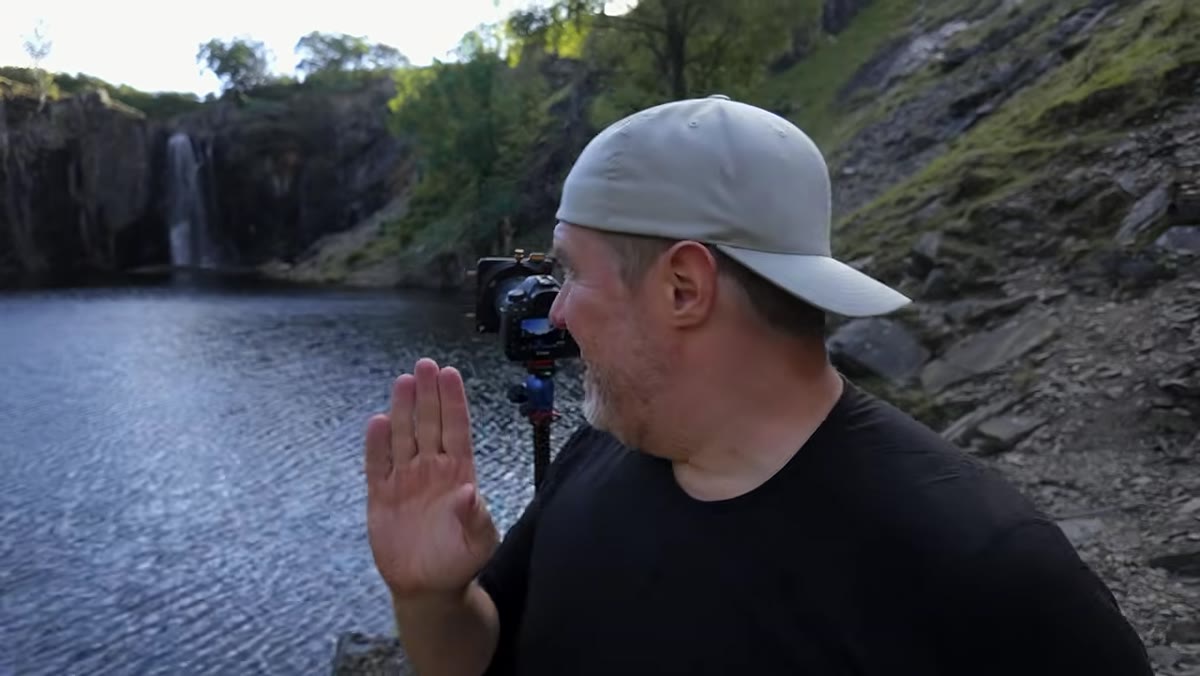
At the quarry floor, Ross sets up and waits for the sun to drop exactly to the top edge of the quarry wall behind him. When it hits that position, the light rakes across the far rock face at a low, warm angle and catches the birch tree in a way that a higher sun simply can’t replicate. This is the whole argument for golden hour in a single concrete example: it’s not just about warm color, it’s about the direction of light relative to your specific geometry. Check where your sun will exit your scene before you arrive. Apps like PhotoPills or The Photographer’s Ephemeris can show you sun angle and shadow movement for any location and any date. Ross also notes a natural starburst forming where the sun breaks through the leaves, which happens when you shoot at a narrow aperture, typically f/11 or f/16, with a direct but partially obscured light source.
Sun sinking to quarry rim casting side light on rock wall and birch tree
At the quarry floor, Ross sets up and waits for the sun to drop exactly to the top edge of the quarry wall behind him. When it hits that position, the light rakes across the far rock face at a low, warm angle and catches the birch tree in a way that a higher sun simply can’t replicate. This is the whole argument for golden hour in a single concrete example: it’s not just about warm color, it’s about the direction of light relative to your specific geometry. Check where your sun will exit your scene before you arrive. Apps like PhotoPills or The Photographer’s Ephemeris can show you sun angle and shadow movement for any location and any date. Ross also notes a natural starburst forming where the sun breaks through the leaves, which happens when you shoot at a narrow aperture, typically f/11 or f/16, with a direct but partially obscured light source.
Step 5: Work the Changing Light Through Sunset
 Warm sunset light spreading across the quarry landscape at golden hour
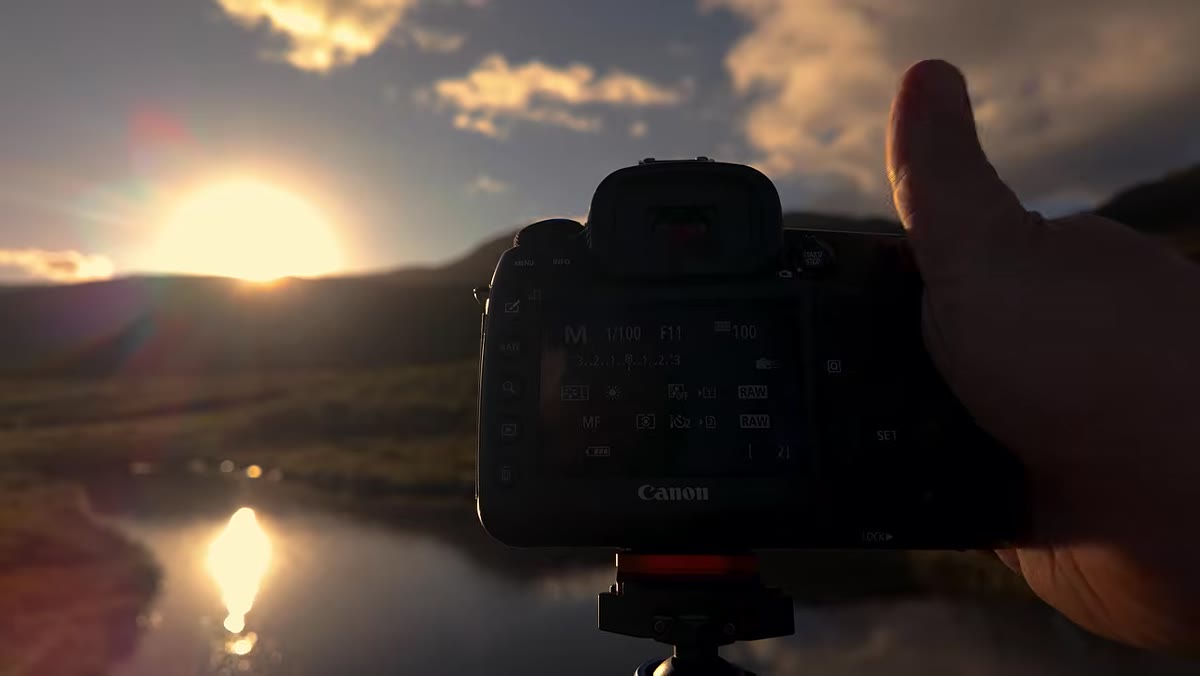
As the sun continues to drop, Ross returns to his original rim composition and works the evolving light. The scene transforms over those final forty minutes before dark, from direct side light to diffuse warm glow to the blue-edged softness just after the sun disappears. Each of these phases produces a fundamentally different image from the same tripod position. Don’t pack up when the sun hits the horizon. The ten minutes after sunset often produce the cleanest, most evenly lit landscape frames of the whole session, with no harsh highlights to manage and a color temperature that needs very little correction in post.
Warm sunset light spreading across the quarry landscape at golden hour
As the sun continues to drop, Ross returns to his original rim composition and works the evolving light. The scene transforms over those final forty minutes before dark, from direct side light to diffuse warm glow to the blue-edged softness just after the sun disappears. Each of these phases produces a fundamentally different image from the same tripod position. Don’t pack up when the sun hits the horizon. The ten minutes after sunset often produce the cleanest, most evenly lit landscape frames of the whole session, with no harsh highlights to manage and a color temperature that needs very little correction in post.
What I’d Add From My Own Kit Bag
Ross doesn’t linger on gear in this video, which I respect. But I will say this: on any location where you’re descending into a confined space like a quarry or canyon, a circular polarizer earns its weight. Water, wet rock, and moss all carry a surface glare that flattens color and texture. A polarizer cuts that reflection, and at a waterfall especially, it pulls greens and grays back to something closer to what your eye actually saw. Rotate it slowly while looking through the viewfinder. The effect is subtle at first and then suddenly obvious. Also, if you’re working near moving water and you want that silky blur effect, shoot at ISO 100 and stop down to f/16. In good light you’ll naturally land around a half-second to two-second exposure without needing an ND filter at all.
The deeper thing this tutorial surfaces is one I’ve had to relearn more than once: photography is one of the few practices that demands you be physically present somewhere specific. You cannot do it from the couch, you cannot schedule it for later in a meaningful way, and the discipline of actually going out, even when life is complicated, has a way of resetting something in how you think. My mentor told me once that the mountain doesn’t care about your schedule. Neither does a good location. It’ll be there, but the light won’t.
Pick the location. Walk it first. Find the tree. Wait for the sun. Watch the full tutorial on YouTube and let Ross show you what that looks like from start to finish.
Comments
Leave a Comment