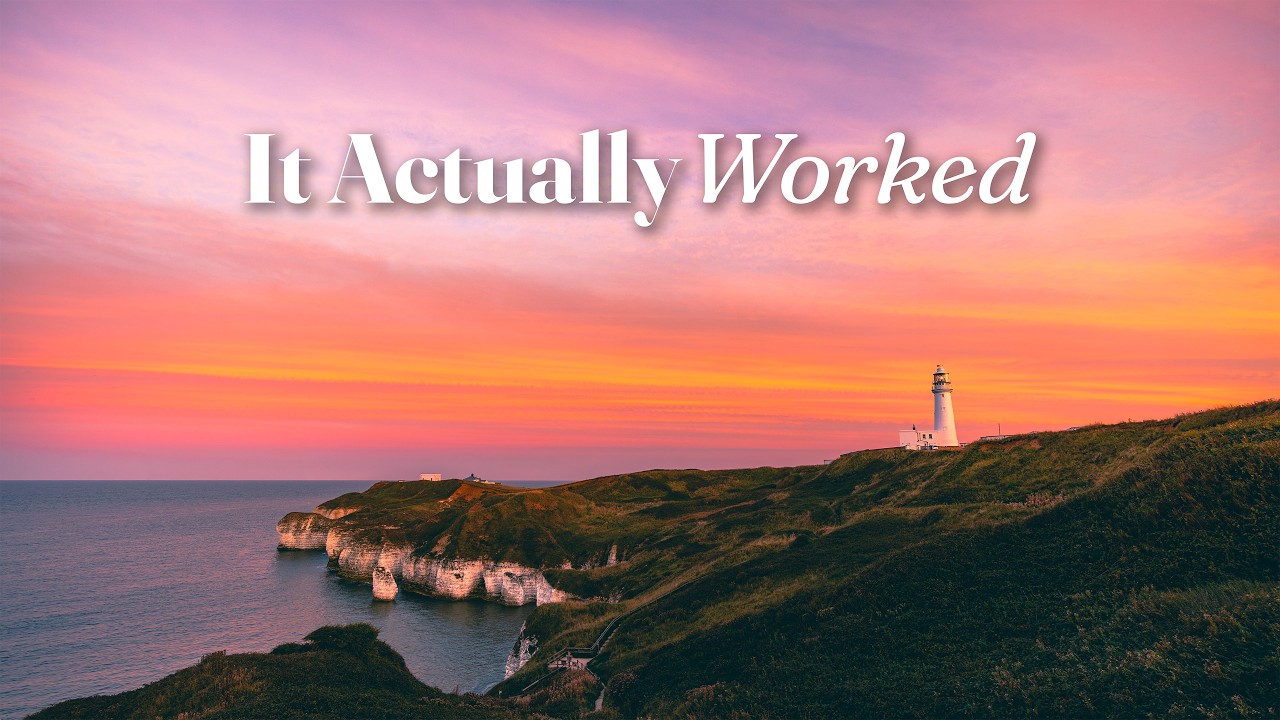
There is a question I have asked myself nearly every evening for twenty years: is tonight worth it? Not in an existential sense, though landscape photography does tend to blur those lines. I mean practically. Do I load the truck, drive an hour into the high desert outside Bend, set up in the dark, and wait, or do I stay home and look at the forecast the next morning feeling smug that I didn’t bother? Getting that decision right is a skill in itself, and most photographers, even experienced ones, are guessing more than they want to admit.
That is why a recent tutorial from First Man Photography stopped me mid-scroll. Watch the full tutorial on YouTube and you will see creator Ross (the man behind First Man Photography) do something I respect: he explains the meteorological reasoning behind his decision before he ever picks up a camera bag. He heads to Flamborough Head on the Yorkshire coast of England, and what he captures is genuinely jaw-dropping. More useful than the images, though, is the thinking that got him there. Here is how he does it, step by step.
Step 1: Understand What Actually Makes a Sunset Burn
 Diagram or verbal explanation of high cloud illumination mechanics
Before you can predict good light, you need to understand what creates it. The short version: clouds at high altitude are your best friend. When the sun drops toward the horizon and travels through a long slice of atmosphere, it can strike the underside of high-altitude cloud and light it up from below, turning the sky orange, red, and pink. What kills a sunset is low or mid-level cloud sitting between the sun and those high clouds. The low cloud acts like a lid, blocking that horizontal light before it ever reaches the canvas above.
Diagram or verbal explanation of high cloud illumination mechanics
Before you can predict good light, you need to understand what creates it. The short version: clouds at high altitude are your best friend. When the sun drops toward the horizon and travels through a long slice of atmosphere, it can strike the underside of high-altitude cloud and light it up from below, turning the sky orange, red, and pink. What kills a sunset is low or mid-level cloud sitting between the sun and those high clouds. The low cloud acts like a lid, blocking that horizontal light before it ever reaches the canvas above.
This is not abstract theory. Once you internalize this layer structure, you start reading the sky differently. A completely clear evening produces a clean gradient but nothing dramatic. A fully overcast evening is flat. What you want is that specific combination: clear or nearly clear at low and mid levels, with a textured deck of high cloud to catch and scatter the light.
Step 2: Use Cloud Layer Data to Make the Go/No-Go Call
 App screen showing separate cloud layer toggles for high, mid, and low cloud
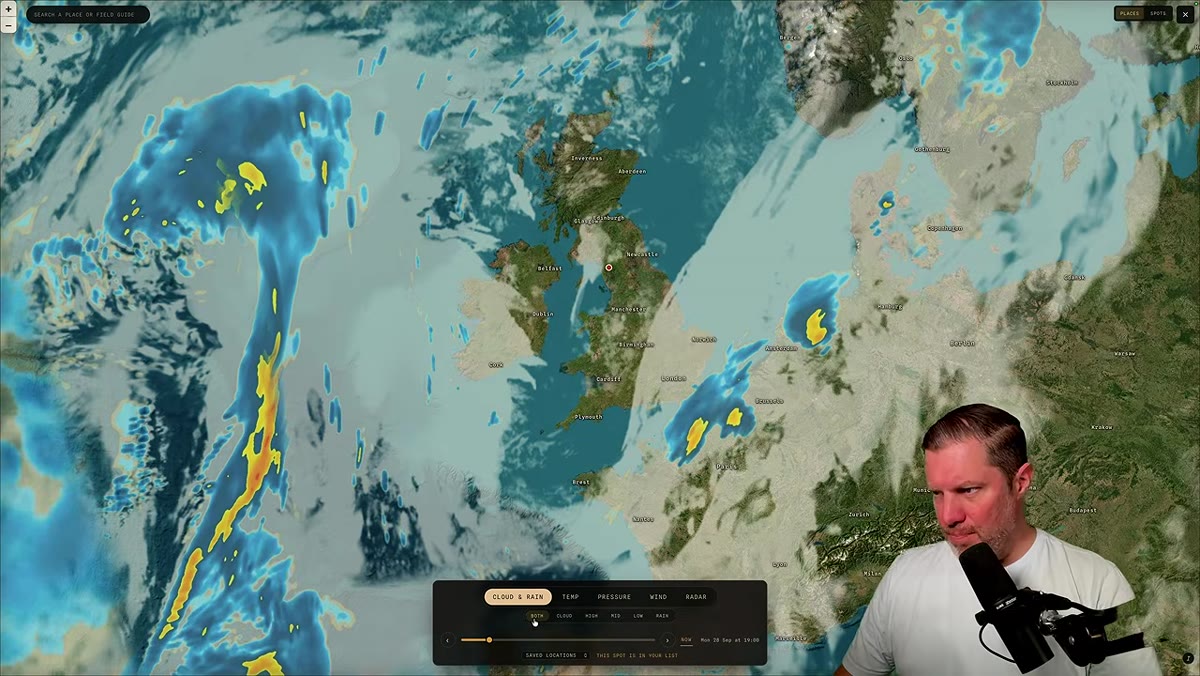
Ross uses his own photography app to break cloud cover into three separate altitude bands: high, mid, and low. He checks each one independently for the target location and time of sunset. On the evening of this shoot, the data for Flamborough Head showed high cloud in abundance, almost no mid-level cloud, and minimal low cloud. That is the trifecta.
App screen showing separate cloud layer toggles for high, mid, and low cloud
Ross uses his own photography app to break cloud cover into three separate altitude bands: high, mid, and low. He checks each one independently for the target location and time of sunset. On the evening of this shoot, the data for Flamborough Head showed high cloud in abundance, almost no mid-level cloud, and minimal low cloud. That is the trifecta.
Most standard weather apps give you a single cloud cover percentage, which is close to useless for this purpose. You need altitude-specific data. Apps like Windy, Meteoblue, or dedicated photography weather tools let you toggle between cloud layers. Spend a few minutes learning to read those layers and your go/no-go hit rate will improve noticeably. If you see significant mid-level cloud filling in, that is usually your signal to stay home.
Step 3: Map the Sun’s Path Relative to the Cloud Bank
 Sun path planner showing direction of sunset relative to cloud position
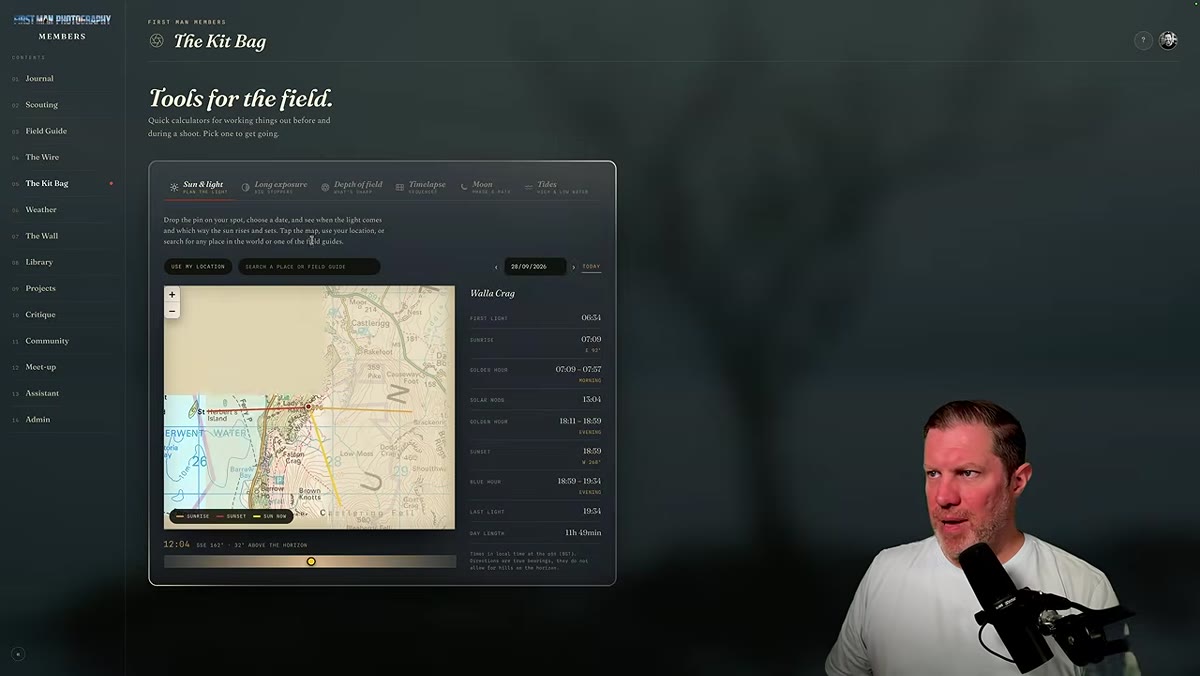
Knowing that high cloud exists is only half the equation. You also need to know where that cloud sits relative to the sunset direction. Ross uses a sun path planner to confirm that as the sun moves toward the horizon in the west, its light will travel directly under the incoming ridge of high cloud. The geometry has to line up. If the cloud bank is behind you or off to the side, it may look interesting but it will not ignite the same way.
Sun path planner showing direction of sunset relative to cloud position
Knowing that high cloud exists is only half the equation. You also need to know where that cloud sits relative to the sunset direction. Ross uses a sun path planner to confirm that as the sun moves toward the horizon in the west, its light will travel directly under the incoming ridge of high cloud. The geometry has to line up. If the cloud bank is behind you or off to the side, it may look interesting but it will not ignite the same way.
At this stage he also factors in shooting direction. Even though the sun sets in the west, the illuminated sky can be photographed looking east, north, or south depending on how wide the cloud deck is. Knowing the cloud position in advance lets you scout compositions in multiple directions rather than scrambling at golden hour.
Step 4: Check the Tide if You Are Shooting Coastal Locations
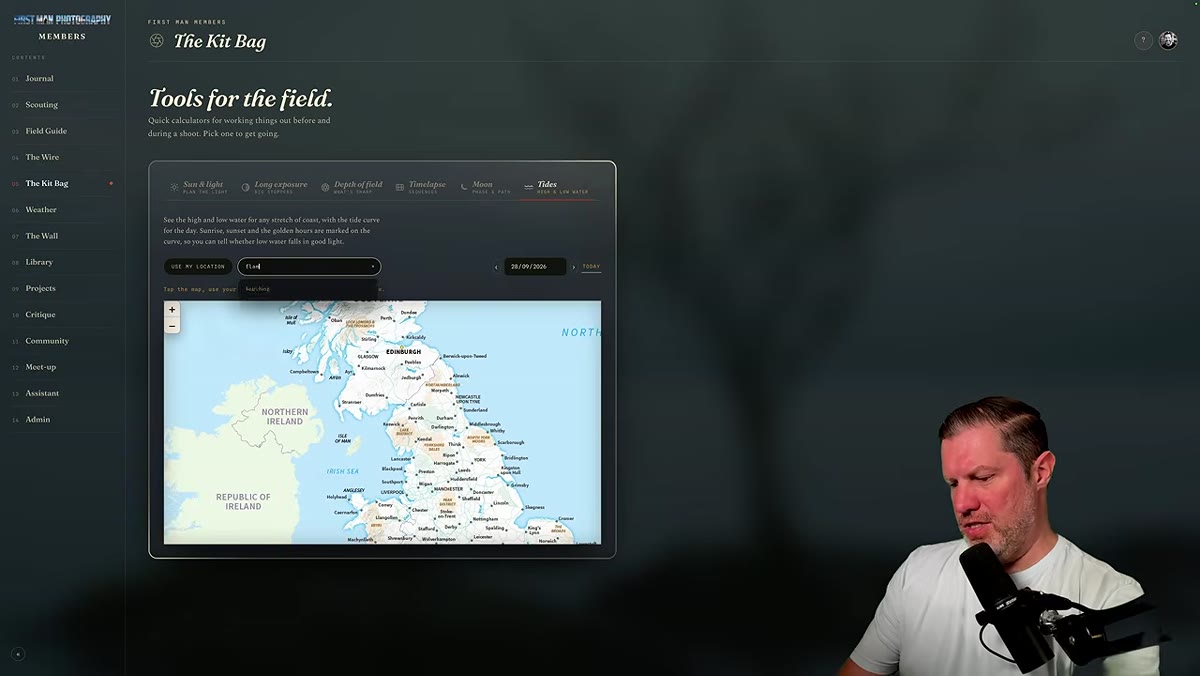 Tide chart showing high tide aligned with sunset time
This step is specific to coastal work, but it is worth building into any location checklist you keep. Ross pulls up a tide chart for Flamborough Head and confirms that high tide coincides almost exactly with sunset. At this particular location, high tide means the rock formations and cliff bases are surrounded by water, which dramatically changes the foreground. At low tide, you get exposed rock and wet sand. Both are usable, but they create completely different images, and knowing in advance which you will encounter lets you plan your compositions.
Tide chart showing high tide aligned with sunset time
This step is specific to coastal work, but it is worth building into any location checklist you keep. Ross pulls up a tide chart for Flamborough Head and confirms that high tide coincides almost exactly with sunset. At this particular location, high tide means the rock formations and cliff bases are surrounded by water, which dramatically changes the foreground. At low tide, you get exposed rock and wet sand. Both are usable, but they create completely different images, and knowing in advance which you will encounter lets you plan your compositions.
I keep a running location file for spots I return to regularly, and tide state is always in those notes. A location that disappoints at low tide can be extraordinary at high tide, and vice versa. This is the kind of detail that separates a planned shoot from a lucky accident.
Step 5: Arrive Early, Confirm the Conditions, and Commit
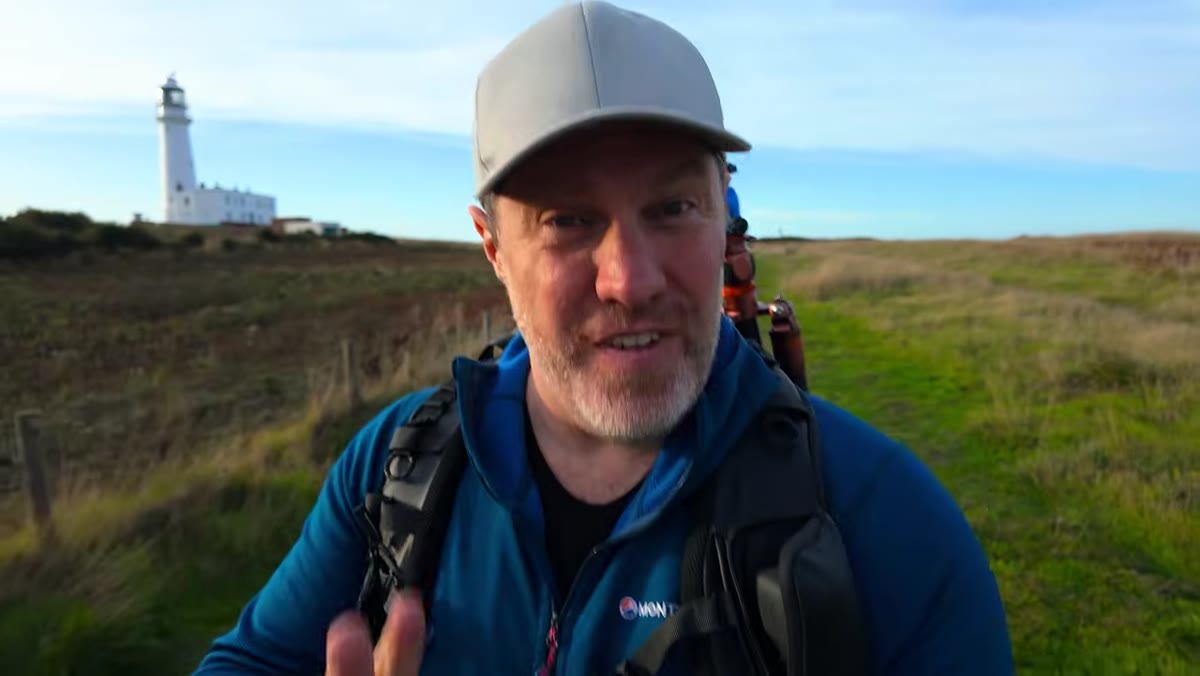 Arrival at Flamborough Head with high cloud visible above the cliffs
Ross drives roughly two and a half hours to reach Flamborough Head, arriving well before sunset. When he gets out of the car, he immediately scans the sky to verify that what the forecast promised has materialized. The high cloud deck is there, sitting above a clear lower atmosphere, exactly as predicted. That confirmation matters. It tells him to commit fully, to scout properly rather than hedge, and to start thinking about composition rather than whether to stay.
Arrival at Flamborough Head with high cloud visible above the cliffs
Ross drives roughly two and a half hours to reach Flamborough Head, arriving well before sunset. When he gets out of the car, he immediately scans the sky to verify that what the forecast promised has materialized. The high cloud deck is there, sitting above a clear lower atmosphere, exactly as predicted. That confirmation matters. It tells him to commit fully, to scout properly rather than hedge, and to start thinking about composition rather than whether to stay.
Arriving early also gives you time to walk the location, identify your anchor shot, and find a backup position. Ross identifies his primary foreground quickly but still moves around before the light arrives. If you are still scouting when the color peaks, you will miss it.
Step 6: Shoot the Moment, Then Stay for the Afterglow
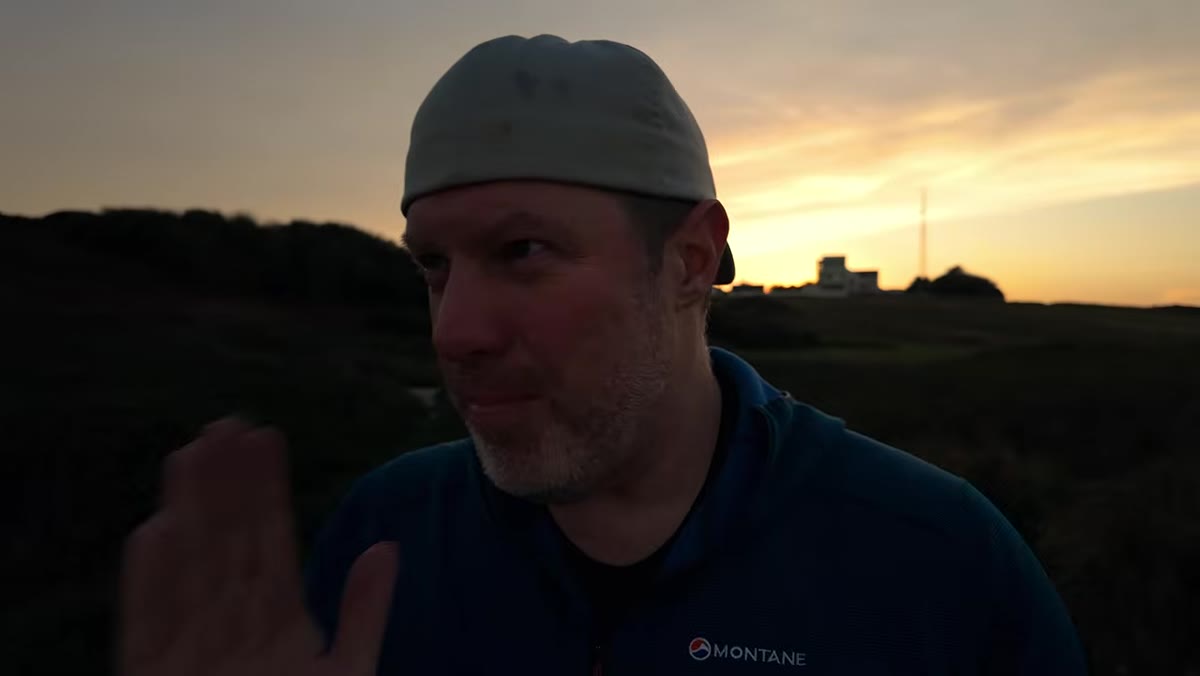 Second composition framed during the peak color phase
Ross makes two distinct shots during this session, and the second one nearly does not happen. After his first composition he almost calls it, then notices the light shifting into something even more extraordinary. He repositions, reframes, and catches a sky that he describes as beyond anything he had hoped for. The lesson here is not to pack up the moment the sun hits the horizon. The most dramatic light, the deep reds and purples, often arrives in the five to fifteen minutes after the sun disappears.
Second composition framed during the peak color phase
Ross makes two distinct shots during this session, and the second one nearly does not happen. After his first composition he almost calls it, then notices the light shifting into something even more extraordinary. He repositions, reframes, and catches a sky that he describes as beyond anything he had hoped for. The lesson here is not to pack up the moment the sun hits the horizon. The most dramatic light, the deep reds and purples, often arrives in the five to fifteen minutes after the sun disappears.
Stay until the color dies completely. You can always delete frames. You cannot go back.
What I Would Add from Two Decades in the Field
The method Ross walks through is solid, and I use a version of it myself. The one thing I would layer on top is a margin of skepticism. Forecasts are better than they have ever been, but they are still models, and models are wrong. The evening I drove six hours to the Oregon coast expecting a textbook sunset and sat in fog for two days taught me that no forecast is a guarantee. What planning does is improve your odds and, just as importantly, it teaches you to recognize the conditions when they arrive.
The productive habit is not to chase perfect forecasts. It is to develop enough meteorological literacy that you can look at the actual sky in front of you and make a real-time read. The forecast gets you to the right place. Your eyes get you the shot.
The single most important idea in this tutorial is that dramatic sunset light is not random luck. It is the predictable result of specific atmospheric conditions that you can learn to identify in advance. Cloud layer data, sun geometry, tide state, and early arrival are not glamorous skills, but they are what separate photographers who catch extraordinary light regularly from those who catch it once and call themselves lucky.
Watch the full tutorial on YouTube to see the complete shoot, including the moment Ross nearly packs up and misses the best light of the evening. That part alone is worth your time.
Comments
Leave a Comment