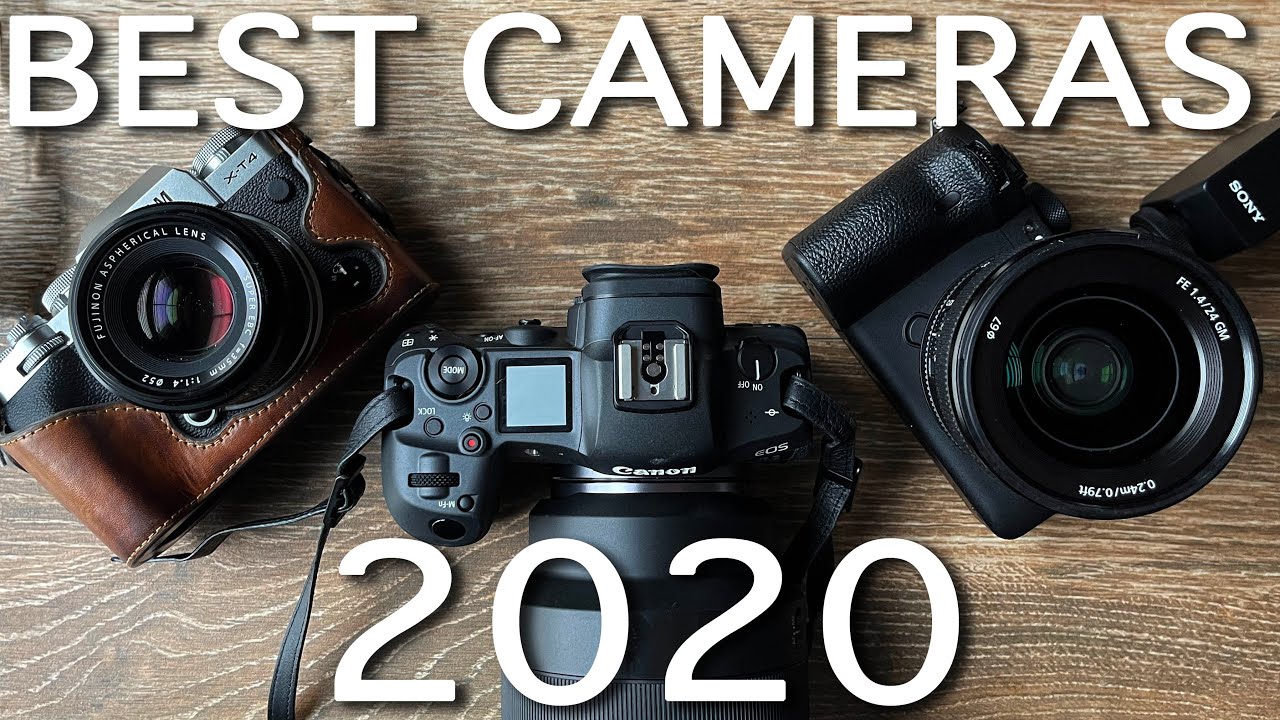
Every autumn I start getting the same message in my workshop inbox: “I want to get serious about landscape photography next year. What camera should I buy?” I’ve typed variations of the same answer so many times I could do it in my sleep, which is saying something because I’m usually already awake at 4am. The honest truth is that the question is almost never just about the camera body. It’s about budget, intention, and what you’re actually going to photograph. Tony & Chelsea Northrup put together a tutorial that does the hard work of sorting through those layers, and it’s one of the clearest breakdowns I’ve come across. Watch the full tutorial on YouTube before you spend a single dollar.
In this Tony & Chelsea Northrup tutorial, Tony frames the whole conversation around a simple premise: the right camera depends entirely on what you’re shooting and how much you’re willing to spend. That’s the kind of honest framing that saves beginners from expensive mistakes. I’ve watched students show up to my Oregon workshops with gear that cost twice what they needed to spend, and watched others struggle with tools that genuinely limited what they could capture at dawn on a foggy ridge. Getting this decision right at the start matters more than most people realize.
What follows is my walkthrough of the tutorial’s key decision points, with notes from the field where my own experience either confirms or complicates what Tony recommends.
Step 1: Ask Whether You Need a Camera at All
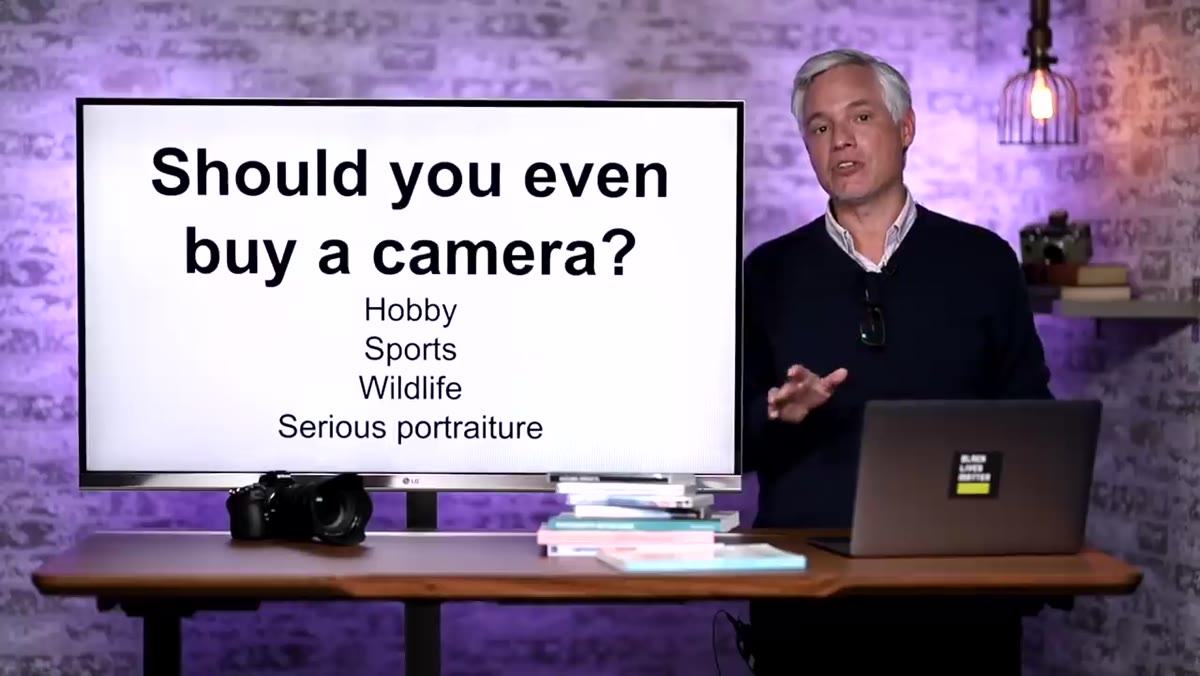 Tony gesturing while discussing smartphone camera quality
Before anything else, Tony makes a point that takes real confidence to say out loud as a camera educator: a modern smartphone might be all you need. If your budget is around $500, he suggests putting that money toward a current flagship phone rather than a dedicated camera. Phones released from 2018 onward have computational photography that genuinely outperforms entry-level cameras in handheld, low-light situations, which is exactly where beginners struggle most.
Tony gesturing while discussing smartphone camera quality
Before anything else, Tony makes a point that takes real confidence to say out loud as a camera educator: a modern smartphone might be all you need. If your budget is around $500, he suggests putting that money toward a current flagship phone rather than a dedicated camera. Phones released from 2018 onward have computational photography that genuinely outperforms entry-level cameras in handheld, low-light situations, which is exactly where beginners struggle most.
From a landscape perspective, I’ll add one important caveat. Phones have gotten remarkable at wide shots in decent light. But the moment you want to compress a distant mountain range, isolate a single wildflower against a blurred treeline, or track a hawk in flight, the physics of a small sensor and a fixed short lens will stop you cold. Know your subject before you decide.
Step 2: Define the Budget Threshold Where a Dedicated Camera Makes Sense
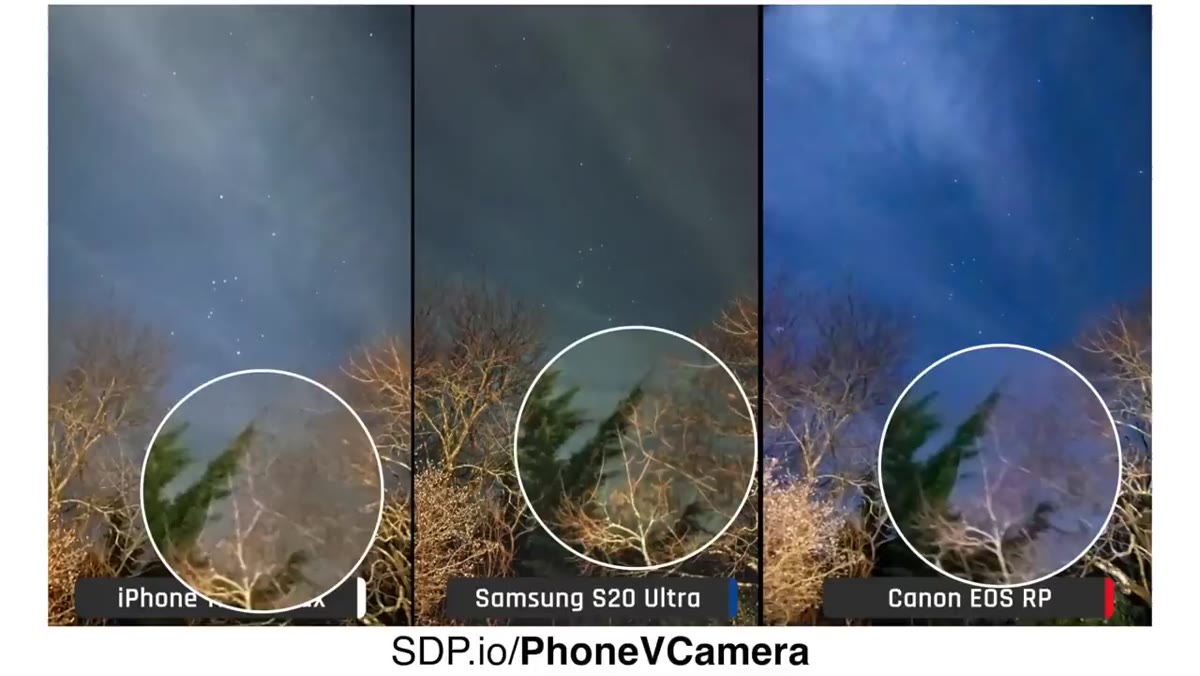 Budget range text on screen with camera comparisons
Tony puts the crossover point at roughly $1,000. Below that, a smartphone often wins in real-world results. At $1,000 and above, a dedicated camera system starts to pull ahead, particularly in scenarios requiring telephoto reach, shallow depth of field in video, or fast moving subjects like wildlife and sports.
Budget range text on screen with camera comparisons
Tony puts the crossover point at roughly $1,000. Below that, a smartphone often wins in real-world results. At $1,000 and above, a dedicated camera system starts to pull ahead, particularly in scenarios requiring telephoto reach, shallow depth of field in video, or fast moving subjects like wildlife and sports.
This threshold matters for landscape shooters because our needs are specific. We’re not usually tracking fast subjects, but we do need dynamic range, corner-to-corner sharpness at wide angles, and the ability to attach a solid tripod head and a polarizing filter. Those are things a smartphone simply cannot do, regardless of price.
Step 3: Start with the Fujifilm X-T20 for a General Entry Point
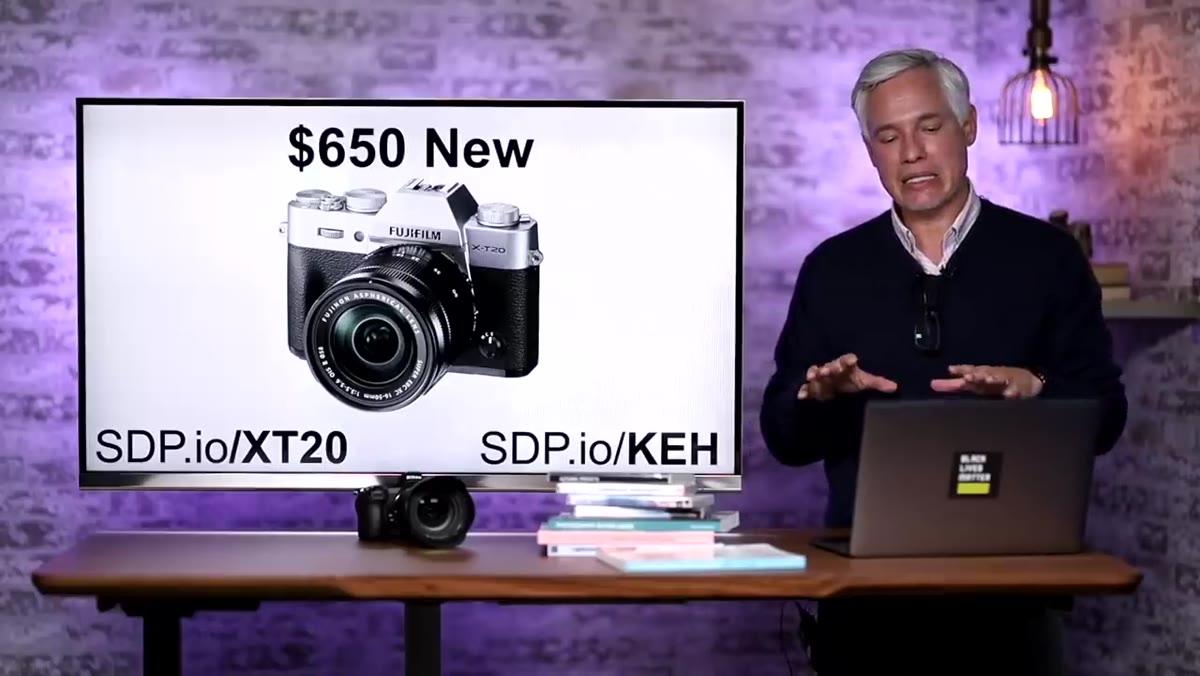 Fujifilm X-T20 displayed as entry-level recommendation
For photographers ready to step into a dedicated system, Tony recommends the Fujifilm X-T20 as a kit starting around $650. It’s a mirrorless APS-C camera with physical dials for shutter speed, aperture, and ISO sitting right on top of the body where you can feel them without hunting through menus. That matters more than it sounds.
Fujifilm X-T20 displayed as entry-level recommendation
For photographers ready to step into a dedicated system, Tony recommends the Fujifilm X-T20 as a kit starting around $650. It’s a mirrorless APS-C camera with physical dials for shutter speed, aperture, and ISO sitting right on top of the body where you can feel them without hunting through menus. That matters more than it sounds.
I still occasionally shoot film specifically because it forces deliberate decision-making before every frame. The Fujifilm bodies reward that same mindset. The controls are tactile and direct, which builds the muscle memory that turns beginners into confident shooters. For landscape work, the Fuji color science is also genuinely beautiful out of camera, particularly the film simulation modes for overcast Pacific Northwest mornings.
Step 4: Consider the Canon EOS RP for a Full-Frame Upgrade
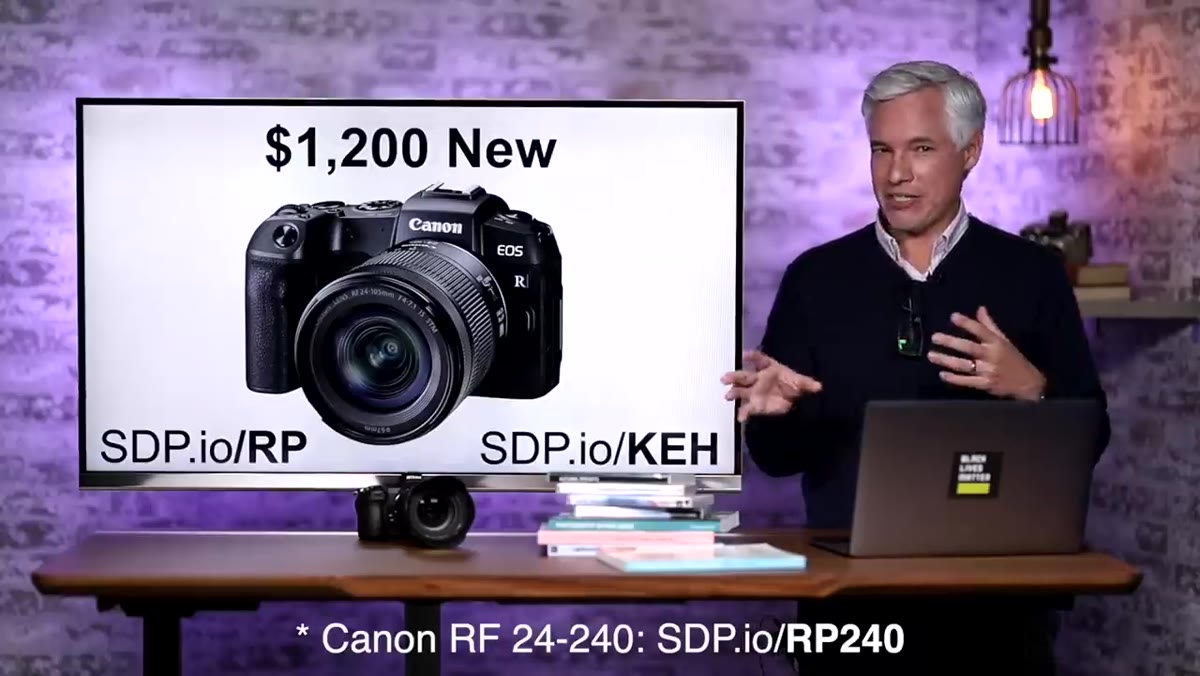
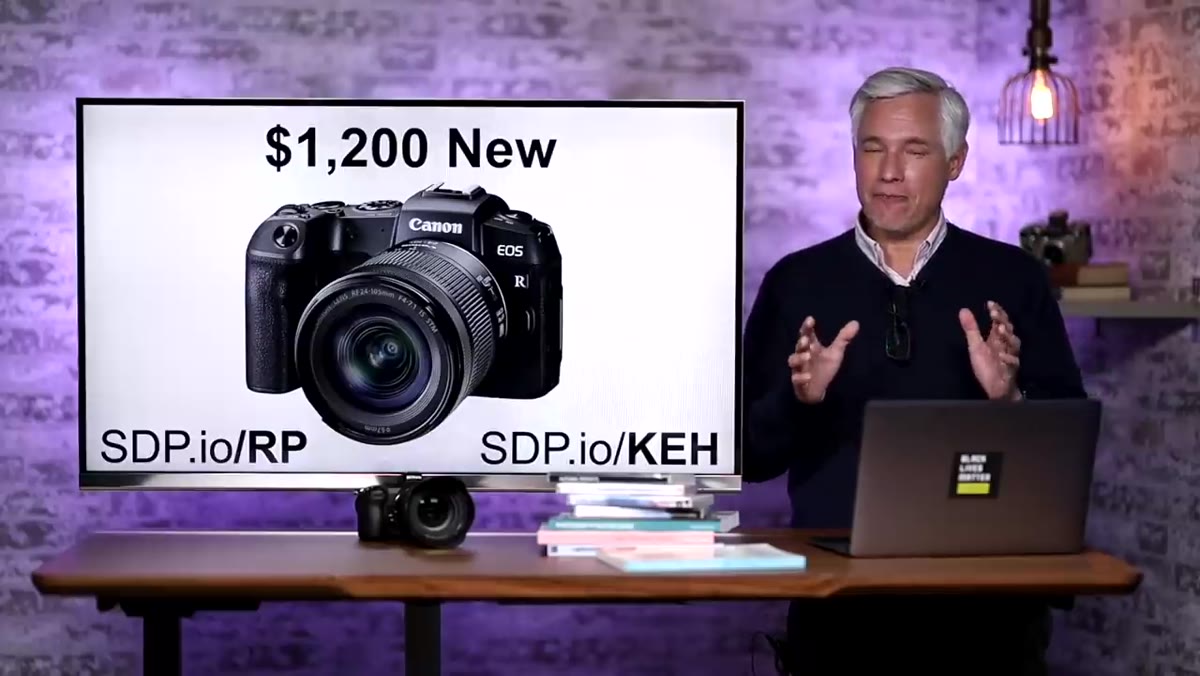 Canon EOS RP body shown with lens options listed
The next tier Tony covers is the Canon EOS RP, a full-frame mirrorless body available around $700 for the body alone. His recommendation is to pair it with either the 24-105mm or the more versatile 24-200mm zoom lens. Full-frame sensors capture significantly more light per pixel and deliver the wide dynamic range that landscape photographers depend on when the sky is bright and the foreground is still deep in shadow.
Canon EOS RP body shown with lens options listed
The next tier Tony covers is the Canon EOS RP, a full-frame mirrorless body available around $700 for the body alone. His recommendation is to pair it with either the 24-105mm or the more versatile 24-200mm zoom lens. Full-frame sensors capture significantly more light per pixel and deliver the wide dynamic range that landscape photographers depend on when the sky is bright and the foreground is still deep in shadow.
The 24-200mm range he describes is genuinely useful in the field. At 24mm you’re capturing a grand, sweeping composition with foreground interest. At 200mm you’re pulling in a lone tree on a hillside three ridges away. That kind of flexibility on a single hike, without swapping glass, is practical in a way that specs on a webpage can’t fully communicate.
Step 5: Match the Lens Range to Your Shooting Scenarios
 Focal length range diagram showing wide to telephoto examples
Tony takes time to explain what focal length numbers actually mean in practice, which most gear reviews skip. Wide angle, around 24mm, behaves like what you see on a smartphone. Longer focal lengths, 100mm and up, compress perspective and bring distant subjects closer. For landscapes, that translation is everything.
Focal length range diagram showing wide to telephoto examples
Tony takes time to explain what focal length numbers actually mean in practice, which most gear reviews skip. Wide angle, around 24mm, behaves like what you see on a smartphone. Longer focal lengths, 100mm and up, compress perspective and bring distant subjects closer. For landscapes, that translation is everything.
When I’m scouting a location the night before a shoot, I’m already thinking in focal lengths. A 16-35mm range handles the sweeping valley compositions. A 70-200mm lets me isolate the texture of a lava field or the detail of light breaking through a ridgeline gap. Understanding this before buying means you invest in glass that actually serves your vision rather than the lens that came cheapest in the kit box.
A Note from the Field: Gear Decisions Are Long-Term Ecosystem Choices
One thing Tony’s tutorial touches on but deserves more weight for landscape photographers specifically is the idea that buying a camera body means buying into a lens ecosystem. That 24-200mm Canon lens he recommends is a great starting point, but eventually you’ll want a dedicated wide-angle prime, a tilt-shift lens if architecture or precise foreground focus matters, or a fast telephoto for wildlife at dusk. The body you choose today determines which of those future purchases are available to you.
I’ve been shooting Canon for fifteen years, and part of that loyalty is simply because my glass collection has grown to the point where switching systems would cost more than a used car. That’s not a regret, it’s a commitment I understood going in. Before you buy, spend ten minutes reading about the lens roadmap of whatever system you’re considering. It will save you from a painful brand switch two or three years down the road when your photography starts to outgrow your first body.
The single most important takeaway from this tutorial is that budget alone shouldn’t drive the camera decision. The photography you intend to do, whether that’s sweeping landscapes from a tripod at first light or tracking elk through autumn fog, determines the features you actually need. Get that answer right first, then match the gear to the vision.
Watch the full tutorial on YouTube for Tony’s complete breakdown across every shooting category, including wildlife, sports, and video. It’s worth your hour before you open your wallet.
Comments
Leave a Comment