There’s a particular kind of frustration I know well. You’ve done everything right. You checked the forecast, set three alarms, drove two hours in the dark, and arrived at the trailhead to find flat light, a crowded overlook, and a composition you’ve seen a hundred times before. You fire off maybe four frames. Then you drive home. That’s a full morning of effort for four shutter clicks, and if you’re honest, two of them are nearly identical. After twenty years of doing this, I can tell you that the math on landscape photography practice is brutal. The conditions demand so much of you just to show up that the actual photography, the repetition that builds skill, gets squeezed into these rare, high-pressure windows.
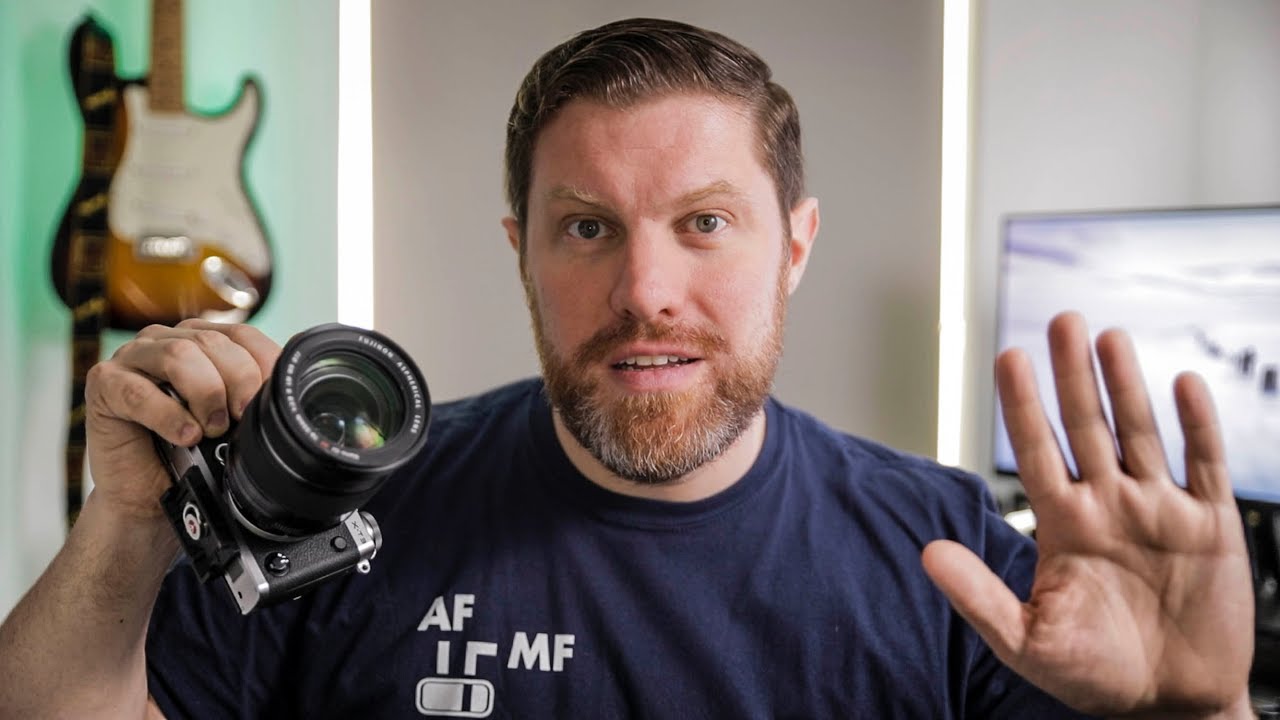
I’ve been sitting with this problem for a long time, which is why a recent video from the First Man Photography channel stopped me mid-scroll. Watch the full tutorial on YouTube. The creator works through something I’ve believed for years but never framed this cleanly: isolating yourself inside the landscape photography genre is one of the quietest ways to stall your growth. What follows is my breakdown of the tutorial’s core steps, with some notes from my own practice in the high desert outside Bend.
Step 1: Count Your Actual Shutter Clicks
 Lightroom catalog open showing 2018 shoot data
Before you can fix the problem, you have to see it clearly. The tutorial walks through a simple exercise: open your Lightroom catalog, filter by year, and count how many times you actually went out and how many frames you came home with. When the creator did this for himself, he landed on roughly 30 outings and about 80 keepers for the entire year. That sounds like a lot of effort until you run the math on how many times the shutter actually fired.
Lightroom catalog open showing 2018 shoot data
Before you can fix the problem, you have to see it clearly. The tutorial walks through a simple exercise: open your Lightroom catalog, filter by year, and count how many times you actually went out and how many frames you came home with. When the creator did this for himself, he landed on roughly 30 outings and about 80 keepers for the entire year. That sounds like a lot of effort until you run the math on how many times the shutter actually fired.
I did this same audit last winter and the numbers were humbling. Go into your catalog, set the date range to the past twelve months, sort by capture date, and count distinct shooting days. Then look at your raw file count. Divide one into the other. For most landscape photographers, you’ll find you’re getting less practice than a hobbyist who takes their phone to lunch every day.
Step 2: Recognize That Life Is the Variable You Can’t Control
 Presenter speaking to camera, discussing London lifestyle
The tutorial is honest about something most photography education glosses over: the logistics of landscape photography are genuinely difficult. Early mornings, long drives, weather windows, golden hour timing. These don’t bend around jobs, kids, or seasons. The creator talks about living in London and simply not being able to get out as often as he wanted. That friction is real, and pretending it isn’t leads photographers to blame their gear or their location instead of solving the actual problem.
Presenter speaking to camera, discussing London lifestyle
The tutorial is honest about something most photography education glosses over: the logistics of landscape photography are genuinely difficult. Early mornings, long drives, weather windows, golden hour timing. These don’t bend around jobs, kids, or seasons. The creator talks about living in London and simply not being able to get out as often as he wanted. That friction is real, and pretending it isn’t leads photographers to blame their gear or their location instead of solving the actual problem.
My own version of this was the years I was running workshops every weekend during peak season. I was teaching other people to shoot and barely touching my own work. The schedule wasn’t going to change. So the approach had to.
Step 3: Expand Your Identity from Landscape Photographer to Photographer
 Presenter making the core argument about becoming a photographer
This is the conceptual hinge the whole tutorial turns on, and it’s worth sitting with. The recommendation is to stop thinking of yourself as a landscape photographer who only fires the camera in alpine meadows at sunrise, and start thinking of yourself as a photographer who happens to specialize in landscape work. The distinction sounds small. It isn’t.
Presenter making the core argument about becoming a photographer
This is the conceptual hinge the whole tutorial turns on, and it’s worth sitting with. The recommendation is to stop thinking of yourself as a landscape photographer who only fires the camera in alpine meadows at sunrise, and start thinking of yourself as a photographer who happens to specialize in landscape work. The distinction sounds small. It isn’t.
The analogy the tutorial uses is motorsport. A skilled Formula One driver who steps into a rally car is still a skilled driver. The disciplines are different, but the fundamentals, reading the road, managing control inputs, anticipating, transfer completely. Photography works the same way. Composition is composition. Light is light. Understanding how aperture affects depth of field doesn’t know what genre you’re shooting.
Step 4: Pick Up the Camera in Ordinary Moments
 Presenter discussing portraits of family and friends
The tutorial’s first practical suggestion is portraits, specifically of people you already have access to: family, friends, anyone willing to sit still for five minutes. My kids have been my most reluctant and most useful subjects. They move unpredictably, they don’t hold poses, and the light in my kitchen at 7am is genuinely challenging. All of that is good practice.
Presenter discussing portraits of family and friends
The tutorial’s first practical suggestion is portraits, specifically of people you already have access to: family, friends, anyone willing to sit still for five minutes. My kids have been my most reluctant and most useful subjects. They move unpredictably, they don’t hold poses, and the light in my kitchen at 7am is genuinely challenging. All of that is good practice.
You don’t need a portrait lens or a studio setup. Use whatever you’re already carrying. The goal isn’t to produce portfolio work. It’s to make decisions: where do I place this person in the frame, what’s behind them, where is the light coming from, what do I sacrifice when I adjust the exposure. Those are the same questions I ask standing at the edge of the Deschutes River at dawn. The answers just come faster now because I’ve asked them ten thousand more times than my shutter count would suggest.
Step 5: Apply Landscape Thinking to Non-Landscape Scenes
 Presenter explaining transferable photography principles
Once you’re shooting more regularly, start applying your landscape instincts deliberately. When I shoot in town, I look for leading lines the same way I’d look for a fence row or a river bend in the field. I watch how light rakes across a brick wall and think about how I’d expose for that if it were a sandstone canyon. I look for layers, foreground, midground, background, in a crowded farmers market the same way I’d stack a coastal shot.
Presenter explaining transferable photography principles
Once you’re shooting more regularly, start applying your landscape instincts deliberately. When I shoot in town, I look for leading lines the same way I’d look for a fence row or a river bend in the field. I watch how light rakes across a brick wall and think about how I’d expose for that if it were a sandstone canyon. I look for layers, foreground, midground, background, in a crowded farmers market the same way I’d stack a coastal shot.
This cross-training builds a kind of visual muscle memory. The moment you arrive at a new landscape location, your eye has already rehearsed the decisions. You’re not figuring out composition from scratch in fading light. You’ve already made similar calls dozens of times that week in lower-stakes environments.
What the Tutorial Doesn’t Cover, But I’d Add
The tutorial is focused on volume and variety, and it’s right to be. But there’s a counterweight worth naming. Shooting more only helps if you’re reviewing what you shoot. After any session, whether it’s portraits of my kids at a soccer game or a proper pre-dawn landscape shoot, I spend time in Lightroom not just culling, but asking why the good ones work and why the weaker ones don’t. This is where the practice actually converts into skill. Volume without reflection is just burning storage.
I also still shoot a roll of film every couple of months. With 36 frames and no instant preview, I slow down and think before every single press of the shutter. It’s the opposite of the high-volume practice the tutorial recommends, and I think both belong in the same toolkit. Film forces intention. High-volume digital shooting builds fluency. You want both.
The single most transferable idea here is this: the skills that make a great landscape photographer are not exclusive to landscapes. Every time you pick up a camera with intention, you’re sharpening the same tools you’ll use when the light finally breaks perfect over a mountain ridge and you have forty seconds to get the shot. Stop waiting for those forty seconds to practice. They’ll come. Be ready.
Watch the full tutorial on YouTube and see the full argument in the creator’s own words. It’s worth your time.
Comments
Leave a Comment