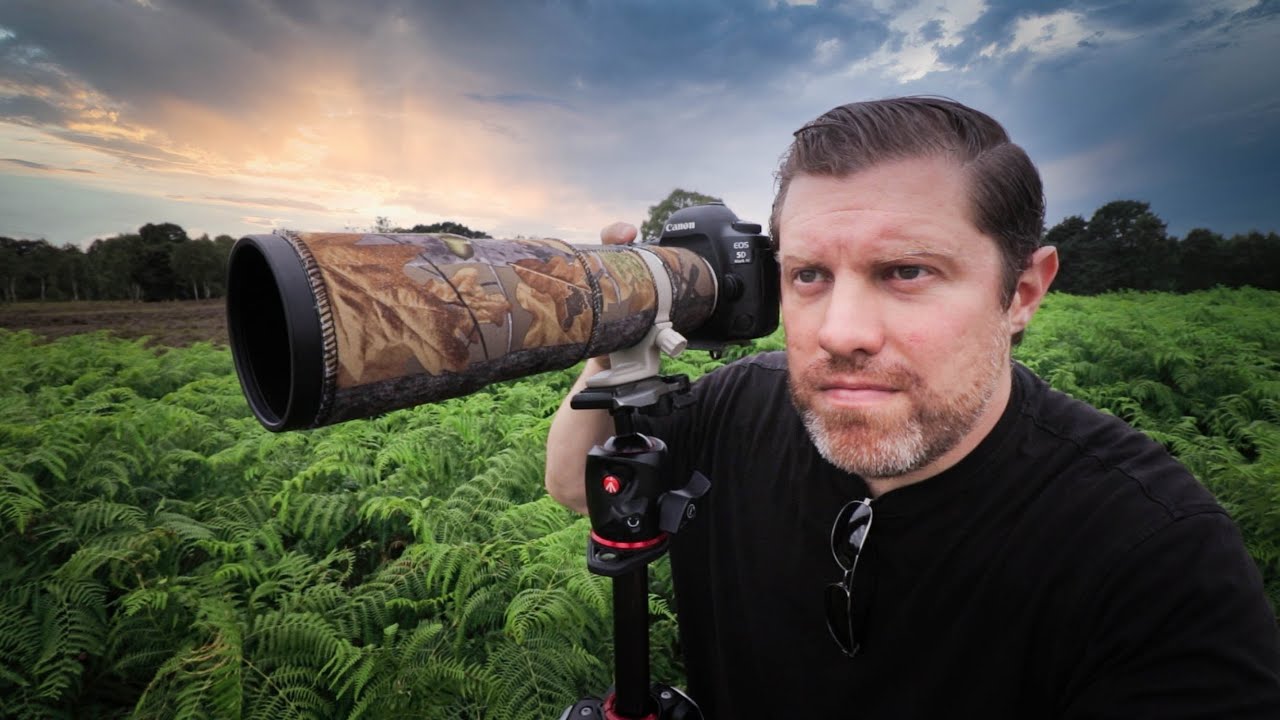
There’s a particular kind of frustration that comes from standing in front of a beautiful scene and watching it fall apart in the frame. A bird that won’t sit still. Light that changes faster than you can dial in your exposure. A background that looked perfect until you checked the LCD and realized the subject was a blurry smear against the heather. I’ve been making photographs for twenty years, and that frustration never fully goes away. What changes is how quickly you recover from it and how many tools you have ready when the moment arrives.
That’s exactly why I keep coming back to field-based tutorials from photographers who shoot in real, uncontrolled conditions. In this First Man Photography tutorial, the creator takes us through a full day on a lowland moor, working with fast-moving small birds, a long prime lens, and shifting light. There’s no studio, no controlled lighting setup, no safety net. Just a photographer making decisions in real time and talking through each one. That’s the kind of material I can actually use.
What struck me most watching this wasn’t any single camera setting. It was the combination of technical preparation and physical patience that produced results. The photographer waited, moved slowly, repositioned deliberately, and read the scene before pressing the shutter. Those habits don’t show up in gear lists. They show up in final images. Here’s how the whole process breaks down.
Step 1: Use a Long Prime Lens and Commit to It
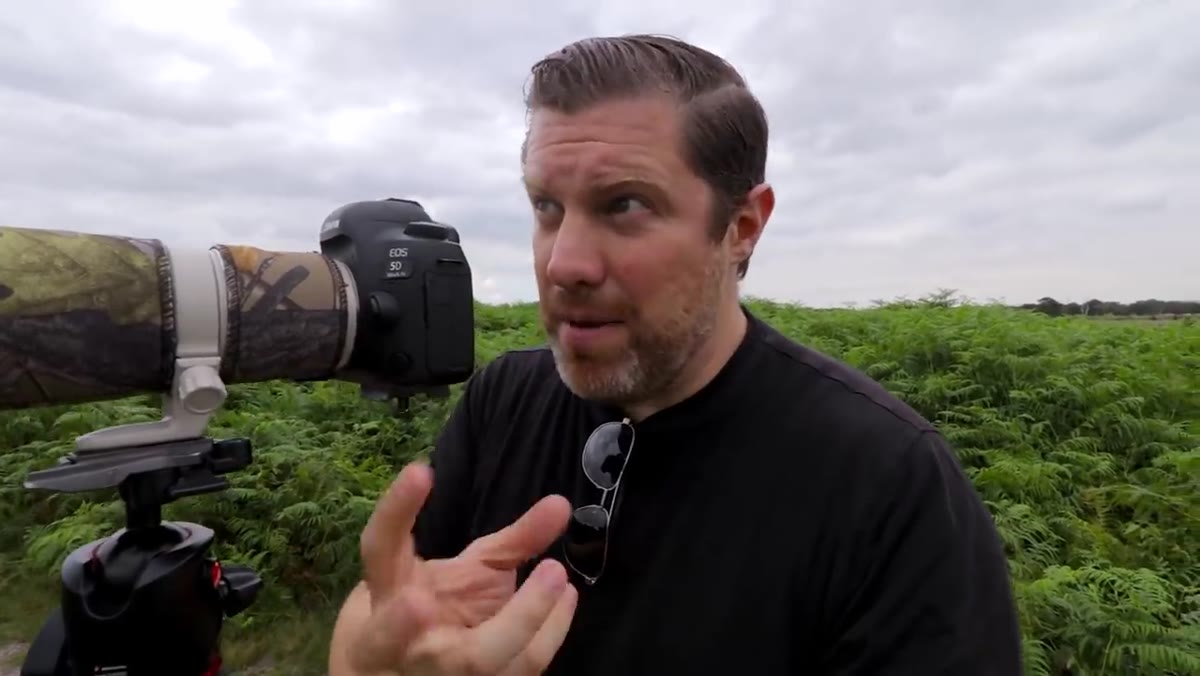
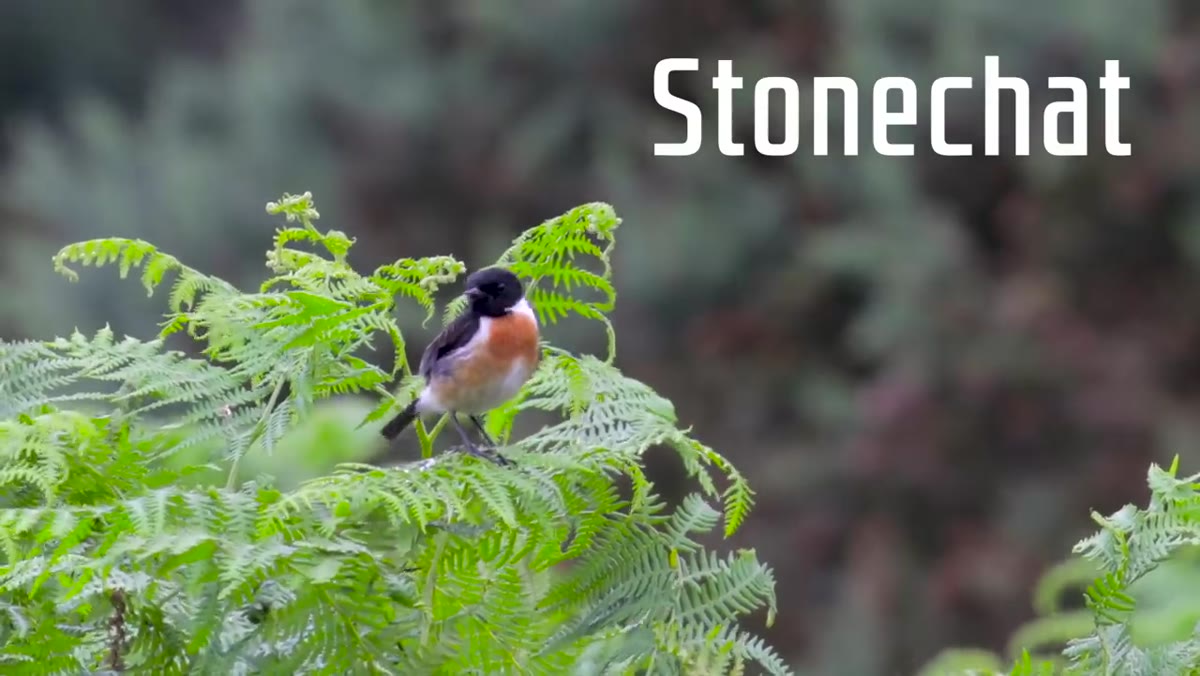 Photographer holding 400mm prime lens in moorland field
The tutorial opens with a 400mm f/5.6 fixed prime already on the camera. There’s no zooming in and out to find the composition. A prime lens forces a different kind of thinking. You move your feet. You pick your position based on where the subject is likely to land, not where it currently sits. For wildlife photography especially, this matters because you’re often anticipating behavior rather than reacting to it. A 400mm prime is also lighter and optically sharper than most zooms at equivalent focal lengths, which pays off when you’re handholding in low-contrast moorland light.
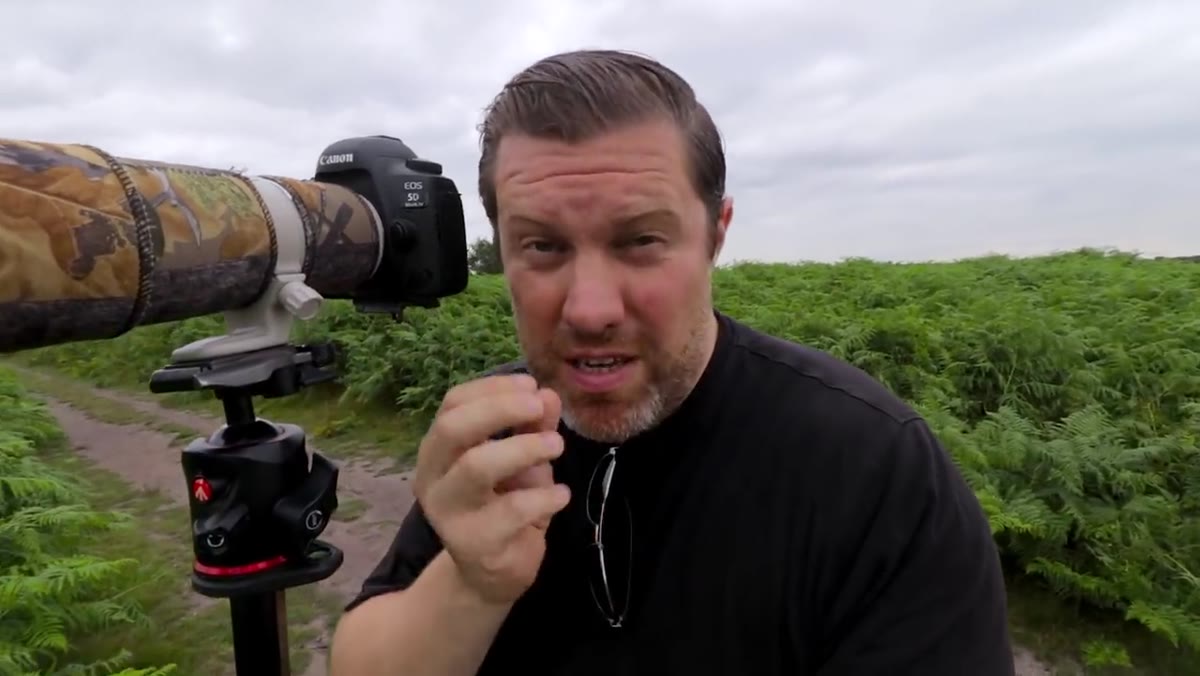
Photographer holding 400mm prime lens in moorland field
The tutorial opens with a 400mm f/5.6 fixed prime already on the camera. There’s no zooming in and out to find the composition. A prime lens forces a different kind of thinking. You move your feet. You pick your position based on where the subject is likely to land, not where it currently sits. For wildlife photography especially, this matters because you’re often anticipating behavior rather than reacting to it. A 400mm prime is also lighter and optically sharper than most zooms at equivalent focal lengths, which pays off when you’re handholding in low-contrast moorland light.
If you’re shooting wildlife with a prime, scout the subject’s movement patterns before locking in your position. The photographer in this tutorial identified a fern the bird kept returning to and set up facing that spot, knowing the shot would come eventually. That’s the prime lens mindset.
Step 2: Set a High Shutter Speed for Small, Fast-Moving Birds
 Camera LCD showing 1/1000s shutter speed setting
Small birds are deceptively quick. Even perched, they twitch and shift constantly. The tutorial calls for a shutter speed of 1/1000th of a second, which is the floor, not the ceiling, for birds in motion. At anything slower, you’ll trade sharp primary feathers for motion blur that looks like a mistake rather than a creative choice. If the bird is in flight, push toward 1/2000th or faster if your light allows.
Camera LCD showing 1/1000s shutter speed setting
Small birds are deceptively quick. Even perched, they twitch and shift constantly. The tutorial calls for a shutter speed of 1/1000th of a second, which is the floor, not the ceiling, for birds in motion. At anything slower, you’ll trade sharp primary feathers for motion blur that looks like a mistake rather than a creative choice. If the bird is in flight, push toward 1/2000th or faster if your light allows.
The trade-off is exposure. A faster shutter means less light reaching the sensor, and in moorland conditions under mixed cloud cover, that gap has to come from somewhere.
Step 3: Raise ISO to Compensate, and Know Your Camera’s Limit
 Camera settings showing ISO 1250 on Canon 5D Mark
With a fixed aperture of f/5.6 and a shutter speed locked at 1/1000s, the only remaining variable is ISO. The tutorial lands at ISO 1250 on a Canon 5D Mark series body, which handles noise at that value extremely cleanly. The key point here is knowing your specific camera’s upper limit before you’re standing in a field making decisions under pressure. Test your body in advance. Shoot a controlled scene at ISO 800, 1600, 3200, and examine the results at 100 percent zoom. Find the point where noise becomes distracting and stay below it.
Camera settings showing ISO 1250 on Canon 5D Mark
With a fixed aperture of f/5.6 and a shutter speed locked at 1/1000s, the only remaining variable is ISO. The tutorial lands at ISO 1250 on a Canon 5D Mark series body, which handles noise at that value extremely cleanly. The key point here is knowing your specific camera’s upper limit before you’re standing in a field making decisions under pressure. Test your body in advance. Shoot a controlled scene at ISO 800, 1600, 3200, and examine the results at 100 percent zoom. Find the point where noise becomes distracting and stay below it.
For most modern full-frame mirrorless or DSLR bodies, ISO 1600 to 3200 is workable with careful post-processing. Crop sensors require more caution. Don’t guess this in the field. Know it before you go.
Step 4: Switch to Continuous AF Mode for Moving Subjects
 Camera set to AI Servo continuous autofocus mode
The tutorial uses Canon’s AI Servo autofocus mode, which continuously recalculates focus as long as the subject stays within the selected focus point. The Nikon and Sony equivalents are AF-C and continuous tracking respectively. The principle is the same: single-shot AF is for static subjects. Anything that moves unpredictably needs continuous tracking, full stop.
Camera set to AI Servo continuous autofocus mode
The tutorial uses Canon’s AI Servo autofocus mode, which continuously recalculates focus as long as the subject stays within the selected focus point. The Nikon and Sony equivalents are AF-C and continuous tracking respectively. The principle is the same: single-shot AF is for static subjects. Anything that moves unpredictably needs continuous tracking, full stop.
The honest caveat from the video is that even AI Servo struggles when the subject is very small and set against busy, out-of-focus background detail. When the bird was on a tiny twig at distance, the camera hunted without locking. In those moments, manual focus or repositioning to a cleaner angle is faster than waiting for the system to sort itself out.
Step 5: Use Burst Mode and Think in Sequences
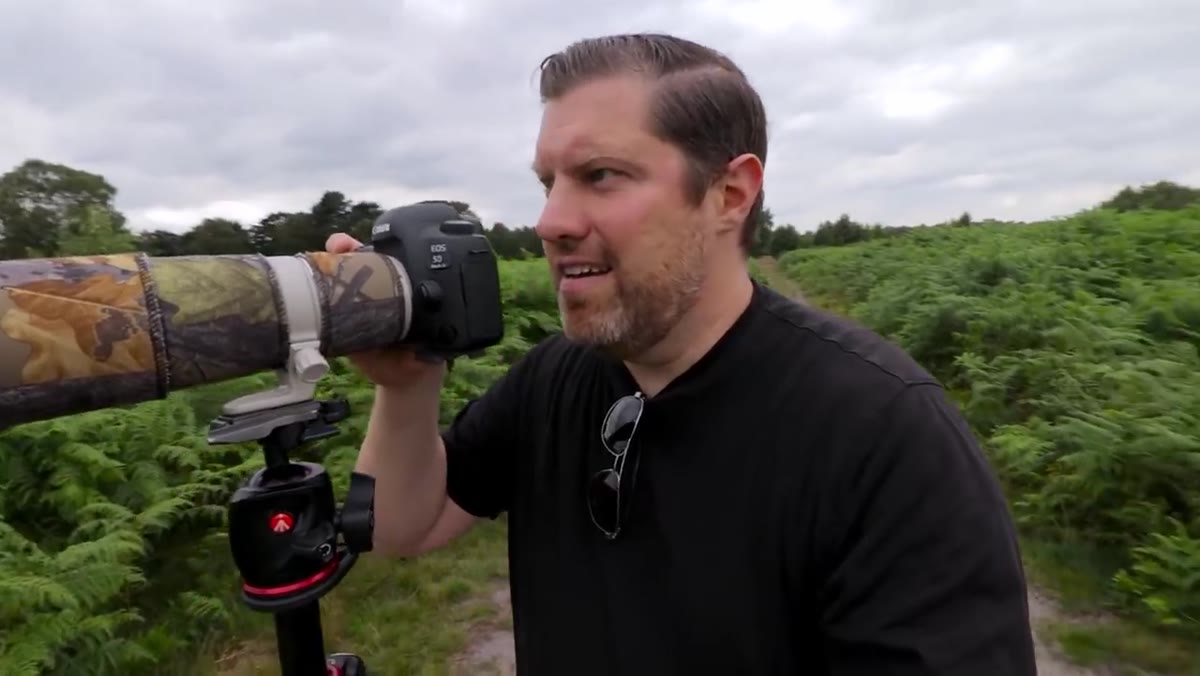
 Photographer firing continuous burst shots in the field
Paired with continuous AF, burst mode gives you a sequence of frames across a fraction of a second. The tutorial makes clear this isn’t about holding the shutter and hoping. It’s about timing your burst to the peak of action or the moment the bird settles. Review your best frames from the sequence and delete the rest on import. Burst mode without editing discipline just creates a storage problem.
Photographer firing continuous burst shots in the field
Paired with continuous AF, burst mode gives you a sequence of frames across a fraction of a second. The tutorial makes clear this isn’t about holding the shutter and hoping. It’s about timing your burst to the peak of action or the moment the bird settles. Review your best frames from the sequence and delete the rest on import. Burst mode without editing discipline just creates a storage problem.
Set your burst to your camera’s highest mechanical rate, but train yourself to fire in short controlled bursts of two to four frames rather than holding the button down. You’ll get sharper individual frames and keep your card storage manageable.
Step 6: Read the Background Before the Subject Arrives
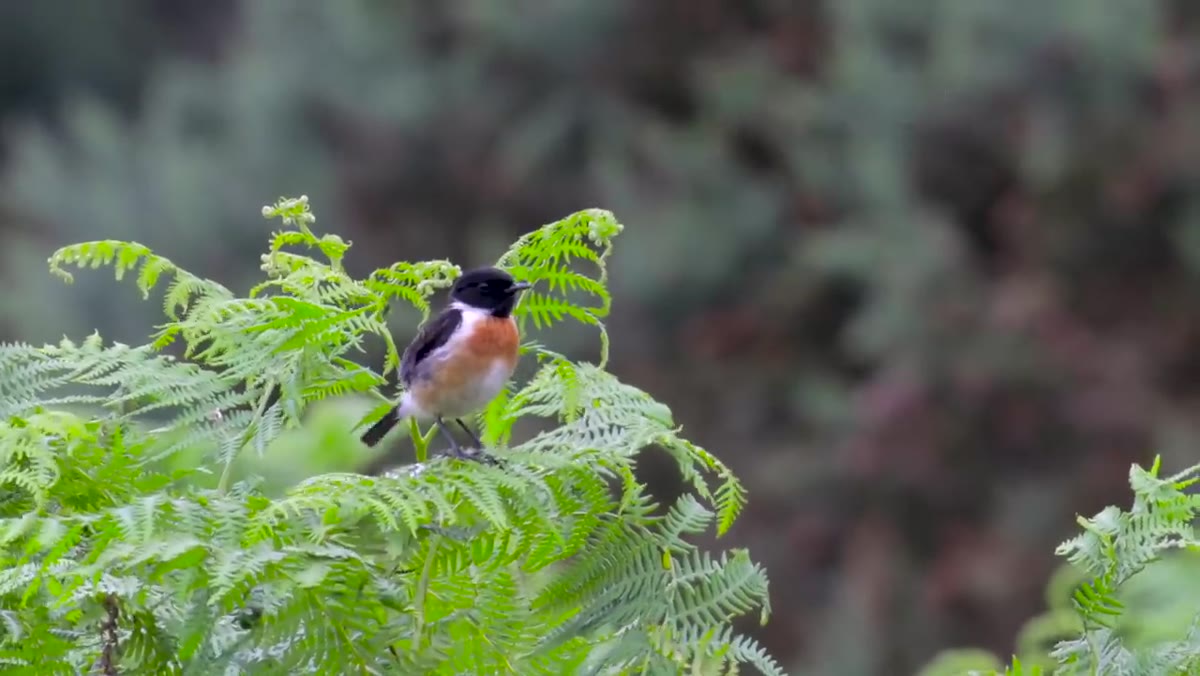
 Fern in foreground with heather blurred purple in background
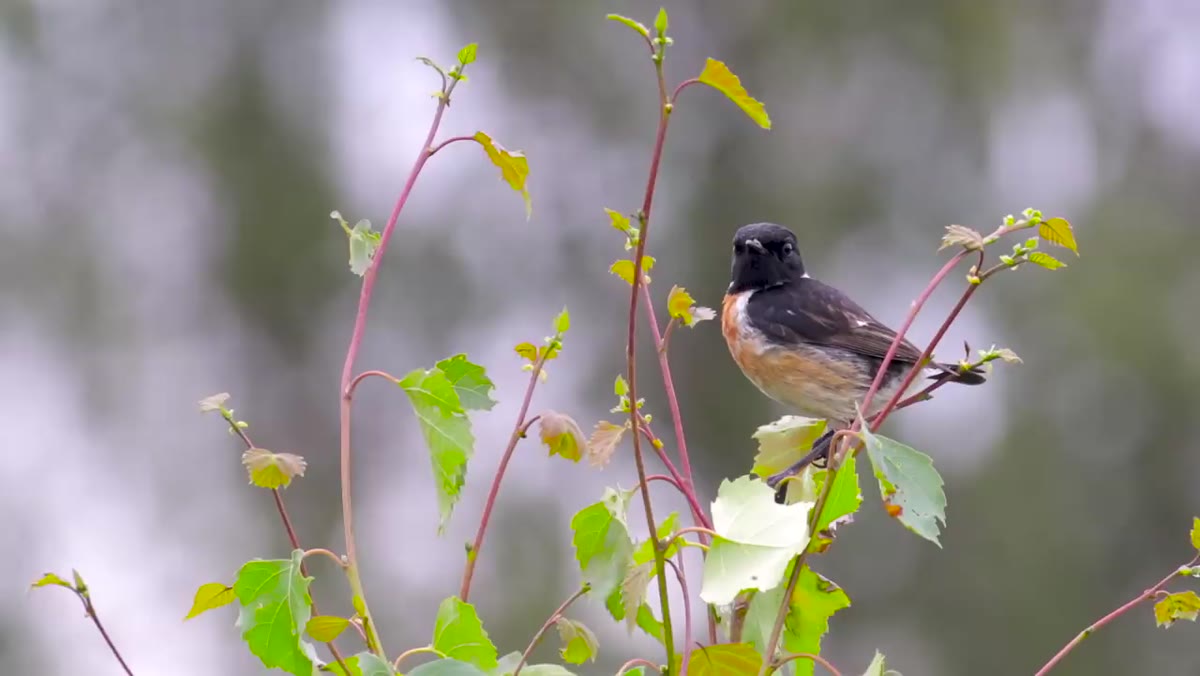
This is the step most tutorials skip, and it’s the one that separates forgettable wildlife shots from prints worth hanging. The photographer in this tutorial positioned himself facing a fern because he could see that behind it, heather was beginning to flower and would blow out into a warm, soft purplish-pink background at f/5.6. He knew what the image would look like before the bird sat down.
Fern in foreground with heather blurred purple in background
This is the step most tutorials skip, and it’s the one that separates forgettable wildlife shots from prints worth hanging. The photographer in this tutorial positioned himself facing a fern because he could see that behind it, heather was beginning to flower and would blow out into a warm, soft purplish-pink background at f/5.6. He knew what the image would look like before the bird sat down.
Spend time looking through your viewfinder at the locations your subject frequents, without the subject in frame. Evaluate the tonal qualities of the background. Identify spots where the light, color, and depth of field will work together. Then wait.
What Twenty Years in the Field Adds to This
One thing this tutorial doesn’t say directly but demonstrates throughout is that scouting and shooting are the same activity. The photographer describes the location as a new one he’s exploring, less than an hour from home. He arrived without a detailed shot list and let the environment tell him what to look for. That kind of open-ended, present-tense observation is something I’ve had to practice deliberately. My natural instinct is to plan, optimize, and arrive with a target in mind. My mentor years ago told me plainly that the mountain doesn’t care about your schedule. The moor doesn’t either. The bird certainly doesn’t.
The images that have meant the most to me, including a few that became best-selling prints, came from sessions where I showed up without rigid expectations and stayed long enough for something unexpected to happen. That’s what this tutorial models, even if it never says so explicitly.
The single most important takeaway from this tutorial is the sequencing of decisions: lens choice first, subject behavior second, settings third, position fourth, patience throughout. Get those in the wrong order and no amount of technical precision will rescue the shot.
Watch the full tutorial on YouTube and pay particular attention to how often the photographer repositions rather than forces a shot that isn’t working. That instinct, more than any camera setting, is what makes the final image.
Comments
Leave a Comment