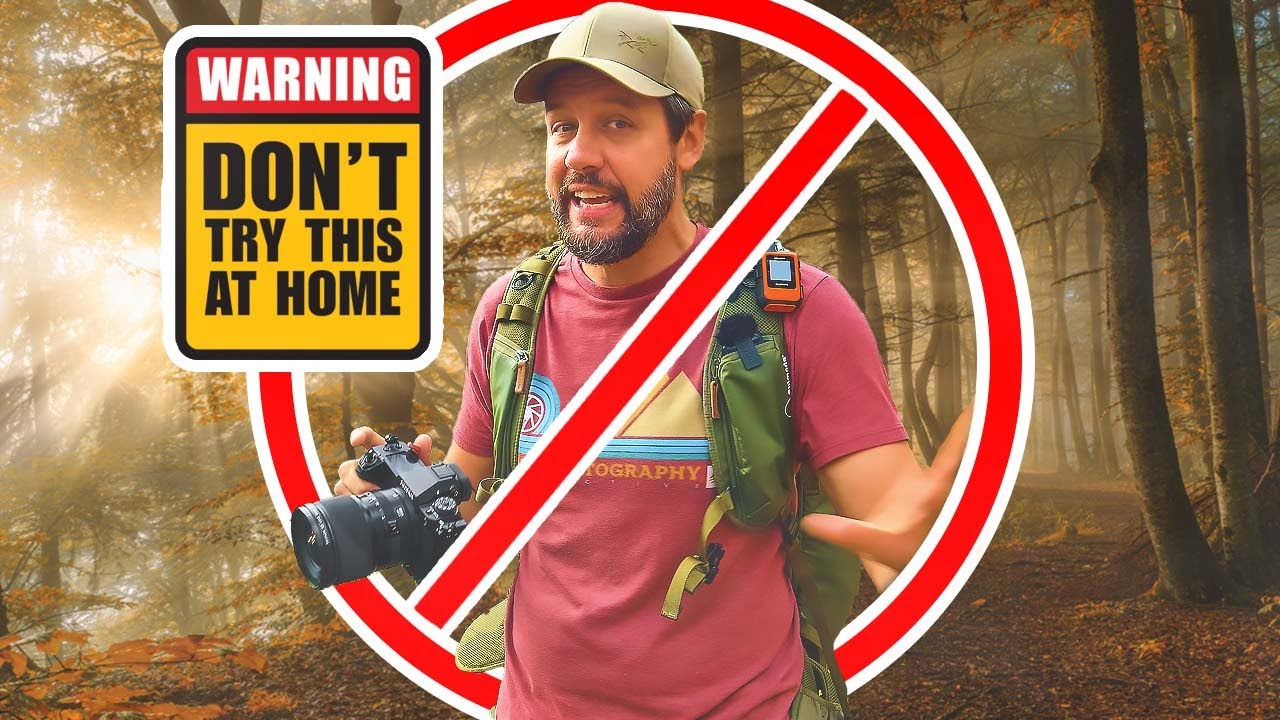
There’s a particular kind of frustration that comes with shooting a location you’ve driven past a hundred times. You know it’s there. You stop. You set up. And you come home with something that looks exactly as uninspiring as the scene felt. I’ve been making landscape photographs for twenty years, and that feeling hasn’t entirely gone away. What has changed is my ability to diagnose the problem quickly and correct it before I ever press the shutter.
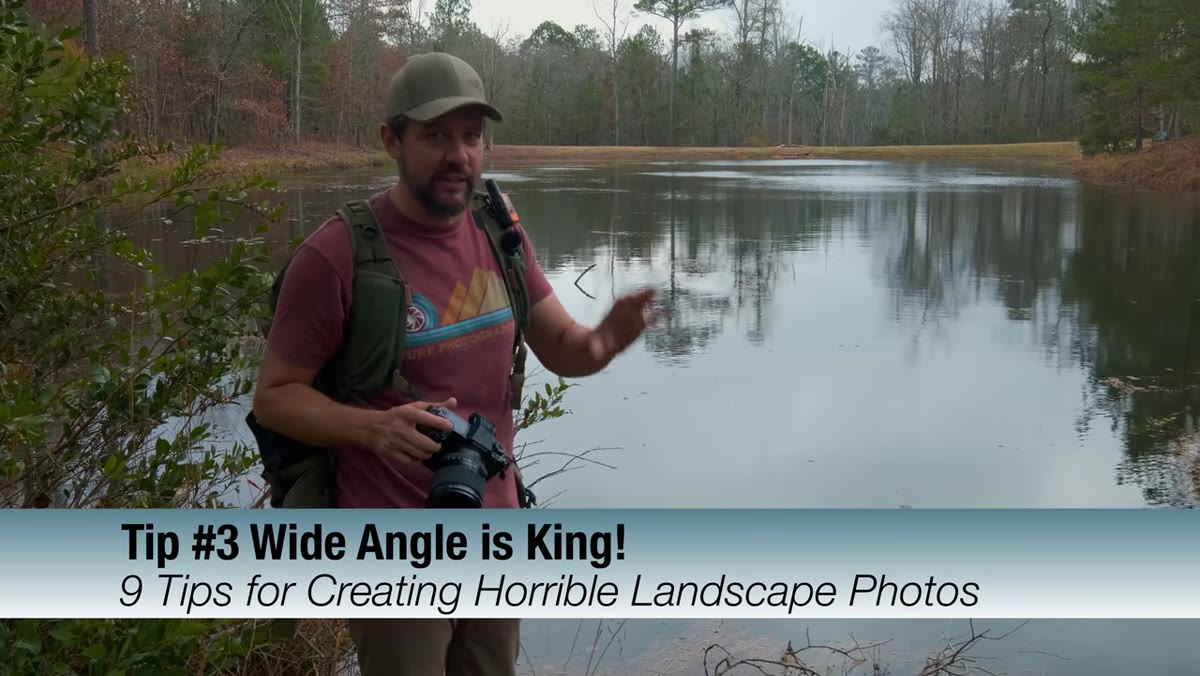
That’s why a recent tutorial from Mark Denney caught my attention. Rather than laying out a conventional list of best practices, he does something sharper. He demonstrates how to take genuinely terrible landscape photos, on purpose, at a plain local lake that most photographers would dismiss entirely. The result is one of the more useful pieces of field instruction I’ve seen in a while, because watching someone intentionally make each mistake forces you to see it clearly. Watch the full tutorial on YouTube and then use this breakdown to reinforce what you’ve taken in.
The tutorial follows nine steps in the order they actually occur during a shoot. That sequencing matters, because bad decisions compound. Miss the right light and every compositional choice you make afterward is fighting an uphill battle.
Step 1: Shoot at High Noon on a Cloudless Day
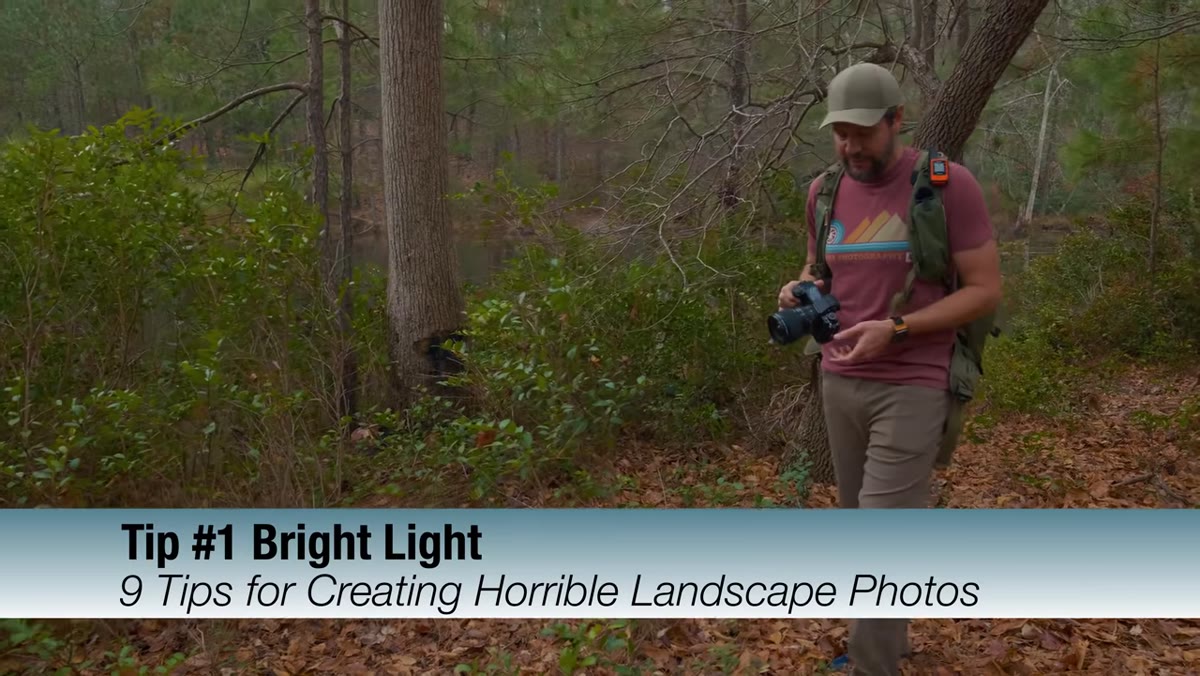 Flat midday light on a dull lake surface
Mark frames this as advice and that’s where the sarcasm starts. Bright midday sun is not an asset in landscape photography. It creates harsh overhead shadows, blows highlights on water and rock, and produces color that looks flat and fatigued in post. The claim that bumping ISO from 100 to 200 at golden hour “ruins” a photograph is exactly backward. A slightly elevated ISO with directional side light will beat a crisp, boring noon exposure every time.
Flat midday light on a dull lake surface
Mark frames this as advice and that’s where the sarcasm starts. Bright midday sun is not an asset in landscape photography. It creates harsh overhead shadows, blows highlights on water and rock, and produces color that looks flat and fatigued in post. The claim that bumping ISO from 100 to 200 at golden hour “ruins” a photograph is exactly backward. A slightly elevated ISO with directional side light will beat a crisp, boring noon exposure every time.
The practical alternative: plan your shoots around the first and last two hours of daylight. Overcast days, like the one Mark is actually shooting in during the video, are underrated. Diffused light wraps around subjects without deep shadows, makes color rendering richer, and gives you far more time to work a composition without racing the sun. My alarm goes off at 4am most mornings, not because I’m a masochist, but because the light I care about doesn’t wait.
Step 2: Ignore Foreground Interest Entirely
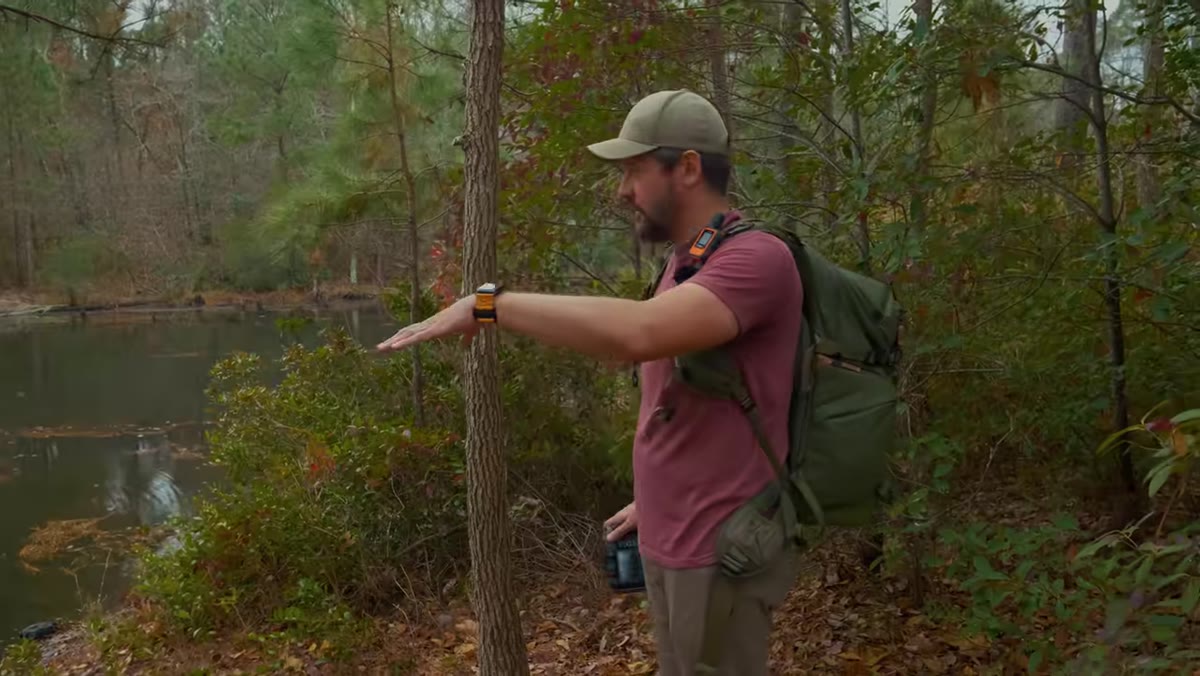 Wide empty foreground, distant treeline, no anchor
Mark walks past a cluster of weathered stumps near the water’s edge without stopping. That’s the second mistake. Foreground interest is not a gimmick or a cliche. It creates a visual entry point that pulls the eye through the frame, from near to mid to far, giving a flat print the illusion of space and distance.
Wide empty foreground, distant treeline, no anchor
Mark walks past a cluster of weathered stumps near the water’s edge without stopping. That’s the second mistake. Foreground interest is not a gimmick or a cliche. It creates a visual entry point that pulls the eye through the frame, from near to mid to far, giving a flat print the illusion of space and distance.
When you’re scouting, get low and look for rocks, plants, patterns in ice or mud, anything that creates a strong leading element within three to six feet of your lens. Wide-angle focal lengths between 16mm and 24mm exaggerate that foreground relationship beautifully. Don’t just stand at eye level and shoot what you see. Kneel, crouch, get your lens close to something interesting and let the background find its own place in the frame.
Step 3: Center Everything and Leave It There
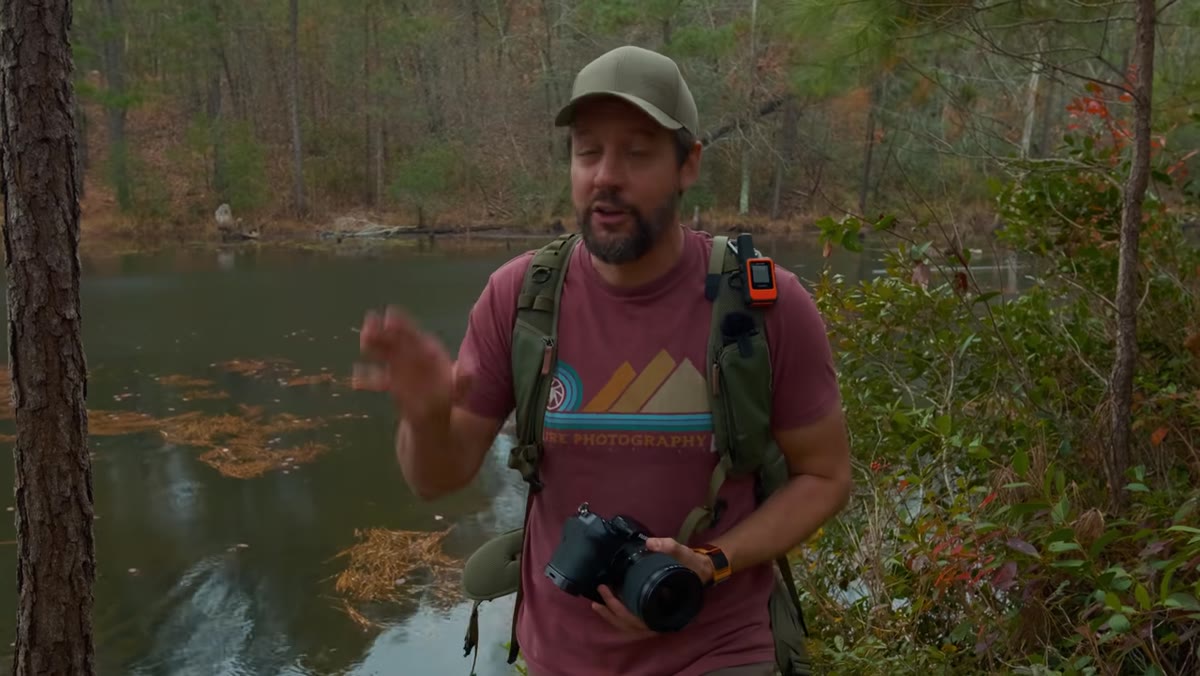 Subject locked dead-center with flat symmetrical framing
A centered composition is not automatically wrong. Symmetrical reflections, for instance, can justify it. But default centering, placing the horizon across the middle and the main subject in the bullseye of your frame, drains the energy from a photograph before you’ve done anything else wrong.
Subject locked dead-center with flat symmetrical framing
A centered composition is not automatically wrong. Symmetrical reflections, for instance, can justify it. But default centering, placing the horizon across the middle and the main subject in the bullseye of your frame, drains the energy from a photograph before you’ve done anything else wrong.
Spend time moving your feet before you touch a setting. Shift left. Shift right. Lower your tripod. The rule of thirds is a starting point, not a law, but it exists because off-center placement creates visual tension that keeps a viewer’s eye moving. The most interesting version of any frame usually isn’t the first position you set up in.
Step 4: Neglect the Sky and Ignore Clouds
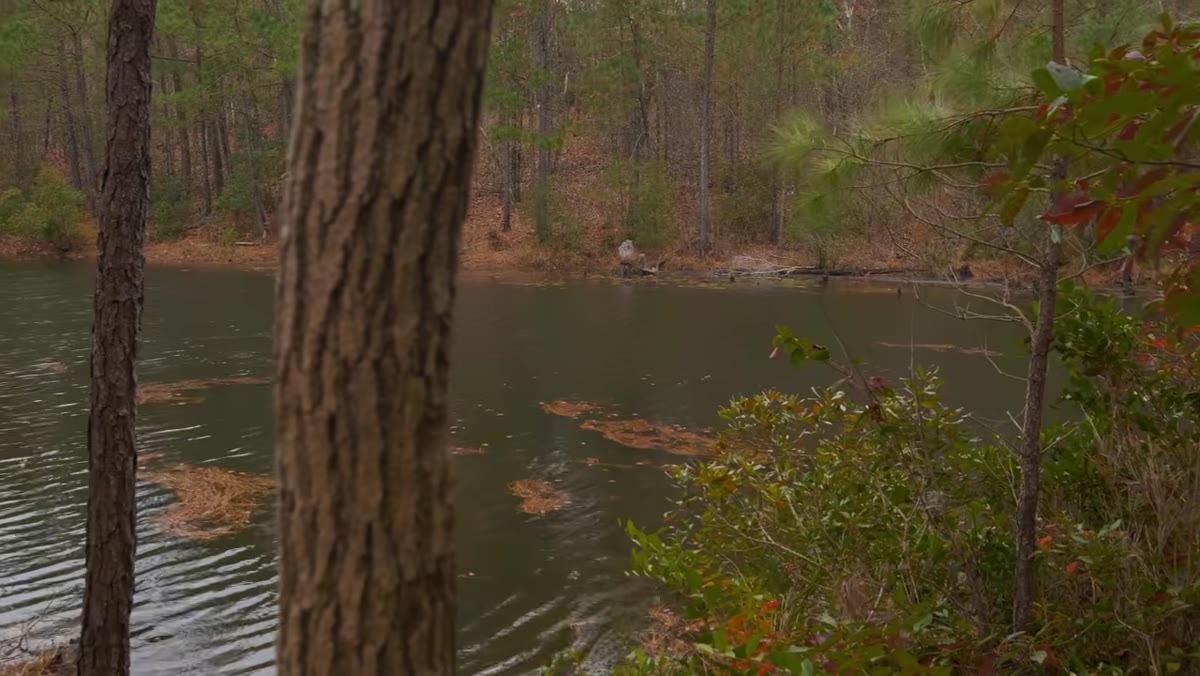 Blank white sky occupying upper half of frame
A featureless sky is dead weight. If you’re shooting under a blank white overcast with nothing happening above the horizon, either reframe to minimize sky entirely or find a foreground strong enough to carry the composition on its own. What you don’t want is a 50/50 split between a dull sky and a dull foreground.
Blank white sky occupying upper half of frame
A featureless sky is dead weight. If you’re shooting under a blank white overcast with nothing happening above the horizon, either reframe to minimize sky entirely or find a foreground strong enough to carry the composition on its own. What you don’t want is a 50/50 split between a dull sky and a dull foreground.
When clouds are present, even heavy gray ones, they add texture and movement. They give you something to work with in post. They create mood. Adjust your horizon placement based on which half of the scene is earning its space. If the sky is dramatic, give it two thirds of the frame. If it’s flat, push it up and let the land do the work.
Step 5: Skip the Tripod and Handhold Everything
 Camera handheld, slight motion blur visible in test frame
This one is straightforward. A tripod slows you down, and that is precisely the point. Handholding encourages quick, reactive shooting that skips the deliberate evaluation a strong landscape image requires. When your camera is locked on a tripod, you are forced to look at the frame carefully, to notice the stray branch crossing the horizon, the lens flare you hadn’t accounted for, the foreground element that’s slightly out of position.
Camera handheld, slight motion blur visible in test frame
This one is straightforward. A tripod slows you down, and that is precisely the point. Handholding encourages quick, reactive shooting that skips the deliberate evaluation a strong landscape image requires. When your camera is locked on a tripod, you are forced to look at the frame carefully, to notice the stray branch crossing the horizon, the lens flare you hadn’t accounted for, the foreground element that’s slightly out of position.
Tripod shooting also opens up longer exposures for moving water and clouds, options that are simply unavailable when you’re handholding. I refuse to use auto mode on anything, and I treat the tripod the same way. It’s not optional equipment. It’s part of thinking before you shoot.
Step 6: Avoid Any Scouting or Location Research
 Walking aimlessly without map or plan, arriving with no setup time
Arriving at a location cold and expecting to find a great composition in minutes is a reliable way to come home with nothing. Scouting, whether in person ahead of time or through tools like PhotoPills, Google Earth, and Instagram location tags, tells you where the light will fall, where the access points are, and where other photographers have already been.
Walking aimlessly without map or plan, arriving with no setup time
Arriving at a location cold and expecting to find a great composition in minutes is a reliable way to come home with nothing. Scouting, whether in person ahead of time or through tools like PhotoPills, Google Earth, and Instagram location tags, tells you where the light will fall, where the access points are, and where other photographers have already been.
Knowing where others have shot is useful because it shows you what to avoid. The version of a famous overlook that every visitor photographs is rarely the best one. Once you know the predictable angle, you can walk twenty feet in any direction and find something no one else is seeing.
A Note on Boring Locations
The most useful part of Mark’s tutorial isn’t any single tip. It’s the premise. He chose a location that he finds genuinely uninteresting to him personally and then proved it could yield a worthwhile image. I’ve driven six hours to shoot a location only to sit in fog for two days. I came home with one image from that trip. It became my best-selling print.
The camera doesn’t know whether a location is famous or forgettable. Neither does the light. The boring lake near your house deserves the same seriousness as the iconic national park you’ve been saving for. The habits you build on ordinary days are what carry you when the extraordinary ones arrive.
The single most useful thing I took from this tutorial: bad decisions in landscape photography don’t happen in isolation. They stack. Wrong time of day sets off wrong exposure strategy, which leads to rushed composition, which leads to a forgettable frame. Reversing that chain starts before you ever arrive at the location. Plan the light, research the scene, get there early, and commit to staying until the moment is right.
Watch the full tutorial on YouTube to see Mark work through each of these mistakes in real time. The visual demonstration of what not to do is worth the watch on its own.
Comments
Leave a Comment