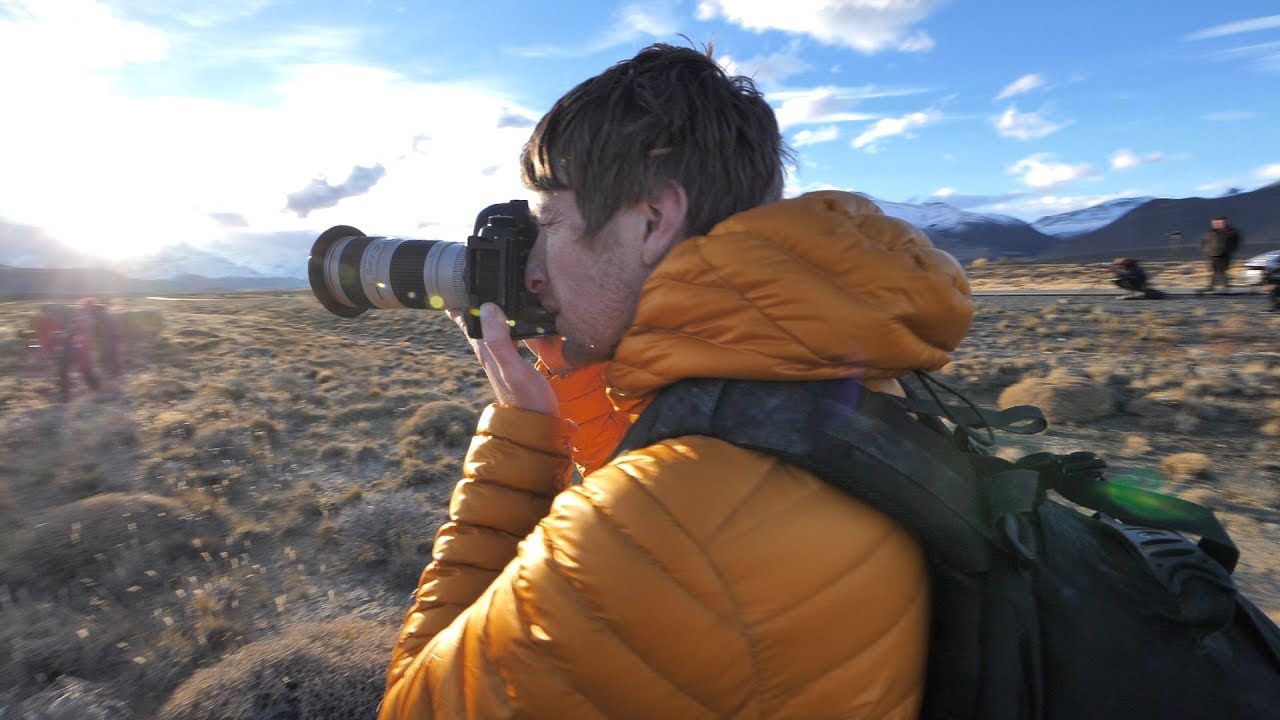
There’s a lesson my old mentor used to repeat until it sank in: “The mountain doesn’t care about your schedule.” I’ve stood at enough pre-dawn trailheads, hat on, coffee cold, watching clouds seal off a horizon I drove hours to photograph, to know exactly what he meant. The light will do what it wants. Your job is to be ready, stay flexible, and never let a bad sky send you back to the van empty-handed.
That’s why I keep returning to this Thomas Heaton tutorial filmed in El Chaltén, Argentina, at the base of Mount Fitzroy. Watch the full tutorial on YouTube — it’s one of the more honest field videos I’ve seen. Heaton doesn’t manufacture a perfect shoot. He works through a real, difficult session where the flagship location underdelivers, pivots twice, and still walks away with compelling images. For anyone who runs workshops or shoots in unpredictable conditions, the problem-solving here is more valuable than any technically perfect golden-hour video.
What follows is a step-by-step breakdown of how Heaton navigates that session, translated into practical field decisions you can apply the next time your planned shot falls apart.
Step 1: Assess the Light Before You Unpack
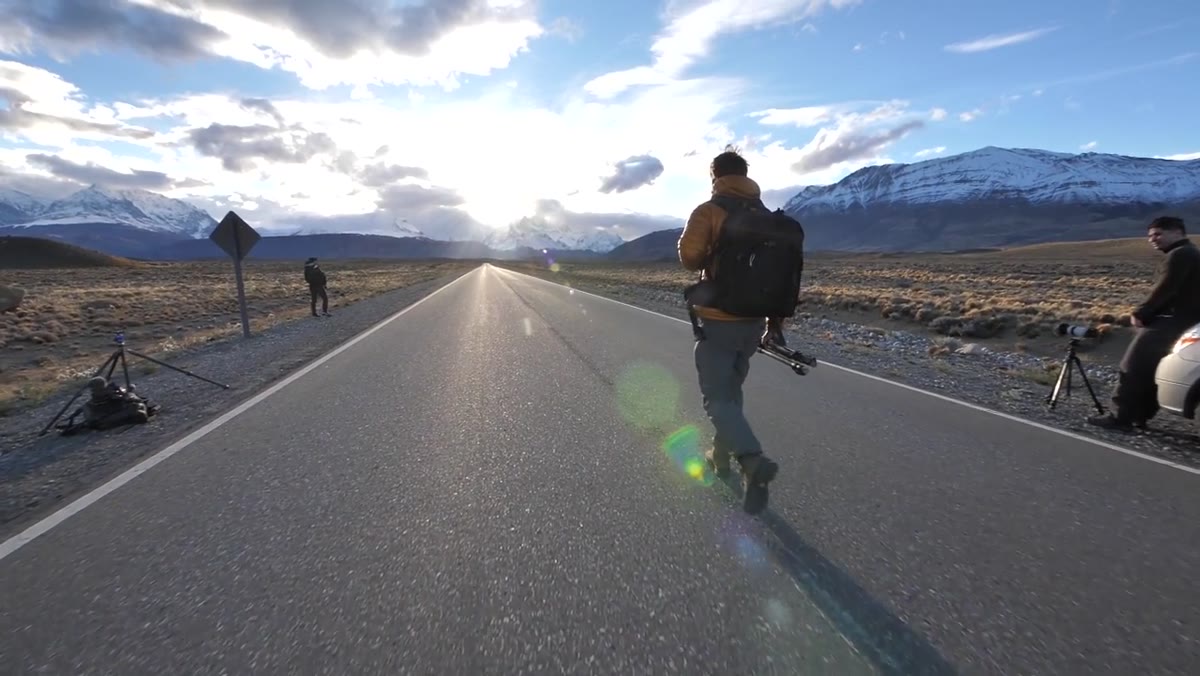 Heaton standing on the road evaluating Fitzroy at sunset
Arriving at Fitzroy about an hour before sunset, Heaton does something a lot of newer photographers skip: he reads the scene before touching his gear. The sun is dropping behind the mountain range, not in front of it. Highlights are blowing out, shadows are crushing. He names the problems out loud — unmanageable contrast, deep shadow blocks, nothing in the dynamic range that a sensor can handle gracefully. His call is to wait, but with clear eyes. He already knows this is a sunrise location. The sunset stop is a reconnaissance mission, not a primary shoot.
Heaton standing on the road evaluating Fitzroy at sunset
Arriving at Fitzroy about an hour before sunset, Heaton does something a lot of newer photographers skip: he reads the scene before touching his gear. The sun is dropping behind the mountain range, not in front of it. Highlights are blowing out, shadows are crushing. He names the problems out loud — unmanageable contrast, deep shadow blocks, nothing in the dynamic range that a sensor can handle gracefully. His call is to wait, but with clear eyes. He already knows this is a sunrise location. The sunset stop is a reconnaissance mission, not a primary shoot.
This kind of pre-shoot audit saves enormous time. Before I set up a tripod, I spend a few minutes watching where light is actually falling, not where I hoped it would fall. If the geometry is wrong — sun behind the subject, flat overcast killing any texture, wind making long exposures impossible — I make note of what the location needs and start planning for when those conditions might exist. Scouting counts as shooting.
Step 2: Work the Scene You Have, Not the Scene You Wanted
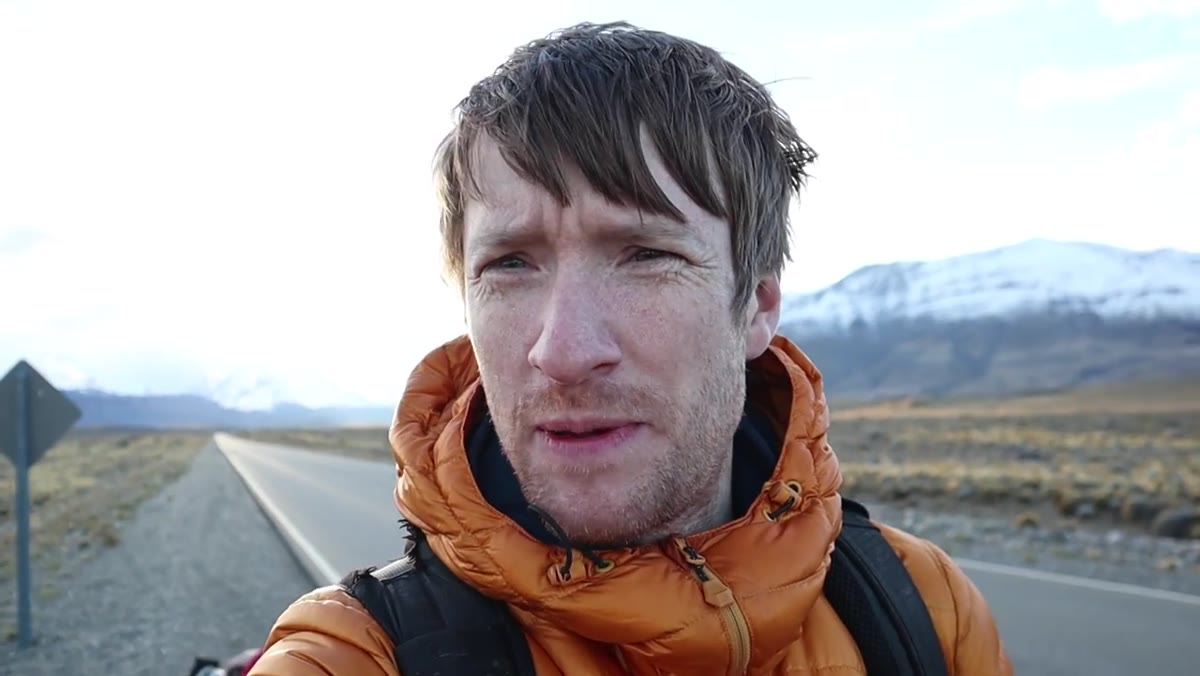 Group member in red jacket running across a distant hillside
When Fitzroy refuses to cooperate, Heaton doesn’t pack up. He spots a group member in a red jacket moving across a hillside several hundred yards out, and immediately sees a photograph. The mountains become a backdrop. The figure provides scale, color contrast, and a point of human interest that the raw landscape wasn’t offering at that moment.
Group member in red jacket running across a distant hillside
When Fitzroy refuses to cooperate, Heaton doesn’t pack up. He spots a group member in a red jacket moving across a hillside several hundred yards out, and immediately sees a photograph. The mountains become a backdrop. The figure provides scale, color contrast, and a point of human interest that the raw landscape wasn’t offering at that moment.
He shoots this handheld, which is notably outside his usual approach. The light is still ambient and workable at that distance. The red jacket pops against the muted Patagonian tones. The composition works because he let go of his original plan and looked at what was actually in front of him. This is the pivot move every field photographer needs to practice. When conditions deny your primary shot, ask: what is this location giving me right now? A silhouette, a texture, a person, a reflection — something is always happening. Your job is to find it.
Step 3: Read the Sky as a Separate Subject
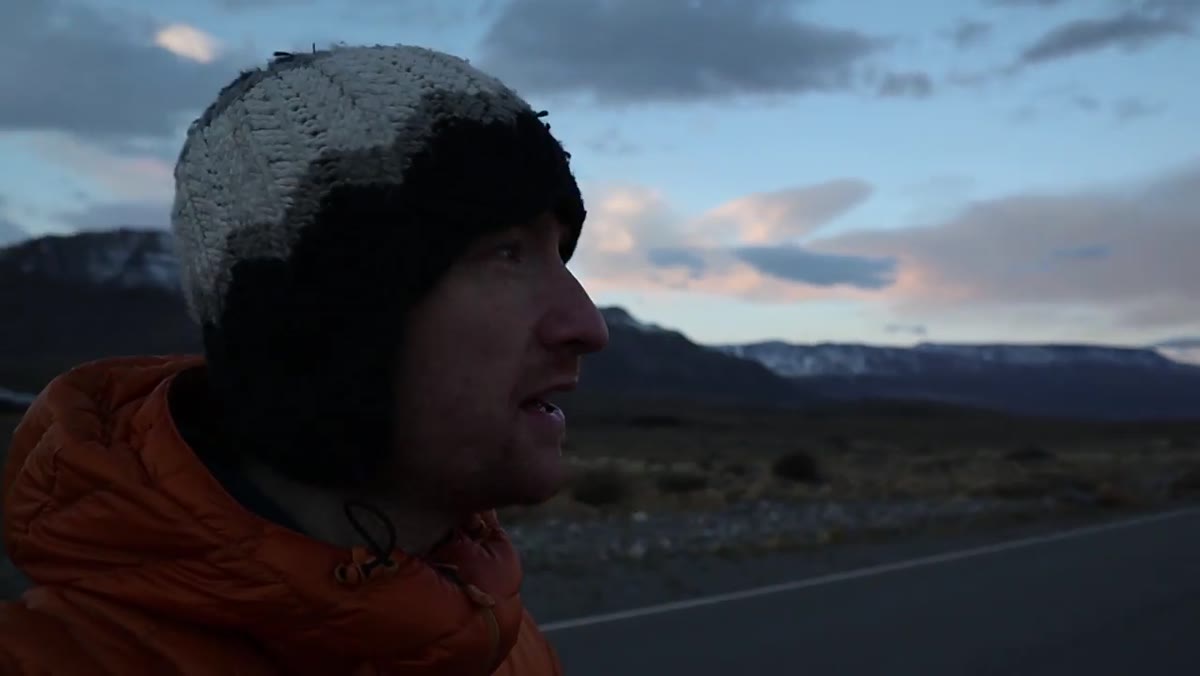 Wide dramatic sky over Fitzroy after sunset light fades
After the sunset light on Fitzroy fades without delivering what he hoped, Heaton turns his attention to the sky itself. The cloud formation overhead is extraordinary — dramatic, layered, catching residual light in a way the mountain is not. He acknowledges directly that the foreground isn’t offering much to build a composition around, but he stays present with what the sky is doing.
Wide dramatic sky over Fitzroy after sunset light fades
After the sunset light on Fitzroy fades without delivering what he hoped, Heaton turns his attention to the sky itself. The cloud formation overhead is extraordinary — dramatic, layered, catching residual light in a way the mountain is not. He acknowledges directly that the foreground isn’t offering much to build a composition around, but he stays present with what the sky is doing.
This is a discipline worth building. A sky this dynamic is worth documenting even if the full landscape composition isn’t there. I’ve shot single-frame sky studies that later became reference images for planning return visits — I know what the cloud behavior looks like at that time of day, in that kind of weather. Sometimes the frame you make when the main shot fails is the frame that teaches you the most about a location.
Step 4: Use Your Environment to Solve Technical Problems
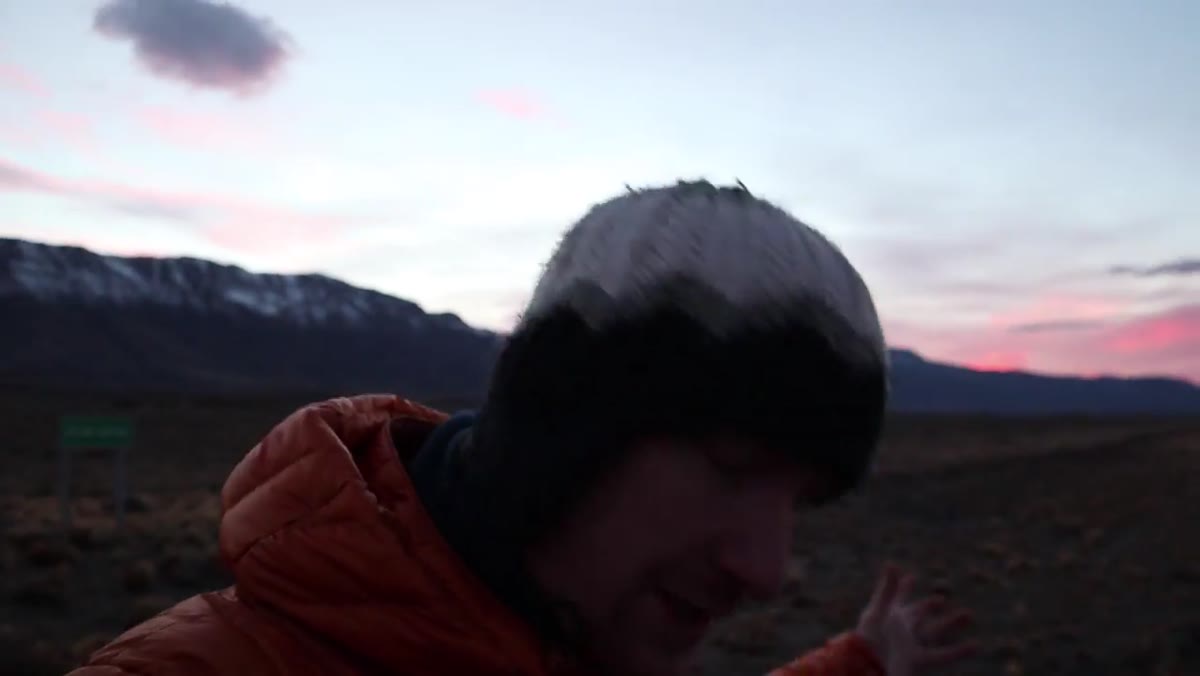 Heaton and group using van as windbreak while shooting panoramic
The next morning brings a different challenge: high wind. Fitzroy is cloud-covered, but a mountain range to the south is catching the sunrise light beautifully. The problem is that shooting a panoramic with four-second exposures per frame is physically impossible in that kind of wind. Camera movement mid-sequence ruins the stitch. Heaton’s fix is straightforward and a little funny: he uses the parked van as a windbreak.
Heaton and group using van as windbreak while shooting panoramic
The next morning brings a different challenge: high wind. Fitzroy is cloud-covered, but a mountain range to the south is catching the sunrise light beautifully. The problem is that shooting a panoramic with four-second exposures per frame is physically impossible in that kind of wind. Camera movement mid-sequence ruins the stitch. Heaton’s fix is straightforward and a little funny: he uses the parked van as a windbreak.
This is real field craft. You’re not always going to have ideal conditions, but you usually have something in the environment you can use. Trees, rock formations, a vehicle, a cliff wall — anything that breaks wind and stabilizes your shooting position matters when you’re working with long exposures and a telephoto lens. In Bend, I’ve braced against a boulder in a river canyon to eliminate camera shake during a 6-second exposure. Whatever is there, use it.
Step 5: Nail the Panoramic Sequence Settings
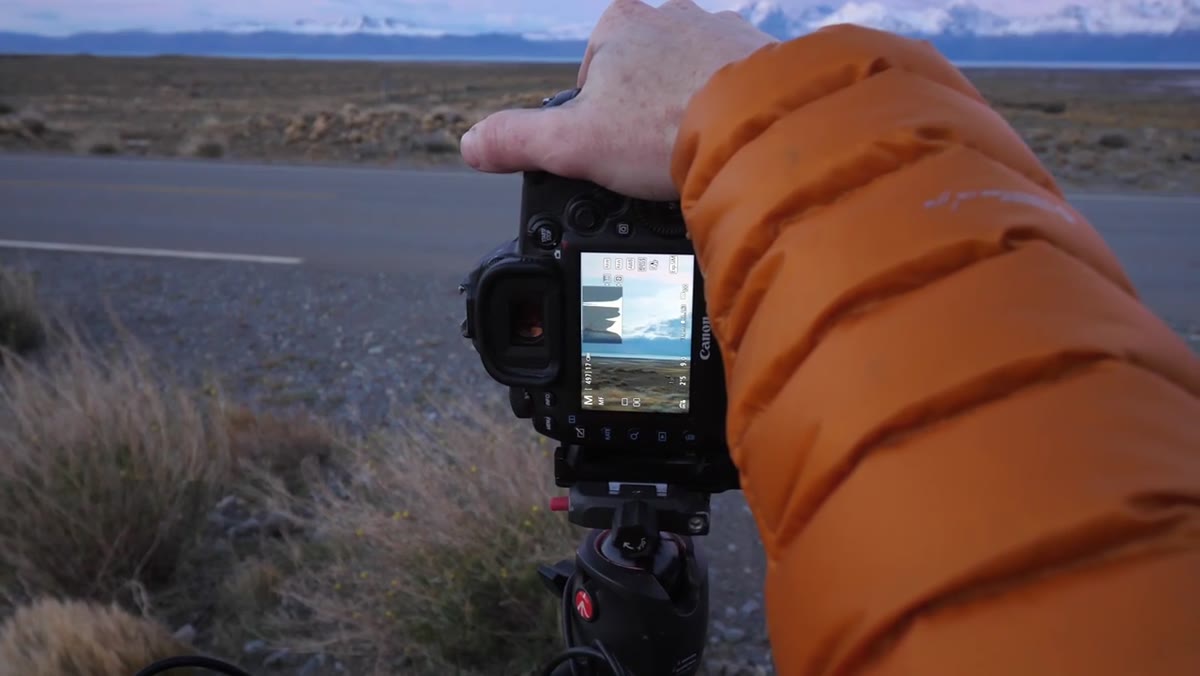 Heaton describing f/9 and four-second exposure for panoramic frames
For the sunrise panoramic, Heaton is shooting at f/9 with a four-second exposure per frame. These aren’t arbitrary numbers. In low ambient light with a telephoto lens, you need enough depth of field to keep the mountain range sharp front to back, and a shutter speed long enough to let light build on the sensor without pushing ISO into noisy territory. F/9 is a dependable mid-aperture for telephoto landscape work — sharp enough without the diffraction softening you start to see past f/13 or f/14.
Heaton describing f/9 and four-second exposure for panoramic frames
For the sunrise panoramic, Heaton is shooting at f/9 with a four-second exposure per frame. These aren’t arbitrary numbers. In low ambient light with a telephoto lens, you need enough depth of field to keep the mountain range sharp front to back, and a shutter speed long enough to let light build on the sensor without pushing ISO into noisy territory. F/9 is a dependable mid-aperture for telephoto landscape work — sharp enough without the diffraction softening you start to see past f/13 or f/14.
For panoramic stitching to work cleanly, each frame needs to overlap by roughly 30 percent, your tripod head needs to be level before you start (not just close to level), and your white balance must be locked manually so it doesn’t shift between frames. Heaton flags the leveling challenge specifically. A tilted stitch sequence creates a converging horizon line that’s painful to correct in post. Take an extra minute to level properly and the stitch becomes straightforward.
One Thing I’d Add From My Own Experience
Heaton stays impressively calm through both sessions, and that composure is doing real work. But there’s a physical preparation layer worth mentioning: when you know you’re shooting a cold, windy, low-light location, build your camera settings before you leave the vehicle. In the dark, with gloves on, scrolling through menus to find your long exposure settings costs you time and body heat. I set aperture, ISO, and white balance in the warmth of the car before I ever open the door. When I arrive at the composition, I’m adjusting shutter speed only.
The single most transferable lesson in this tutorial is the willingness to let the original plan die and still make a photograph. Conditions failed on Fitzroy at sunset. Fitzroy was cloud-covered at sunrise. Heaton made strong images on both occasions by reading what was actually available and committing to it fully. That flexibility isn’t luck. It’s a practiced skill, and this tutorial shows you what it looks like in motion.
Watch the full tutorial on YouTube — the visual context of the locations and the pacing of how Heaton makes decisions in real time adds a lot to the breakdown above.
Comments
Leave a Comment