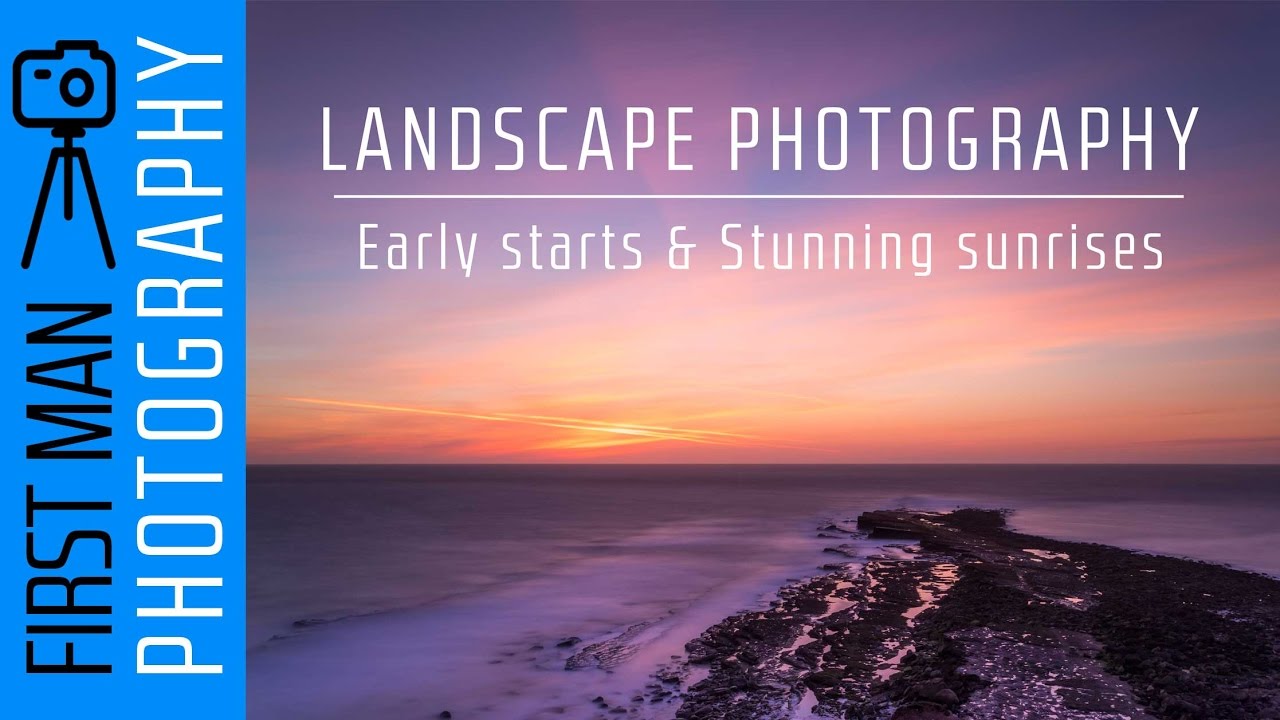
I’ve been waking up before the sun for twenty years, and I still feel the pull of that 4am quiet the same way I did when I first started. There’s a particular kind of pressure that comes with sunrise shooting that sunset work doesn’t carry, and it took me a long time to fully articulate what that pressure is. With sunset, you build toward the moment. With sunrise, the moment is waiting for you when you arrive, and if you’re not ready, it’s already gone. That asymmetry changes everything about how you plan, how you move, and how you make decisions in the field.
In this First Man Photography tutorial, Watch the full tutorial on YouTube, the creator heads out to Filey Brigg on the Yorkshire coast for an early seascape sunrise session. What I appreciate about this particular video is that it doesn’t sanitize the experience. There’s a 3:30am alarm, a long drive, a rushed scramble to get into position, and a composition that isn’t quite what was planned. And yet the shoot works. Watching it reminded me of something a mentor told me early in my career: the mountain doesn’t care about your schedule. The light moves on its own timeline, and your job is to be ready to work with whatever you find.
What this tutorial does especially well is show the decision-making process under real time pressure. The settings choices, the filter swaps, the composition compromise. These are the kinds of calls that separate photographers who come home with images from those who come home with excuses.
Step 1: Scout and Commit to a Location the Night Before
 Photographer describing the Filey Brigg headland location while driving
Do your reconnaissance before the morning, not during it. In the tutorial, Filey Brigg is chosen specifically because it’s a headland that juts into the water, creating a natural lead-in line that points toward the sunrise direction. That kind of compositional logic needs to be worked out in advance, whether through Google Maps, a previous visit, or a tool like PhotoPills. When you arrive in the dark with colour already bleeding into the sky, you cannot afford to be figuring out where to stand. Know your spot, know your angle, and have a backup position in mind in case conditions push you off your first choice.
Photographer describing the Filey Brigg headland location while driving
Do your reconnaissance before the morning, not during it. In the tutorial, Filey Brigg is chosen specifically because it’s a headland that juts into the water, creating a natural lead-in line that points toward the sunrise direction. That kind of compositional logic needs to be worked out in advance, whether through Google Maps, a previous visit, or a tool like PhotoPills. When you arrive in the dark with colour already bleeding into the sky, you cannot afford to be figuring out where to stand. Know your spot, know your angle, and have a backup position in mind in case conditions push you off your first choice.
Step 2: Arrive Before First Light and Move Fast
 Photographer arriving on location with colour already visible in the sky
The tutorial makes this point viscerally clear. By the time the photographer parks and gets down toward the headland, the colour is already building. Those reds and pinks in the pre-dawn sky can be gone in under fifteen minutes. Build in more buffer time than you think you need, especially if you’re travelling a distance to the location. A rough rule I use: if sunrise is at 6:00am, I want to be physically on location and set up by 5:15 at the latest. The colour that appears before the sun clears the horizon is often the most saturated you’ll see all morning.
Photographer arriving on location with colour already visible in the sky
The tutorial makes this point viscerally clear. By the time the photographer parks and gets down toward the headland, the colour is already building. Those reds and pinks in the pre-dawn sky can be gone in under fifteen minutes. Build in more buffer time than you think you need, especially if you’re travelling a distance to the location. A rough rule I use: if sunrise is at 6:00am, I want to be physically on location and set up by 5:15 at the latest. The colour that appears before the sun clears the horizon is often the most saturated you’ll see all morning.
Step 3: Set Your Base Exposure Settings Immediately
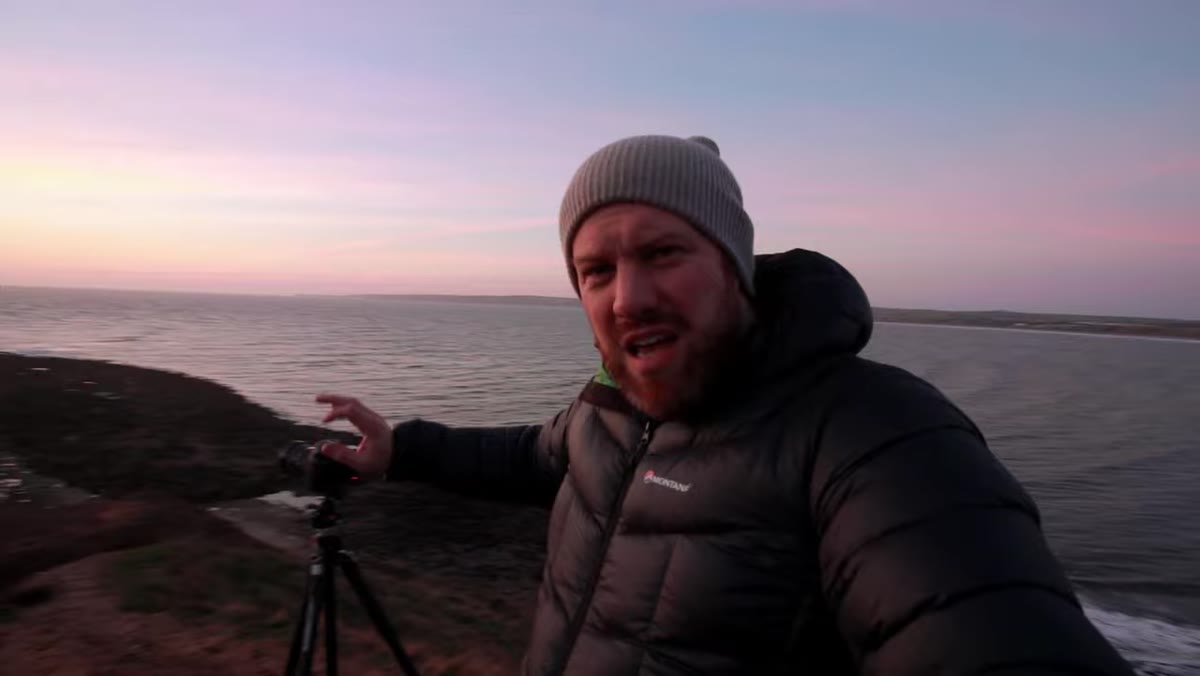 Camera on tripod, photographer dialling in f/8 and ISO 100
Before touching a filter, lock in your foundational exposure. The tutorial uses f/8 as the aperture, chosen because the foreground subject, the rocky headland, is far enough from the camera that depth of field isn’t the primary concern. f/8 sits in the sharpest part of most lenses’ performance range, which matters when you want edge-to-edge clarity in a wide seascape. ISO stays at 100 to keep noise at a minimum during what will be a long exposure. These two values are non-negotiable starting points for this kind of work. Your shutter speed will be determined by your filter choice, which comes next.
Camera on tripod, photographer dialling in f/8 and ISO 100
Before touching a filter, lock in your foundational exposure. The tutorial uses f/8 as the aperture, chosen because the foreground subject, the rocky headland, is far enough from the camera that depth of field isn’t the primary concern. f/8 sits in the sharpest part of most lenses’ performance range, which matters when you want edge-to-edge clarity in a wide seascape. ISO stays at 100 to keep noise at a minimum during what will be a long exposure. These two values are non-negotiable starting points for this kind of work. Your shutter speed will be determined by your filter choice, which comes next.
Step 4: Choose Your ND Filter Based on Sea Conditions
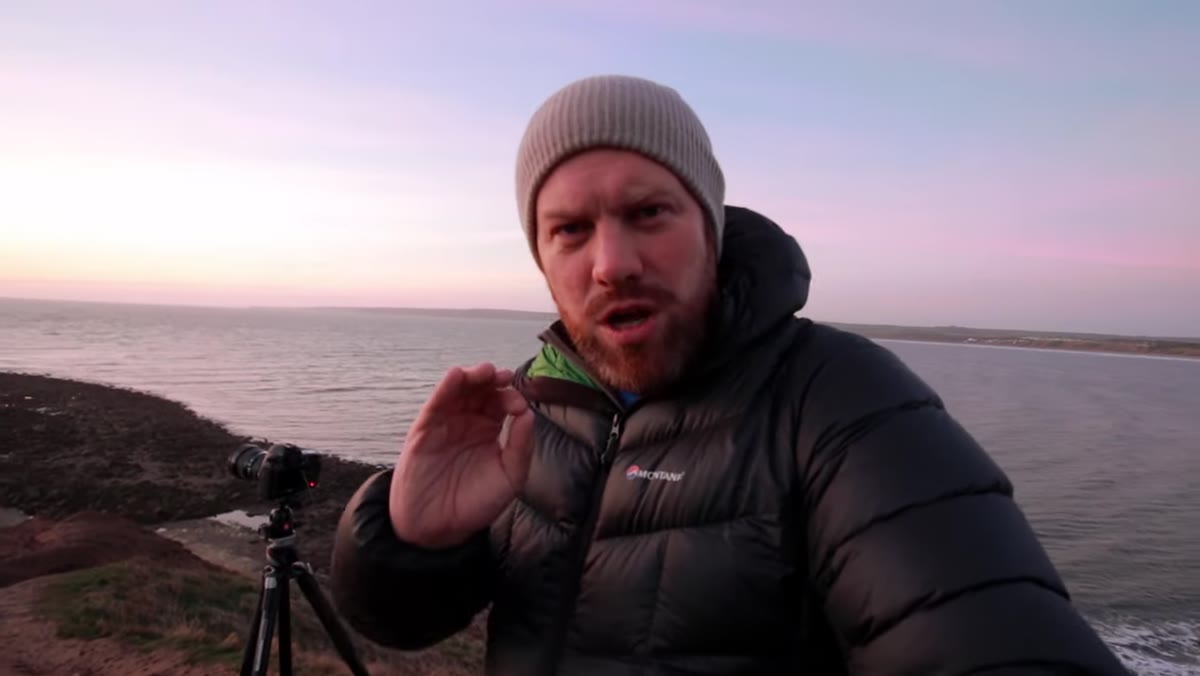 Photographer attaching ND filter to lens on tripod at headland
This is where the tutorial gets genuinely instructive. Two different filters are used here, and the reasoning behind each one matters. A six-stop ND filter is tried first, with the exposure bracketed. This softens the water surface and introduces a sense of movement without completely eliminating wave texture. Then, because the sea is particularly rough that morning, a ten-stop ND is used to push the exposure out to roughly three minutes. At that length, even aggressive wave action is smoothed to a silky, reflective plane. The practical lesson: match your filter strength to how much movement is in the water. Calm water needs less filtration. Rough water, especially near rocks, benefits from the heavier stop count.
Photographer attaching ND filter to lens on tripod at headland
This is where the tutorial gets genuinely instructive. Two different filters are used here, and the reasoning behind each one matters. A six-stop ND filter is tried first, with the exposure bracketed. This softens the water surface and introduces a sense of movement without completely eliminating wave texture. Then, because the sea is particularly rough that morning, a ten-stop ND is used to push the exposure out to roughly three minutes. At that length, even aggressive wave action is smoothed to a silky, reflective plane. The practical lesson: match your filter strength to how much movement is in the water. Calm water needs less filtration. Rough water, especially near rocks, benefits from the heavier stop count.
Step 5: Use Long Exposure to Capture Sky Colour Transitions
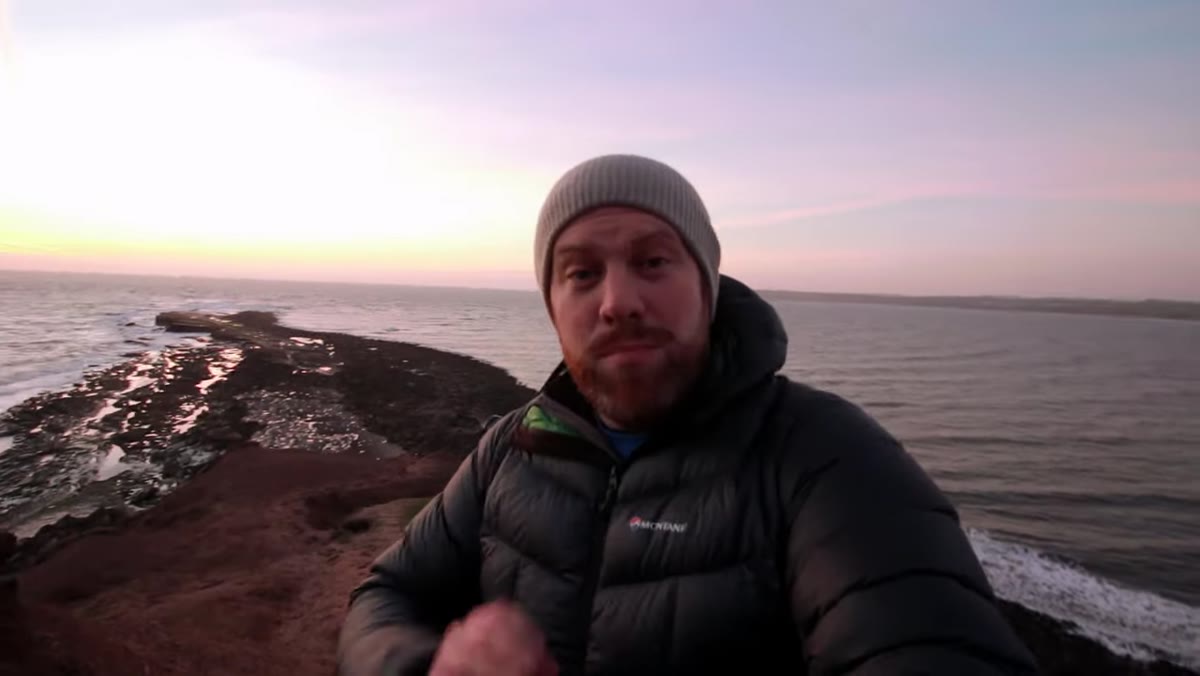 Sky beginning to fade from pink and red as the exposure runs
Here’s a counterintuitive point the tutorial makes that I think is worth underlining. As a long exposure runs, the colour in the sky is actively changing. The reds and pinks visible when you press the shutter may be largely gone by the time it completes. But the sensor has recorded all of that transition, which means the final image often contains more tonal variation and colour depth than you could perceive at any single moment while standing there. A three-minute exposure across a sunrise sky is essentially a time-blended record of an entire colour event. This is one of the genuine creative advantages of long exposure work that shorter exposures simply cannot replicate.
Sky beginning to fade from pink and red as the exposure runs
Here’s a counterintuitive point the tutorial makes that I think is worth underlining. As a long exposure runs, the colour in the sky is actively changing. The reds and pinks visible when you press the shutter may be largely gone by the time it completes. But the sensor has recorded all of that transition, which means the final image often contains more tonal variation and colour depth than you could perceive at any single moment while standing there. A three-minute exposure across a sunrise sky is essentially a time-blended record of an entire colour event. This is one of the genuine creative advantages of long exposure work that shorter exposures simply cannot replicate.
Step 6: Accept the Composition You Have, Not the One You Planned
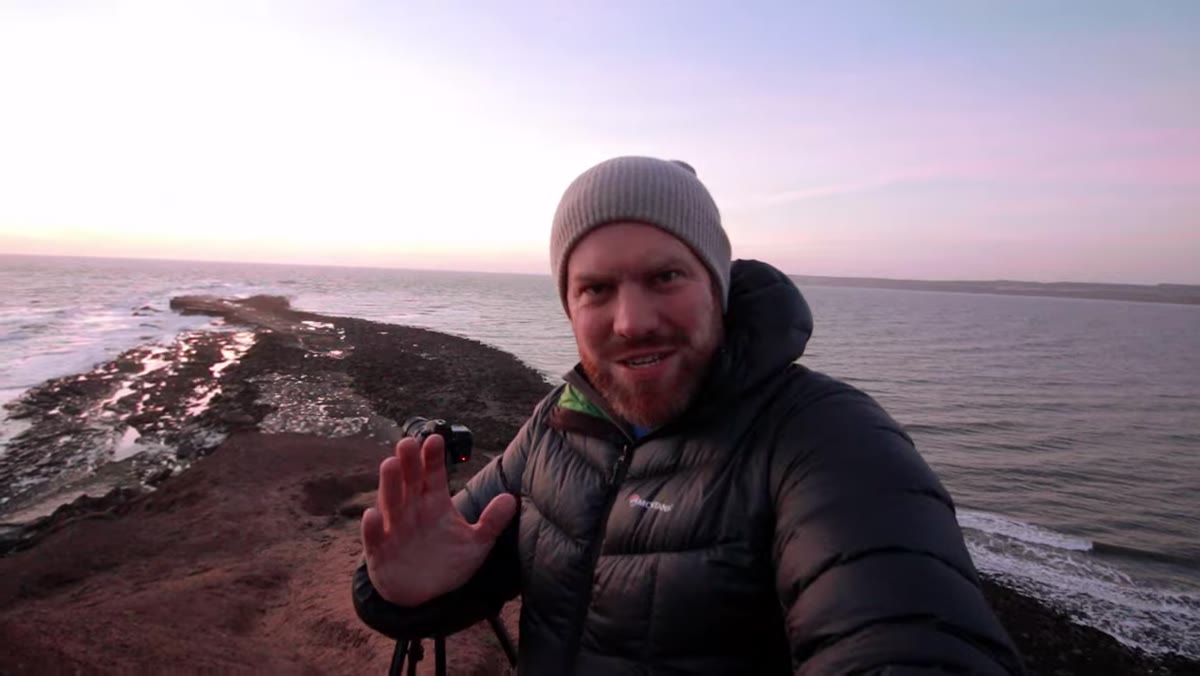 Photographer working with a higher vantage point rather than preferred beach position
The photographer wanted to be lower, closer to the waterline on the beach below. The rough sea and the speed at which the colour was fading made that unsafe and impractical. So a higher position on the Brigg itself was used instead, with the headland serving as the lead-in line. The composition still works because the fundamental elements are there: a clear foreground anchor, a defined horizon, and a sky with light worth capturing. I’ve lost count of the mornings where my planned shot didn’t happen and the image I came home with was made from a second or third option. Adaptability isn’t a consolation prize. It’s a core skill.
Photographer working with a higher vantage point rather than preferred beach position
The photographer wanted to be lower, closer to the waterline on the beach below. The rough sea and the speed at which the colour was fading made that unsafe and impractical. So a higher position on the Brigg itself was used instead, with the headland serving as the lead-in line. The composition still works because the fundamental elements are there: a clear foreground anchor, a defined horizon, and a sky with light worth capturing. I’ve lost count of the mornings where my planned shot didn’t happen and the image I came home with was made from a second or third option. Adaptability isn’t a consolation prize. It’s a core skill.
What I’d Add From My Own Experience
Sunrise shoots have a compression quality that nothing else in landscape photography quite matches. You plan for weeks sometimes, you set an alarm that feels like it belongs to a different species, you drive in the dark, and then you have maybe twenty minutes of usable light before the whole thing shifts into ordinary morning. That compression forces you to be decisive in ways that longer, slower shoots don’t. I actually think sunrise work makes you a better photographer overall because it teaches you to trust your instincts and commit to a frame without over-thinking. One thing I’d emphasize beyond the tutorial is to shoot something on arrival before you even set up the tripod. A quick handheld frame as you’re assessing the scene captures colour that might be gone before you’re fully rigged. Treat it as a reference shot. Sometimes it ends up being the image of the day.
The single most important idea in this tutorial is the relationship between timing and preparation. Stunning light rewards the photographer who is already in position, not the one who is still walking down the path. Get there early, work fast, and be willing to make the best image from wherever you end up standing.
Watch the full tutorial on YouTube to see the full shoot unfold in real time, including the timelapse footage captured from the top of Filey Brigg.
Comments
Leave a Comment