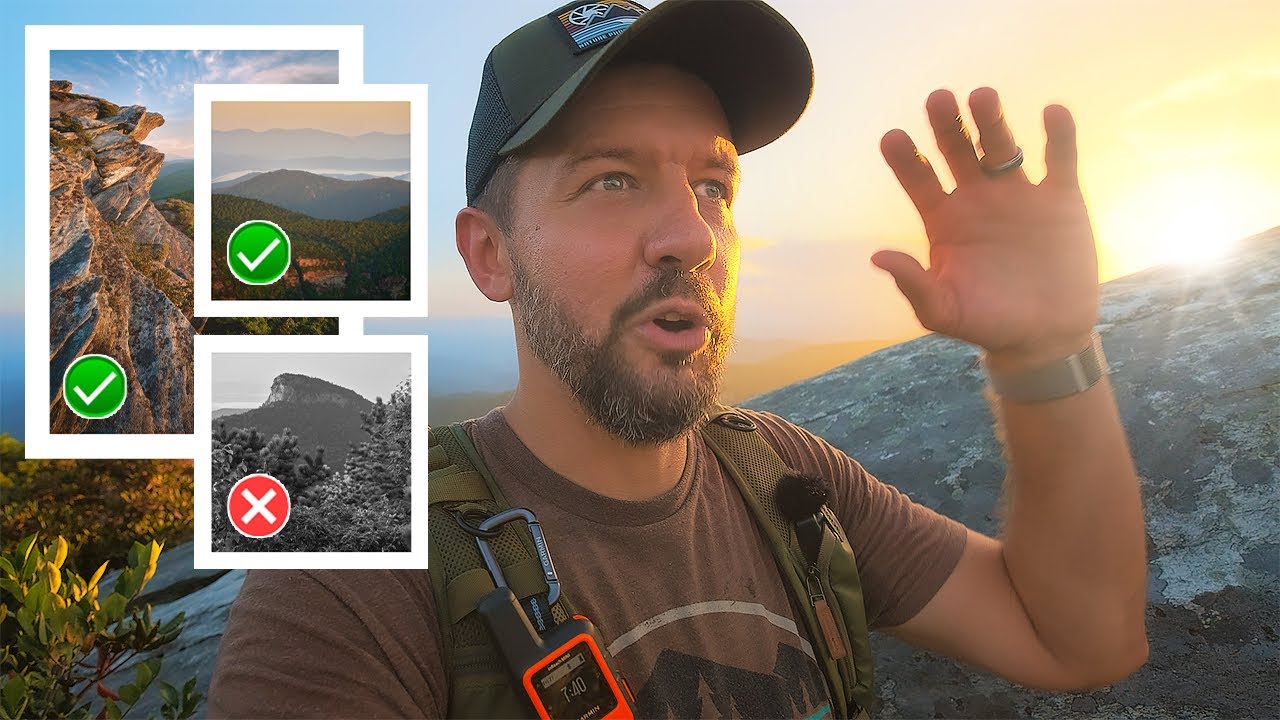
There’s a particular kind of stubbornness that keeps landscape photographers moving even when the conditions look terrible on paper. No clouds, summer haze thick enough to taste, and a sky the color of bleached denim. Most photographers I know would stay in the car. I’ve learned, over two decades of waking up before the alarm goes off and dragging gear up mountains that didn’t ask for the company, that the days that look worst on paper often teach you the most. That’s exactly why a recent tutorial from Mark Denney caught my attention. Watch the full tutorial on YouTube — in it, he heads into the Blue Ridge Mountains on a cloudless, steamy summer evening with low expectations and a willingness to see what shows up. That combination of humility and curiosity is what separates photographers who grow from photographers who just collect gear.
What Denney demonstrates isn’t a set of tricks for faking a dramatic sky. It’s a working methodology for making a difficult day useful. He scouts, he finds foreground, he shoots a focus stack he might not even need, and he stays open to the light shifting. These are habits I’ve built into my own practice for years, and watching him work through them in real time gave me some language I hadn’t had before for what the process actually looks like in the field.
Step 1: Go Anyway — Use Poor Conditions as a Scouting Framework
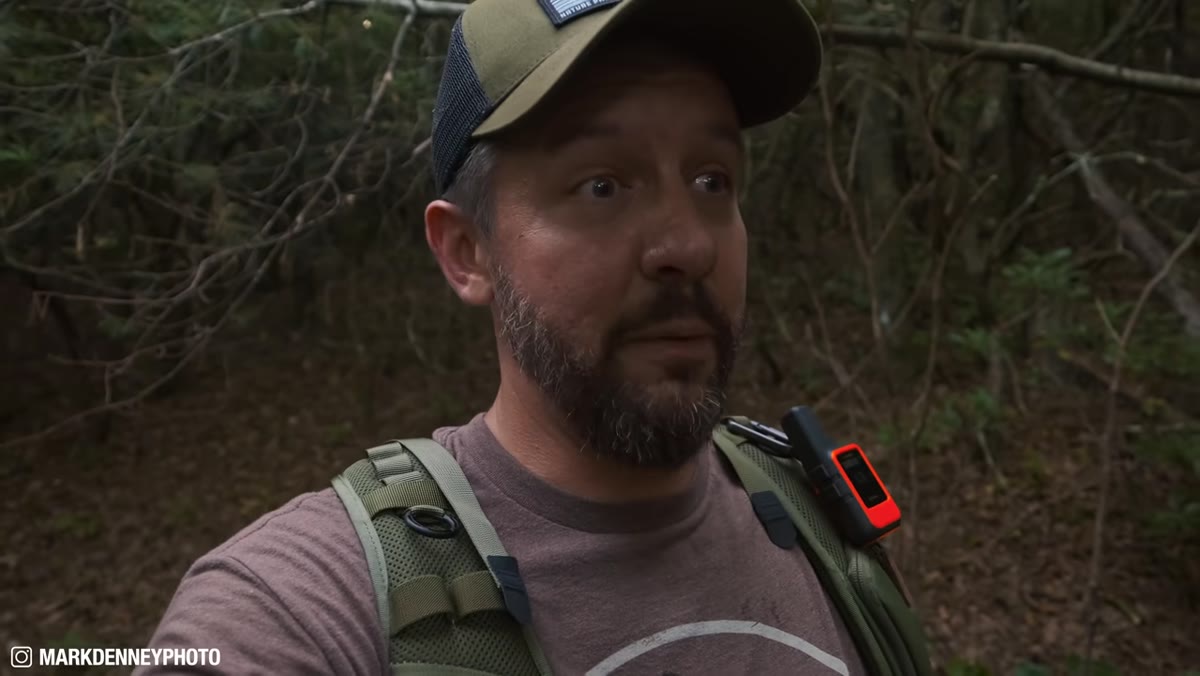 Photographer hiking toward unfamiliar Blue Ridge Mountain location at dusk
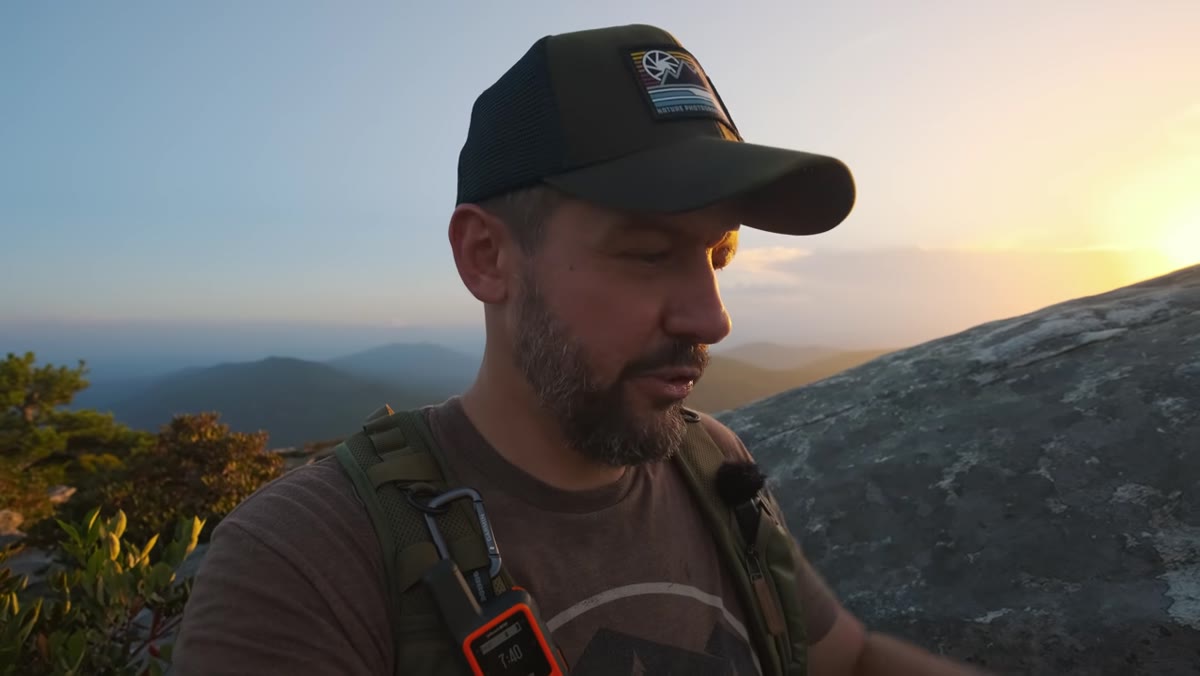
Denney arrives at a location he’s never visited before, partly because he’s realistic enough to know it’s not a prime shooting night and doesn’t want to waste a golden-light window somewhere he already understands. This is smart field logic. When the sky is flat and the haze is heavy, you’re freed from the pressure of capturing a hero shot. Use that freedom to learn the land. Walk the entire accessible area before setting up the tripod. Find where the rock formations are, note the angle of the late light, identify exit routes for when it gets dark. Denney mentions specifically that he wanted to get up there before darkness made the descent dangerous, and that kind of operational thinking is what keeps you coming back for more seasons.
Photographer hiking toward unfamiliar Blue Ridge Mountain location at dusk
Denney arrives at a location he’s never visited before, partly because he’s realistic enough to know it’s not a prime shooting night and doesn’t want to waste a golden-light window somewhere he already understands. This is smart field logic. When the sky is flat and the haze is heavy, you’re freed from the pressure of capturing a hero shot. Use that freedom to learn the land. Walk the entire accessible area before setting up the tripod. Find where the rock formations are, note the angle of the late light, identify exit routes for when it gets dark. Denney mentions specifically that he wanted to get up there before darkness made the descent dangerous, and that kind of operational thinking is what keeps you coming back for more seasons.
Step 2: Assess the Light Angle Before Choosing a Position
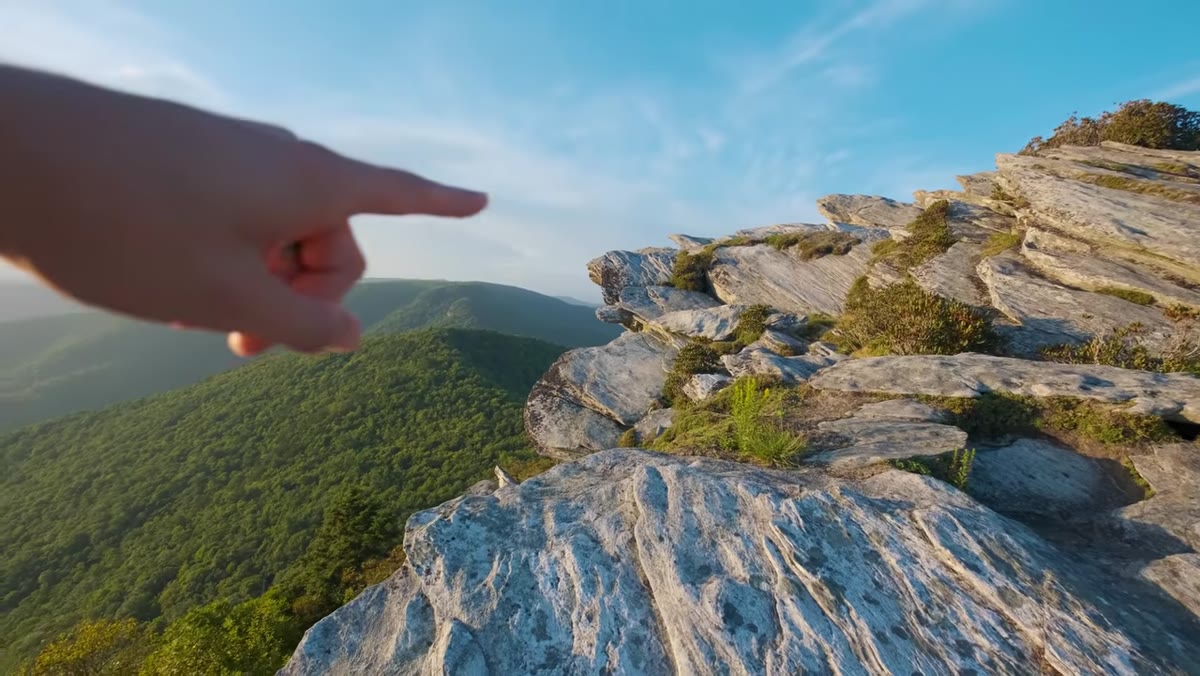 Photographer evaluating rock formations against evening light direction
Once Denney is at the summit, he doesn’t immediately set up his tripod. He moves around the outcropping and actively looks for where the remaining light will actually fall. He identifies a section of rock face that the sun will still illuminate, and that becomes his anchor point. The lesson here is that your foreground and your light source need to be in conversation with each other. If the rocks are facing north and the sun is setting northwest, you’re fighting the scene rather than working with it. Read the light first, then choose the composition, not the other way around.
Photographer evaluating rock formations against evening light direction
Once Denney is at the summit, he doesn’t immediately set up his tripod. He moves around the outcropping and actively looks for where the remaining light will actually fall. He identifies a section of rock face that the sun will still illuminate, and that becomes his anchor point. The lesson here is that your foreground and your light source need to be in conversation with each other. If the rocks are facing north and the sun is setting northwest, you’re fighting the scene rather than working with it. Read the light first, then choose the composition, not the other way around.
Step 3: Find Foreground Interest That Creates Depth
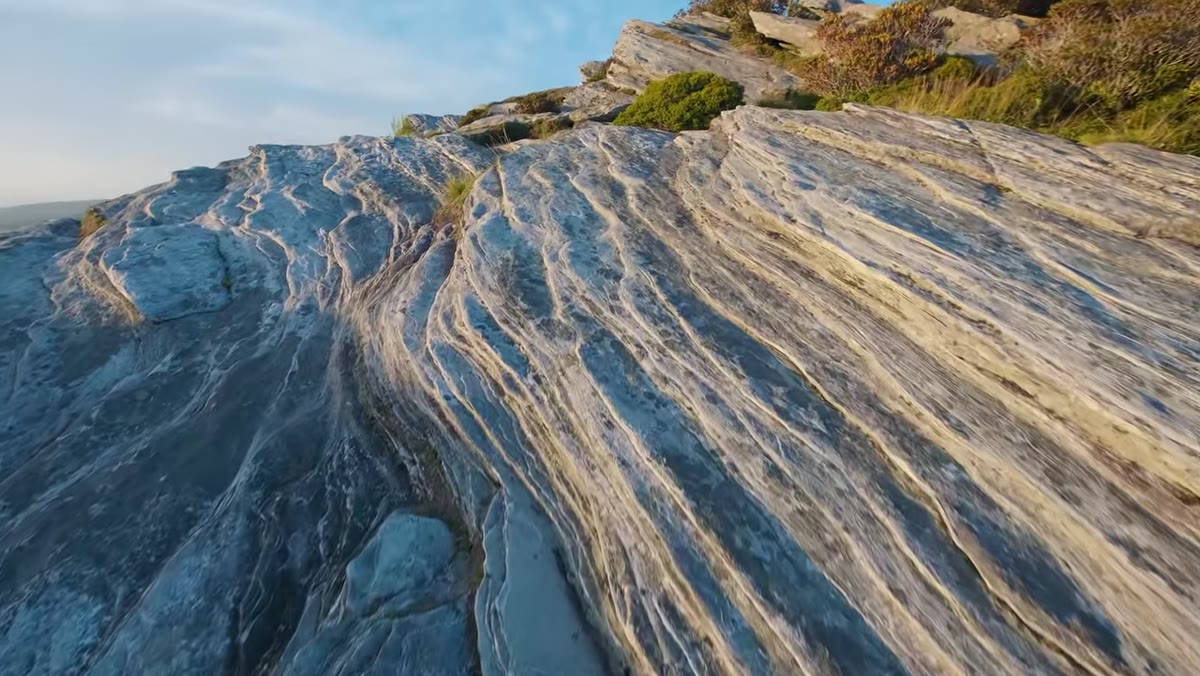 Rock formations in foreground with hazy mountain ridges receding behind
In a scene without a dramatic sky to carry the image, foreground becomes everything. Denney works through the rock formations methodically, looking for shapes that can serve as both visual anchors and leading elements. He’s looking for a foreground that leans into the frame and points the viewer’s eye toward the middle distance and beyond. On days like this, you need that layering more than ever because the sky won’t do it for you. When I shoot in the Cascades on hazy August afternoons, I’m often on my hands and knees looking at rocks, wildflowers, or stream-edge gravel before I’ve touched my camera settings. The foreground is the whole game on a flat-sky day.
Rock formations in foreground with hazy mountain ridges receding behind
In a scene without a dramatic sky to carry the image, foreground becomes everything. Denney works through the rock formations methodically, looking for shapes that can serve as both visual anchors and leading elements. He’s looking for a foreground that leans into the frame and points the viewer’s eye toward the middle distance and beyond. On days like this, you need that layering more than ever because the sky won’t do it for you. When I shoot in the Cascades on hazy August afternoons, I’m often on my hands and knees looking at rocks, wildflowers, or stream-edge gravel before I’ve touched my camera settings. The foreground is the whole game on a flat-sky day.
Step 4: Shoot a Focus Stack, Even If It Feels Like Overkill
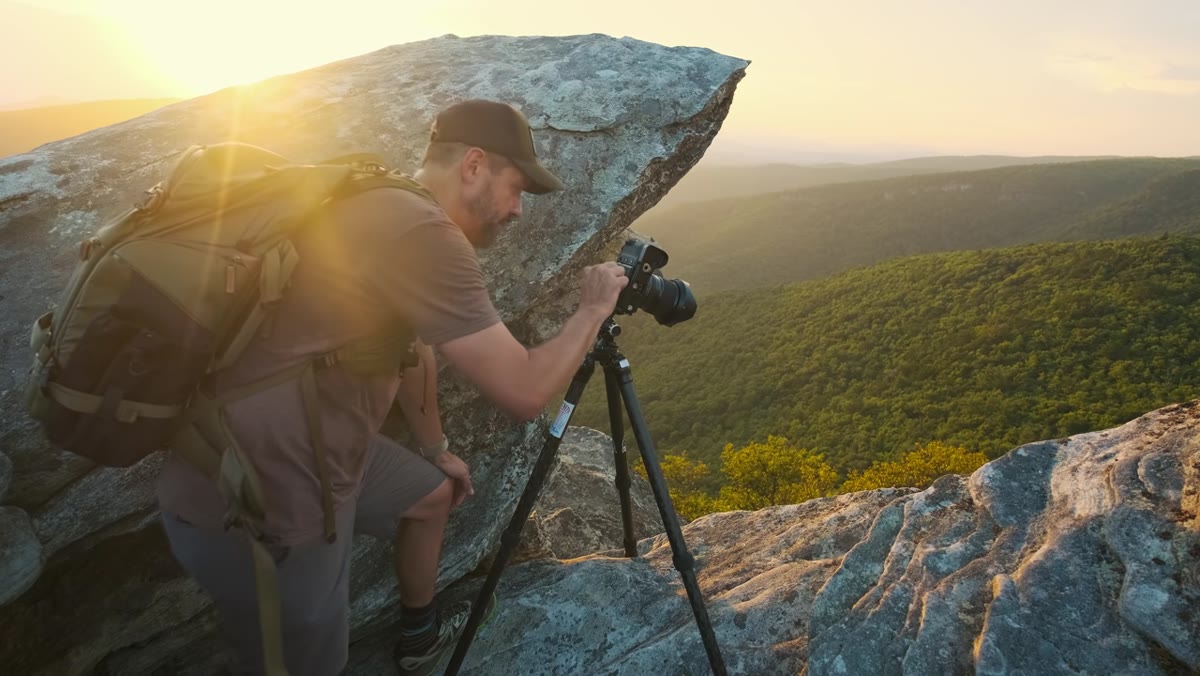
 Camera on tripod, multiple focus positions being captured across scene layers
With a composition that includes a close foreground rock, a mid-ground shelf, and distant ridgelines, Denney runs through a three to four shot focus stack. He admits it’s probably more than he needs, but his reasoning is solid: it costs almost nothing to capture the extra frames in the field, and it gives you full flexibility in post. Each shot in the stack is focused on a different depth plane - the immediate foreground, the mid-ground vegetation, and the background mountains. Later, in software like Helicon Focus or Photoshop’s Auto-Blend Layers, you combine those frames to get edge-to-edge sharpness that no single aperture setting could produce. My own rule is to shoot one more frame than I think I need, every time. The mountain doesn’t care about your file count.
Camera on tripod, multiple focus positions being captured across scene layers
With a composition that includes a close foreground rock, a mid-ground shelf, and distant ridgelines, Denney runs through a three to four shot focus stack. He admits it’s probably more than he needs, but his reasoning is solid: it costs almost nothing to capture the extra frames in the field, and it gives you full flexibility in post. Each shot in the stack is focused on a different depth plane - the immediate foreground, the mid-ground vegetation, and the background mountains. Later, in software like Helicon Focus or Photoshop’s Auto-Blend Layers, you combine those frames to get edge-to-edge sharpness that no single aperture setting could produce. My own rule is to shoot one more frame than I think I need, every time. The mountain doesn’t care about your file count.
Step 5: Stay Loose and Keep Watching the Sky
 Sky beginning to shift with high thin clouds catching color at sunset
Here’s where Denney’s patience pays off in a way that feels almost cinematic. He’s about to pack up and head down before dark when the high clouds start to catch. It’s a thin window, not a dramatic blaze, but it’s real light and it’s changing the scene. He keeps shooting. The takeaway is that a cloudless sky at 5pm is not the same as a cloudless sky at 7:45pm. High cirrus clouds that were invisible during the day can ignite at golden hour. Haze can turn warm and atmospheric rather than just flat. Summer evenings have a way of surprising you if you’re still there when they decide to do something interesting. Stay until the light is actually gone, not until you decide it’s probably gone.
Sky beginning to shift with high thin clouds catching color at sunset
Here’s where Denney’s patience pays off in a way that feels almost cinematic. He’s about to pack up and head down before dark when the high clouds start to catch. It’s a thin window, not a dramatic blaze, but it’s real light and it’s changing the scene. He keeps shooting. The takeaway is that a cloudless sky at 5pm is not the same as a cloudless sky at 7:45pm. High cirrus clouds that were invisible during the day can ignite at golden hour. Haze can turn warm and atmospheric rather than just flat. Summer evenings have a way of surprising you if you’re still there when they decide to do something interesting. Stay until the light is actually gone, not until you decide it’s probably gone.
What I’d Add From My Own Kit
On days this hazy, I’ve had success bringing a polarizing filter and using it not to intensify a blue sky (there’s nothing to work with) but to cut through atmospheric moisture and pull up the saturation in the foliage and rock surfaces themselves. Rotating the polarizer while looking at a mid-ground tree line in these conditions can reveal a greenness and texture that the haze is otherwise washing out. It won’t save a flat sky, but it gives you more to work with in the foreground layers where your story is being told anyway. Combine that with the focus stack approach Denney demonstrates and you have a technically complete capture even on a day that looked like a write-off before you left the trailhead.
The single most important thing I took from watching Denney work through this session is something I tell the photographers in my workshops every season: showing up on an imperfect day and learning the location is never wasted time. Some of my strongest prints came from locations I first visited under terrible light, because I knew exactly where to stand when the conditions finally aligned. Scout aggressively. Find foreground. Stack your focus. Stay until the light actually quits.
Watch the full tutorial on YouTube and follow along as Denney works through this session in real time. The way he thinks out loud about composition decisions and technical tradeoffs is worth your full attention.
Comments
Leave a Comment