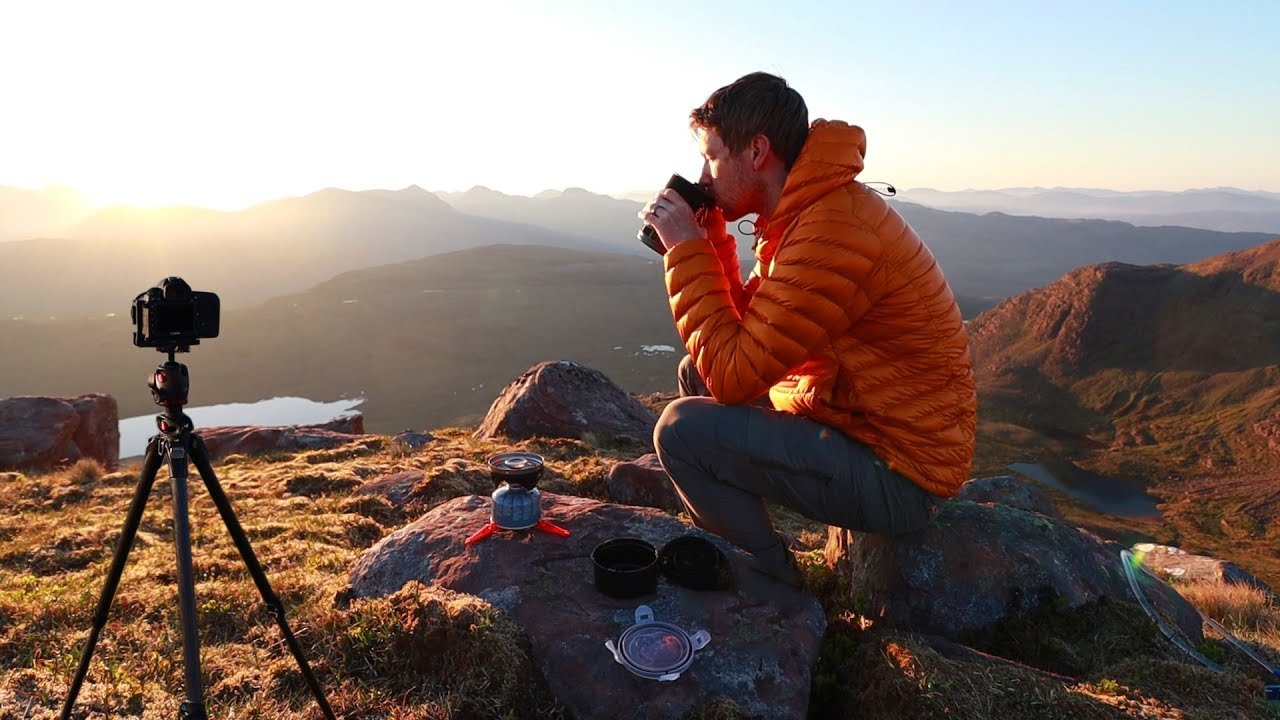
There’s a particular kind of quiet that settles over you when you wake up in a tent before dawn and realize the light isn’t going to be what you hoped for. I’ve been there more times than I can count. After twenty years of crawling out of sleeping bags in the dark, I still feel that little sting of disappointment when the sky doesn’t cooperate. What separates a productive morning from a wasted one, in my experience, is what you do in the next five minutes. Do you sulk over what isn’t there, or do you start reading what is?
That’s exactly what drew me to this Thomas Heaton tutorial, filmed during a solo camping and photography trip in Scotland. Watch the full tutorial on YouTube. Heaton wakes up underwhelmed, takes one look around, and almost immediately recalibrates. What follows is one of the most honest and instructive field demonstrations I’ve seen of how a working landscape photographer actually thinks and moves at sunrise. No smoke machine drama. Just a real morning, handled well.
I’ve broken the session down into the key steps he works through, because each one is a teachable moment. Whether you’re shooting a remote location solo or just trying to make the most of an early alarm, this workflow holds up.
Step 1: Assess the Light Before You Touch the Camera
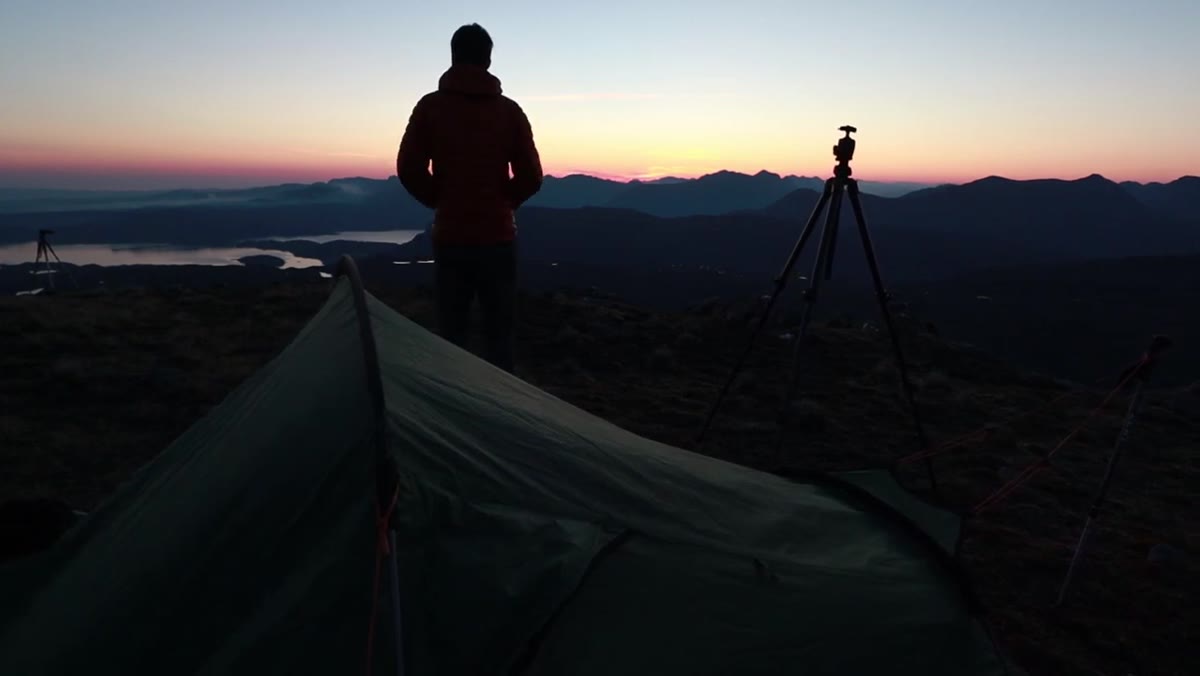 Photographer looking out from tent at still, hazy valley
Heaton spends the first few minutes just looking. No tripod, no camera. He notes the absence of cloud and smoke he’d been hoping for, but also registers what is present: stillness, soft light, reflective water. This is a discipline I had to learn the hard way. For years I’d set up on autopilot, composing the shot I’d planned in my head the night before, and miss what the morning was actually offering.
Before you reach for your gear, spend two or three minutes reading the scene from multiple angles. Ask yourself what the dominant quality of the light is right now. Flat and even? Warm and directional? Coming fast or slow? That single assessment shapes every decision that follows.
Step 2: Return to a Composition That Worked, Then Refine It
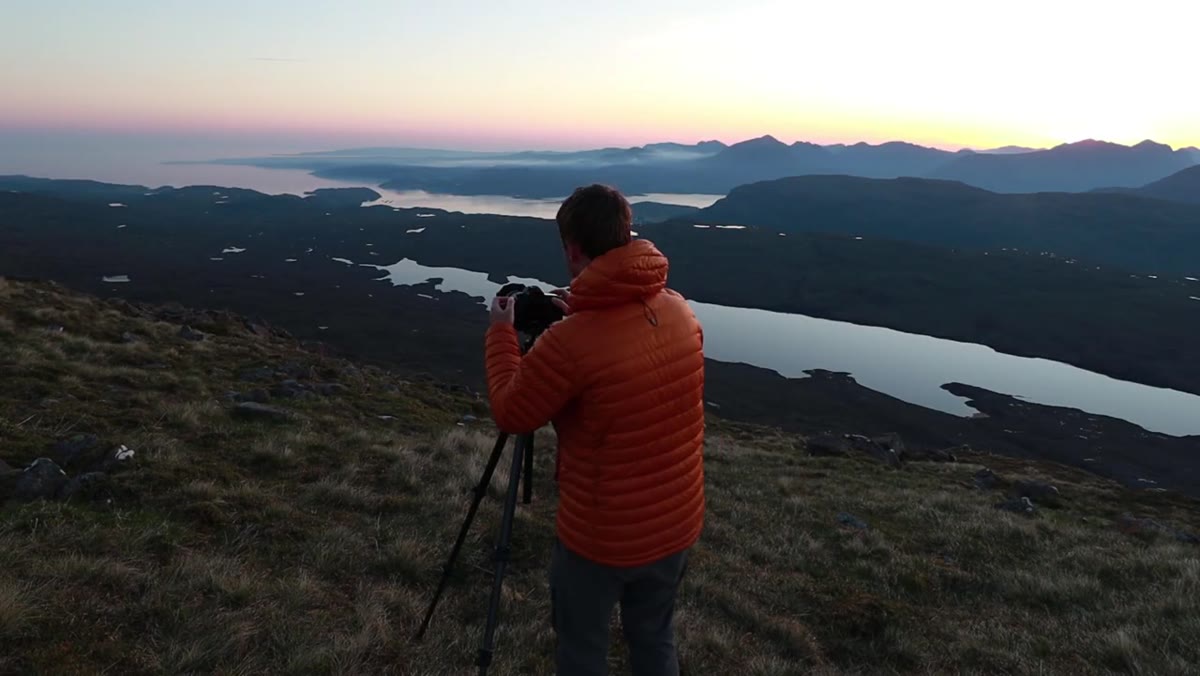 Camera set up on tripod pointing toward still lochs at sunrise
Heaton revisits a composition he’d shot at sunset the evening before, shooting the same lochs from a similar position. But rather than simply repeat the shot, he makes one deliberate change: he goes tighter with a long lens to compress the scene and emphasize the mercury-like stillness of the water. This is smart field practice. Revisiting a location in different light isn’t lazy, it’s methodical.
If you photographed a scene the evening before, go back with a specific intention to change one variable. Focal length, framing, or foreground inclusion. The light will already be different. Your job is to work with that difference rather than fight it.
Step 3: Use a Long Lens to Compress Stillness and Isolate Mood
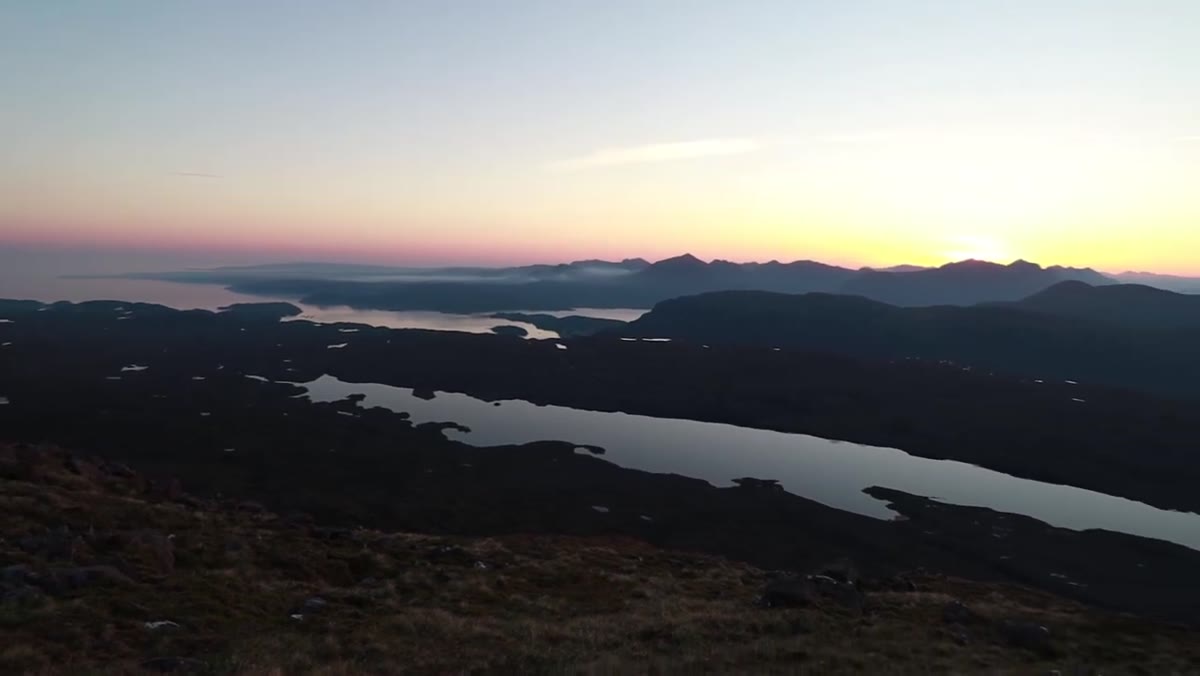 Long lens capturing reflected sky in still loch water
Heaton shoots this scene at f/11, half a second, with a long telephoto. The choice of a long lens here isn’t just about reach. It’s about compression. By narrowing the field of view, he removes distracting context and lets the reflective surface of the lochs dominate the frame. The smoldering haze from nearby fires, which could easily read as pollution in a wide shot, becomes atmosphere when isolated by a longer focal length.
When the quality of a scene is more about mood than geography, reach for your longest lens. Set to f/11 for sufficient depth of field across a flat plane like water, and dial in your shutter speed to let the stillness register without blur. Use a two-second self-timer or remote release to eliminate camera shake.
Step 4: Work Fast When the Sun Clears the Horizon
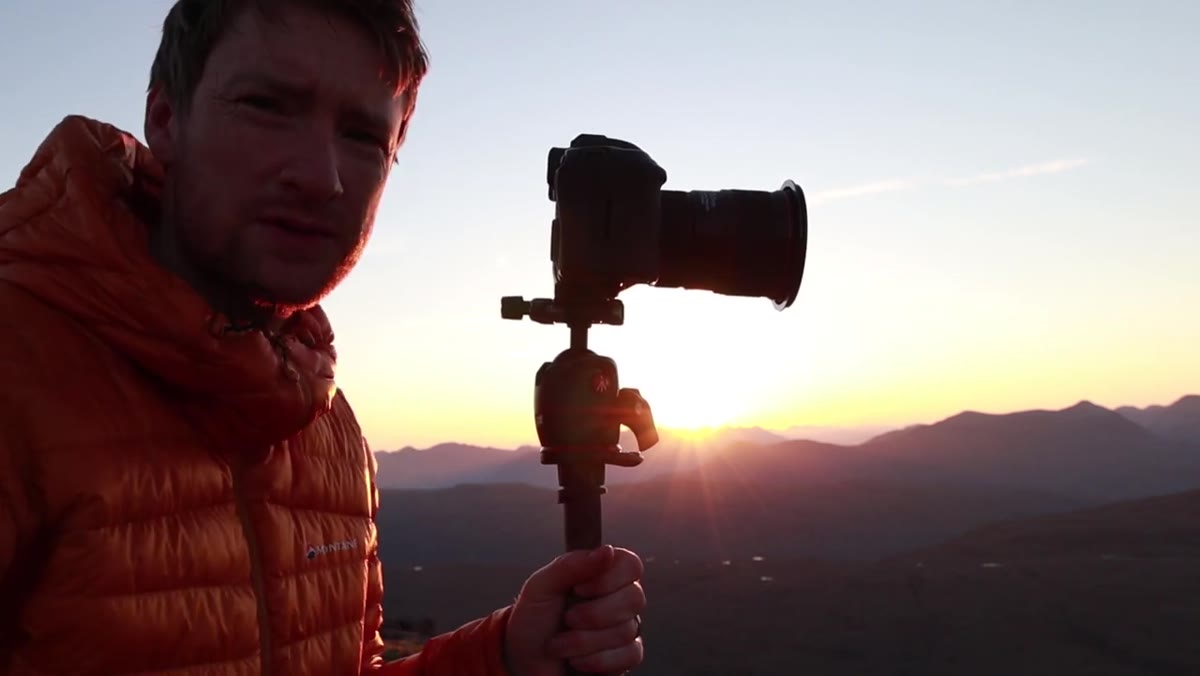 Photographer running across hillside to new position as sun rises
This is the step most beginners miss. Heaton explicitly points it out, and it matches everything I’ve learned from years of early mornings: sunrise moves faster than sunset. Once the sun clears the horizon, the light intensifies and changes color temperature in minutes, not the gentle half-hour progression you get when it drops in the evening. Heaton literally runs to his next position.
At sunrise, plan your second composition before you shoot your first. Know where you’re going next. Pack your tripod quickly and move with purpose. Every minute of warm directional light you spend walking slowly is a shot you don’t get.
Step 5: Set a Simple, Balanced Exposure Without Filters
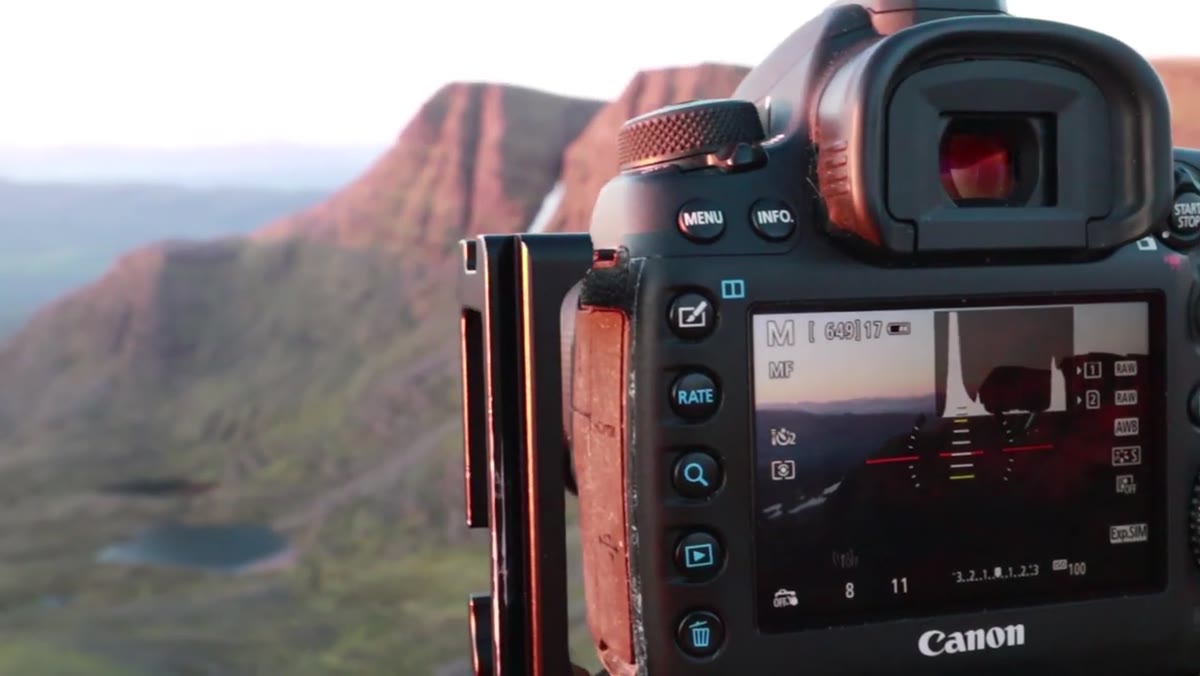 Camera set up on tripod aimed at lit rock buttress in morning light
At his second composition, a rock buttress catching the first warm light, Heaton shoots at f/11, 1/8 of a second, with no filters. He notes that a polarizer would only darken the sky without adding any useful effect, so he leaves it off. This is a judgment call that comes with experience, but the principle is straightforward. Only add a filter if it solves a specific problem in the scene.
Check your histogram after the first frame. If the highlights aren’t clipping and the shadows retain detail, you likely don’t need a graduated ND. A well-balanced natural scene in soft early light often needs nothing between the lens and the sensor. Keep it simple, move faster.
Step 6: Shield the Lens, Then Commit to the Shot
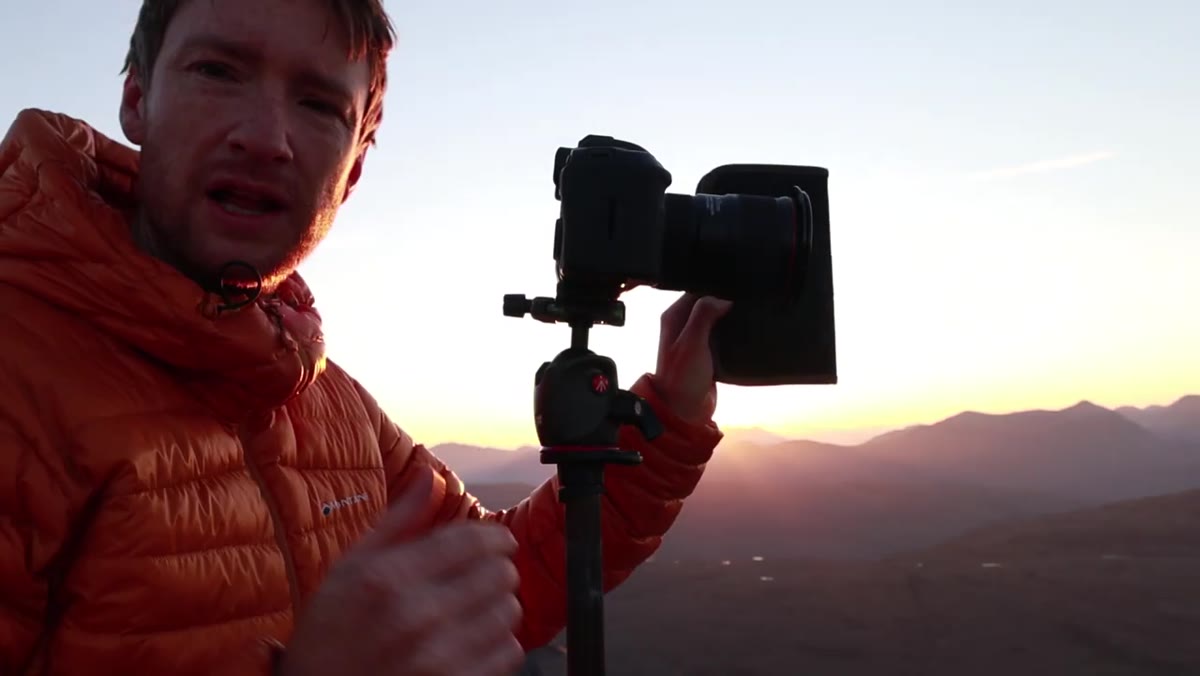 Photographer using hand to block sun flare from lens before shooting
Before pressing the shutter, Heaton shields his lens with his hand to prevent any direct sunlight from causing flare or haze. It’s a small thing, and it’s the kind of thing you only think to do when you’ve lost a frame to it before. A lens hood helps but doesn’t always cover low-angle sun at sunrise.
Cup your free hand just outside the lens hood’s edge, check the viewfinder or live view for any veiling, and then fire. Use a two-second timer to avoid any shake from the hand position. Once the sun rises another degree or two, this window closes anyway.
Step 7: Recognize When the Session Is Done
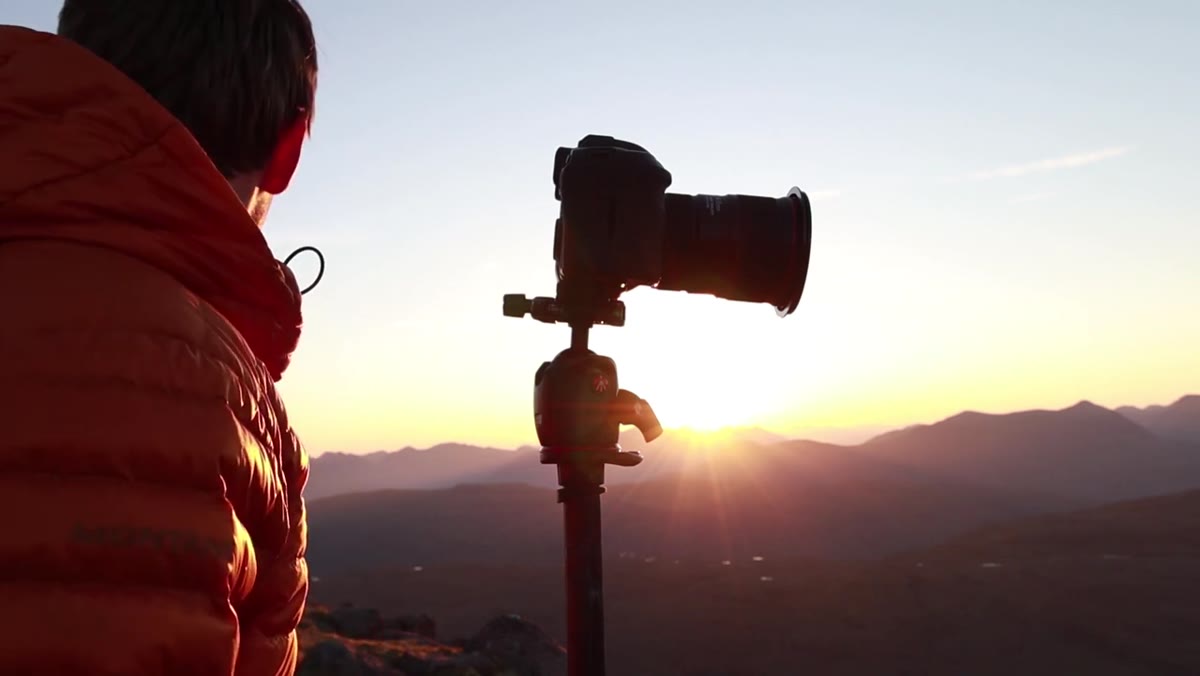 Photographer lowering camera as sun fully rises over landscape
Heaton wraps up shooting shortly after the sun fully clears the horizon. He doesn’t grind through another hour trying to manufacture shots in flat midday light. He makes tea and eats breakfast. That’s it. Short and sharp, as he puts it.
Knowing when to stop is as much a skill as knowing where to stand. Once the quality light is gone, continuing to shoot often produces images you’ll cull anyway. Protect your creative energy for the next session. Pack up clean, review your frames, and let yourself enjoy where you are.
A Note on Managing Expectations in the Field
One thing Heaton demonstrates that I want to underline for anyone heading into a multi-day solo trip: the best sessions often follow the disappointing ones. A mentor of mine used to say the mountain doesn’t care about your schedule, and he was right. I once drove six hours to a location in the Oregon Cascades, sat in fog for two days, and came home with a single frame. That image is now my best-selling print. Heaton’s morning wasn’t the dramatic scene he’d hoped for. It was still beautiful, and he worked it well.
Go in with a specific plan, but hold it loosely. Your job is to respond to what the light is doing, not to what you imagined it would do the night before.
The most important lesson in this entire session is simpler than any camera setting: wake up, look before you shoot, and move when the light moves. Everything else is details. Watch the full tutorial on YouTube to see how Heaton handles each of these moments in real time. Watching a photographer think on their feet in the field is worth more than any gear review.
Comments
Leave a Comment