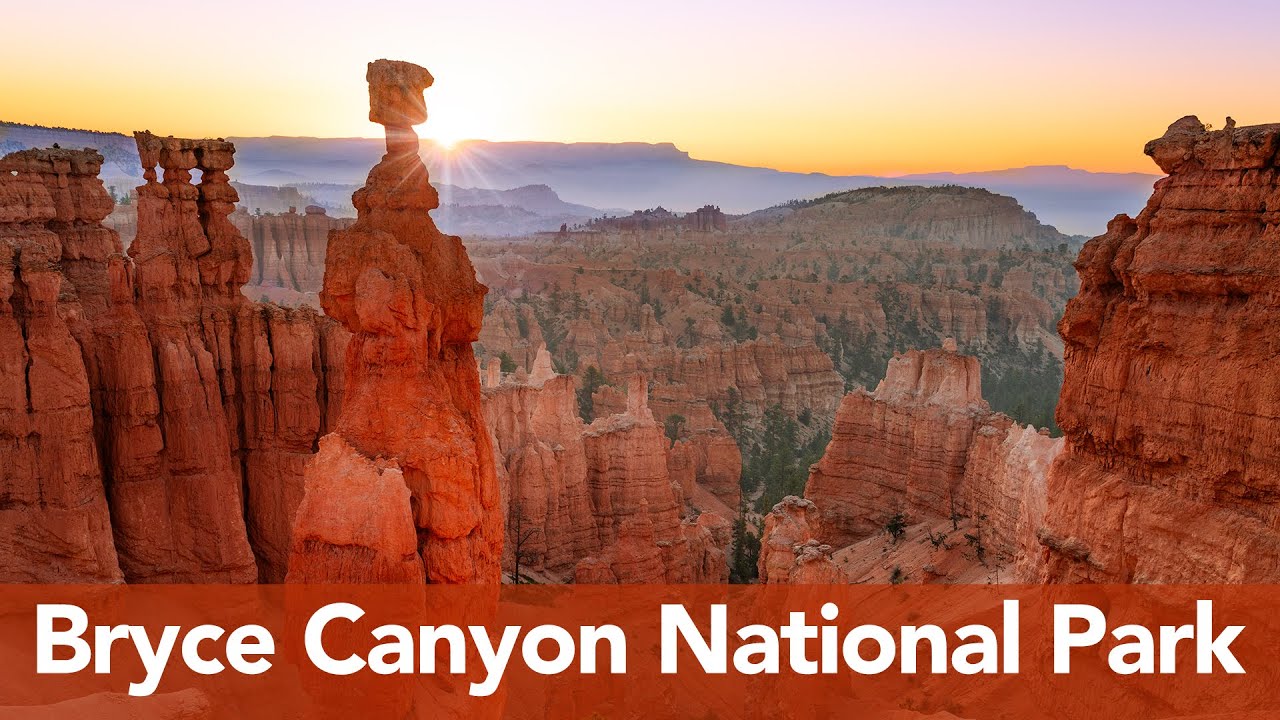
There are parks where you can wander and find something worthwhile around every bend, and then there are parks that reward the photographer who knows exactly where to stand. Bryce Canyon is firmly the second kind. The first time I visited without a plan, I spent the better part of a morning walking rim trails and came back with technically competent, emotionally flat images. I had been everywhere, which meant I had really been nowhere. That experience is exactly why I pay close attention when a photographer who has clearly put in the scouting work lays out a specific, repeatable approach.
In this The Slanted Lens tutorial, Jay P. Morgan walks through the three most productive shooting locations inside Bryce Canyon National Park, covering not just where to go but when to be there, what light to expect, and how to set your camera up before the moment arrives. Watch the full tutorial on YouTube. What follows is my breakdown of his approach, with some field notes layered in from my own trips to similar high-desert terrain.
Step 1: Understand the Bowl Before You Pick a Spot
 Driving into Bryce Canyon, overview of the single entrance road
Bryce Canyon’s main amphitheater is not a canyon in the traditional sense. It is a single large bowl, and almost every iconic image of hoodoos you have ever seen comes from inside that bowl or from the rim looking down into it. The main road enters through a gate and the bowl begins almost immediately. The rim runs from Sunrise Point around to Sunset Point, continues to Inspiration Point, and climbs up to Bryce Point at the top. Knowing this geography before you arrive means you are not guessing once you are parked.
The bowl faces east, which has a direct consequence for photographers. Morning light pours directly into the formation. Evening light catches the tops and western faces of the hoodoos with warm color, but the angle is less dramatic and the shadows are less defined. Jay is clear on this: morning wins. He is not dismissive of sunset sessions, and if the afternoon is all you have, go. But if you have a choice, set the alarm.
Step 2: Stay Close - Use Ruby’s Inn as Your Base
 Discussing proximity of Ruby’s Inn to park entrance
Logistics kill more good shots than bad technique ever does. I have driven past perfectly timed light looking for a parking spot. Jay points out that Ruby’s Inn sits only about fifteen minutes from the park entrance, which means a sunrise arrival does not require waking up at 3am. For a 5:30am arrival at the rim, a 4:45am departure from Ruby’s Inn is entirely workable. That is the kind of calculation that keeps you sharp enough to actually compose well once you get there.
If you are planning a dedicated photography trip rather than a family vacation with some photography folded in, proximity to the location matters as much as your lens selection. Build the accommodation choice into your pre-trip planning the same way you build in your sunrise times.
Step 3: Arrive at Sunrise Point Before First Light
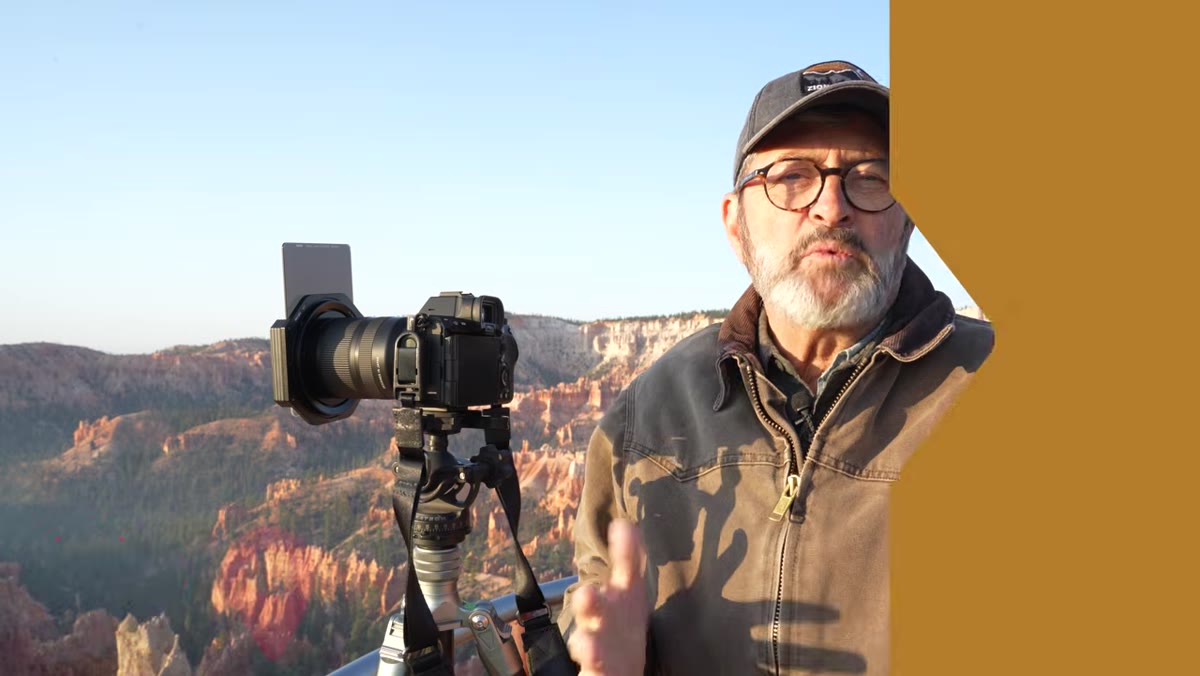 Standing at Sunrise Point rim overlooking the hoodoo amphitheater
Sunrise Point is the closest major overlook to the entrance and the most practical starting location if you are working with limited time. Jay arrived around 5:30am and found that the light became genuinely usable around 5:45 to 6:00am, before the sun had cleared the horizon. In that pre-dawn window, the open sky acts as a diffused light source over the entire bowl. The hoodoos glow softly, contrast is low, and color is cool but saturated. This is not a throwaway period. Some of my favorite landscape frames have come from this kind of broad, even illumination where nothing is blown and nothing is blocked.
Once the sun clears the horizon, typically around 6:10am at this location depending on season, direct light creates harder shadows and warmer highlights. The mood shifts. Neither is wrong. They are different photographs, and knowing both windows exist means you are not packing up the moment the sun appears.
Step 4: Lock In Your Core Camera Settings Before the Light Changes
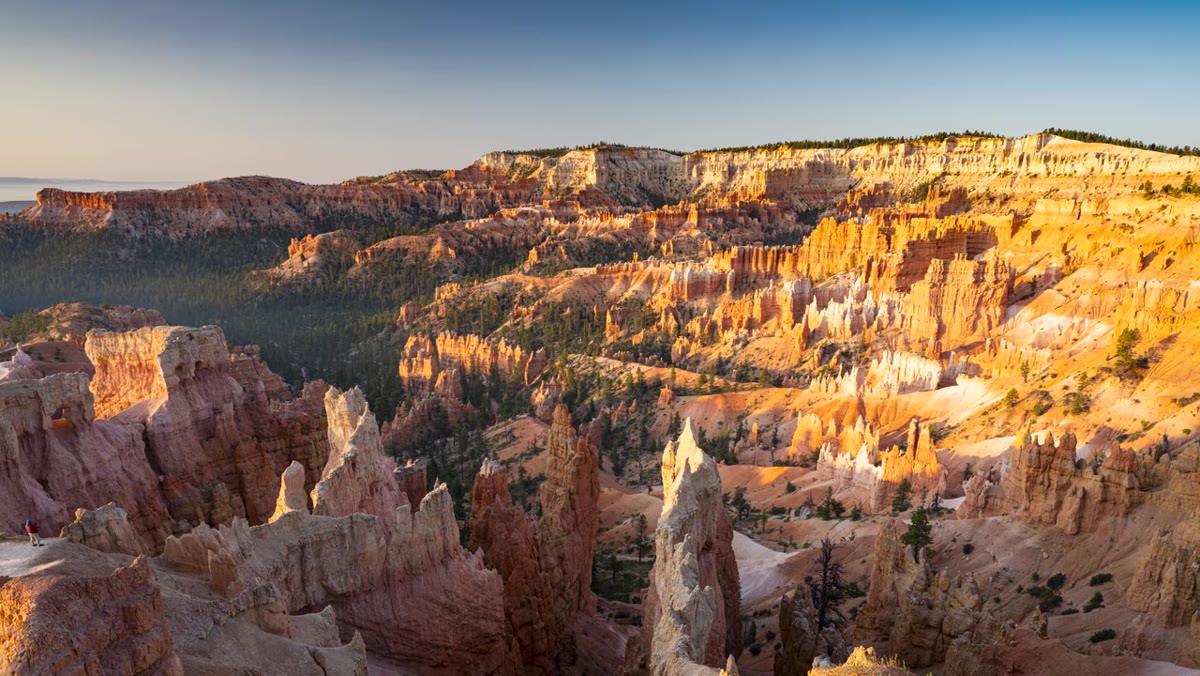 Camera settings discussion with hoodoo landscape behind
When the light is moving fast, this is not the time to be spinning through menu options. Jay’s base settings for this environment are worth internalizing: aperture at f/8, manual exposure mode, and exposure compensation dialed approximately one third of a stop under what the meter suggests. That slight underexposure is not an accident. It deepens color saturation and adds density to the midtones, qualities that translate well in post and in print.
He also commits to single-point autofocus rather than letting the camera decide what to lock onto. In a scene with foreground rock detail and distant formations, you need to place focus deliberately. Depth of field at f/8 is generous but not infinite, and in a scene with this much textural information at multiple distances, knowing exactly what is critically sharp matters. Choose your focal point before the best light arrives, not during it.
Step 5: Work the Bowl - Move Between Sunset Point, Inspiration Point, and Bryce Point
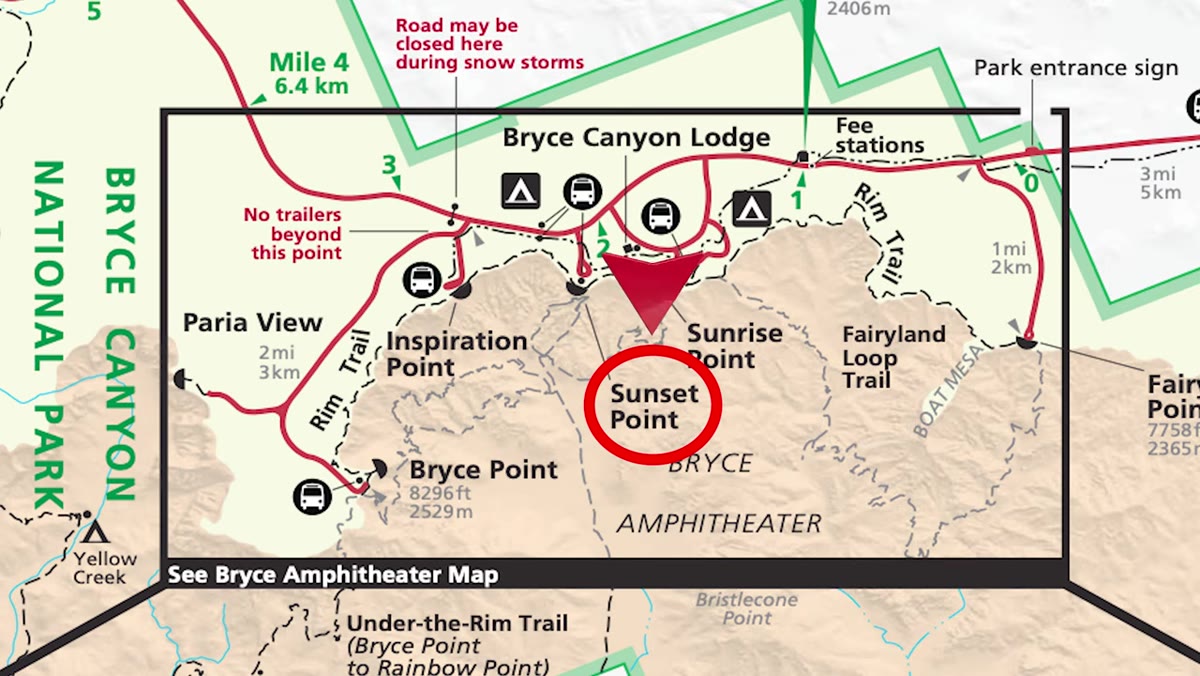 Overview map of rim points from Sunrise to Bryce Point
The three named overlooks beyond Sunrise Point each offer a different angle into the same bowl. Sunset Point sits adjacent to Sunrise Point and allows you to shoot in the opposite direction along the rim. Inspiration Point sits higher and gives a broader, more compressed view of the hoodoo field. Bryce Point, at the top of the bowl, offers the widest and most elevated perspective available from the rim. Each location changes the relationship between foreground, middle ground, and the canyon floor.
Jay’s practical advice is to identify which of these fits the time you actually have. If you have thirty minutes, pick one and go deep on it. If you have two hours, move through them sequentially and note which compositions reward a return visit at a different light angle. The bowl is small enough that driving between points takes only a few minutes, but the images from each feel like different locations.
What I’d Add: The Light You Didn’t Plan For Is Often the Best Light
Twenty years of standing at canyon rims before dawn has taught me that the session I planned is rarely the one that produces the strongest image. A mentor once told me that the mountain doesn’t care about your schedule, and Bryce Canyon reinforces that every time. I now treat the camera settings and locations as a foundation, not a script. Jay’s framework gives you exactly that foundation: you know where to stand, when to arrive, and how to expose. What happens inside those parameters is the actual photography.
I would also encourage shooting longer than feels necessary. The light at a place like Bryce shifts every few minutes in the early morning, and a composition that looked flat at 5:50am can be transformed by 6:15am simply because one new shadow appeared in the right place. The photographers who come home with the strong images are usually the ones who were still there when everyone else was walking back to the car.
The single most important thing Jay demonstrates here is that constraint is useful. Picking two or three specific locations and learning them deeply will outperform a scattered tour of the entire park every time. Watch the full tutorial on YouTube to see the actual footage of each location and Jay’s full breakdown of the settings and timing.
Comments
Leave a Comment