There’s a particular kind of frustration I know well. You’ve driven hours to a location, you have a shot locked in your mind from scouting images online, and then the light does something completely different from what you expected. For years, I’d treat that as a failure. I’d force the original composition anyway, come home with mediocre frames, and wonder what went wrong. It took a long time, and more blank memory cards than I’d like to admit, before I understood the real problem: I was showing up with a finished photograph in my head instead of a camera in my hands.
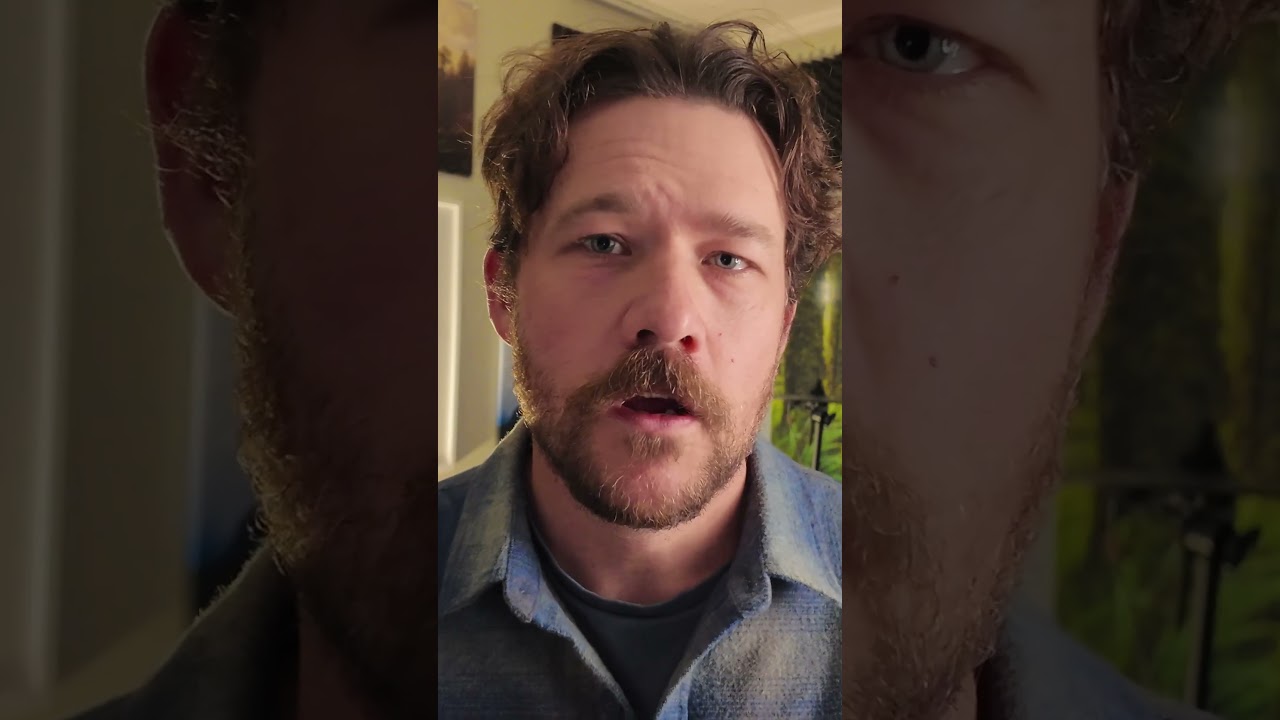
That’s exactly what William Patino addresses in this short but genuinely useful tutorial. Watch the full tutorial on YouTube before or after reading this breakdown. In it, he isolates what he calls “light adaptation” as the single most important ingredient in his landscape workflow. It’s not a camera setting or a post-processing trick. It’s a mindset, and it’s harder to practice than anything you’ll find in a menu.
What follows is a step-by-step breakdown of how to actually apply this concept in the field. I’ve been working this way for a long time now, and hearing Patino articulate it so cleanly made me want to write it out properly for anyone still stuck in the pre-visualization trap.
Step 1: Release the Pre-Formed Shot
 Photographer describing the moment pre-visualization becomes a problem
Before you even pack your bag, notice what’s happening in your head. If you’ve looked up a location on Instagram or Google Images, you likely already have a specific frame in mind. Patino is direct about this: that mental image becomes tunnel vision. You arrive on location and unconsciously filter out everything that doesn’t match what you’ve already decided to shoot.
The fix isn’t to research less. It’s to treat whatever you find online as context, not a blueprint. Know the general character of a place, its orientation, what kind of subjects are there. Then mentally set the specific composition aside before you leave the car.
Step 2: Set a General Intention, Not a Specific Goal
 Creator explaining the balance between having direction and staying open
Patino draws a clear line between two kinds of preparation. One is arriving with a specific shot you intend to recreate. The other is arriving with a general sense of what you want to explore. The second approach keeps you mobile and observant. You might be there for golden light on water, or for texture in a forest. That’s enough direction to get you moving without locking you into a single frame.
Think of it as writing a prompt rather than a script. “I want to photograph the way morning light hits the ridge” is open. “I want to recreate that image I saved with the foreground rocks at 35mm” is closed. The first will serve you; the second will work against you the moment conditions shift.
Step 3: Time Your Arrival to the Light, Not the Clock
 Discussion of arrival timing relative to available light
One of the more practical points Patino makes is about timing. Arriving too early, before useful light exists, can actually hurt your session. You wander around in the dark without clear visual cues, you get confused about where to set up, and by the time the light arrives, you may have already committed to a position that doesn’t serve it.
His suggestion is to arrive when the light is beginning to do something interesting. That doesn’t mean missing golden hour. It means knowing your location well enough to get into a good position efficiently, so you’re scanning and responding rather than stumbling around guessing. Spend time at a location during flat midday light if you need to learn the terrain. Save your early morning energy for actual shooting.
Step 4: Watch Before You Shoot
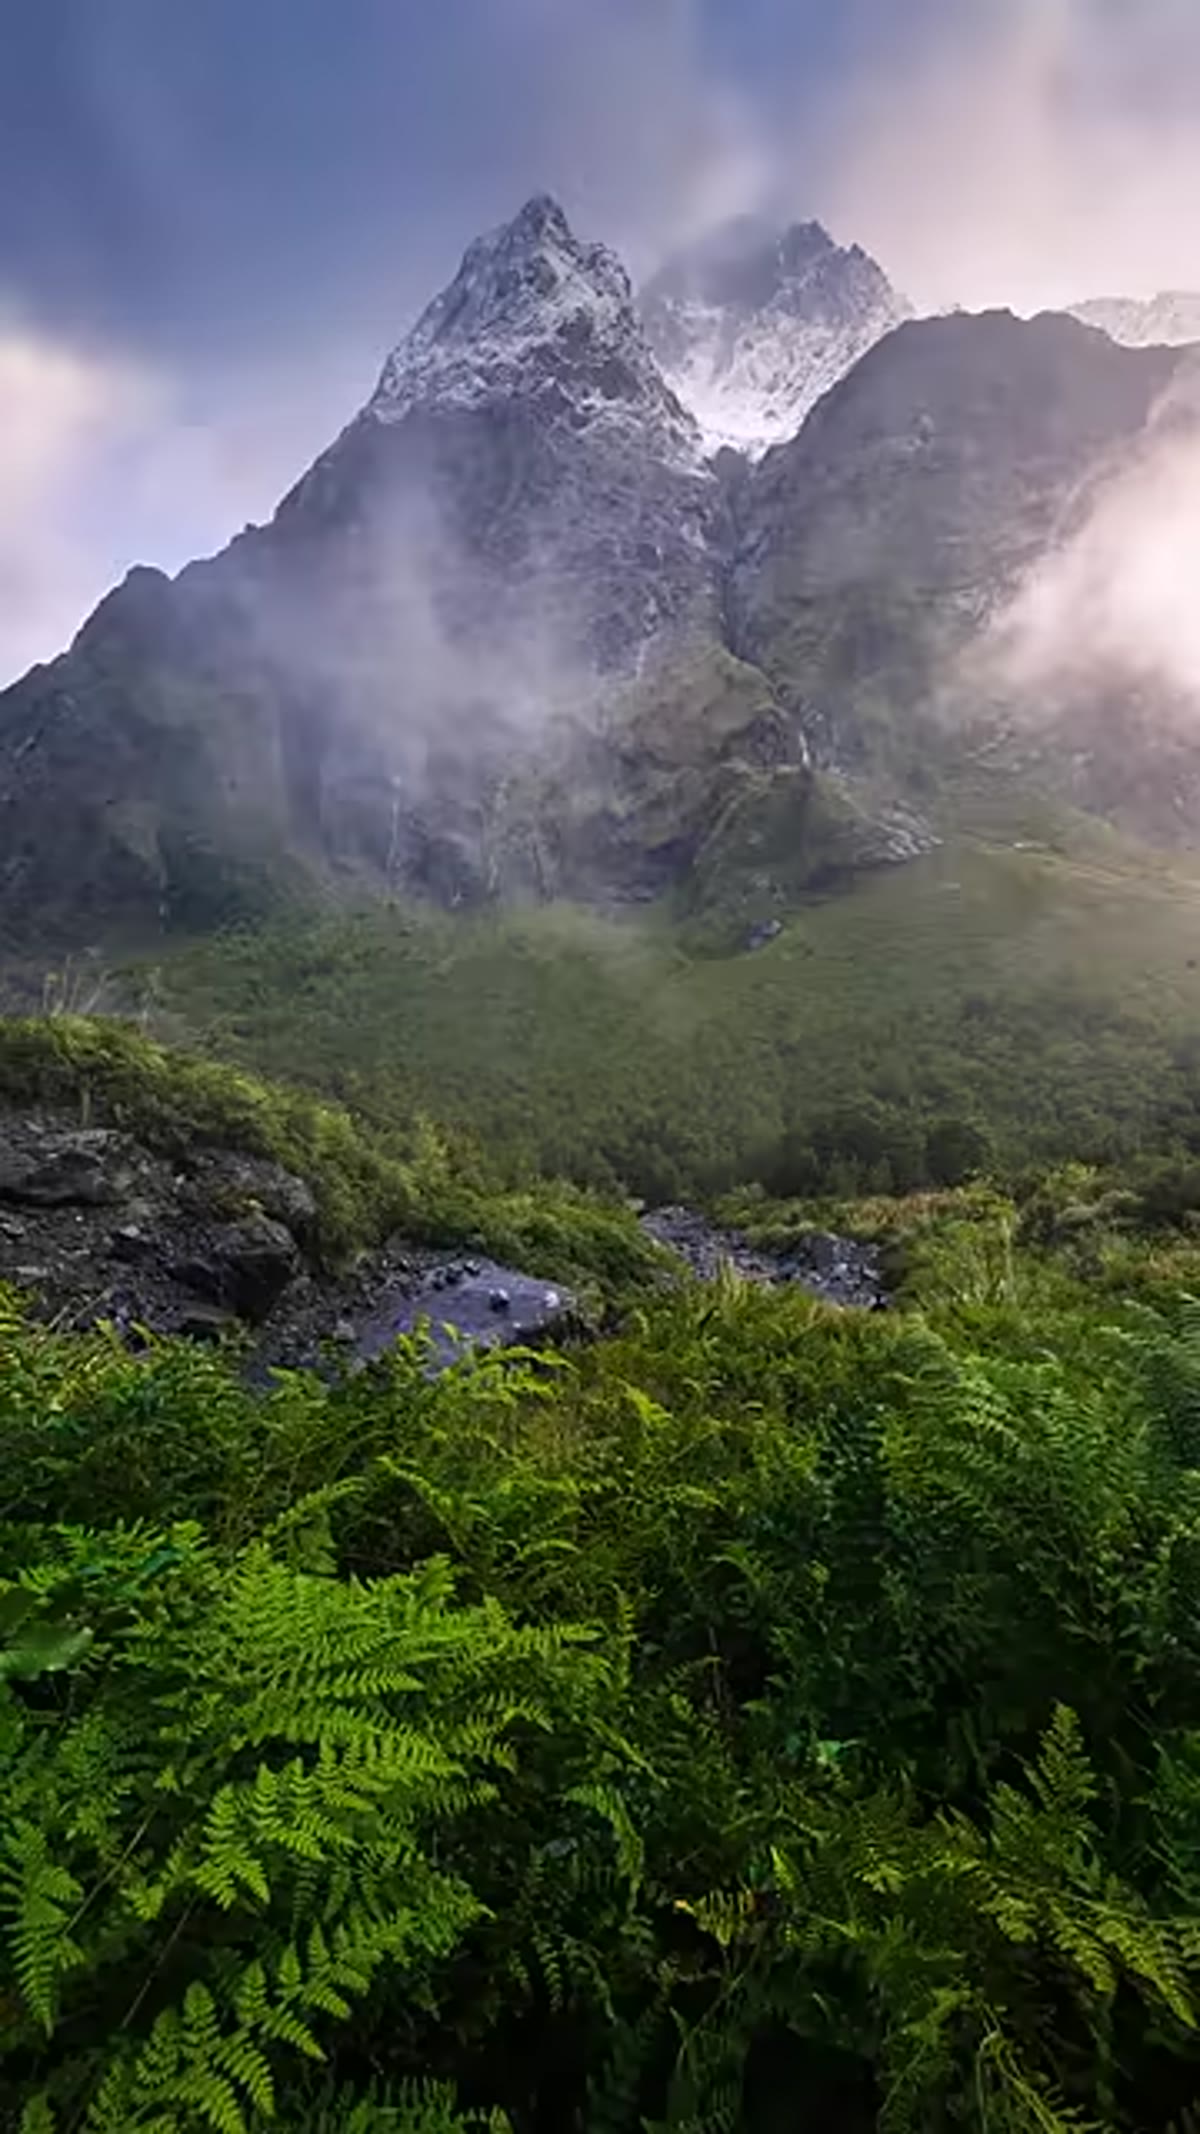 Moment where the creator emphasizes active observation over immediate shooting
This one cuts against every instinct when you’re excited and the light is good. Patino’s advice is to watch first. See how the light is moving, where it’s landing, how it’s changing from minute to minute. Light in the field rarely holds still. A shaft of sunlight breaking through a canopy might peak for thirty seconds. A color in the clouds might deepen and then vanish.
If you fire immediately, you may catch an early version of something that would have been far better sixty seconds later. Give yourself two or three minutes of pure observation when you arrive at a composition. Let your eyes do the work before your shutter does.
Step 5: Follow the Light, Even If It Means Changing Direction Completely
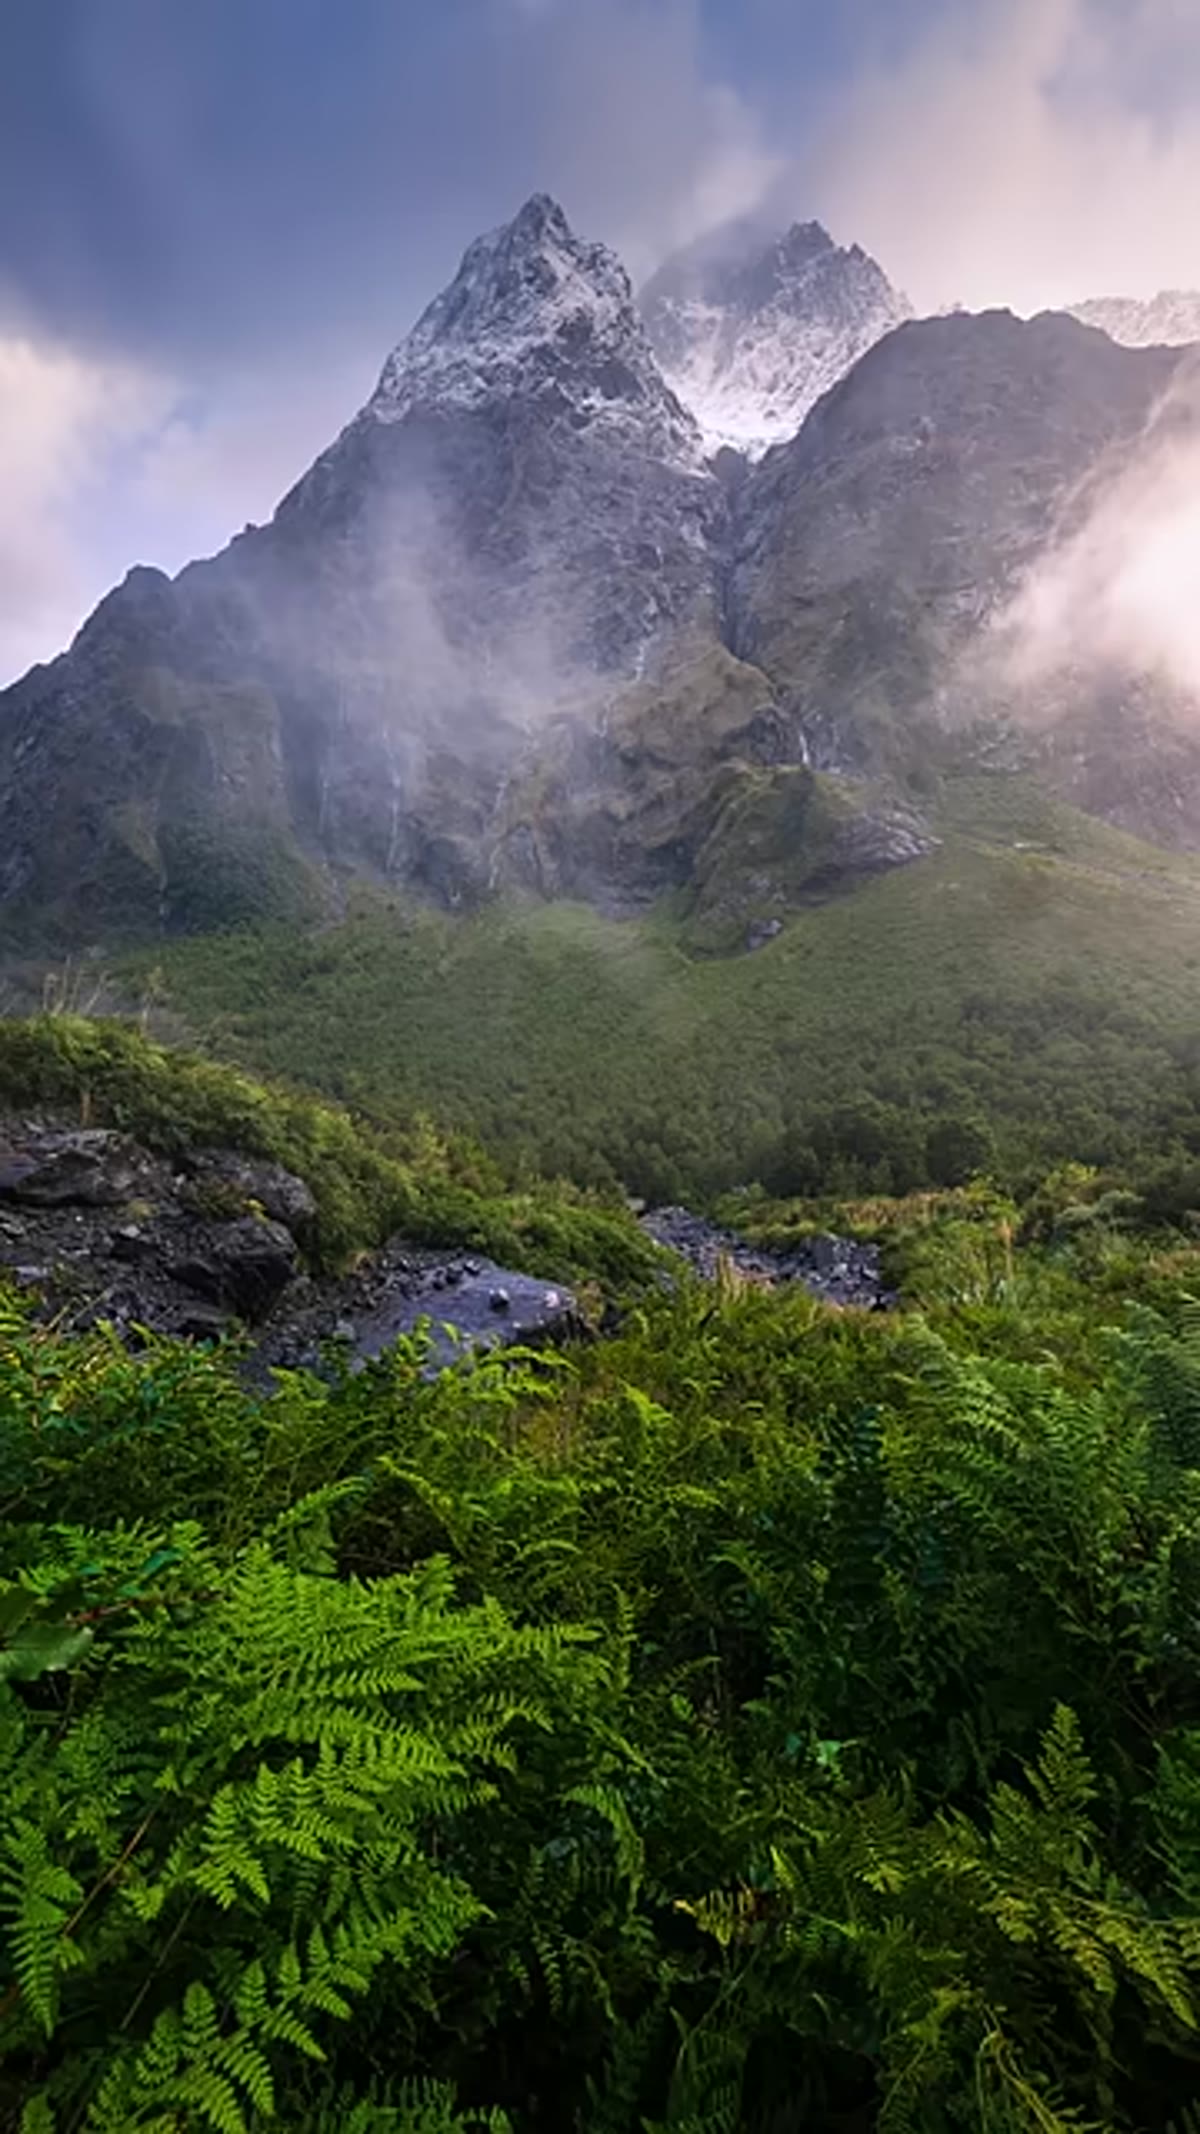 Creator describing turning 180 degrees to follow unexpected light
This is the part most photographers resist. You’ve walked to a specific spot, set up your tripod, checked your composition. Then you notice something remarkable happening behind you or off to the side. Patino is clear: turn around. Walk toward it. Move completely if you need to.
The sunk-cost feeling is real. Nobody wants to break down a setup and lose five minutes. But the shot you had your back to was likely going to be gone in the time it took you to feel conflicted about it. Trust the light over the plan. Every time.
A Note from Two Decades in the Field
I’ve found that this kind of adaptability is actually a skill you can train, and film photography helped me develop it. When every frame costs something, you stop firing in the hope that one will work out. You watch longer, you commit more deliberately, and you start to read light as something that moves with intention. Even picking up a film camera once a month changes how I approach digital days. You don’t need to go that far, but the underlying habit, which is pausing before committing, is worth building however you can.
The other thing I’d add is that emotional flexibility matters as much as technical flexibility. Patino touches on the psychological barrier of putting in effort without knowing exactly what you’ll get. That barrier is real. I once drove to a location with a clear shot in mind and sat in fog for two days. I came home with one frame. That image is my best-selling print. The fog wasn’t the plan. The fog was the photograph.
The single most important takeaway from this tutorial is deceptively simple. The images you couldn’t have planned are often the ones worth making. Loosening your grip on the pre-formed idea isn’t giving up control. It’s trading a smaller kind of control for a larger one, where you’re actually in conversation with the light instead of arguing against it.
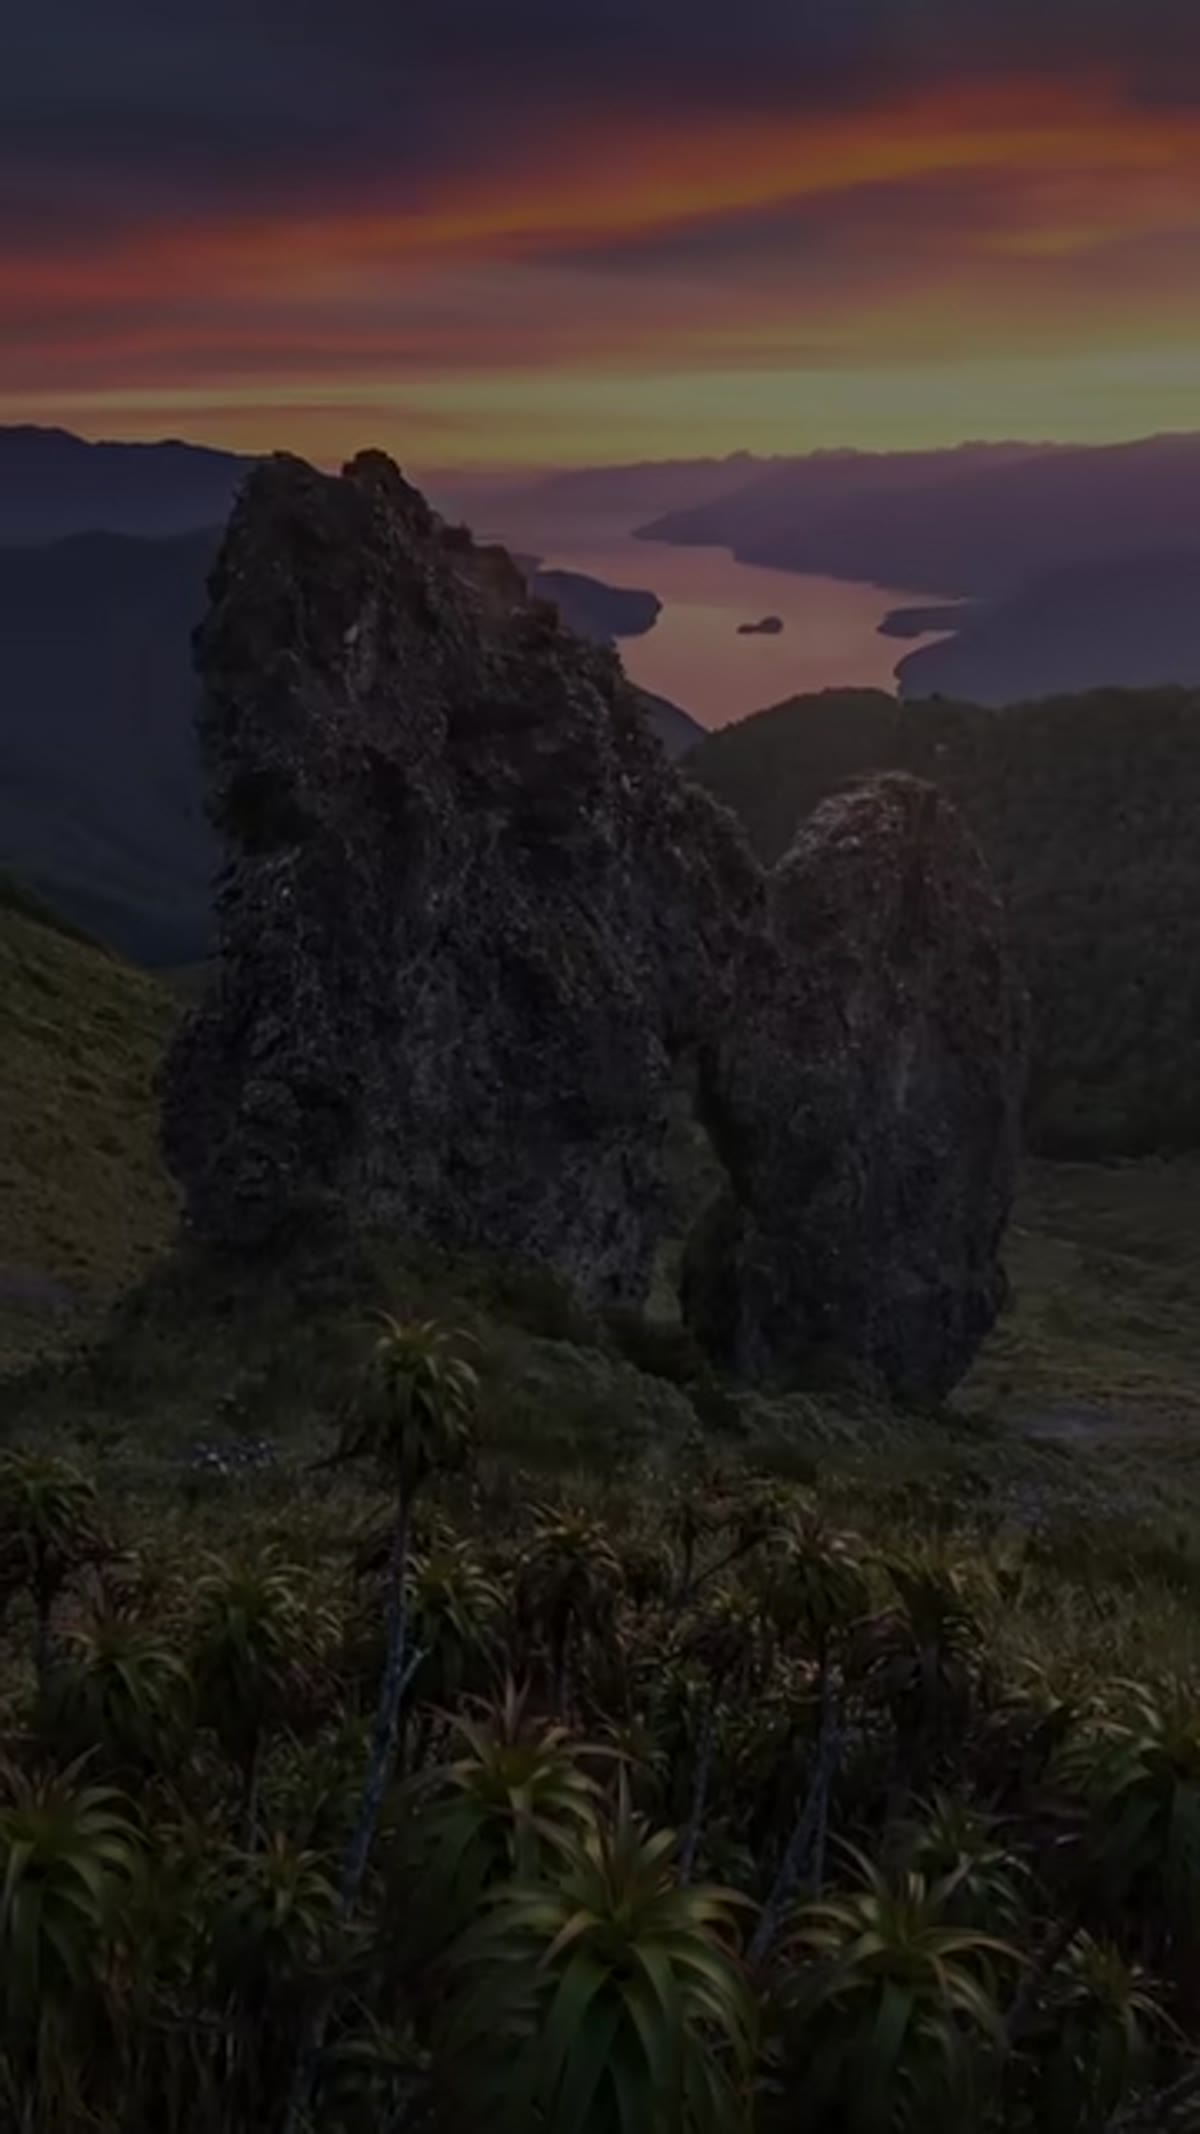
Watch the full tutorial on YouTube and pay attention to the four sample images Patino opens with. They look nothing alike, and that’s exactly the point.
Comments
Leave a Comment