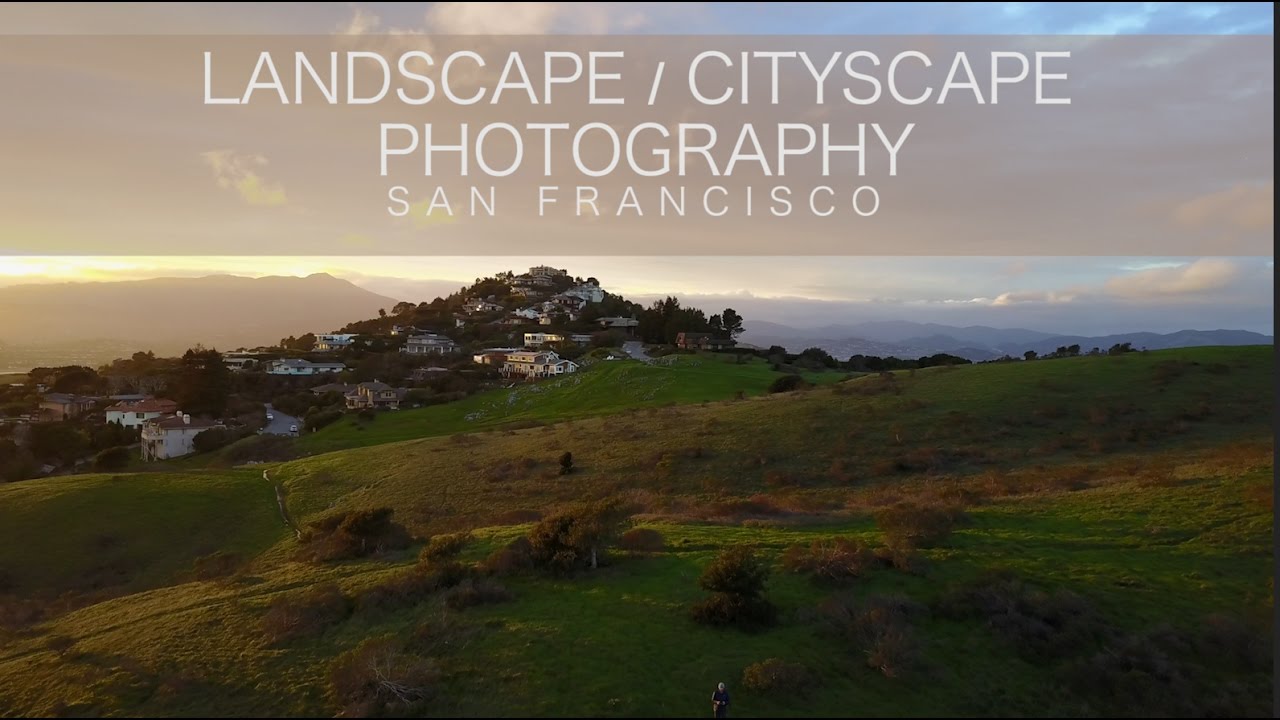
There’s a particular kind of desperation that hits when you’re scrambling up a hillside, the light is dropping faster than you expected, and you still haven’t locked in a composition. I’ve been there more times than I’d like to admit, at 45 years into loving this craft and 20 years into making it my livelihood. Most photographers only talk about their wins. The sessions that came together. The shots that sold. What’s harder to find is honest, unfiltered footage of the moments when the scene is fighting you and you’re figuring it out in real time.
That’s exactly what makes this Nigel Danson tutorial worth studying. Watch the full tutorial on YouTube. Nigel takes you out to the Marin Headlands above San Francisco on a post-rainstorm evening, where the conditions look promising but keep shifting. What you get isn’t a polished success story. You get a working photographer making live decisions about foreground, position, timing, and when to cut his losses. That kind of raw process is genuinely hard to teach in a controlled setting.
I put this tutorial in front of the photographers who come through my workshops because it solves a problem I see constantly: people arrive at a location, find a view they like, and stop moving. They plant the tripod and wait. Nigel’s approach is the opposite, and watching him work through it step by step reframes how you think about the whole pre-shot window.
Step 1: Read the Sky Before You Move
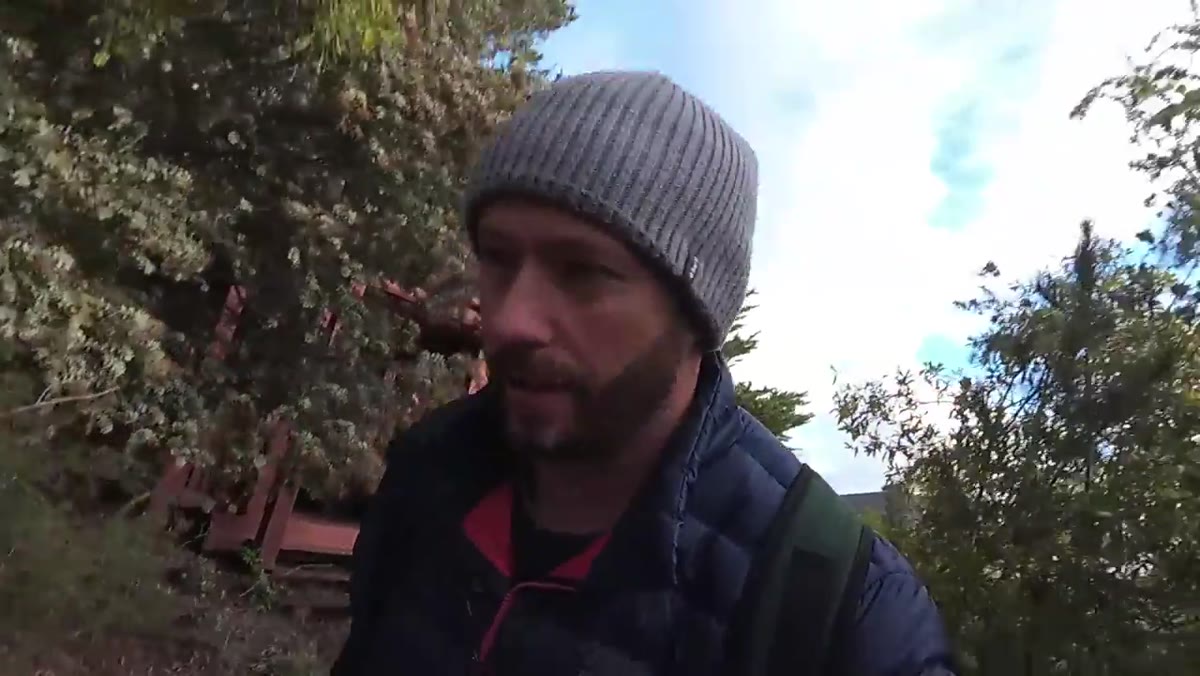 Nigel assessing dark clouds and sunset light direction
Before Nigel takes a single step toward his location, he stops and reads the sky. He’s looking at the cloud bank, tracking where the sun is going to drop, and making a probabilistic call on whether the light will do anything interesting. This is a habit most photographers skip because it feels passive. It isn’t. A five-second sky assessment at the trailhead tells you how much time you actually have and whether to walk fast or take your time scouting.
Nigel assessing dark clouds and sunset light direction
Before Nigel takes a single step toward his location, he stops and reads the sky. He’s looking at the cloud bank, tracking where the sun is going to drop, and making a probabilistic call on whether the light will do anything interesting. This is a habit most photographers skip because it feels passive. It isn’t. A five-second sky assessment at the trailhead tells you how much time you actually have and whether to walk fast or take your time scouting.
Train yourself to look for that combination: low sun angle, layered clouds with gaps, and something to reflect or illuminate in the foreground. Any one of those alone gives you a decent shot. All three together gives you something you’ll print large.
Step 2: Get There Early, Then Scout Instead of Setting Up
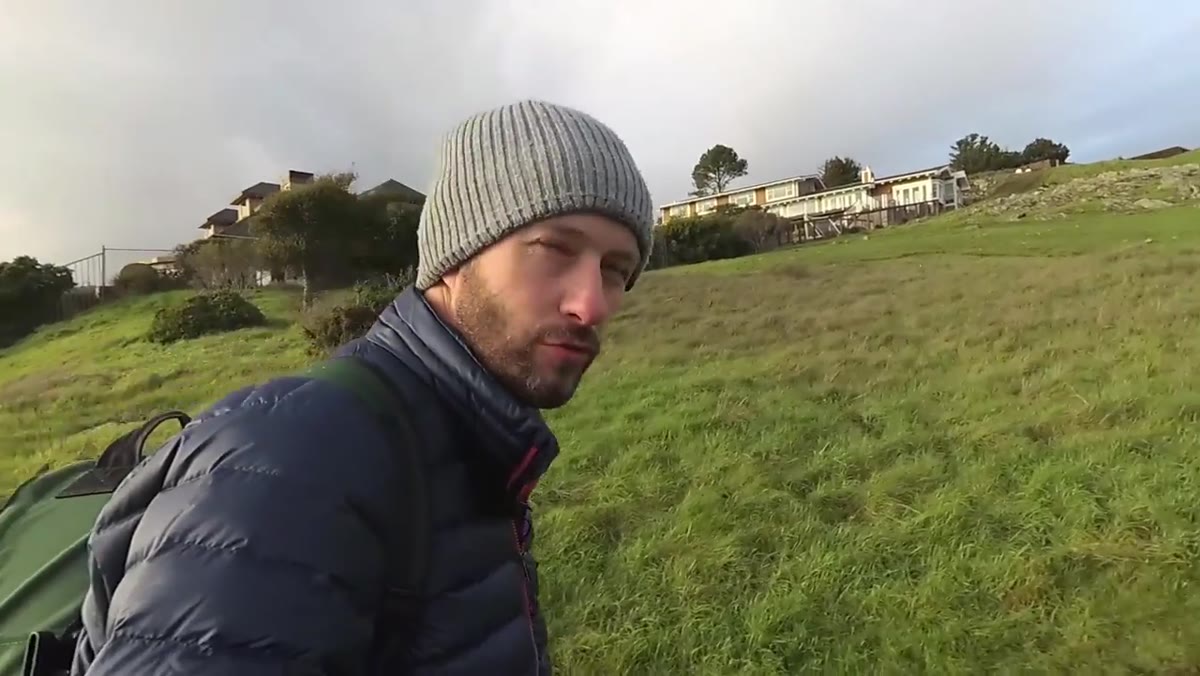 Nigel arriving at the hillside location ahead of golden hour
Nigel arrives roughly half an hour before he needs to be shooting, and rather than setting up his tripod at a familiar spot, he deliberately walks further than usual. He mentions he typically shoots from a set of rocks he knows well, but this session he pushes past them to find whether a city view is accessible from a higher position.
Nigel arriving at the hillside location ahead of golden hour
Nigel arrives roughly half an hour before he needs to be shooting, and rather than setting up his tripod at a familiar spot, he deliberately walks further than usual. He mentions he typically shoots from a set of rocks he knows well, but this session he pushes past them to find whether a city view is accessible from a higher position.
This is the discipline that separates good location work from great location work. The familiar spot is comfortable and usually fine. The extra five minutes of walking can reveal a completely different angle, a better foreground, or a cleaner sight line. I have a rule for myself on shoots: don’t touch the tripod until you’ve walked the location in at least two directions.
Step 3: Identify a Foreground Anchor Before Anything Else
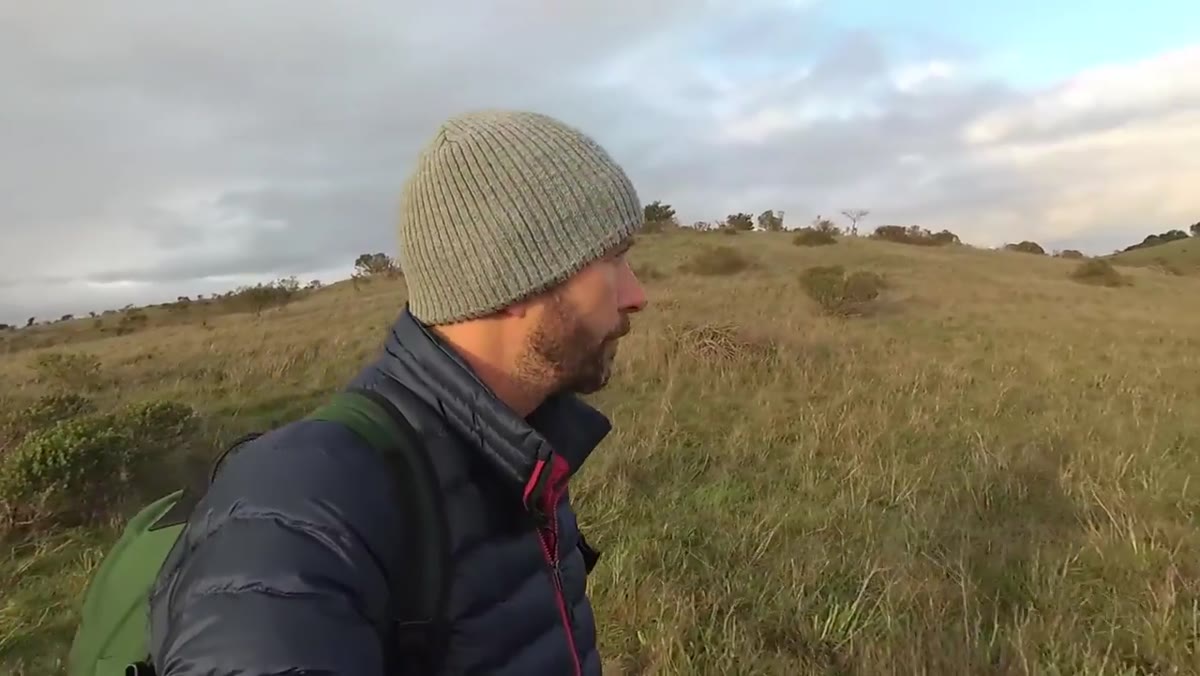 Nigel scanning terrain looking for foreground rocks and trees
Once Nigel is moving through the location, his entire focus is on foreground interest. He’s not framing the city yet. He’s scanning rocks, trees, and shrubs, asking whether any of them can pull a viewer’s eye from the bottom of the frame into the middle distance and toward the background subject. He spots a tree, evaluates it briefly, then keeps walking because it doesn’t give him the lead-in line he wants.
Nigel scanning terrain looking for foreground rocks and trees
Once Nigel is moving through the location, his entire focus is on foreground interest. He’s not framing the city yet. He’s scanning rocks, trees, and shrubs, asking whether any of them can pull a viewer’s eye from the bottom of the frame into the middle distance and toward the background subject. He spots a tree, evaluates it briefly, then keeps walking because it doesn’t give him the lead-in line he wants.
The practical lesson here is about sequence. Most people frame the hero element first, then try to wedge foreground in after. Flip that. Find something textural, structural, or directional at your feet or in your immediate surroundings, then build the composition backward from there toward your background subject. Rocks with natural lines work particularly well because they create implicit paths without being literal about it.
Step 4: Use a Graduated ND to Balance a Bright Sky with a Dark Foreground
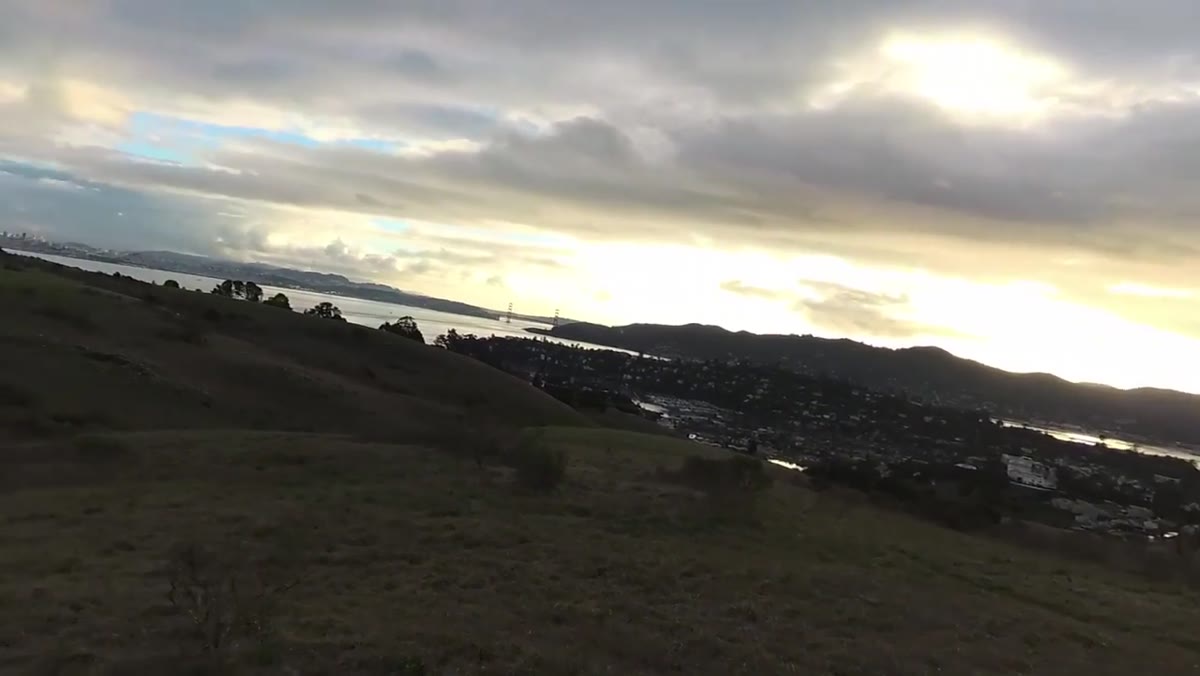 Nigel describing his 0.9 ND grad filter setup and ISO 100
While waiting for the sun to break through a cloud bank, Nigel walks through his shooting setup: ISO 100, RAW capture, and a 0.9 neutral density graduated filter. The 0.9 ND grad is a three-stop reduction, placed to darken the sky without affecting the foreground exposure. In a scene where the sky is dramatically lit but the land below is still in shadow, this is often the only way to hold detail in both zones in a single frame.
Nigel describing his 0.9 ND grad filter setup and ISO 100
While waiting for the sun to break through a cloud bank, Nigel walks through his shooting setup: ISO 100, RAW capture, and a 0.9 neutral density graduated filter. The 0.9 ND grad is a three-stop reduction, placed to darken the sky without affecting the foreground exposure. In a scene where the sky is dramatically lit but the land below is still in shadow, this is often the only way to hold detail in both zones in a single frame.
If you’re not yet using graduated filters, the position of the transition line matters as much as the filter strength. Place it along a natural horizon edge, not cutting through a tree or a building. For uneven horizons, a soft-edge grad gives you more latitude. Shoot tethered or use your histogram to confirm you’re not blowing highlights in the cloud tops or crushing shadow detail in the rocks.
Step 5: Keep Moving When the Composition Isn’t Coming Together
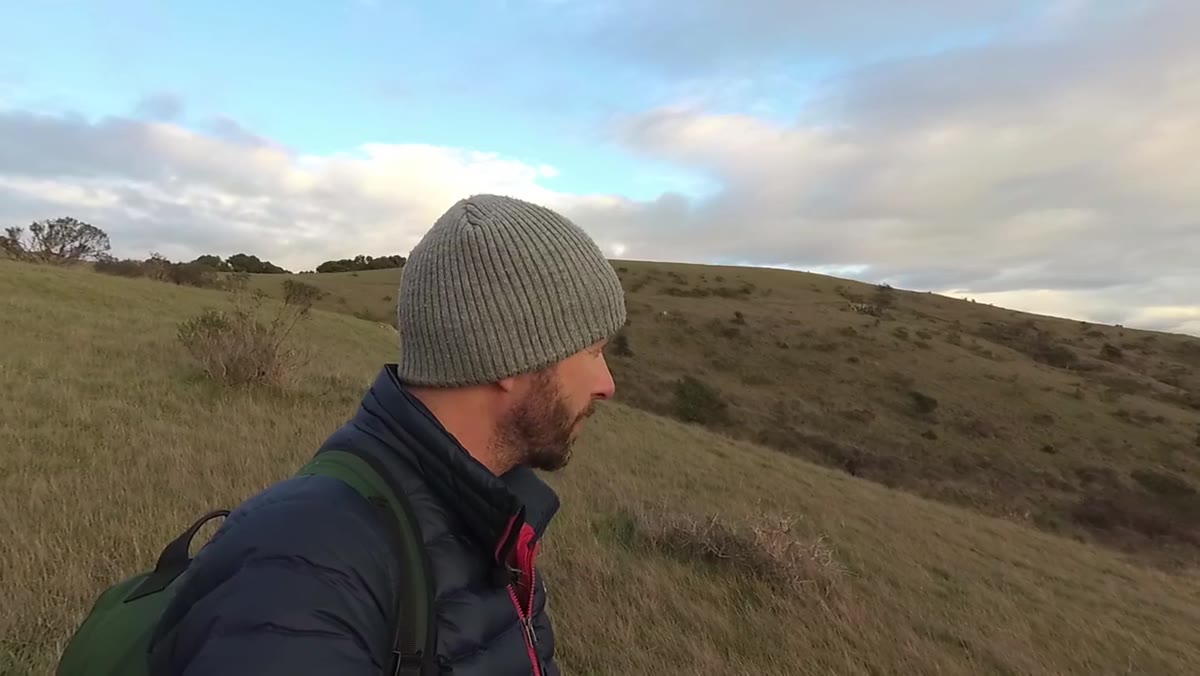 Nigel out of breath, still searching for a workable composition
This is the step most tutorials skip because it involves admitting the process isn’t clean. Nigel is visibly winded, the light is running out, and he hasn’t locked in a shot. He evaluates a bush, a tree, a cluster of rocks, and none of them quite give him what he needs. He keeps moving anyway.
Nigel out of breath, still searching for a workable composition
This is the step most tutorials skip because it involves admitting the process isn’t clean. Nigel is visibly winded, the light is running out, and he hasn’t locked in a shot. He evaluates a bush, a tree, a cluster of rocks, and none of them quite give him what he needs. He keeps moving anyway.
The instinct to commit to whatever you’ve found because time is short is almost always wrong. A mediocre composition shot in great light is still a mediocre composition. If the foreground isn’t working, the frame isn’t working. Move until something clicks, even if that means you come home with nothing. Which brings us to the next step.
Step 6: Know When to Accept the Miss
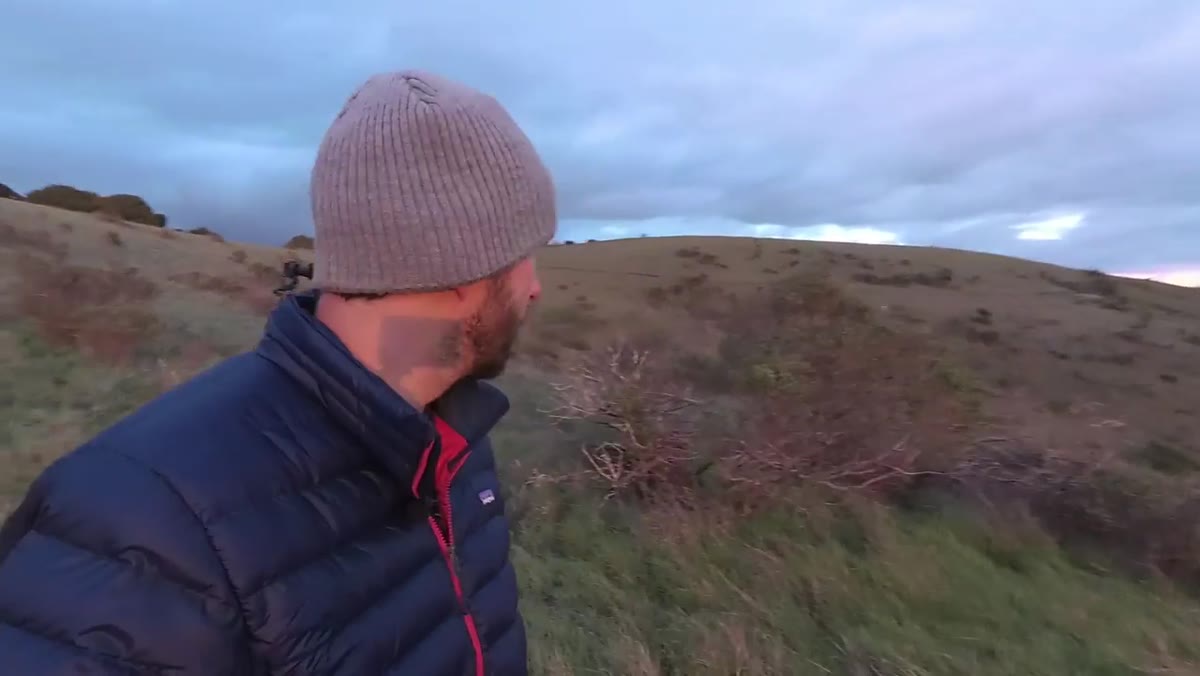 Nigel reflecting on a session where no final composition came together
Nigel wraps the session by acknowledging he didn’t get the shot he was after. The composition never came together. The light moved faster than he could position himself. And he owns it with a clarity that’s actually useful for anyone learning this craft.
Nigel reflecting on a session where no final composition came together
Nigel wraps the session by acknowledging he didn’t get the shot he was after. The composition never came together. The light moved faster than he could position himself. And he owns it with a clarity that’s actually useful for anyone learning this craft.
Not every session produces a keeper. What the session produced instead was knowledge of that hillside at that light quality, an understanding of which trees and rocks might work on the next attempt, and an evening outside in conditions he found genuinely beautiful. That’s not consolation. That’s the actual return on investment for field time.
What I’d Add from Twenty Years of Getting It Wrong
My mentor used to say that the mountain doesn’t care about your schedule. I’ve thought about that line on a lot of frustrated evenings. What Nigel demonstrates, whether he frames it this way or not, is that the photographer’s job during that golden window isn’t to execute a plan. It’s to stay responsive. The light is changing. The clouds are moving. The right position three minutes ago might be the wrong one now.
When I take photographers out on workshops in the high desert around Bend, the hardest habit to break is the freeze: someone finds a shot they like and locks in, even as the scene keeps evolving around them. Nigel’s session in the Marin Headlands is a real-time demonstration of what staying fluid actually looks like, including what it costs you when the light runs out before the composition arrives.
The single most important thing this tutorial teaches isn’t a filter choice or a camera setting. It’s that scouting and shooting are the same activity. You don’t scout first and then shoot. You’re always doing both at once, right up until the last light is gone.
Watch the full tutorial on YouTube and pay particular attention to how Nigel narrates his decision-making in real time. That internal dialogue, made audible, is the most transferable skill in the whole video.
Comments
Leave a Comment