Forest photography has humbled me more times than I care to admit. I’ve stood in old-growth Douglas fir outside Bend with a perfectly charged battery, ideal overcast light, and zero keeper shots to show for two hours of work. The problem wasn’t the gear. It wasn’t the light. It was the chaos — that wall of overlapping trunks, competing textures, and tangled canopy that refuses to arrange itself into anything resembling a composition. After twenty years of shooting landscapes full-time, I still walk into dense woodland and feel that familiar grip of visual overwhelm.
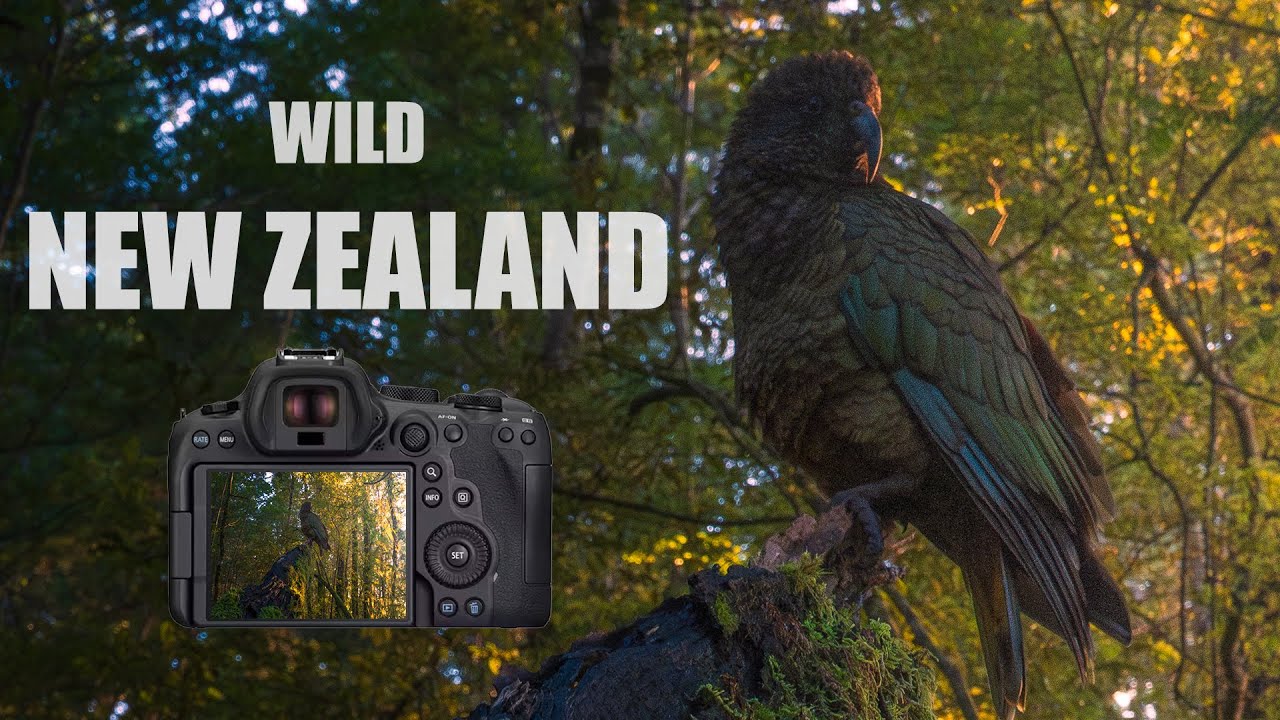
That’s exactly why this tutorial from William Patino stopped me mid-scroll. Watch the full tutorial on YouTube — Patino takes you into the temperate rainforest of New Zealand’s Fiordland region at pre-dawn and walks through how he actually thinks when the scene gives him nothing obvious to work with. No tidy subject on a platter. No clean foreground. Just forest doing what forest does, which is everything at once. What he shares isn’t a list of rules so much as a way of seeing, and it maps directly onto problems I’ve been wrestling with in my own woodland work for years.
The video is also a quiet argument for slowing down, something I need reminding of even now. I once stood in a river at 4am in freezing October water waiting for fog to lift off the Cascades, and the patience that bought me was the difference between a forgettable frame and a print that still sells. Patino operates from that same philosophy, and it comes through in every step of this walkthrough.
Step 1: Visit the Same Location in Multiple Conditions
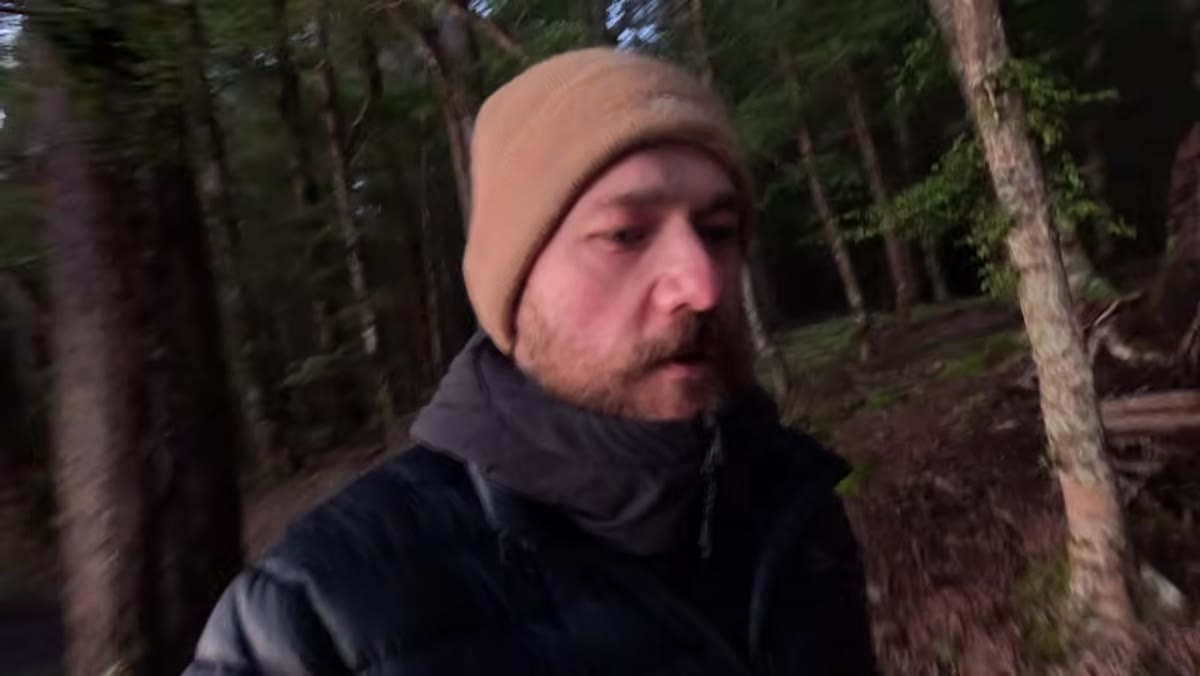 Photographer walking through dark pre-dawn Fiordland forest
Before you make a single composition decision, Patino’s first instruction is to visit your forest location across different times of day and different weather conditions. This sounds obvious, but most photographers pick a morning, like what they see or don’t, and move on. The forest under flat midday light versus the forest in pre-dawn low angle sun versus the forest in soft overcast are essentially three different subjects. Overcast diffuses contrast and flattens harsh shadows, which can actually help you see tonal separation between elements. Low angled morning sun creates warmth and depth, pulling certain trunks and mossy surfaces into relief. Dappled light introduces movement and mood but can also blow highlights unpredictably.
Photographer walking through dark pre-dawn Fiordland forest
Before you make a single composition decision, Patino’s first instruction is to visit your forest location across different times of day and different weather conditions. This sounds obvious, but most photographers pick a morning, like what they see or don’t, and move on. The forest under flat midday light versus the forest in pre-dawn low angle sun versus the forest in soft overcast are essentially three different subjects. Overcast diffuses contrast and flattens harsh shadows, which can actually help you see tonal separation between elements. Low angled morning sun creates warmth and depth, pulling certain trunks and mossy surfaces into relief. Dappled light introduces movement and mood but can also blow highlights unpredictably.
Keep a location scouting note for each woodland spot you visit. Log the time, the weather, what direction the light was coming from, and what you noticed that surprised you. Over two or three visits the forest will start to reveal its own patterns.
Step 2: Arrive Before Sunrise and Work with Minimal Light
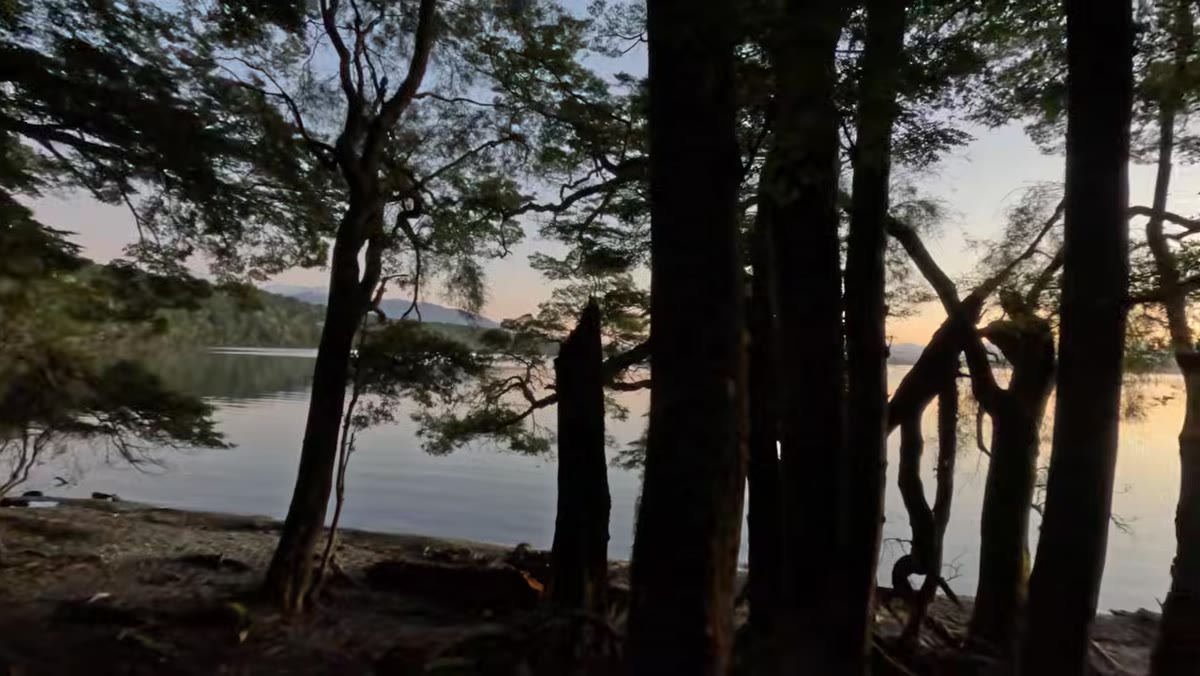 Low warm light beginning to filter through Fiordland tree canopy
Patino shoots this session just before sunrise, specifically because his stretch of forest opens to the eastern sky. That geometry matters. A forest with an eastern clearing lets the first low-angle sun rake across the scene horizontally, which separates trunks from background and gives depth to flat surfaces like bark and fern fronds. If your local forest opens to the west, that’s your golden hour window. Neither is better. What matters is knowing which direction your light will enter from.
Low warm light beginning to filter through Fiordland tree canopy
Patino shoots this session just before sunrise, specifically because his stretch of forest opens to the eastern sky. That geometry matters. A forest with an eastern clearing lets the first low-angle sun rake across the scene horizontally, which separates trunks from background and gives depth to flat surfaces like bark and fern fronds. If your local forest opens to the west, that’s your golden hour window. Neither is better. What matters is knowing which direction your light will enter from.
In terms of camera settings for this kind of low light work: start with ISO 800 to 1600 depending on your body’s noise performance, open your aperture to somewhere between f/4 and f/8 to maintain enough depth of field without demanding shutter speeds so slow that any wind movement blurs your foliage, and let your shutter speed fall where it needs to. A tripod is not optional here. Even at ISO 1600 you may find yourself at 1/15s or slower to expose properly. In a forest that soft, the available light is your collaborator. Work with it rather than fighting it with flash or forcing a faster exposure at the cost of color accuracy.
Step 3: Acknowledge the Chaos Before You Try to Fix It
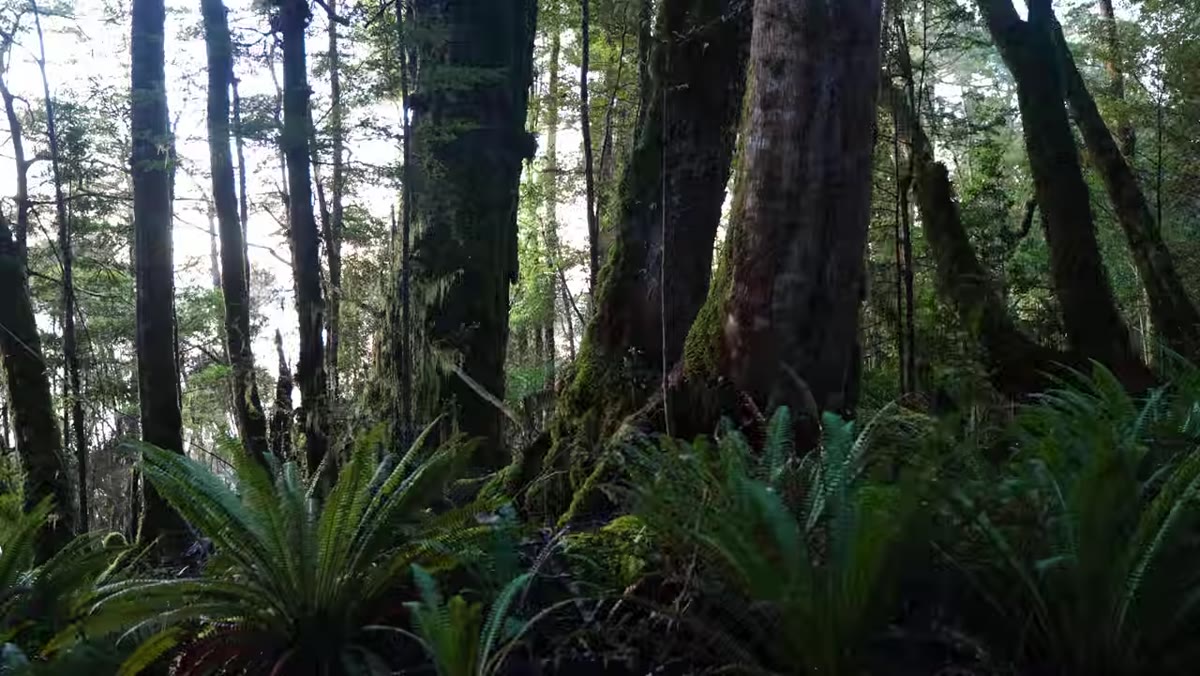 Dense overlapping forest scene with no clear focal point visible
Patino is unusually honest about this, and I appreciate it because most tutorials skip straight to solutions. Forests are visually chaotic. Unlike a mountain ridge or a coastal stack that gives you a bold anchor immediately, a woodland scene presents dozens of competing verticals, no clear horizon, and a ground plane broken up by roots, rocks, and undergrowth. Accepting that this is the starting condition, rather than a problem to be solved in post, changes how you approach the shoot.
Dense overlapping forest scene with no clear focal point visible
Patino is unusually honest about this, and I appreciate it because most tutorials skip straight to solutions. Forests are visually chaotic. Unlike a mountain ridge or a coastal stack that gives you a bold anchor immediately, a woodland scene presents dozens of competing verticals, no clear horizon, and a ground plane broken up by roots, rocks, and undergrowth. Accepting that this is the starting condition, rather than a problem to be solved in post, changes how you approach the shoot.
The mistake most photographers make is trying to frame a composition before they’ve found a subject. In forest photography the order is reversed. Find the subject first. Then build the frame around it.
Step 4: Walk Slowly and Look for What Stands Out
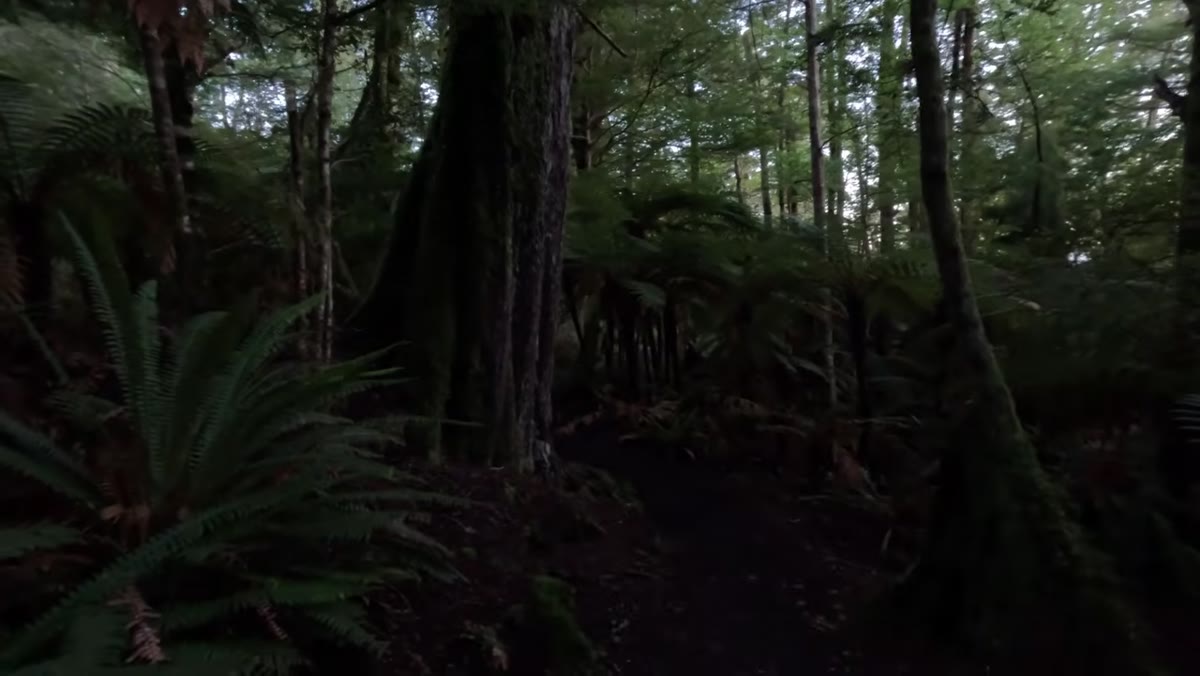 Single dominant tree trunk separating clearly from surrounding forest
The central compositional move Patino demonstrates is straightforward but requires patience: walk slowly through the forest until one element separates itself visually from everything around it. Usually this is a single large tree whose scale, color, or position creates contrast against the surrounding visual noise. It might be the width of a trunk against thinner saplings behind it, or the lean of one tree against a cluster of straight verticals. When you see it, you know.
Single dominant tree trunk separating clearly from surrounding forest
The central compositional move Patino demonstrates is straightforward but requires patience: walk slowly through the forest until one element separates itself visually from everything around it. Usually this is a single large tree whose scale, color, or position creates contrast against the surrounding visual noise. It might be the width of a trunk against thinner saplings behind it, or the lean of one tree against a cluster of straight verticals. When you see it, you know.
Patino makes the point that if you’re not finding anything, keep moving. Don’t plant yourself and try to force a composition out of a scene that isn’t offering one. Forest photography rewards walking pace, not tripod-first thinking. Scout on foot, find the anchor, then set up.
Step 5: Use a Mid-Range Lens to Manage Complexity
 Camera with mid-range lens being prepared before entering forest
Patino shoots this session with a mid-range lens rather than a wide angle, which is a deliberate choice worth unpacking. Wide angle lenses are seductive in forest environments because they feel immersive, but they pull in so much information that the compositional chaos gets amplified. A mid-range focal length, roughly 35mm to 85mm full-frame equivalent, compresses the scene slightly and lets you isolate relationships between two or three elements without the frame filling up with peripheral distraction.
Camera with mid-range lens being prepared before entering forest
Patino shoots this session with a mid-range lens rather than a wide angle, which is a deliberate choice worth unpacking. Wide angle lenses are seductive in forest environments because they feel immersive, but they pull in so much information that the compositional chaos gets amplified. A mid-range focal length, roughly 35mm to 85mm full-frame equivalent, compresses the scene slightly and lets you isolate relationships between two or three elements without the frame filling up with peripheral distraction.
If you shoot zoom, try setting it at 50mm and leaving it there for an entire forest session. The constraint forces you to work with your feet rather than the zoom ring, which means you’re physically repositioning to improve compositions rather than cropping optically from one spot.
What I’d Add from My Own Time in the Field
I shoot forests in the Pacific Northwest regularly, and one thing Patino doesn’t get into here, understandably given his location, is the role of moisture. Wet bark reads completely differently from dry bark in terms of tonal contrast and color saturation. A Fiordland rainforest after overnight rain is not the same subject as a dry-summer Oregon forest. If you live somewhere with seasonal variation, time your forest sessions after precipitation. Mosses saturate, bark darkens, and the contrast between light entering the canopy and the shadowed floor deepens noticeably. Some of my favorite woodland frames came from shooting in light drizzle, which I used to avoid out of laziness about weather sealing. I don’t make that mistake anymore.
The single most transferable thing in this tutorial is Patino’s instruction to find the subject before you compose the frame. It sounds simple. It is simple. And it will immediately change how productive your forest sessions are if you’ve been doing it the other way around.
Watch the full tutorial on YouTube to follow Patino through the Fiordland forest in real time, including the surprise local wildlife visit he teases at the start.
Comments
Leave a Comment